manuals.online logo
Brands
  1. Home
  2. β€’
  3. Brands
  4. β€’
  5. jablotron
  6. β€’
  7. Security Sensor
  8. β€’
  9. jablotron JA-115P User manual

jablotron JA-115P User manual

Other jablotron Security Sensor manuals

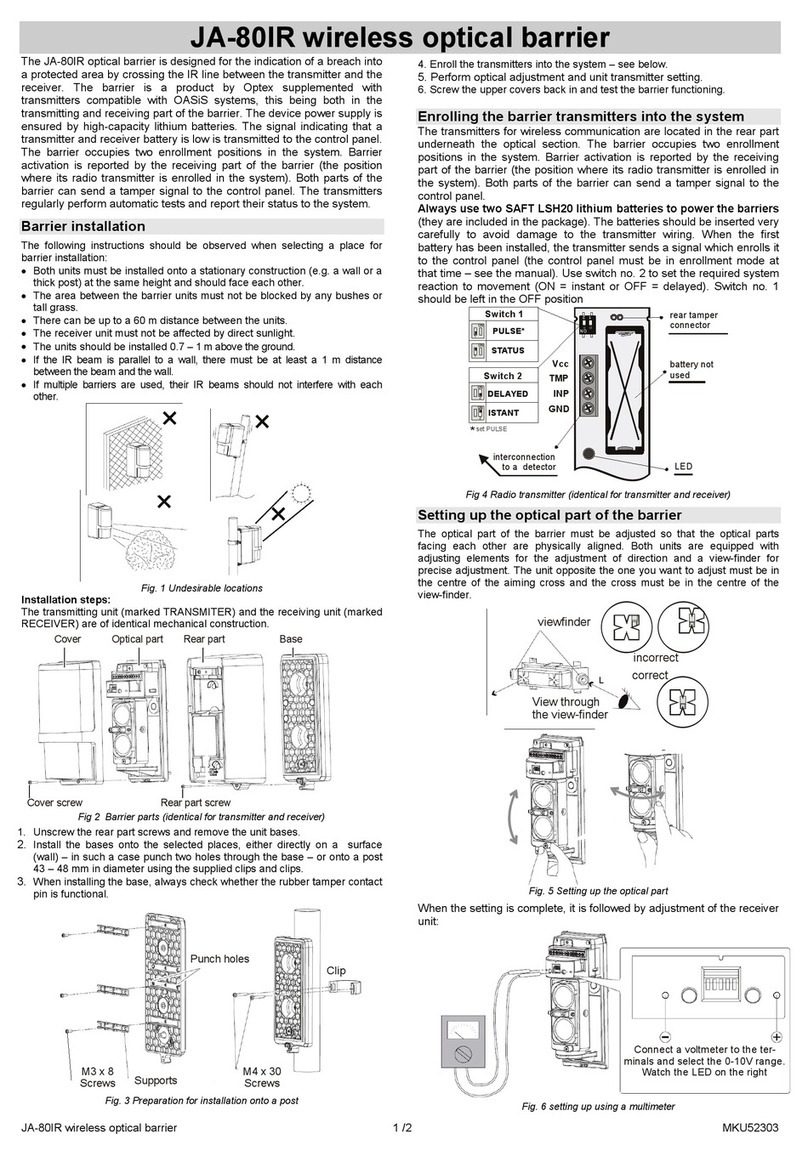
jablotron JA-122PW User manual

jablotron

jablotron JA-122PW User manual

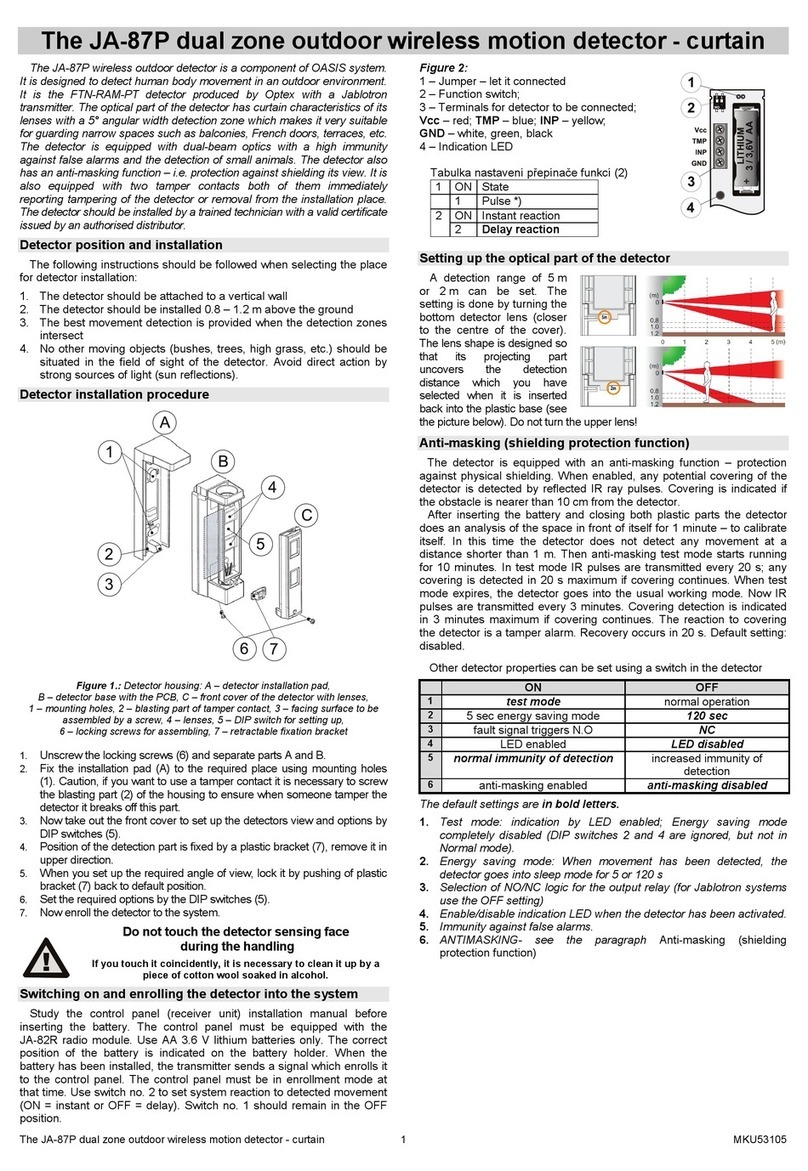
jablotron JA-169P User manual

jablotron

jablotron JA-169P User manual

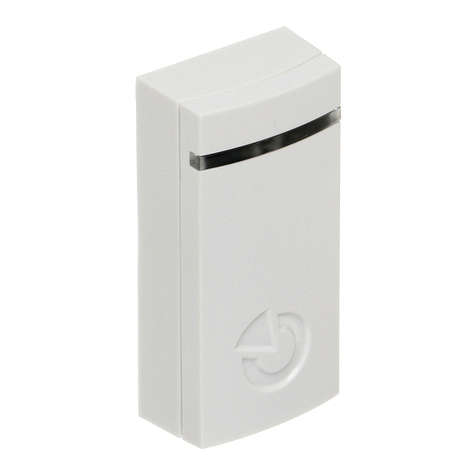
jablotron JA-157P User manual

jablotron

jablotron JA-157P User manual

jablotron JA-60P User manual

jablotron

jablotron JA-60P User manual

jablotron JA-120PC User manual

jablotron

jablotron JA-120PC User manual

jablotron JA-60V User manual

jablotron

jablotron JA-60V User manual

jablotron JA-89P User manual

jablotron

jablotron JA-89P User manual

jablotron JA-84P User manual

jablotron

jablotron JA-84P User manual

jablotron JA-158P User manual

jablotron

jablotron JA-158P User manual

jablotron JA-80S User manual

jablotron

jablotron JA-80S User manual

jablotron JA-111TH User manual

jablotron

jablotron JA-111TH User manual

jablotron JA-158P User manual

jablotron

jablotron JA-158P User manual

jablotron JA-159P User manual

jablotron

jablotron JA-159P User manual

jablotron JA-159P User manual

jablotron

jablotron JA-159P User manual

jablotron JA-151P-WW User manual

jablotron

jablotron JA-151P-WW User manual

jablotron JA-84P User manual

jablotron

jablotron JA-84P User manual

jablotron JB-EXT-TH-R User manual

jablotron

jablotron JB-EXT-TH-R User manual

jablotron JA-151ST-A User manual

jablotron

jablotron JA-151ST-A User manual

jablotron CA-550 User manual

jablotron

jablotron CA-550 User manual

jablotron JA-187P User manual

jablotron

jablotron JA-187P User manual

jablotron JA-120PW User manual

jablotron

jablotron JA-120PW User manual

jablotron JA-180S User manual

jablotron

jablotron JA-180S User manual

jablotron JA-83M User manual

jablotron

jablotron JA-83M User manual

jablotron JA-181M User manual

jablotron

jablotron JA-181M User manual

Popular Security Sensor manuals by other brands

Honeywell Home PROSiXCOCN Installation and setup guide

Honeywell Home

Honeywell Home PROSiXCOCN Installation and setup guide

Duevi SIRPZ-RB-868 Operation

Duevi

Duevi SIRPZ-RB-868 Operation

RKI 65-2483RK Operator's manual

RKI

RKI 65-2483RK Operator's manual

Nortech PD160 Enhanced Series user manual

Nortech

Nortech PD160 Enhanced Series user manual

Omron K8AC-H2 manual

Omron

Omron K8AC-H2 manual

Agilent Technologies G8610 Series Quick reference card

Agilent Technologies

Agilent Technologies G8610 Series Quick reference card

Shinko SE2EA-1-0-0 instruction manual

Shinko

Shinko SE2EA-1-0-0 instruction manual

Det-Tronics X Series instructions

Det-Tronics

Det-Tronics X Series instructions

ACR Electronics COBHAM RCL-300A Product support manual

ACR Electronics

ACR Electronics COBHAM RCL-300A Product support manual

TOOLCRAFT 1712612 operating instructions

TOOLCRAFT

TOOLCRAFT 1712612 operating instructions

Elkron IM600 Installation, programming and functions manual

Elkron

Elkron IM600 Installation, programming and functions manual

Bosch WEU PDO 6 Original instructions

Bosch

Bosch WEU PDO 6 Original instructions

THORLABS PDA10JT user guide

THORLABS

THORLABS PDA10JT user guide

Waeco UV-DETECT operating manual

Waeco

Waeco UV-DETECT operating manual

Intermatic IOS-DSIMF manual

Intermatic

Intermatic IOS-DSIMF manual

Siemens AZL66 Series manual

Siemens

Siemens AZL66 Series manual

BTI Profiline Multi Finder operating instructions

BTI

BTI Profiline Multi Finder operating instructions

Challenger SL01 instruction manual

Challenger

Challenger SL01 instruction manual

manuals.online logo
manuals.online logoBrands
  • About & Mission
  • Contact us
  • Privacy Policy
  • Terms and Conditions

Copyright 2025 Manuals.Online. All Rights Reserved.

JABLOTRON ALARMS a.s.
Pod Skalkou 4567/33 46601 Jablonec n. Nisou
Czech Republic www.jablotron.com
||
|
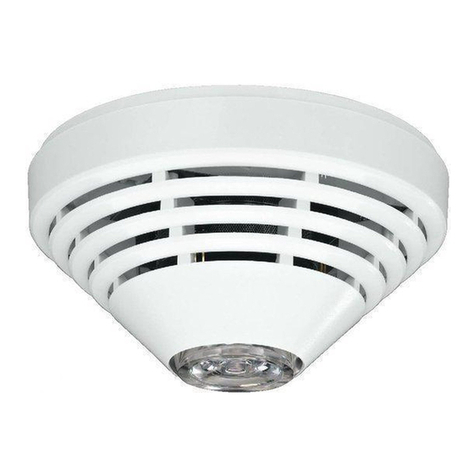
The JA-115P BUS ceiling PIR motion detector
JA-115P BUS ceiling PIR motion detector 1 MOM53100
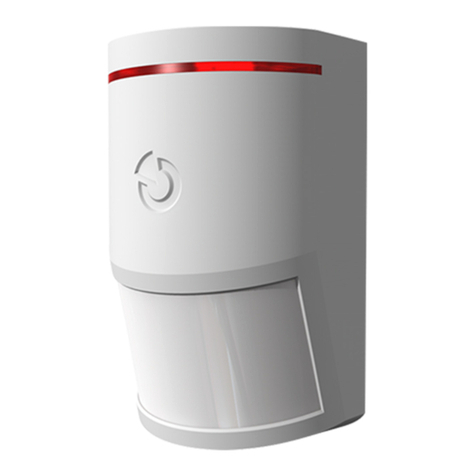
This detector is a BUS device of the JABLOTRON 100 series.
It is intended to be used for movement detection in building interiors.
The detector should be installed on a ceiling. Its guaranteed detection
coverage is 360Β° with a radius of up to 5.5 metres when installed 3.5 metres
above the floor. False alarm immunity is configurable at two levels.
The detector has a pulse reaction, takes one position in the system and
it should be installed by a trained technician with a valid certificate issued
by an authorized distributor. Installation
It is necessary to take into consideration that there should be no obstacles
in the detector’s view which quickly change temperature (electrical heaters,
gas appliances, etc.), which move (e.g. curtains hanging above a radiator,
robotic vacuum cleaners); or any undesirable movement of house pets.
Despite the detector being very resistant to false alarms, it is not recommended
to install the detector opposite windows, floodlights or in places with over-
intense air circulation (close to ventilators, heat sources, air conditioning outlets,
unsealed doors, etc.). There should be no obstacles in front of the detector
obscuring its viewover the monitored area.
Figure 1: 1 – release direction; 2 – fixing direction;
3 – hole for a fixing screw; 4 – Indication LEDs
1. Turn the top part counter-clockwise (1) to open the detector.
2. Insert the BUS cable through an appropriate cut-out hole in the base
and attach the detector base to a selected place on a ceiling.
3. Eject the removable part of the BUS terminal (8) from the base and
connect to it the BUS wires according to the colour label and
description.
4. When switched on, the red LEDs will light up and stay on until
the end of detector stabilization (up to 1 minute). After that a yellow
LED will flash (to indicate the detector has not been enrolled into
the system).
5. Follow the instructions stated in the control panel installation
manual. Basic procedure:
a. Open the F-Link software, select an unused position in the Devices
tab and click on the Enroll button to enter the Enrollment mode
b. Click on the option β€œScan/add new BUS devices” and select
this detector from the offered list and double-click to confirm
selection. The yellow LED indicator goes off.
6. Attach the detector back onto its base and fasten it by turning
it clockwise (2). The detector can only be attached at one position
marked by alignment arrows and the JABLOTRON logo (5) on both
parts.
7. To comply with norms and their requirements, it is necessary
to attach the top part to the base (3) using a fixing screw included
in the packaging.
8. Configure the detector by following the instructions in the Property
settings section.
Figure 2: 5 – alignment arrow / logo; 6 – production number;
7 – tamper sensor; 8 – BUS connection terminal
Notes:
βˆ’The detector can also be enrolled into the system by sending
an enrollment signal, which is done automatically when attaching
the detector onto its base – the tamper sensor triggers (7).
βˆ’The detector can also be enrolled into the system by entering its
production code in the F-Link software. You can find the production
code on the sticker placed inside the detector (6). All numbers
under the bar code shall be entered (1400-00-0000-0001).
βˆ’If you want to remove the device from the system, erase it from its
position in the F-Link software.
Property settings
Open the F-Link software, go to the Devices tab. Click on the Internal
settings option at the siren’s position to open a dialogue window where
you can set the following options: (*indicates default settings).
LED movement indication: Disables / Enables*movement indication
with a red LED (4). Always indicates in Service mode.
Immunity level:Determines the immunity to false alarms. The Standard*
level combines basic immunity with a rapid reaction. The High level provides
increased immunity, but the detector reaction is slower.
Higher detection sensitivity when unset:Enabled / Disabled*-
It is possible to increase the movement detection sensitivity when unset,
if the detector is also used for home automation (e.g. switching the lights
on with a PG output).
Detection characteristics
The detector is fitted with a 360Β° lens which covers the monitored
area with 3 main circular zones separated into 64 beams. The lens
cannot be replaced by a different type.
The maximum recommended installation height is 3.5 m
(installing the detector higher will lead to a lower sensitivity underneath
the detector).
Figure 3: The above diagrams apply only to the standard immunity level.
When connecting the detector to the
system BUS, always switch the power off.
The JA-115P BUS ceiling PIR motion detector
JA-115P BUS ceiling PIR motion detector 2 MOM53100
Installation accessories
PLV-P-ST – A mounting pad has been developed as a certified
accessory for ceiling detectors to provide a better arrangement for
the BUS cable in cases where it cannot be elegantly hidden in the
ceiling (e.g. mounting the detector on a concrete ceiling). The pad is not
included in the detector package.
Technical specifications
Power from the control panel BUS 12 V DC (9 ... 15 V)
Current consumption:
- nominal consumption to calculate backup time 2.8 mA
- maximum consumption for cable selection 30 mA
Recommended installation height 2.5 – 3.5 m above ground level
Detection coverage 360Β°/11 m (installation height –3.5m)
Dimensions Ø125x40 mm
Weight 120 g
Classification security grade 2 / environmental class II
(according to EN 50131-1)
Operational environment indoor general
Operational temperature range -10 Β°C to +40 Β°C
Average operational humidity 75 % RH, non-condensing
Certification body Trezor Test s.r.o. (no. 3025)
Complies with EN 50131-1 ed. 2+A1+A2, EN 50131-2-2,
EN 50130-4 ed. 2+A1, EN 55032, EN 50581
JABLOTRON ALARMS a.s. hereby declares that the JA-115P
detector is in compliance with the relevant European Union
harmonisation legislation: Directives No: 2014/35/EU,
2014/30/EU, 2011/65/EU, when used as intended.
The original
of the conformity assessment can be found at www.jablotron.com
– the Downloads section.
Note:
Although this product does not contain any harmful
materials we suggest you return the product to the dealer
or directly to the producer after use.