Jasco PRO Series User manual

66884 PRODUCT SPECIFICATIONS
JascoPro™Series USB LED
Acrylic Cafe Lights with Solar
Panel, 12ft., 12 Bulbs
www.byjasco.com 1
Additional Installation Information
∙Hang your USB-Powered String Lights by utilizing the built-in
keyhole mounting tabs located above each bulb.
∙Use nails, screws, hooks or guide wires to mount/hang the lights
in your preferred indoor or outdoor location.
∙Power the lights using the USB connector via any standard USB
5.0V (500mA minimum) power source. These include in-wall
USB ports, standard USB power adaptors and mobile USB
power banks.
Specications
Length of xture: 12’ Nominal wattage: 0.92
Voltage: 5 Hertz: 60 RGBW: 3000K white, 8 colors
Lifetime: 50,000 hours
Warranty: Limited-lifetime warranty
Design Features
∙12 durable acrylic bulbs are impact-resistant and are designed to
withstand year-round exposure to the elements
∙USB and Solar Power – Pair with the included USB Solar Panel or
with any standard USB-A port or adapter (not included)
∙Attached controller to choose between 14 vibrant color modes:
Warm white, color fade, red, green, blue, yellow, purple, pink,
orange, turquoise, Christmas/Holiday, Red/White/Blue, Rainbow
and Twinkle
∙Built-in 4 or 6 hour timer options
∙Flexible mounting options – Mount on a at surface or hang from
above (some mounting hardware included, see page 2)
∙UL listed, FCC certied

66884 PRODUCT SPECIFICATIONS
www.byjasco.com 2
Compliances, specications and availability are
subject to change without notice
Distributed by Jasco Products Company LLC
10 E. Memorial Rd., Oklahoma City, OK
Questions? Contact our U.S.-based Consumer Care at
1-800-654-8483 between 7AM-8PM, M-F, Central Time.
©Jasco 2022
Certications & Compliances
4HR6 HR
MODE
POWER
OPERATE THE LIGHTS WITH THE
ATTACHED CONTROLLER BY
SELECTING ONE OF THE
FOLLOWING BUTTONS:
• POWER: Turns the lights ON/OFF
• 4HR: Internal timer deactivates lights
after four hours
• 6HR: Internal timer deactivates lights
after six hours
• MODE: Cycles through 14 color modes
FLEXIBLE MOUTING
OPTIONS
Mount on a at
surface or hang
from above
Mounting hardware
not included
POWER YOUR LIGHTS USING THE USB CONNECTOR
VIA ANY STANDARD USB-A 5.0V POWER SOURCE
(SOLD SEPARATELY)
USB Power Plug Power Bank
Solar Panel
(included)
12ft./12 LED
2ft.
1ft.1ft.1ft.1ft.1ft.
6ft.
Laptop
Screw (2) Anchor (2) Wing Nut (1) Zip Tie (2) Stake Long-Arm Base Short-Arm Base Solar Panel
INCLUDED PARTS:
4HR6 HR
MODE
POWER

USB-Powered Solar CafÉ Lights
Step 1: Select mounting hardware
Choose from screws, nails, zip ties or hooks
(not included) to hang each bulb from their
keyhole tab.
Step 2: Mark bulb locations
Hold up bulbs one by one to mounting surface
and mark location where each will be installed
— use keyhole tabs for guidance.
NOTE: Ensure café lights will be able to
reach USB-A power source such as
included solar panel.
Step 3: Install mounting hardware
Install chosen mounting hardware (screws,
nails, hooks, zip ties) on each marking.
Step 4: Mount controller
Use keyhole tab on in-line controller to mount
it near power source — ensure there is plenty
of slack.
Step 5: Hang bulbs
Carefully hang each bulb on installed
mounting hardware.
LIGHT INSTALLATION OPERATION
• Warm White Light
• Color Fade
• Red Light
• Green Light
• Blue Light
• Yellow Light
• Purple Light
• Pink Light
• Orange Light
• Turquoise Light
• Christmas
Holiday
• Red, White and
Blue
• Rainbow
• Twinkle
4 HR 6 HR
MODE
POWER
USB Power Laptop
Power Bank
IMPORTANT: Before installing, please read through the entire manual and all safety instructions.
SETUP
• Carefully unpack café lights and solar panel from box.
• Plug lights into a USB port or power adapter (included) to ensure all bulbs work properly — unplug when done.
• Choose mounting location and plan out installation. Attach only to solid support structures such as joists, beams, studs or other solid
mounting surfaces.
POWER
Turns lights ON/OFF.
4HR/6HR
Deactivates lights after four hours
or six hours. Press POWER
to cancel timer.
MODE
Cycles through following modes:
PROBLEM POSSIBLE CAUSE SOLUTION
No lights
or
flashing
lights
Poor USB connection Check the USB plug and socket for dirt
or foreign matter, and ensure the plug is
inserted firmly in place.
Won’t turn on
Please ensure that the output voltage
of the power supply is 5V and the avail-
able current is not less than 500mA.
When using a 5V power bank, make
sure that there is power to the light.
When using a solar powered panel, be
sure that the solar panel is turned “ON”.
Power mismatch
When the USB power voltage is too
high or the current is not enough, it may
cause the lights to flicker. Excessive
voltage may lead to product damage.
Contact our U.S.-based Consumer Care at 1-855-698-8324
between 7AM-8PM, M-F, Central Time.
66882, 66884 V3
2/22
RISK OF ELECTRIC SHOCK
• RECEPTACLE OUTLETS USED FOR POWERING
CAFÉ LIGHTS SHALL COMPLY WITH ALL NATIONAL
AND LOCAL ELECTRICAL CODES. CONSULT
LOCAL ELECTRICIAN IF UNSURE OF COMPLIANCE
REQUIREMENTS.
• DO NOT SUBMERSE.
• DO NOT USE AROUND AQUARIUMS.
• CAFÉ LIGHTS ARE A WET LOCATION PRODUCT AND
HAVE NO SERVICEABLE PARTS.
• AVOID DAMAGE TO THE CORDS AND LAMP
ASSEMBLIES DURING INSTALLATION. PERIODICALLY
INSPECT THE CAFÉ LIGHTS FOR PHYSICAL DAMAGE
OR OTHER DAMAGE CAUSED BY OUTDOOR
EXPOSURE TO THE ELEMENTS.
• REPLACE ANY DAMAGED CAFÉ LIGHT STRINGS.
• DO NOT INSTALL IN LOCATIONS WHERE CAFÉ
LIGHTS CAN BE STEPPED ON.
• ENSURE CAFÉ LIGHTS ARE UN-PLUGGED FROM
POWER DURING INSTALLATION.
• CAFÉ LIGHTS SHOULD BE INSTALLED OUT OF THE
REACH OF CHILDREN OR NOT ALLOWING CHILDREN
TO PLAY WITH THEM.
RISK OF FIRE
• CAFE LIGHTS ARE DESIGNED TO BE
MOUNTED WITH THEIR INDIVIDUAL
KEYHOLE MOUNTING FEATURE, DO NOT
MOUNT CAFÉ LIGHTS BY USING THE MAIN
ELECTRICAL CORD OR THE INDIVIDUAL
DROP CORDS.
• DO NOT MOUNT CAFÉ LIGHTS IN ANY
POSITION WHERE THE BULB IS FACING UP.
• DO NOT ALLOW THE LED LAMP
ASSEMBLIES TO BE IN CONTACT WITH
COMBUSTIBLE MATERIALS. LED LAMP
ASSEMBLIES SHOULD HANG FREELY AND
NOT BE SUSCEPTIBLE TO REPETITIVE
DAMAGE CAUSED BY ENVIRONMENTAL
CONDITIONS SUCH AS WIND, RAIN, AND ICE.
®
MADE IN CHINA
DISTRIBUTED BY JASCO PRODUCTS COMPANY LLC,
10 E. MEMORIAL RD., OKLAHOMA CITY, OK 73114.
Patents pending
Questions? Contact our U.S.-based Consumer Care at
1-855-698-8324 between 7AM-8PM, M-F, Central Time.
WARNING
TROUBLESHOOTING
Read instructions or watch an
easy-to-follow video. Scan here or visit
https://byjasco.com/66884i

1. Mark mounting locations of short or
long-arm base using screw holes as guides.
2. Before drilling, check that marked areas are
clear of obstacles such as cables and
electrical lines.
3. Drill holes for screws and wall anchors.
For drilling into wood and other composite
materials use a 3/32in. drill bit.
4. Insert anchors, then secure base in place
with screws.
5. Align solar panel with top of mounting
arm and adjust angle for optimum sunlight
exposure. Secure to arm with wing nut.
SURFACE MOUNTING:
1. Combine stake with long-arm base.
2. Carefully, but firmly, place stake into ground.
3. Align solar panel with top of mounting
arm and adjust angle for optimal sunlight
exposure. Secure to arm with wing nut.
1. Ensure your solar panel is placed so that its expo
sure to the sun is optimized. Be aware of objects
such as trees or property overhangs that may
impede the panel’s ability to generate a charge.
2. A full charge (up to seven hours) oers six
hours of operation while your lights are on
maximum brightness.
3. To adjust the solar panel, loosen the wing nut and
position the panel. When desired position is
achieved, tighten wing nut until secure.
STAKE MOUNTING:
CHARGING SOLAR PANEL:
ZIP-TIE MOUNTING:
USING SOLAR PANEL:
PROBLEM POSSIBLE
CAUSE SOLUTION
Short
lighting
time
Panel is not
properly exposed to
sunlight
When using solar power ensure the solar panel is located in an
area where it can receive the maximum amount of full, direct
sunlight every day. If the solar light does not receive enough
sunlight during daytime the battery will be recharged on the next
sunny day and resume normal operation. Keeping the solar panel
clean is equally important to ensure the maximum charging
performance.
Failing battery life Internal battery is non-serviceable, and the solar panel should be
replaced. Contact Jasco Products to get a new solar panel.
Timer setting Select a longer timer setting using the in-line controller for your
USB-powered café lights.
No lights
or
flickering
lights
Poor USB
connection
Check the USB plug and socket for dirt or foreign matter, and
ensure that the plug is properly inserted.
POWER
button hasn’t been
pressed
Press the button on the back of the solar panel to ensure that
power is being supplied to the café lights and press the POWER
button on the café light’s in-line controller.
The solar panel is
over-exposed at
night
When the light exposure reaches a certain intensity, the product
may not automatically light up. The product needs to be installed
in a dark place at night.
Insufficient power
supply
When using solar power, make sure the product is charged for
more than 3 hours under strong sunlight before testing.
RISK OF ELECTRIC SHOCK
• DO NOT SUBMERSE.
• DO NOT USE AROUND AQUARIUMS.
• SOLAR PANEL IS A WET LOCATION PRODUCT AND HAS NO SERVICEABLE PARTS.
• KEEP SOLAR PANEL AT LEAST 16 FEET FROM POOLS AND SPAS.
• AVOID DAMAGE TO SOLAR PANEL. INSPECT THE SOLAR PANEL FOR PHYSICAL
DAMAGE OR OTHER DAMAGE CAUSED BY OUTDOOR EXPOSURE TO THE
ELEMENTS.
• REPLACE THE SOLAR PANEL IF DAMAGED.
• DO NOT INSTALL IN LOCATIONS WHERE SOLAR PANEL CAN BE STEPPED ON.
• CHILDREN SHOULD NOT PLAY WITH SOLAR PANEL.
• ONLY USE SOLAR PANEL WITH USB POWERED CAFÉ LIGHTS.
WARNING
TROUBLESHOOTING
1. Loop zip ties through slots on short-arm base and
fasten them together.
1. Once solar panel has been mounted and
charged, remove USB cover located on back
of panel and plug in café lights.
2. Cover panel completely and press
POWER button on solar panel to
supply power to café lights.
WARNING: Read all safety precautions and installation instructions
carefully before installing or operating this fixture.
• Do not expose the solar panel to fire or intense heat
• Do not immerse in water
BATTERY INSTRUCTIONS:
• This product contains a rechargeable lithium battery. The battery
is non serviceable, please contact Jasco Products for a replacement
solar power unit.
CARE AND MAINTENANCE:
• The solar panel is not allowed to dip into water or any other liquid.
The water-resistant function is limited to correct installation or within
a certain angle in rain.
• To optimize the eectiveness of your solar panel, do the following:
Choose a location for your solar panel that gets the most sunlight
throughout the year. Wipe the panel every few months to remove
dust or debris that might aect the solar energy harvesting eciency
of the panel.
SOLAR PANEL INSTALLATION
INCLUDED PARTS:
Screw (2) Anchor (2) Wing Nut (1) Zip Tie (2) Stake Long-Arm Base Short-Arm Base Solar Panel

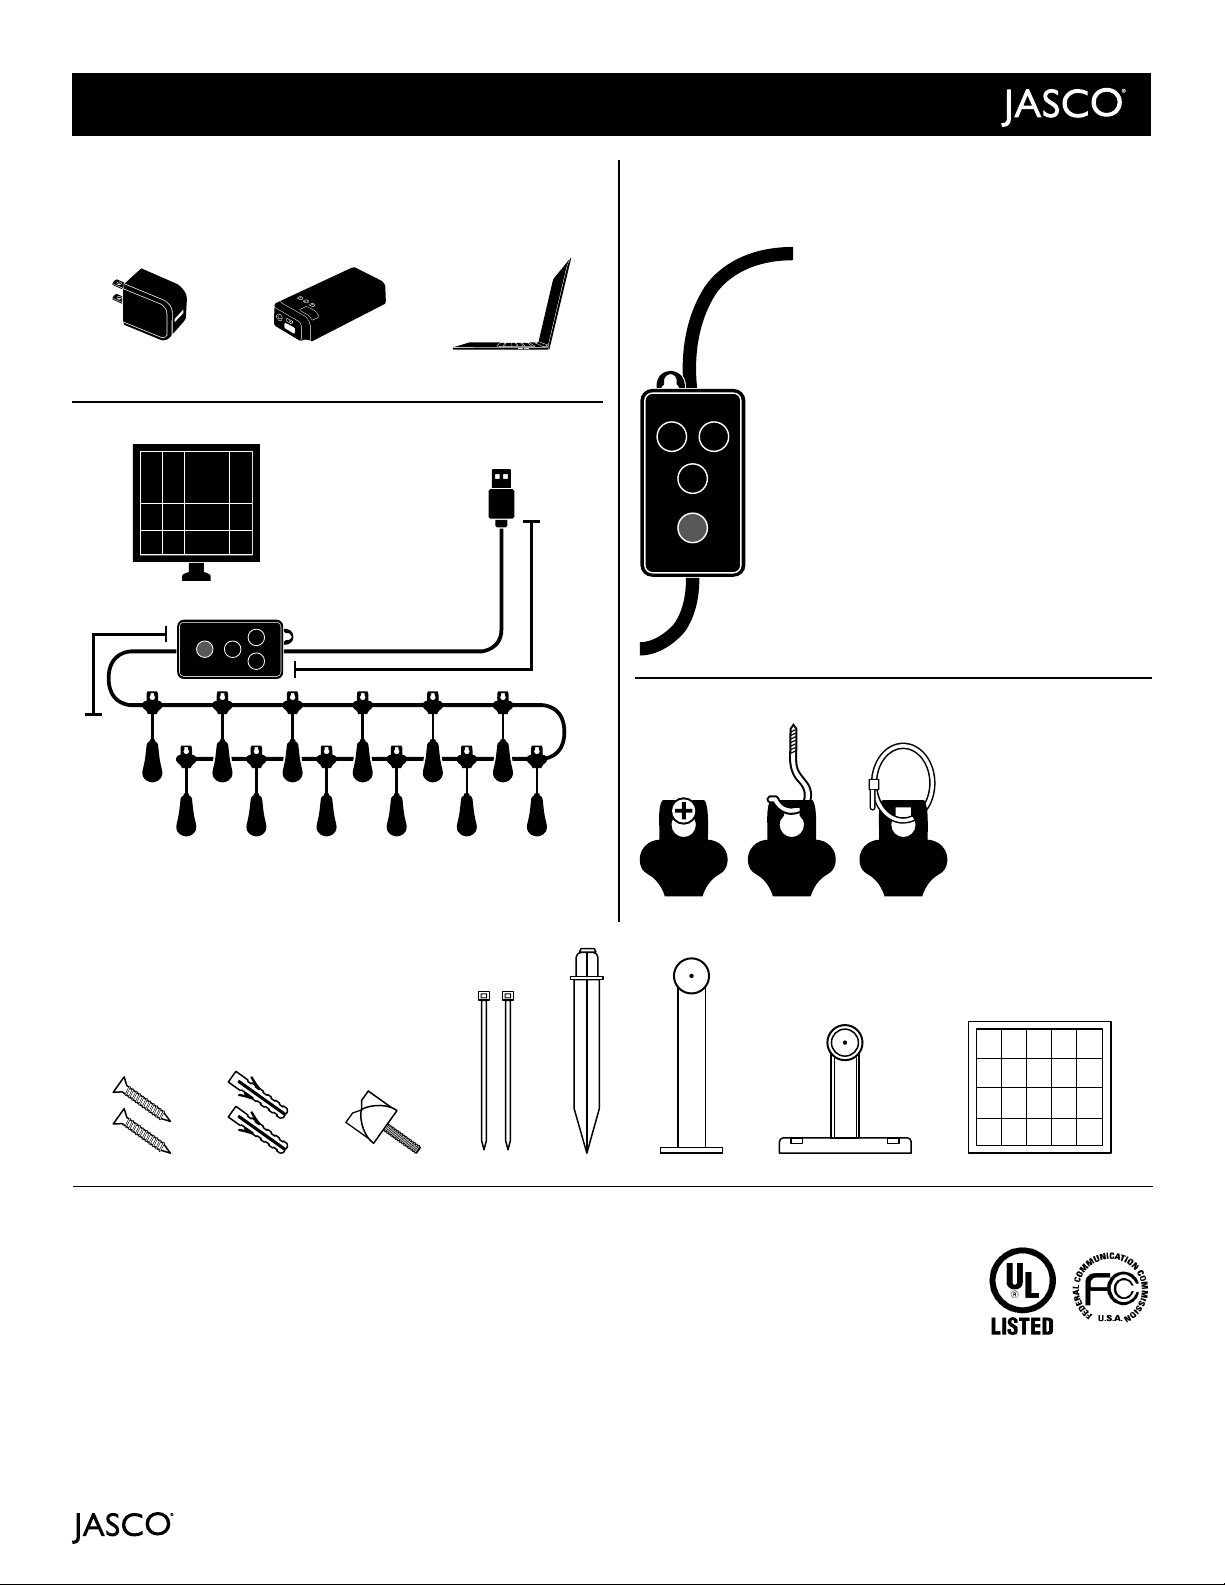
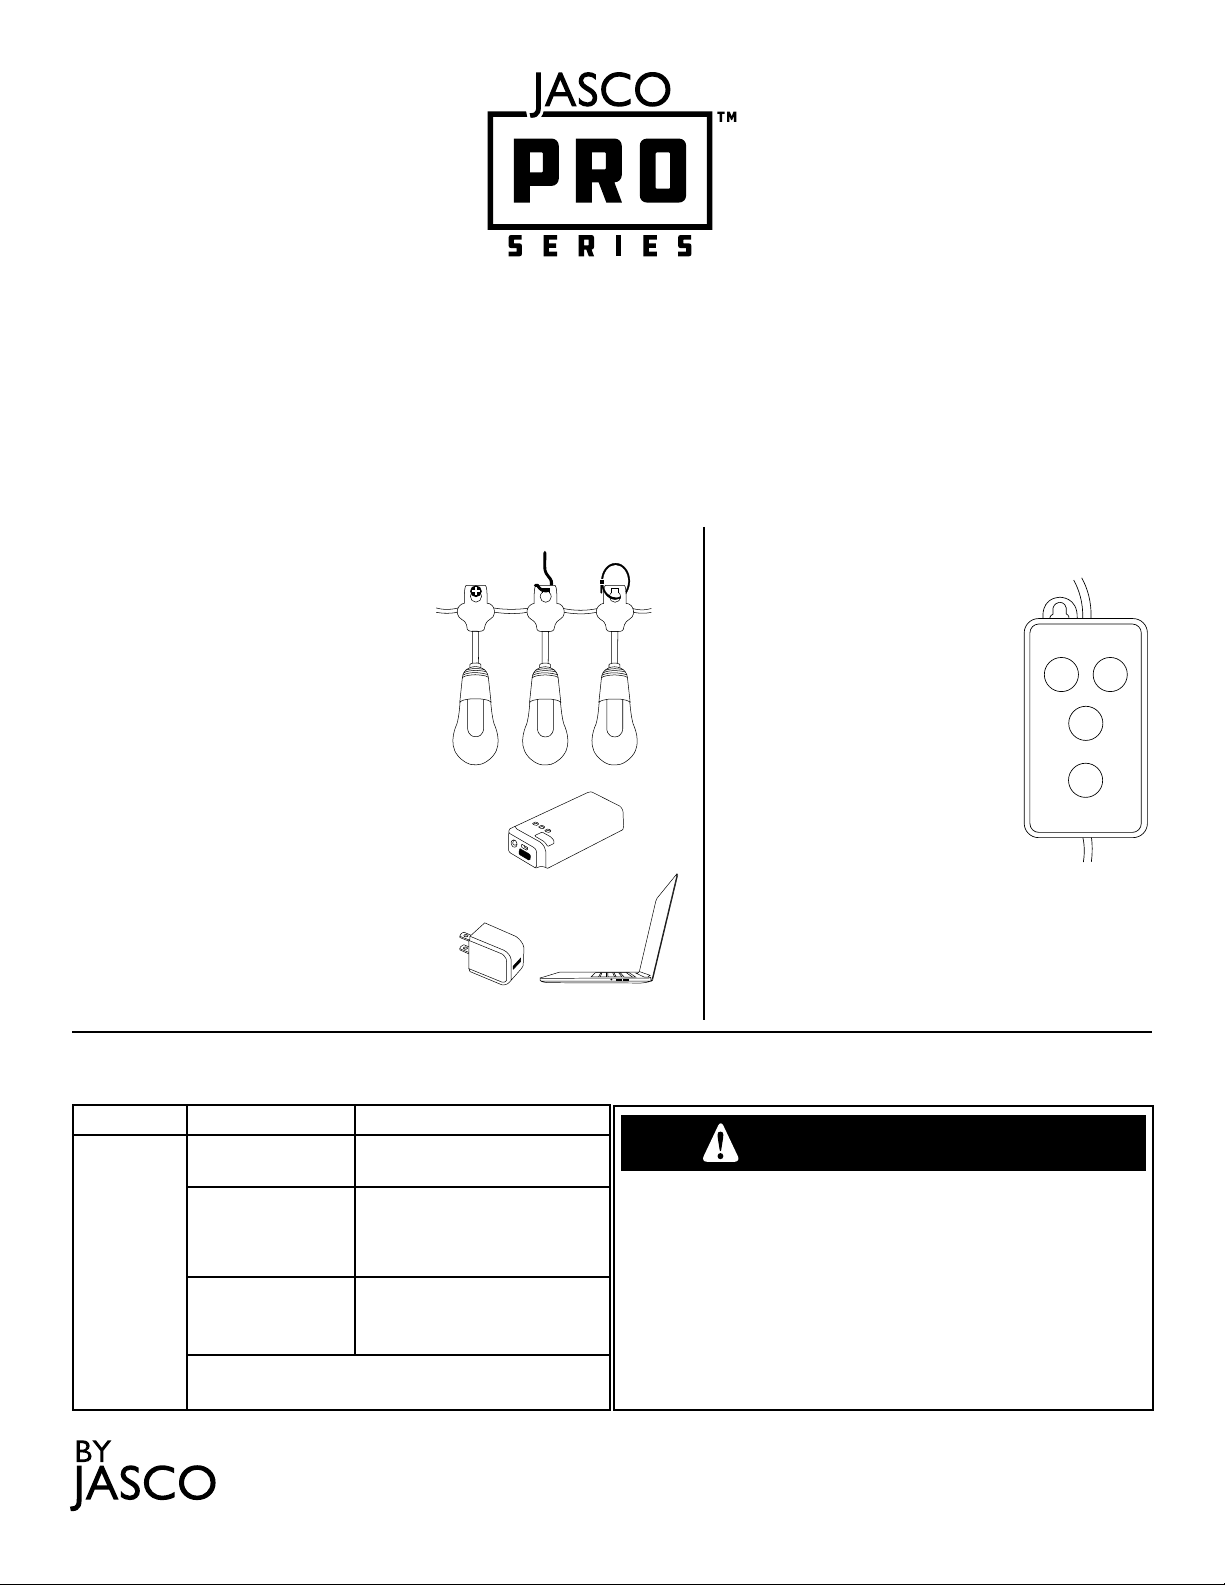
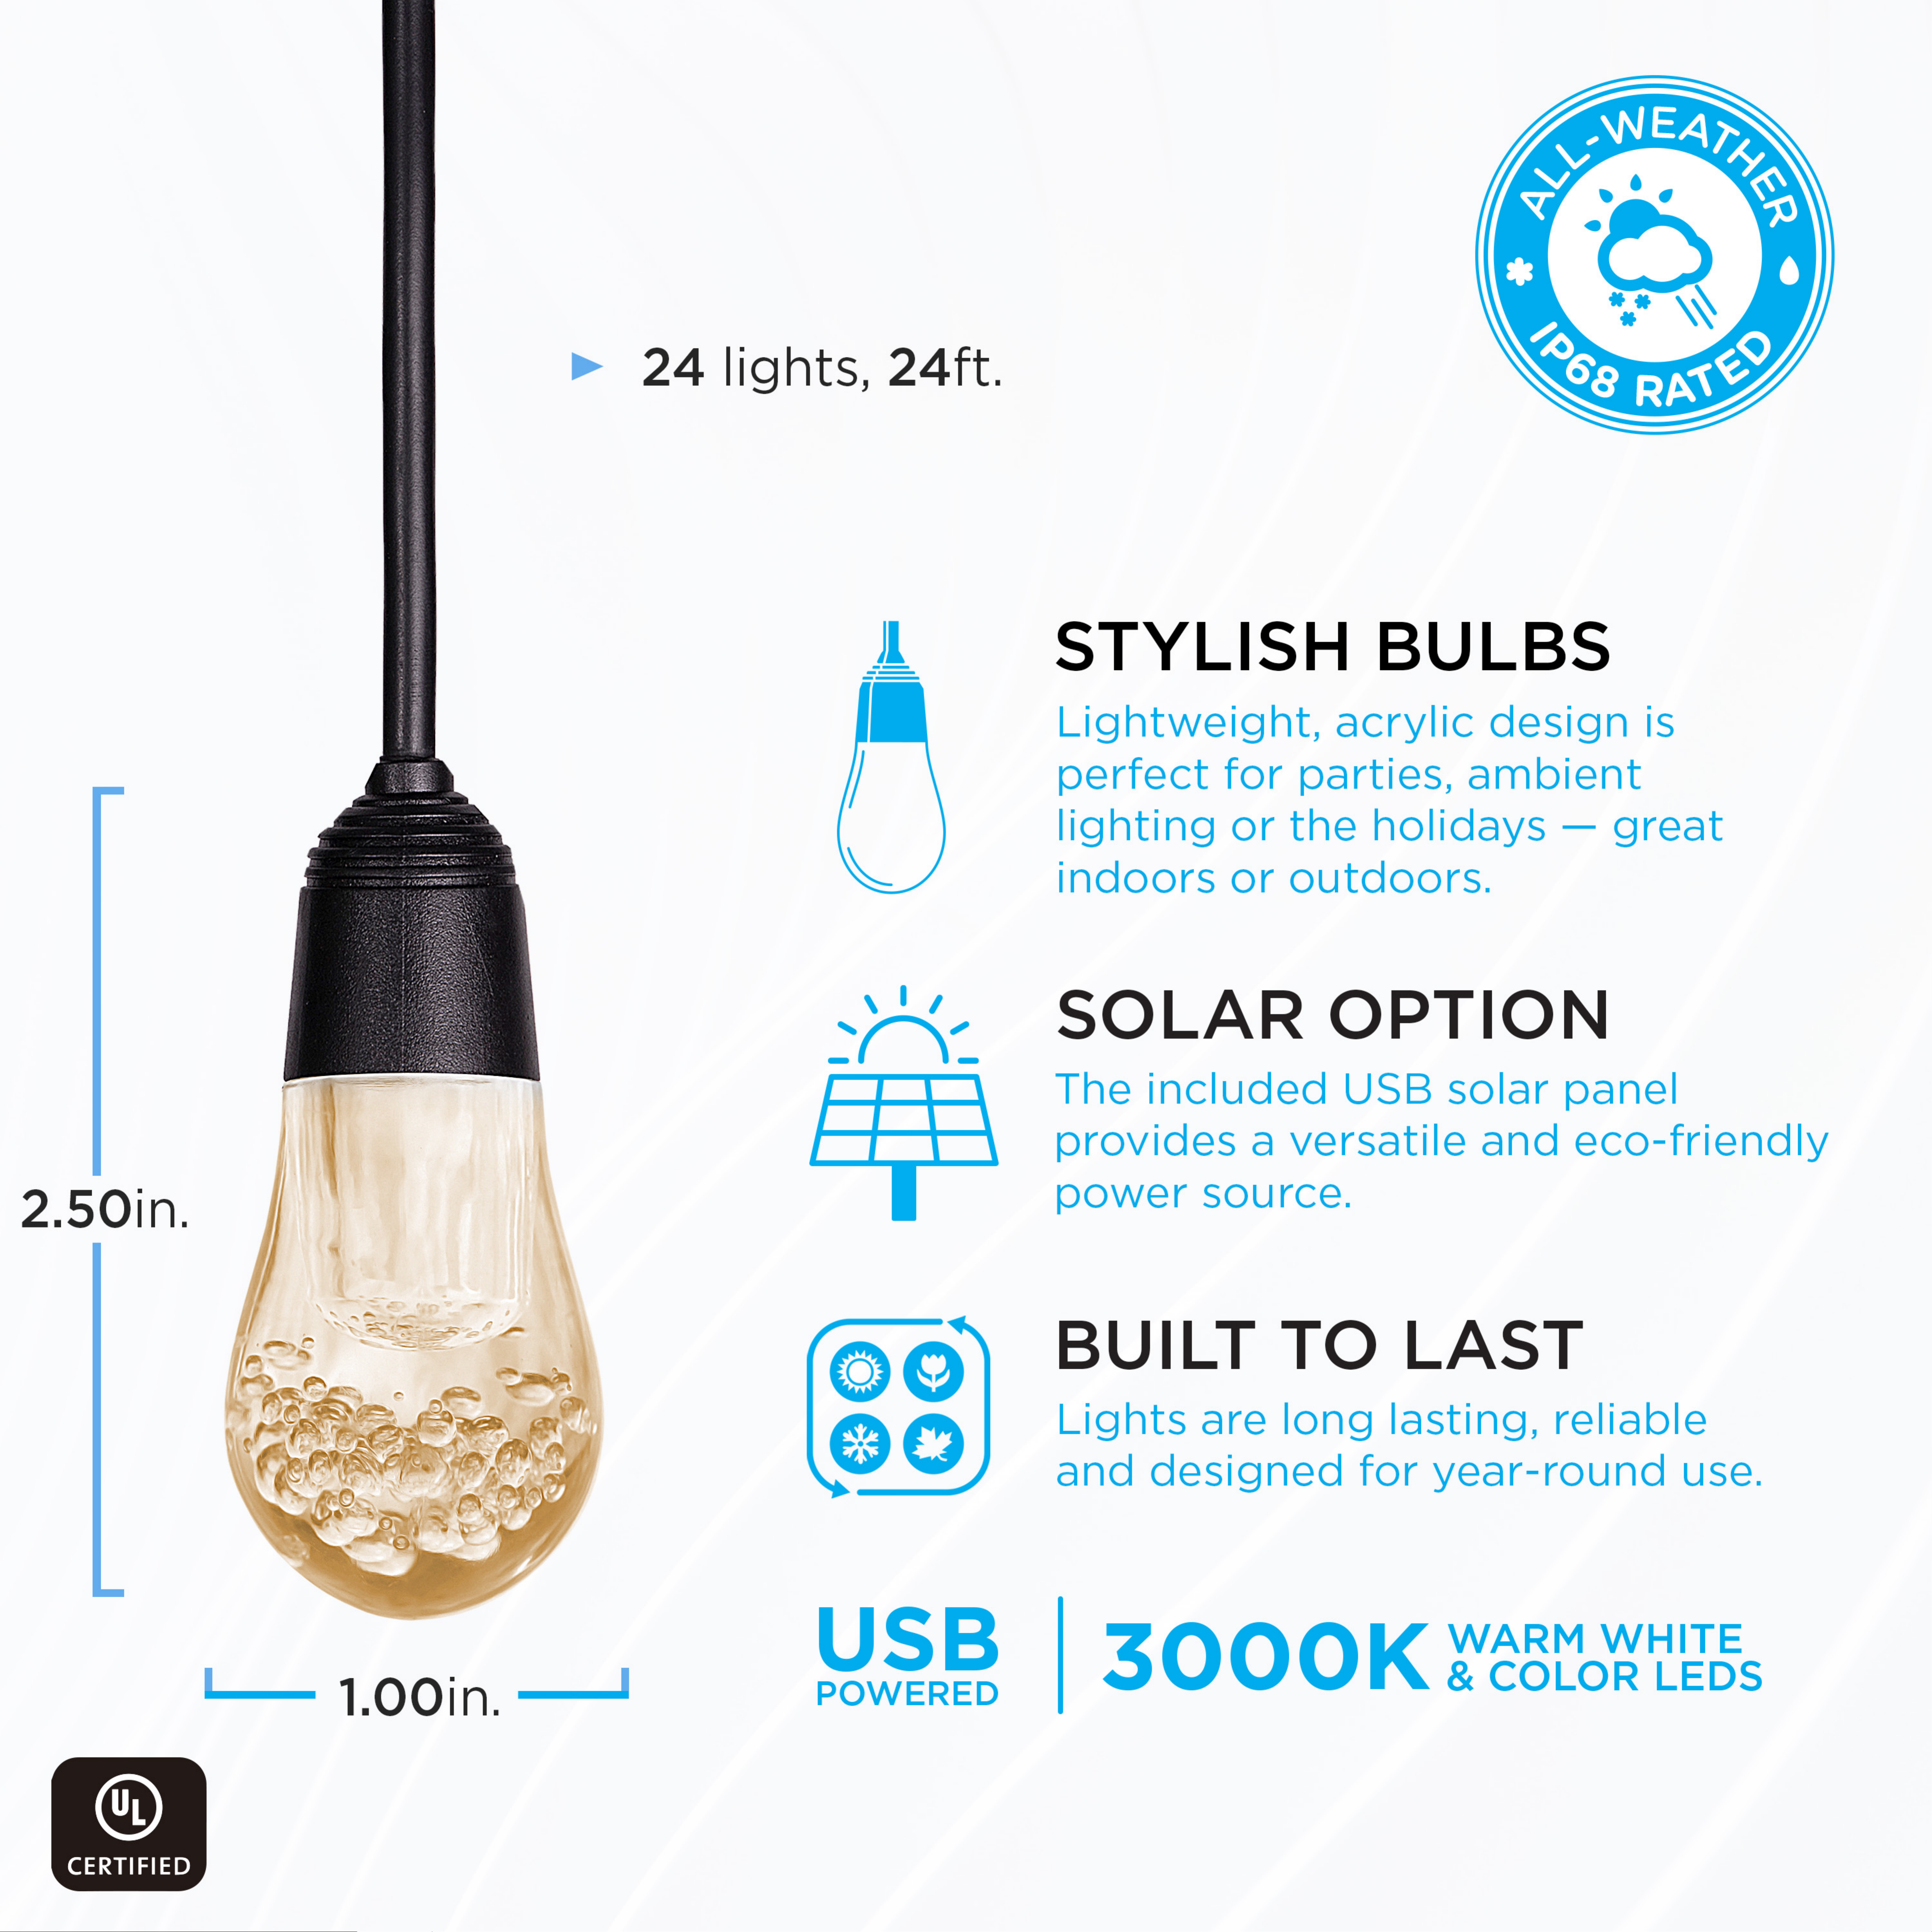
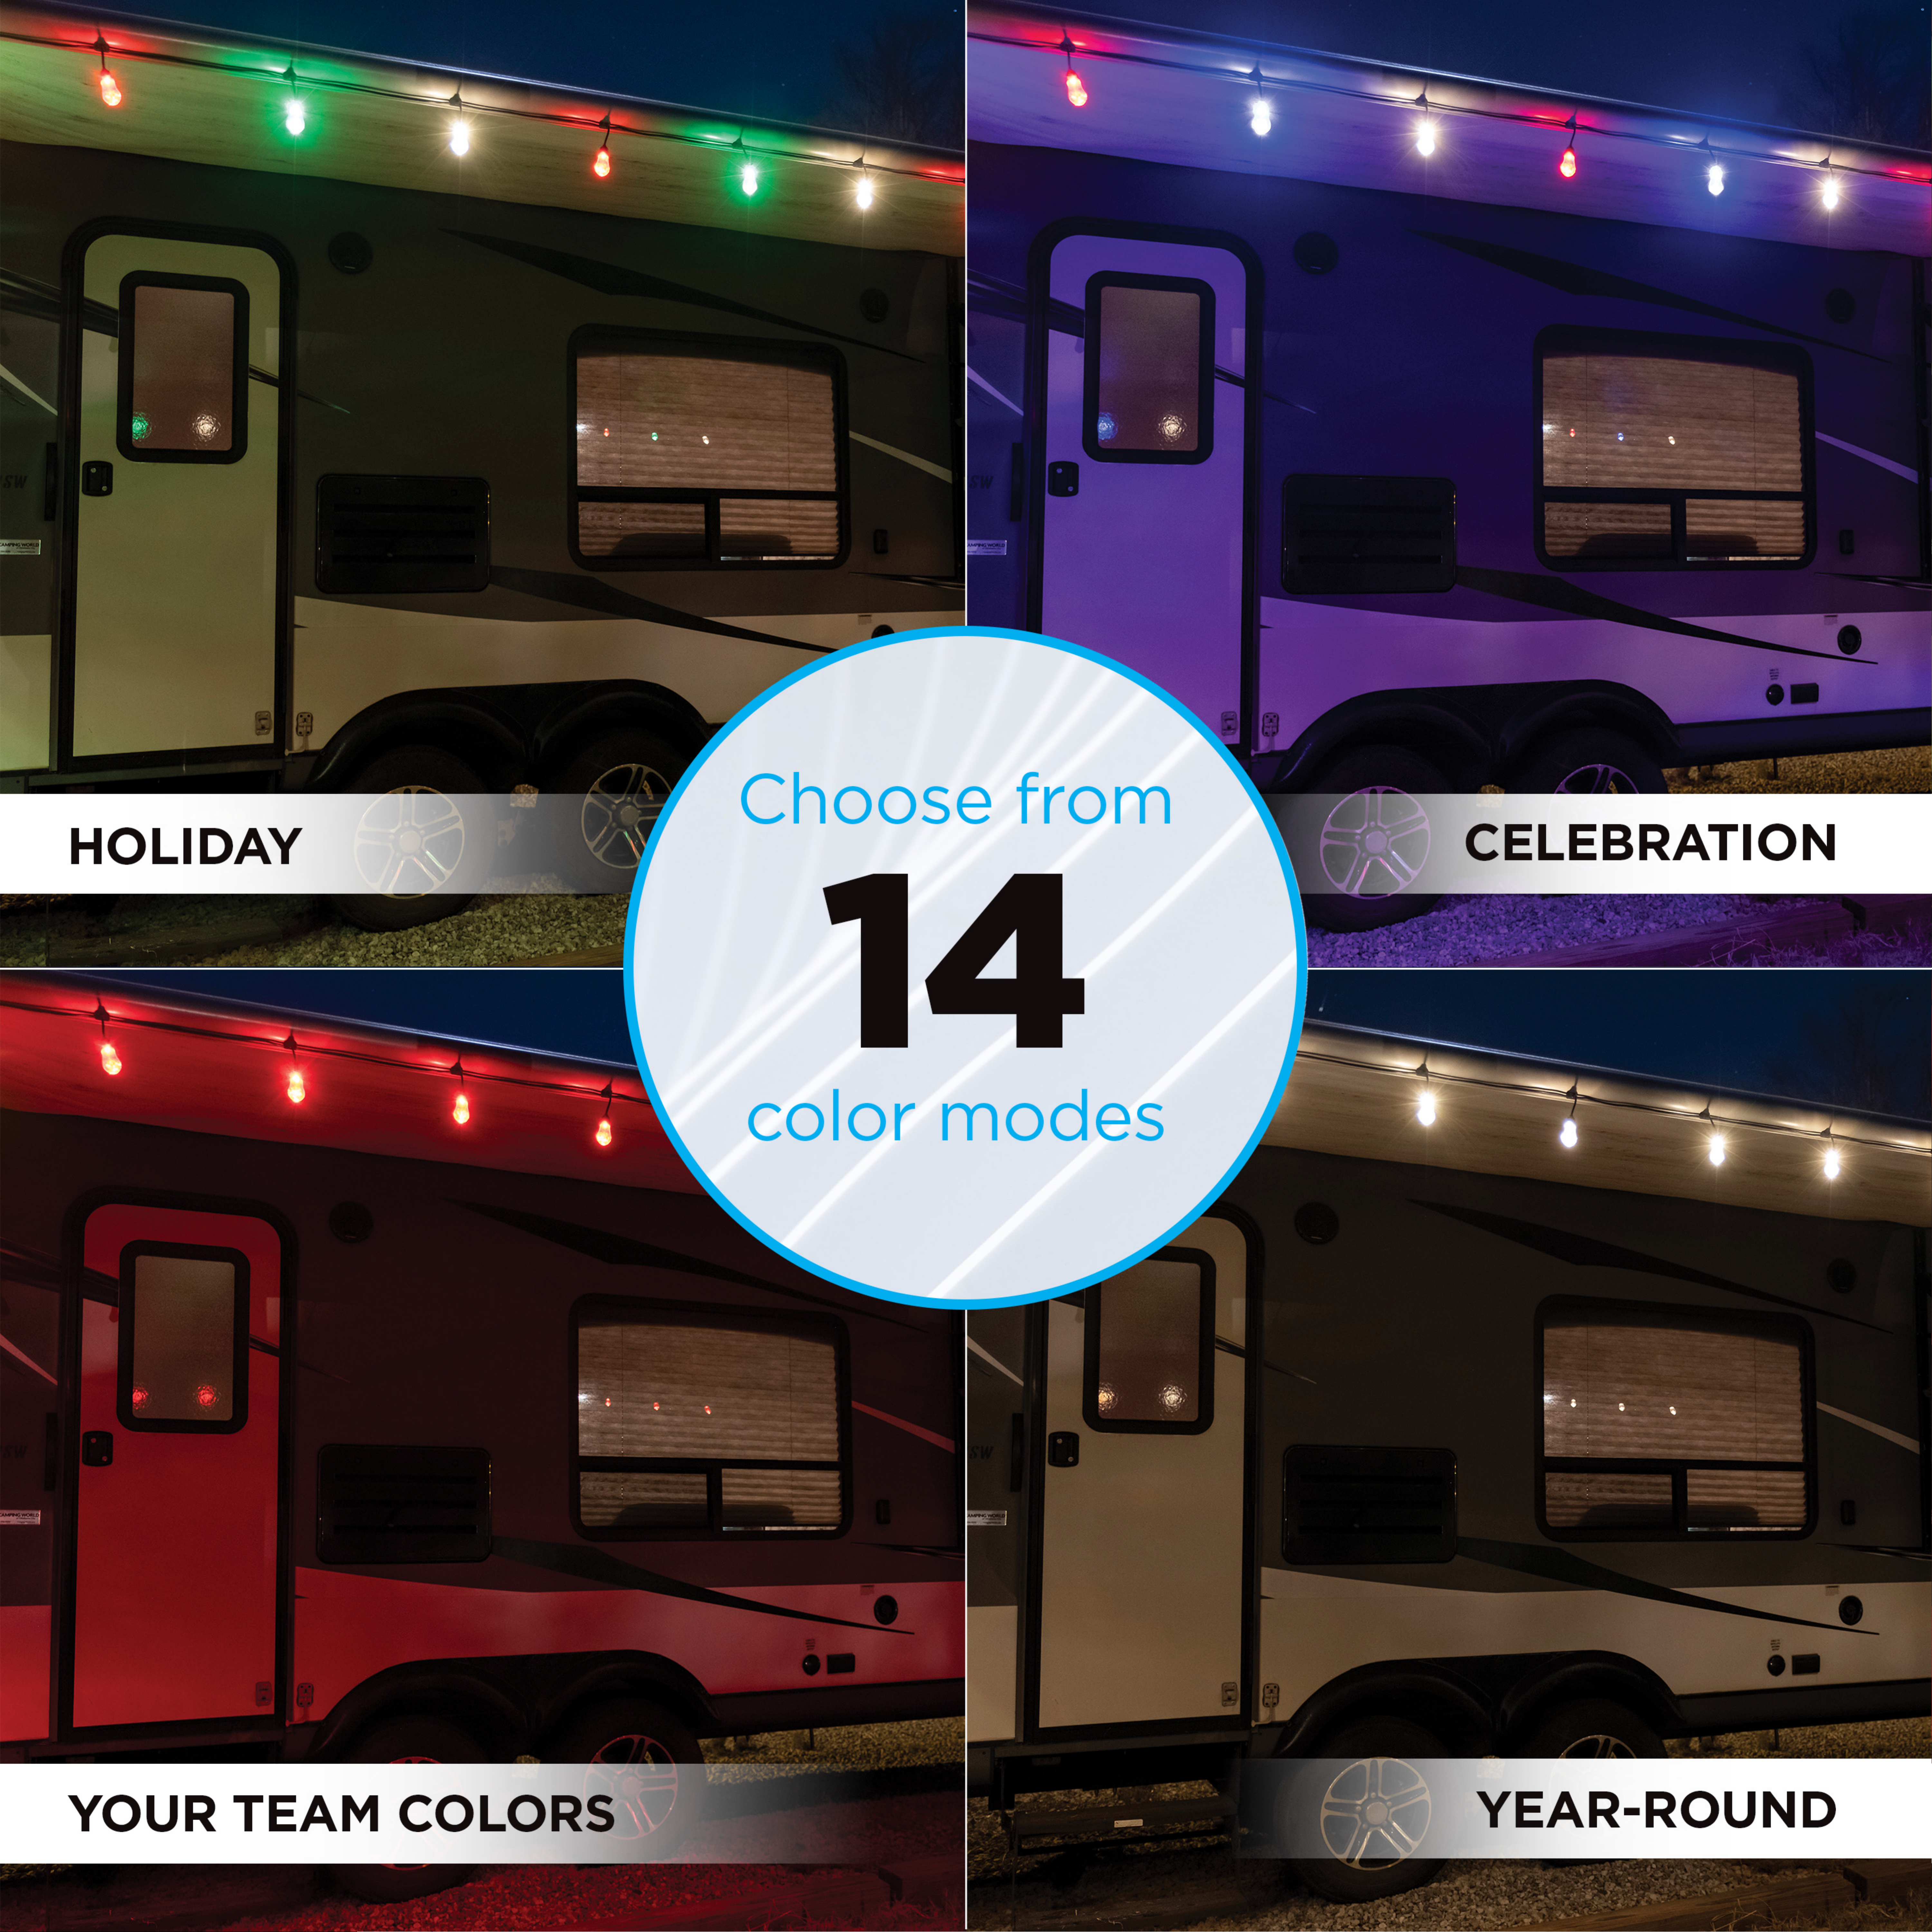
Cadena de luces USB alimentada por energía solar
Paso 1: Seleccione las piezas de montaje
Elija entre tornillos, clavos o ganchos (incluidos)
para colgar cada bombilla en el orificio de
montaje.
Paso 2: Marcar las ubicaciones de las bombillas
Sostenga las bombillas una por una en la
superficie de montaje y marque la ubicación
donde se instalarán. Utilice los orificios de
montaje como guía.
NOTA: Asegúrese de que la cadena de luces
pueda alcanzar una fuente de alimentación
USB-A, al igual que el panel solar incluido.
Paso 3: Instale las piezas de montaje
Instale las piezas de montaje seleccionadas
(tornillos, clavos, ganchos, abrazaderas plásticas)
en cada marca.
Paso 4: Instale el controlador
Utilice los orificios de montaje en el controlador
en línea para montarlo cerca de la fuente de
alimentación. Asegúrese de que haya suficiente
espacio para el tomacorriente.
Paso 5: Coloque las bombillas
Coloque con cuidado cada bombilla en los
accesorios de montaje instalados.
INSTALACIÓN DE LAS LUCES FUNCIONAMIENTO
• Luz cálida blanca
• Atenuación
de color
• Luz roja
• Luz verde
• Luz azul
• Luz amarilla
• Luz morada
• Luz rosa
• Luz naranja
• Luz turquesa
• Navidad
• Rojo, blanco y azul
• Arcoíris
• Parpadeo
4 HR 6 HR
MODE
POWER
IMPORTANTE: Antes de instalar, lea todo el manual y las instrucciones de seguridad.
CONFIGURACIÓN
• Saque con cuidado de la caja la cadena de luces y el panel solar.
• Enchufe la cadena de luces a un puerto USB o a un adaptador de corriente (no incluido) para asegurarse de que todas las bombillas
funcionan correctamente y desenchúfela al terminar.
• Elija el lugar de montaje y planifique la instalación. Fije únicamente en estructuras de soporte sólidas, como vigas, viguetas, travesaños
u otras superficies de montaje sólidas.
POWER (ENCENDIDO)
Enciende/apaga las luces.
4HR/6HR (4 H/6 H)
Desactiva las luces después de 4 o 6
horas. Presione POWER (ENCENDIDO)
para cancelar el temporizador.
MODE (MODO)
Recorre los siguientes modos de color:
Problema Causa posible Solución
Las luces
no
encienden
o
parpadean
Mala conexión
de USB
Verifique que el conector USB y el puerto
USB no estén sucios ni se haya y que el
conector encaje bien.
No enciende
Asegúrese de que la tensión de salida
de la fuente de alimentación sea de 5V
yque la corriente de la red no sea inferior
a 500mA. Cuando utilice un cargador
portátil de batería de 5V, asegúrese de que
la alimentación llegue a las luces.
Discrepancia
de potencia
Cuando la tensión de alimentación USB es
demasiado alta o la corriente no es suficiente,
es posible que las luces parpadeen. Una
tensión de alimentación superior a la normal
puede provocar daños en el producto.
Póngase en contacto con nuestro servicio de atención al consumidor de
EE. UU. al 1-855-698-8324, de 7a.m. a 8p.m. (hora estándar del centro).
RIESGO DE DESCARGA ELÉCTRICA
• LAS TOMAS ELÉCTRICAS QUE SE UTILICEN PARA
ALIMENTAR EL SISTEMA DE ILUMINACIÓN CAFÉ DEBEN
CUMPLIR CON LOS CÓDIGOS ELÉCTRICOS LOCALES Y
NACIONALES. CONSULTE CON UN ELECTRICISTA LOCAL SI
NO ESTÁ SEGURO SOBRE LOS REQUISITOS NORMATIVOS.
• NO SUMERGIR.
• NO USAR CERCA DE ACUARIOS.
• LAS BOMBILLAS CAFÉ SON PRODUCTOS APTOS PARA
LUGARES HÚMEDOS Y NO CONTIENEN PIEZAS QUE
PUEDAN SER REPARADAS POR EL USUARIO.
• EVITE DAÑAR LOS CABLES Y LAS BOMBILLAS DURANTE LA
INSTALACIÓN. REVISE PERIÓDICAMENTE LAS BOMBILLAS
CAFÉ A FIN DE DETECTAR DAÑOS FÍSICOS U OTROS DAÑOS
PROVOCADOS POR LA EXPOSICIÓN A LA INTEMPERIE.
• REEMPLACE LAS BOMBILLAS CAFÉ QUE ESTÉN DAÑADAS.
• NO INSTALE LAS BOMBILLAS CAFÉ EN ÁREAS EN LAS QUE
SEA PROBABLE PISARLAS.
• ASEGÚRESE DE QUE LAS BOMBILLAS CAFÉ ESTÉN
DESENCHUFADAS DURANTE LA INSTALACIÓN.
• LA INSTALACIÓN DE LAS LUCES CAFÉ SE DEBE REALIZAR
FUERA DEL ALCANCE DE LOS NIÑOS O SIN PERMITIR QUE
LOS NIÑOS JUEGUEN CON ELLAS.
RIESGO DE INCENDIO
• LAS LUCES CAFÉ ESTÁN DISEÑADAS PARA
QUE SE COLOQUEN CON SU SISTEMA DE
MONTAJE INDIVIDUAL. NO LAS COLOQUE
EN UN CABLE ELÉCTRICO PRINCIPAL NI EN
CABLES DE BAJADA INDIVIDUALES.
• NO COLOQUE LAS LUCES CAFÉ EN NINGUNA
POSICIÓN EN LA QUE LA BOMBILLA QUEDE
APUNTANDO HACIA ARRIBA.
• NO PERMITA QUE LOS ENSAMBLES DE LAS
LUCES DE LED ESTÉN EN CONTACTO CON
MATERIALES COMBUSTIBLES. LOS ENSAMBLES
DE LAS LUCES DE LED DEBEN COLGAR SIN
OBSTÁCULOS Y NO DEBEN ESTAR EXPUESTOS
A DAÑOS RECURRENTES CAUSADOS POR
LAS CONDICIONES AMBIENTALES COMO
ELVIENTO, LA LLUVIA Y LAS HELADAS.
®
HECHO EN CHINA
DISTRIBUIDO POR JASCO PRODUCTS COMPANY LLC, 10 E. MEMORIAL RD., Oklahoma, OK 73114.
Patente en trámite
¿Preguntas? Comuníquese al 1-855-698-8324 entre las
7AM y las 8PM CST (hora central estándar).
ADVERTENCIA
Solución de problemas
Alimentación
de USB
Computadora
portátil
Cargador portátil
de batería

INSTALACIÓN DEL PANEL SOLAR
PIEZAS INCLUIDAS:
Tornillo (2) Taco (2) Tuerca
mariposa (1) Abrazadera
plástica (2) Estaca Base larga Base corta Panel solar
PROBLEMA CAUSA POSIBLE SOLUCIÓN
Tiempo
corto de
exposición
a la luz
El panel no está
expuesto
adecuadamente a la
luz solar
Cuando use energía solar, asegúrese de que el panel solar se encuentre
en una zona donde pueda captar la mayor cantidad de luz solar directa
posible a diario. Si el panel solar no recibe suficiente luz solar durante
el día, la batería se recargará durante el próximo día soleado para
continuar funcionando con normalidad. Es igualmente importante
mantener el panel solar limpio para asegurar que pueda cargarse lo
mejor posible.
Falla en duración de
la batería
La batería interna no es reparable, y el panel solar no debe
reemplazarse. Contáctese con Jasco Products para obtener un nuevo
panel solar.
Configuración de
cronómetro Seleccione una configuración de cronómetro más prolongada con el
mando incorporado al cable para las luces colgantes USB.
Luces no
encienden
o
parpadean
Mala conexión
USB
Revise si el conector USB o el tomacorriente tienen tierra o
materiales externos, y asegúrese de que el conector esté colocado
adecuadamente.
No se presionó
el botón de
ENCENDIDO
Presione el botón en la parte trasera del panel solar para asegurar que
las luces colgantesreciban energía y presione el botón de ENCENDIDO
en el mando incorporado al cable de las luces.
El panel solar está
sobreexpuesto
durante la noche
Cuando la exposición a la luz alcanza cierta intensidad, es posible que
el producto no se encienda automáticamente. El producto necesita
colocarse en un lugar oscuro durante la noche.
Energía insuficiente Al usar energía solar, asegúrese de que el producto se cargue por más
de 3 horas bajo luz solar intensa antes de probarlo.
RIESGO DE DESCARGA ELÉCTRICA
• NO SUMERGIR.
• NO USE CERCA DE PECERAS.
• EL PANEL SOLAR ES UN PRODUCTO PARA LUGARES HÚMEDOS Y NO TIENE
PIEZAS REPARABLES.
• ASEGÚRESE DE QUE EL PANEL SOLAR ESTÉ AL MENOS A 5 METROS DE
PISCINAS Y SPAS.
• EVITE DAÑAR EL PANEL SOLAR. REVISE QUE EL PANEL SOLAR NO TENGA
DAÑOS FÍSICOS U OTROS CAUSADO POR LA EXPOSICIÓN A LOS ELEMENTOS
A LA INTEMPERIE.
• REEMPLACE EL PANEL SOLAR SI ESTUVIERA DAÑADO.
• NO LO INSTALE EN LUGARES DONDE PUEDAN PISARLO.
• LOS NIÑOS NO DEBEN JUGAR CON EL PANEL SOLAR.
• USE EL PANEL SOLAR SOLO CON LUCES COLGANTES USB.
SOLUCIÓN DE PROBLEMAS
ADVERTENCIA: Lea todas las precauciones de seguridad y las instrucciones
de instalación detenidamente antes de instalar u operar el equipo.
• No exponga al panel solar al fuego ni al calor intenso
• No lo sumerja en agua
INSTRUCCIONES DE LA BATERÍA:
• Este producto contiene una batería de litio recargable. La batería
no es reparable. Contacte a Jasco Products si necesita reemplazar
la unidad de energía solar.
CUIDADO Y MANTENIMIENTO:
• El panel solar no debe sumergirse en agua ni en otros líquidos. La
característica de resistencia al agua sirve para corregir una instalación
o, en ciertos ángulos, para la lluvia.
• Para optimizar la efectividad del panel solar, haga lo siguiente: Elija
una ubicación para el panel solar donde haya la mayor luz solar
posible durante el año. Limpie el panel cada varios meses para
eliminar polvo o restos que puedan afectar la eficiencia del panel
para recolectar energía solar.
ADVERTENCIA
1. Marque las ubicaciones de montaje de la
base del brazo corto o largo utilizando los
orificios para tornillos como guías.
2. Antes de perforar, verifique que las áreas
marcadas estén libres de obstáculos como
cables y líneas eléctricas.
3. Perfore los orificios para colocar los tornillos
y los anclajes para pared. Para taladrar en
madera y otros materiales compuestos,
utilice una broca de 3/32 pulgadas.
4.Inserte los anclajes y luego fije la base en su
lugar con tornillos.
5. Alinee el panel solar
con la parte superior
del brazo de montaje
y ajuste el ángulo
para una exposición
óptima a la luz solar.
Asegúrelo al brazo
con la tuerca de
mariposa.
MONTAJE SOBRE UNA
SUPERFICIE: 1. Combine la estaca con la base del
brazo corto.
2. Coloque la estaca en el suelo con cuidado,
pero con firmeza.
3. Alinee el panel solar con la parte superior
del brazo de montaje y ajuste el ángulo
para una exposición óptima a la luz solar.
Asegúrelo al brazo con la tuerca de
mariposa.
MONTAJE DE ESTACAS: MONTAJE DE LA ABRAZADERA
PLÁSTICA:
1. Pase las abrazaderas plásticas a través de las
ranuras de la base del brazo corto y sujételas.
1. Asegúrese de que el panel solar esté situado de
forma que optimice su exposición al sol. Tenga
en cuenta objetos como árboles o salientes de la
propiedad que puedan impedir que el panel se cargue.
2. Una carga completa (hasta siete horas) ofrece
seis horas de funcionamiento con las luces al
máximo brillo.
3. Para ajustar el panel solar, afloje la tuerca de mariposa
y coloque el panel. Cuando llegue a la posición
deseada, apriete la tuerca de mariposa hasta que
quede asegurada.
CARGAR EL PANEL SOLAR: USAR EL PANEL SOLAR:
1. Una vez que el panel solar se haya montado y
cargado, retire la tapa de la USB situada en la parte
posterior del panel y conecte la cadena de luces.
2. Cubra completamente el panel y presione el
botón POWER (ENCENDIDO) del panel solar para
suministrar energía a la cadena de luces.


Other manuals for PRO Series
4
This manual suits for next models
1
Table of contents
Languages:
Other Jasco Lighting Equipment manuals

Jasco
Jasco Energizer User manual

Jasco
Jasco UltraPro WFD7105 User manual

Jasco
Jasco JascoPro Series Installation instructions

Jasco
Jasco enbrighten User manual

Jasco
Jasco PRO Series Manual

Jasco
Jasco UltraPro User manual

Jasco
Jasco enbrighten CLRB 6 Series User manual

Jasco
Jasco enbrighten smart 80016 User manual

Jasco
Jasco ZW3103 User manual

Jasco
Jasco Energizer 38912 User manual