manuals.online logo
Brands
  1. Home
  2. •
  3. Brands
  4. •
  5. Johnny's Selected Seeds
  6. •
  7. Farm Equipment
  8. •
  9. Johnny's Selected Seeds Tilther User manual

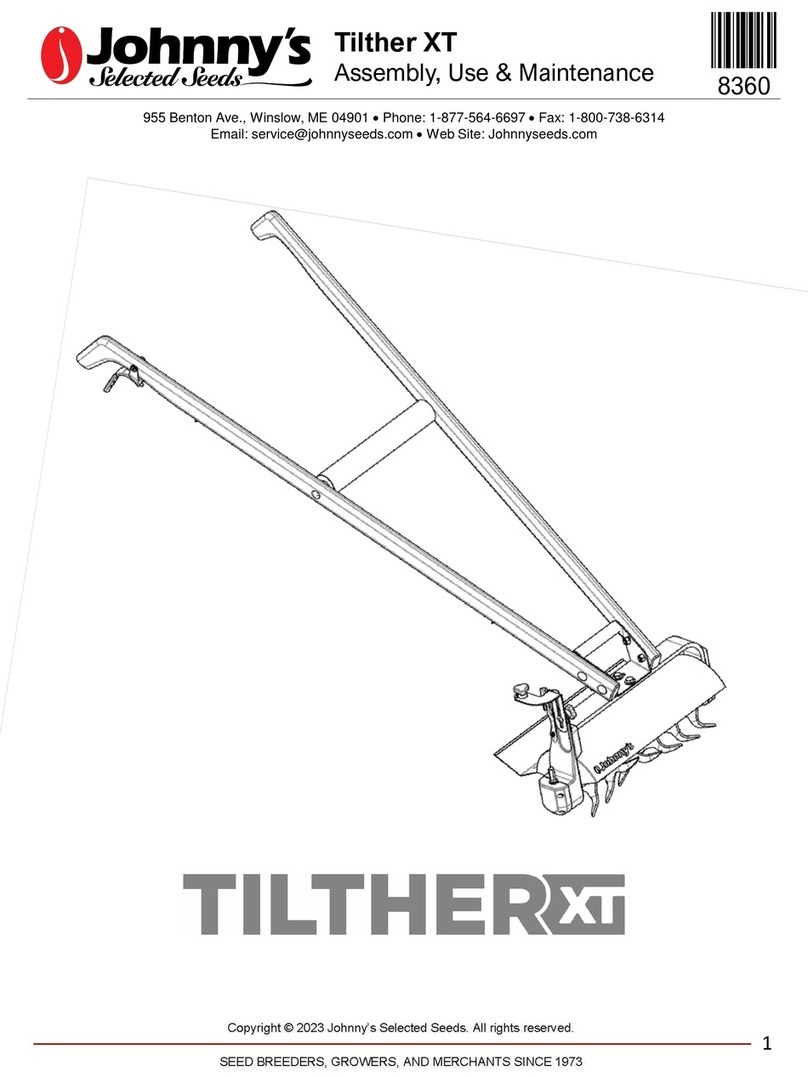
Johnny's Selected Seeds Tilther User manual

Copyright © 2018 Johnny’s Selected Seeds. All rights reserved.
1 SEED BREEDERS, GROWERS, AND MERCHANTS SINCE 1973
The Tilther is a versatile, lightweight tool conceptualized
by Eliot Coleman for preparing the top two inches of soil
to create a perfect tilth for both direct-seeded and
transplanted crops. The curved, steel tines are powered
by a standard cordless drill to efficiently break up soil
clods, chopping up residues from previously planted
crops, and incorporating compost and other soil
amendments before planting. The Tilther is 15 inches
wide which makes it a great choice for a 30-inch-wide
bed system. The Tilther is not designed for initial tilling of
native ground or areas with substantial crop residue.
Additional Tools Needed:
•9/16” wrench or socket set
•Screwdriver
•Cordless drill with a ½ inch (13mm) chuck
•Cordless drill battery, 18V or larger
•5/32” Allen wrench
955 Benton Ave., Winslow, ME 04901 •Phone: 1-877-564-6697 •Fax: 1-800-738-6314
Email: [email protected] •Web Site: Johnnyseeds.com
Parts Included:
A. Wooden handle with screw eyes
B. Wooden handle
C. Wooden cross rod
D. Rope
E. L-bracket with mounting hardware
F. (4) 3/8”x 1 ½” carriage bolts
G. (4) 3/8” x 9/16” hex nuts
H. (2) 3/8” x 5/8”hex bolts
I. (2) 3/8” flat washers
J. Handle mount
K. Assembled Tilther body
Tilther
Instruction Manual
A
B
C
D
E
F
G
H
I
J
K
Copyright © 2018 Johnny’s Selected Seeds. All rights reserved.
2 SEED BREEDERS, GROWERS, AND MERCHANTS SINCE 1973
ASSEMBLY
HANDLES
Assemble the handles as shown in the figure to
the right. Attach the handle with the screw eyes
(A) to the right side of the mounting bracket with
the carriage bolts (F) and hex nuts (G). Next,
insert the cross rod (C) into the hole at the top of
the right handle and slide the left handle (B) onto
the other side of the cross rod. Bend the left
handle into position on the mounting bracket and
attach with the remaining carriage bolts and nuts.
See right.
Attach the handle mount (J) to the assembled
Tilther body (K) with the two hex bolts (H) and
washers (I).
SECURING THE DRILL
Remove the battery from the drill so the tines will not engage while
you are securing it. Next, tighten the drill chuck to the drive shaft.
Make certain that the jaws of the chuck land on flat parts of the drive
shaft. The battery pack of the drill rests on the rubber pad when in
use. See right.
Note: When operating the Tilther, your drill should be set to the lowest
gear and the highest torque setting, which is often indicated with a drill
symbol.
ATTACHING THE L-BRACKET
Attach the L-bracket (E) to one of the holes in the top of the Tilther
frame with the mounting hardware provided. Use the hole that best
secures your drill model. The L-bracket is a newer feature on the
Tilther that keeps the drill from backing off the drive shaft while in use.
L-BRACKET FOR OLDER TILTHERS
You can add the L-bracket to an older Tilther model
by drilling holes in the aluminum frame. See left.
This information, along with a drilling template is
included when you purchase the Tilther L-Bracket
(part #9286.100)
Drive Shaft
Rubber Pad
Copyright © 2018 Johnny’s Selected Seeds. All rights reserved.
3 SEED BREEDERS, GROWERS, AND MERCHANTS SINCE 1973
ATTACHING THE ROPE
Tie the rope to the screw eye at the grip end of the right handle and thread
the rope through the remaining screw eyes, ending at the Tilther body. Bring
the rope around the drill’s trigger and tie it to the open hole of the frame as
shown in the photo to the right. The rope should be snug around the trigger
without depressing. Use a knot like a bowline that will not loosen easily.
HANDLE ADJUSTMENT
The adjustable handle mount (J) allows the user to offset the handles to easily
prepare garden beds while walking in the footpaths. To adjust the handle left or
right, loosen the two hex head bolts using a 9/16” wrench, pivot the handle to
the desired location, and secure in place. See right.
Note: You may need to re-tie the rope if you adjust the handle mount.
OPERATION & USE
•This tool is NOT for initial tillage of native ground and should be used
only on previously worked soils without heavy debris and crop residues.
•The Tilther should be used with the drill set on the lowest gear and on
the highest torque setting, which is often indicated with a drill symbol.
Be certain the rotation direction of the drill is forward, not backward.
Note: Please reference the owner’s manual for your drill for
information about settings.
•To operate, gently pull the rope by gripping the handle your right hand.
See right. The movement of the tines will pull the Tilther forward.
Restrain this movement while walking forward at whatever pace is
needed to prepare the soil to your desired depth.
•The Tilther’s stainless steel housing includes a skirt that levels the soil as
you go, resulting in a smooth seeding surface. Experiment with the angle at
which you hold the handles to find a position to achieve your desired result.
WARNING: To avoid bodily harm, ALWAYS disconnect the battery from
the drill before clearing debris from the tines or making any adjustments.
MAINTENANCE
•Always store your Tilther clean and dry.
•Remove the chain guard with a 5/32” Allen wrench and grease or oil the
chain monthly. See right. REV 08/21/18 JG, ld
How to Tie a Bowline

Other Johnny's Selected Seeds Farm Equipment manuals

Johnny's Selected Seeds 7621 U-Bar Double Wheel Hoe User manual

Johnny's Selected Seeds

Johnny's Selected Seeds 7621 U-Bar Double Wheel Hoe User manual

Johnny's Selected Seeds Tilther XT Quick setup guide

Johnny's Selected Seeds

Johnny's Selected Seeds Tilther XT Quick setup guide

Johnny's Selected Seeds Bio Plus PATIO User manual

Johnny's Selected Seeds

Johnny's Selected Seeds Bio Plus PATIO User manual

Johnny's Selected Seeds The Neversink Farm Zipper Quick setup guide

Johnny's Selected Seeds

Johnny's Selected Seeds The Neversink Farm Zipper Quick setup guide

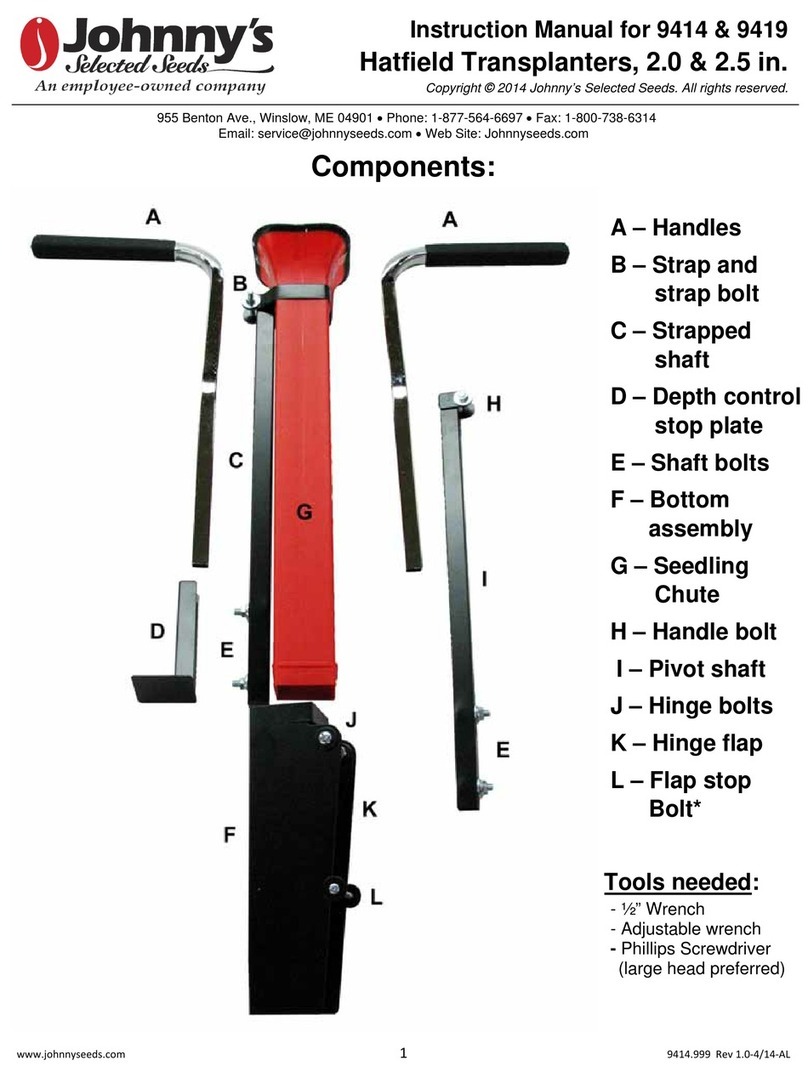
Johnny's Selected Seeds 9414 User manual

Johnny's Selected Seeds

Johnny's Selected Seeds 9414 User manual

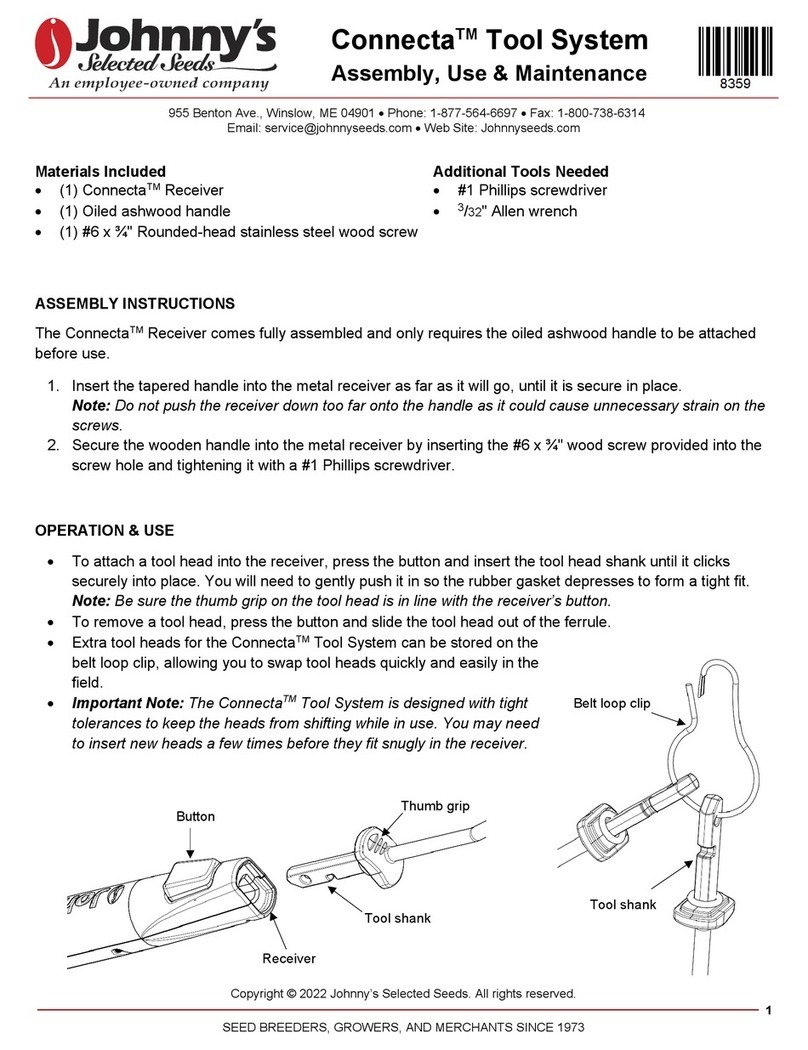
Johnny's Selected Seeds Connecta Tool System Quick setup guide

Johnny's Selected Seeds

Johnny's Selected Seeds Connecta Tool System Quick setup guide

Johnny's Selected Seeds 7239 User manual

Johnny's Selected Seeds

Johnny's Selected Seeds 7239 User manual

Popular Farm Equipment manuals by other brands

Rata LGF04S user manual

Rata

Rata LGF04S user manual

GREAT PLAINS Qualidisc HS2200-13 manual

GREAT PLAINS

GREAT PLAINS Qualidisc HS2200-13 manual

DALBO MAXICUT 920 manual

DALBO

DALBO MAXICUT 920 manual

Kerbl 144355 Assembly instructions

Kerbl

Kerbl 144355 Assembly instructions

Farmet TURBULENT 3 operating manual

Farmet

Farmet TURBULENT 3 operating manual

Aitchison Reese Agri UFO SEEDKING Professional manual

Aitchison

Aitchison Reese Agri UFO SEEDKING Professional manual

Patriot equipment Corn Reel Installation & operation manual

Patriot equipment

Patriot equipment Corn Reel Installation & operation manual

Reese Aitchison Seedmatic 40 D Series manual

Reese

Reese Aitchison Seedmatic 40 D Series manual

Munters RFS-6 Manual for use and maintenance

Munters

Munters RFS-6 Manual for use and maintenance

LELY HIBISCUS 1525 Master Operator's manual

LELY

LELY HIBISCUS 1525 Master Operator's manual

waratah HTH616C SIII Operator's manual

waratah

waratah HTH616C SIII Operator's manual

Gaspardo HCS USE AND ASSEMBLY INSTRUCTIONS / SPARE PARTS

Gaspardo

Gaspardo HCS USE AND ASSEMBLY INSTRUCTIONS / SPARE PARTS

SaMASZ TWIST 600 instruction manual

SaMASZ

SaMASZ TWIST 600 instruction manual

Del Morino Rotex 90 Manual of use and maintenance

Del Morino

Del Morino Rotex 90 Manual of use and maintenance

Truma Mover XT L Operating instructions & installation instructions

Truma

Truma Mover XT L Operating instructions & installation instructions

MacDon M205 installation instructions

MacDon

MacDon M205 installation instructions

DyTerra NH3 Assembly guide

DyTerra

DyTerra NH3 Assembly guide

Toro 138-2998 installation instructions

Toro

Toro 138-2998 installation instructions

manuals.online logo
manuals.online logoBrands
  • About & Mission
  • Contact us
  • Privacy Policy
  • Terms and Conditions

Copyright 2025 Manuals.Online. All Rights Reserved.