Getting
Star
t
ed
Remove the unit from the box and lay
it on
a flat
surface.
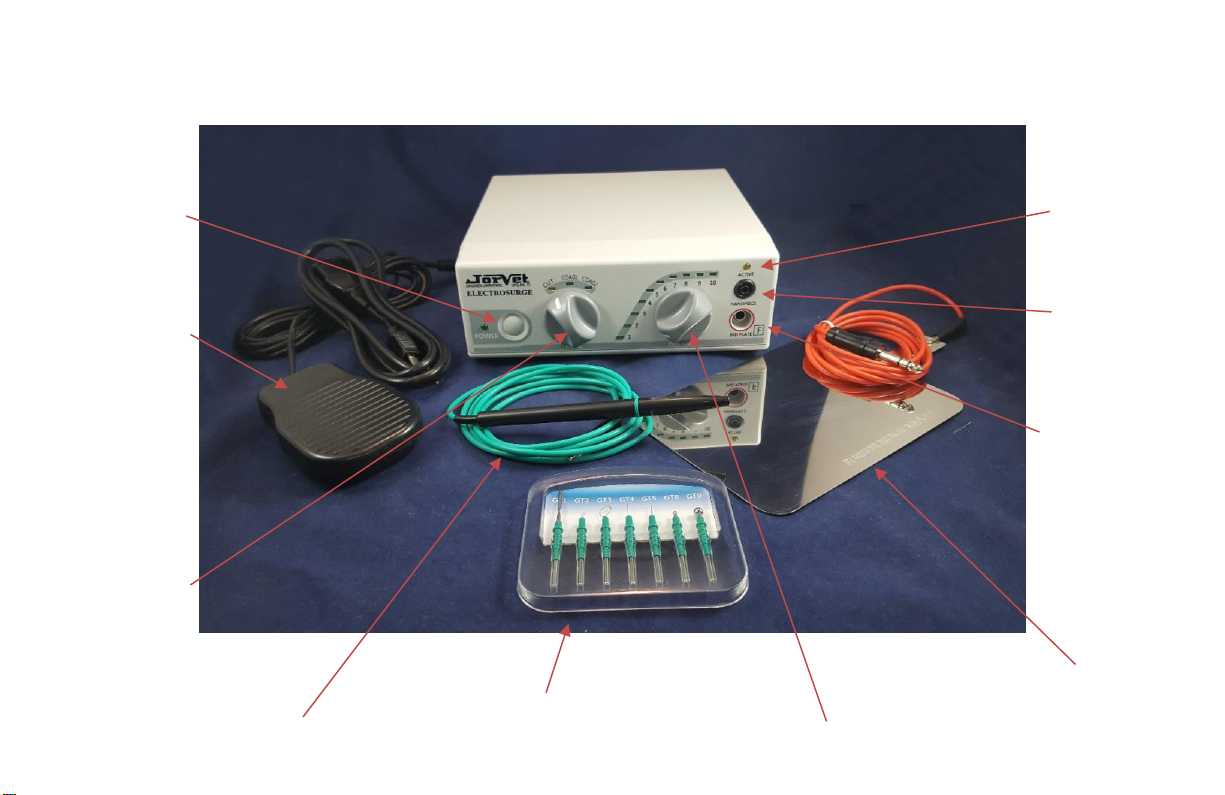
1)
Connect the female end of the power cord to the rear of the unit, and the
male end in a grounded electrical outlet.
2)
The male jack of the Black (or Green) surgery hand piece is inserted into
the
unit into
the black socket marked “ HANDPIECE”
on
the front
panel.
3) I
ndifferent Plate: This is the red cord. The
male
jack should
be
inserted
into the red female jack opening
marked “IND PLATE” on the front
panel.
4)
Connect the foot pedal in the rear ofthe unit
.
5) The Indifferent Plate should be placed under the animal close to
the procedure site. Conductive gel must be used to create uniform
skin contact and maximize surface contact with the plate. Failure
to use gel can result in plate burns to the animal in addition to
poor or no function.
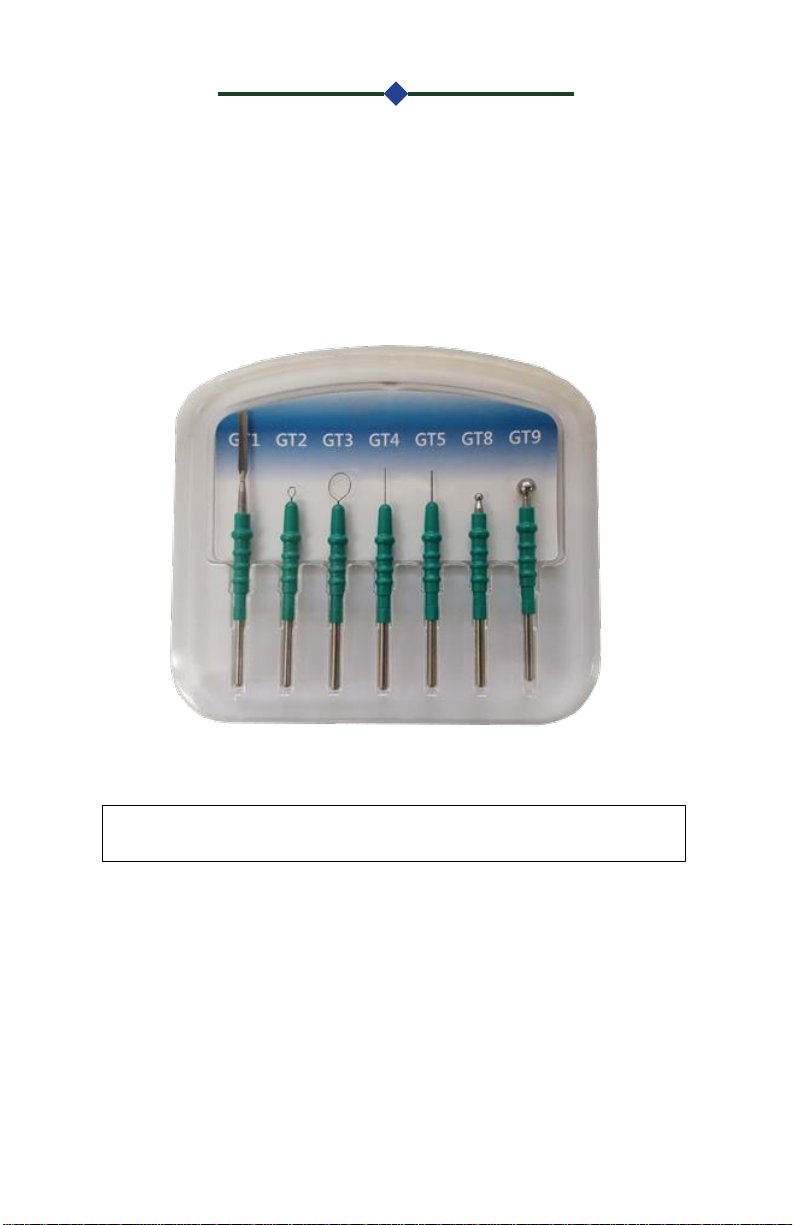
6) Select an electrode and insert the straight shaft end into the top
opening of the handpiece. Be careful not to bend or damage the
electrode in any way. Do not attempt to unscrew the handpiece
as this will damage it.
7) Set the waveform dial to the desired mode.
8) Select the power intensity. 1 is lowest and 10 is highest. Always
start at the minimum level and gradually work up to a level where
cutting is smooth but no sparks are emitted.
9) The “ACTIVE” light should be lit when the footswitch is pressed. This
indicates that radio frequency waves are being sent.
10) The electrode should be gently held on the tissue. A smooth,
constant motion will produce less lateral heat and the cleanest
incision. The tissue should always be kept moist for better and
cleaner cutting. Cutting should be done without pressure, as this
can damage the tissue and tip.