manuals.online logo
Brands
  1. Home
  2. •
  3. Brands
  4. •
  5. KAM
  6. •
  7. Lighting Equipment
  8. •
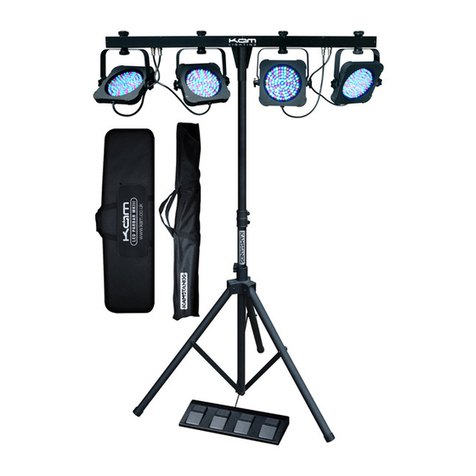
  9. KAM Partybar Eco User manual

KAM Partybar Eco User manual

XY Laser
Pan & tilt scanning colour laser
MANUAL VERSION 1.0
01-06-16
For the latest instruction manual updates and information on the entire Kam range visit:
www.kam.co.uk
Kam products are manufactured by: Lamba plc, Unit 1, Southfields Road, Dunstable, Bedfordshire, United Kingdom LU6 3EJ
Telephone: (+44) (0)1582 690600 • Fax: (+44) (0)1582 690400 • Email: [email protected] • Web: www.lambaplc.com
If this product is ever no longer functional please take it to a recycling plant for environmentally friendly disposal.
Due to continuous product development, specifications and appearance are subject to change.
© Copyright Lamba plc. E&OE.
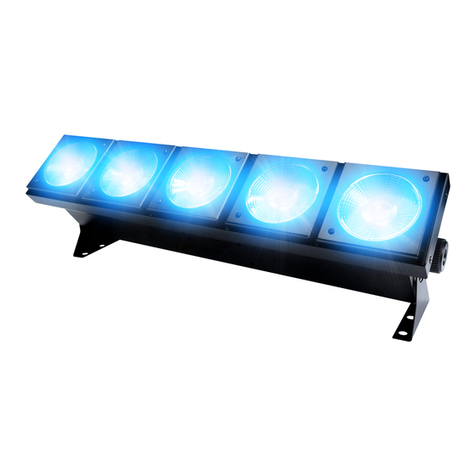
Kam Partybar Eco
Portable performance lighting rig
Thank you for purchasing this Kam product, we are sure that it will serve you for many years to come.
To optimise it’s performance, please read these instructions carefully to familiarise yourself with the basic operations of the unit. Please retain
them for future reference.This unit has been tested at the factory before being shipped to you. To prevent or reduce the risk of electrical shock
or fire, do not expose the unit to rain or moisture. To prevent a fire hazard, do not expose the unit to any naked flame sources. Unplug this
apparatus during lightning storms or if it is unlikely to be used for long periods of time.
When installing the unit, please ensure you leave enough space around the unit for ventilation. Slots and openings in the unit are provided for
ventilation to ensure reliable operation of the product and to protect it from overheating. To prevent fire hazard, the openings should never be
blocked or covered.
The unit is powered by the mains, always handle the power cable by the plug. Never pull out the plug by pulling on the cable. Never touch the
power cable when your hands are wet as this could cause an electric shock. Do not tie a knot in the cable. The power cable should be placed
such that it is not likely to be stepped on. A damaged power cable can cause a fire or give you an electrical shock. Check the power cord
periodicaly, if you ever find that it is damaged, replace it before using the unit again. Contact your retailer for a replacement. The voltage of the
available power supply differs according to country or region. Be sure that the power supply voltage of the area where this unit is to be used
meets the requirements of the unit.
The lightning flash symbol inside a triangle is to alert the user to the presence high voltage within the unit’s enclosure that may be of
sufficient power to constitute a risk of electrical shock to persons. Caution: to prevent the risk of electric shock, do not attempt to
open the unit. No user-serviceable parts inside. Refer all servicing to qualified service personnel. The exclamation mark inside a
triangle is intended to alert the user to the presence of important operating and maintenance instructions in the literature
accompanying the appliance.
Select the installation location of your unit carefully. Avoid placing it in direct sunlight or locations subject to vibration and excessive dust. Do not
use the unit where there are extremes in temperature (- 20ºC to 40ºC).
Unpacking and safety Please unpack your new product carefully. Your new product should reach you in perfect condition. Please check that
no damage has occurred during transit. If any damage is found, do not operate your unit. Please contact the retailer you purchased it from
immediately. Always disconnect the unit from the mains when carrying out any cleaning of the unit.
Manufacturer declarations
In compliance with the following requirements: RoHS Directive (2002/95/EU) and WEEE Directive (2002/96/EU).
If this product is ever no longer functional please take it to a recycling plant for environmentally friendly disposal.
CE declaration of conformity
R&TTE Directive (1999/5/EU), EMC Directive (2004/108/EU), Low Voltage Directive (2006/95/EU).
The declarations are available on application from cert[email protected]
Before putting the devices into operation, please observe the respective country-specific regulations.
The unit is supplied with a power plug appropriate to its voltage. Should any other connections be required they must be carried out with the
following configuration:
Cable (EU)
Cable (US)
Pin
International
Brown
Black
Live
L
Light blue
White
Neutral
N
Yellow/green
Green
Earth
DMX-512 connection
If you are using a standard DMX controller, you can connect the DMX output of the controller directly to the DMX input of the first unit in a DMX
chain. If you wish to connect a DMX controller with other XLR outputs you will need to use adapter cables.
1 = Shield
DMX output 2 = Signal (-) DMX input
3 = Signal (+)
Connect the DMX output of the first unit in a DMX chain with the DMX input of the next unit in the chain. Always connect the output of one unit
with the input of the next unit until all units are connected.
Unit features & functions
Number
Feature
Function
1
Power supply input
Attach the IEC mains cable here. Built-in fuse.
2
DMX input
3 pin XLR connector for DMX512 input communication.
3
DMX output
3 pin XLR connector for DMX512 output communication.
4
LED display
LED function display and menu buttons to control the operating mode of the unit.
5
MENU buttons
MENU function buttons x 4 (see below for operation).
6
Mic
Built-in microphone for Sound-to-Light operation.
7
Par can mounts
Attach the par can lights to the controller bar at the 4 points shown.
8
Par can connections
Attach the par can cables to the controller bar at the 4 points shown.
9
Light stand socket
Tighten screw to secure the controller bar to the light stand.
Function setting
Using the four function buttons on the controller bar you can set the operating mode of the unit. Press the Menu button to display
the different functions (see table below for a description of the functions). Use the Up or Down arrow buttons to make your
selection. When you have chosen your desired function, press the Enter button to confirm the change.
DMX address setting - When controlling the unit (or units) with a DMX controller, each one must be set with a specific DMX
address. You can choose to set all units with the same DMX address or you can set every unit with its own DMX address. If all
units are set with the same DMX address all units will be synchronised and operate in the same way.
If you set each unit with a different DMX address, they will receive the DMX signal from their own DMX address. You will now be
able to control each unit individually. The DMX address that you set for each unit must be determined by the number of channels.
This unit has 8 DMX channels, therefore you should set the starting address of the first unit to 1, the second unit must be set to 9
(1+8), the third to 17 (9+8), the fourth to 25 (17+8) and so on.
Number
Display
Function
1
d001-d512
001-512
DMX address setting.
2
IP.01-IP.64
001-512
IP mode.
3
A1.01
A1.01-A1.19
Static colour mode A1.01-A1.32 - press the Enter button to save.
4
A2.01
A2.01-A2.19
Jump change colour mode A2.01-A2.32 - press the Enter button to save.
5
A3.01
A3.01-A3.19
Multicolour mode A3.01-A3.32 - press the Enter button to save.
6
A4.01
A4.01-A4.19
Sound activated mode A4.01-A4.32 - press the Enter button to save.
7
A5.01
A5.01-A5.19
Strobe mode A5.01-A5.32 - press the Enter button to save.
8
r.000-r.255
Adjust the red colour intensity up or down.
9
G.000-G.255
Adjust the green colour intensity up or down.
10
b.000-b.255
Adjust the blue colour intensity up or down.
11
u.000-u.255
Adjust the white colour intensity up or down.
8 channel DMX mode
Channel
Value
Function
1
0-10
No function
11-50
Macro A1
51-100
Macro A2
101-150
Macro A3
151-200
Macro A4
201-255
Macro A5
210-255
Red+green+blue
2
0-255
Macro colour
3
0-255
Speed adjustment
4
0-255
Master dimmer
5
0-255
Red dimmer
6
0-255
Green dimmer
7
0-255
Blue dimmer
8
0-255
White dimmer
Remote control operation
A1 button effect 1 – all lights on
Power button
A2 button effect 2 – colour jump change
A3 button effect 3 – colour gradual change
A4 button – sound activated mode
A5 button – strobe mode
< colour buttons > – colour adjustment
< speed buttons > – speed adjustment
< DMX buttons > – DMX channel selection
< IP buttons > – running effect
Product specification
Mains power / rated power
AC 220~240V, 50/60Hz / 60w
Control modes
8 channel DMX512 / Auto / Sound-to-Light / Master/Slave / Remote control
Light source
4 par cans with 12 x 1w RGBW LEDs (red, green, blue & white)
Operating temperature
-20°C to 40°C
DMX512 connections
3 pins XLR male/female
Dimensions (WxDxH)
660 x 150 x 80mm (not including stand)
Weight
5.5Kg
Due to continuous product development, specifications and appearance are subject to change.

Other KAM Lighting Equipment manuals

KAM Kam iLink RGY User manual

KAM

KAM Kam iLink RGY User manual

KAM DMX1500 User manual

KAM

KAM DMX1500 User manual

KAM iLINK GREEN User manual

KAM

KAM iLINK GREEN User manual

KAM Laserscan 300 3D User manual

KAM

KAM Laserscan 300 3D User manual

KAM LED Disco Dome DMX User manual

KAM

KAM LED Disco Dome DMX User manual

KAM PowerStrip5 User manual

KAM

KAM PowerStrip5 User manual

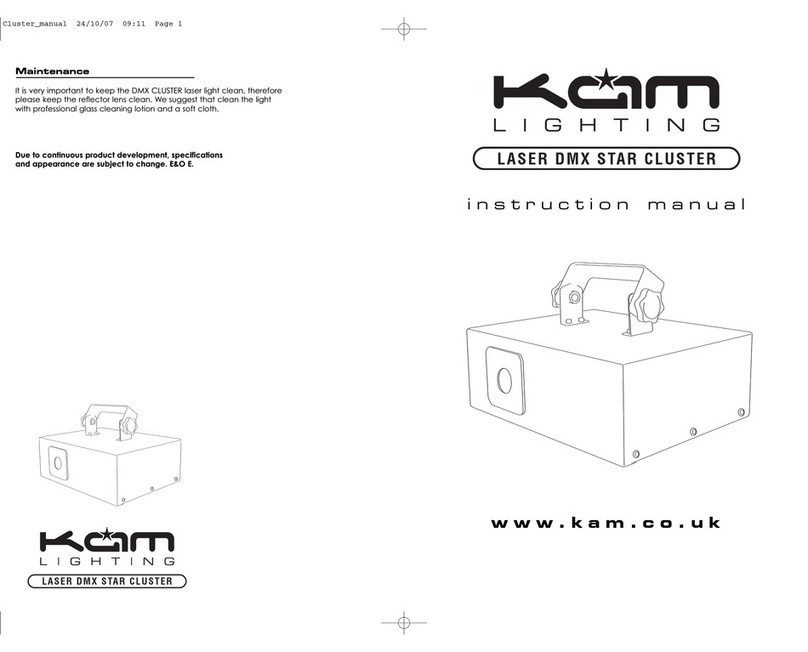
KAM DMX STAR CLUSTER User manual

KAM

KAM DMX STAR CLUSTER User manual

KAM Derby 8 User manual

KAM

KAM Derby 8 User manual

KAM KML412 User manual

KAM

KAM KML412 User manual

KAM Star Cluster Micro RB 300 User manual

KAM

KAM Star Cluster Micro RB 300 User manual

KAM LED Rodeo User manual

KAM

KAM LED Rodeo User manual

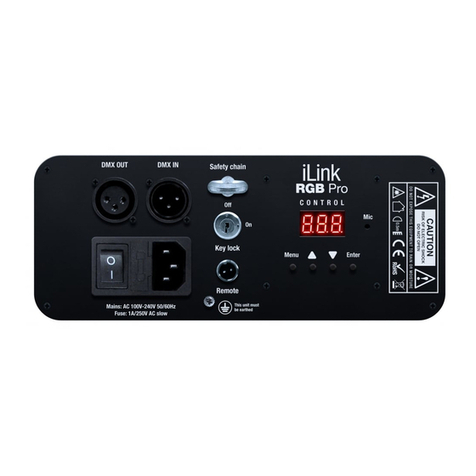
KAM iLink RGB Pro User manual

KAM

KAM iLink RGB Pro User manual

KAM LED Barrel 1 User manual

KAM

KAM LED Barrel 1 User manual

KAM LED Moonlite 15 User manual

KAM

KAM LED Moonlite 15 User manual

KAM LED PARBAR MKIII User manual

KAM

KAM LED PARBAR MKIII User manual

KAM DMX Laser Tri 160 FScan User manual

KAM

KAM DMX Laser Tri 160 FScan User manual

KAM LED Scanner 1 User manual

KAM

KAM LED Scanner 1 User manual

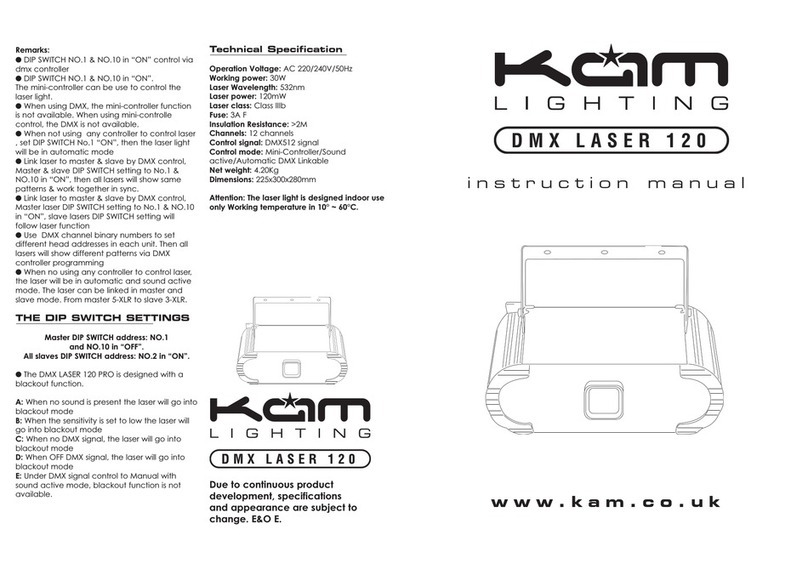
KAM DMX LASER 120 PRO User manual

KAM

KAM DMX LASER 120 PRO User manual

KAM KML407 User manual

KAM

KAM KML407 User manual

KAM Laser Tri260 SD FScan User manual

KAM

KAM Laser Tri260 SD FScan User manual

KAM K-UV 18X1W Strip User manual

KAM

KAM K-UV 18X1W Strip User manual

Popular Lighting Equipment manuals by other brands

PROEL PLST15H user manual

PROEL

PROEL PLST15H user manual

Federal Signal Corporation SIGNALMASTER SML6-2SML1F instruction sheet

Federal Signal Corporation

Federal Signal Corporation SIGNALMASTER SML6-2SML1F instruction sheet

Milwaukee M18 HOAL-0 Original instructions

Milwaukee

Milwaukee M18 HOAL-0 Original instructions

Larson Electronics GAU-HB-100LED-RT-UVA-10C instruction manual

Larson Electronics

Larson Electronics GAU-HB-100LED-RT-UVA-10C instruction manual

NEXELO L177022NEX user manual

NEXELO

NEXELO L177022NEX user manual

Beamz BFP120 instruction manual

Beamz

Beamz BFP120 instruction manual

Ocean Optics DT-1000 operating instructions

Ocean Optics

Ocean Optics DT-1000 operating instructions

Triton Blue SIRIUS 21 LED 3W RGB 3in1 IP65 user manual

Triton Blue

Triton Blue SIRIUS 21 LED 3W RGB 3in1 IP65 user manual

brennenstuhl SOL WL 700 user manual

brennenstuhl

brennenstuhl SOL WL 700 user manual

NEXT pool ABRIBLUE DIVER installation manual

NEXT pool

NEXT pool ABRIBLUE DIVER installation manual

CARVIN STARJET user manual

CARVIN

CARVIN STARJET user manual

Triton Blue WALLY SC 20 user manual

Triton Blue

Triton Blue WALLY SC 20 user manual

Eiko TWP1 Series installation instructions

Eiko

Eiko TWP1 Series installation instructions

Philips CoreLine tempo medium manual

Philips

Philips CoreLine tempo medium manual

Current DualLite DYNHL Series Installation, operation and service instructions

Current

Current DualLite DYNHL Series Installation, operation and service instructions

Home Accents Holiday TY461-2011-1 Assembly instructions

Home Accents Holiday

Home Accents Holiday TY461-2011-1 Assembly instructions

Beghelli 84-00 Series Mounting instructions

Beghelli

Beghelli 84-00 Series Mounting instructions

Sweetlight FR-252 MK2 user manual

Sweetlight

Sweetlight FR-252 MK2 user manual

manuals.online logo
manuals.online logoBrands
  • About & Mission
  • Contact us
  • Privacy Policy
  • Terms and Conditions

Copyright 2025 Manuals.Online. All Rights Reserved.