2|LZ-612IR
WARNING
To prevent injury or re, take the following
precautions:
• Topreventashortcircuit,neverputorleaveany
metallic objects (such as coins or metal tools) inside
the unit.
• Donotwatchorfixyoureyesontheunit’sdisplay
whenyouaredrivingforanyextendedperiod.
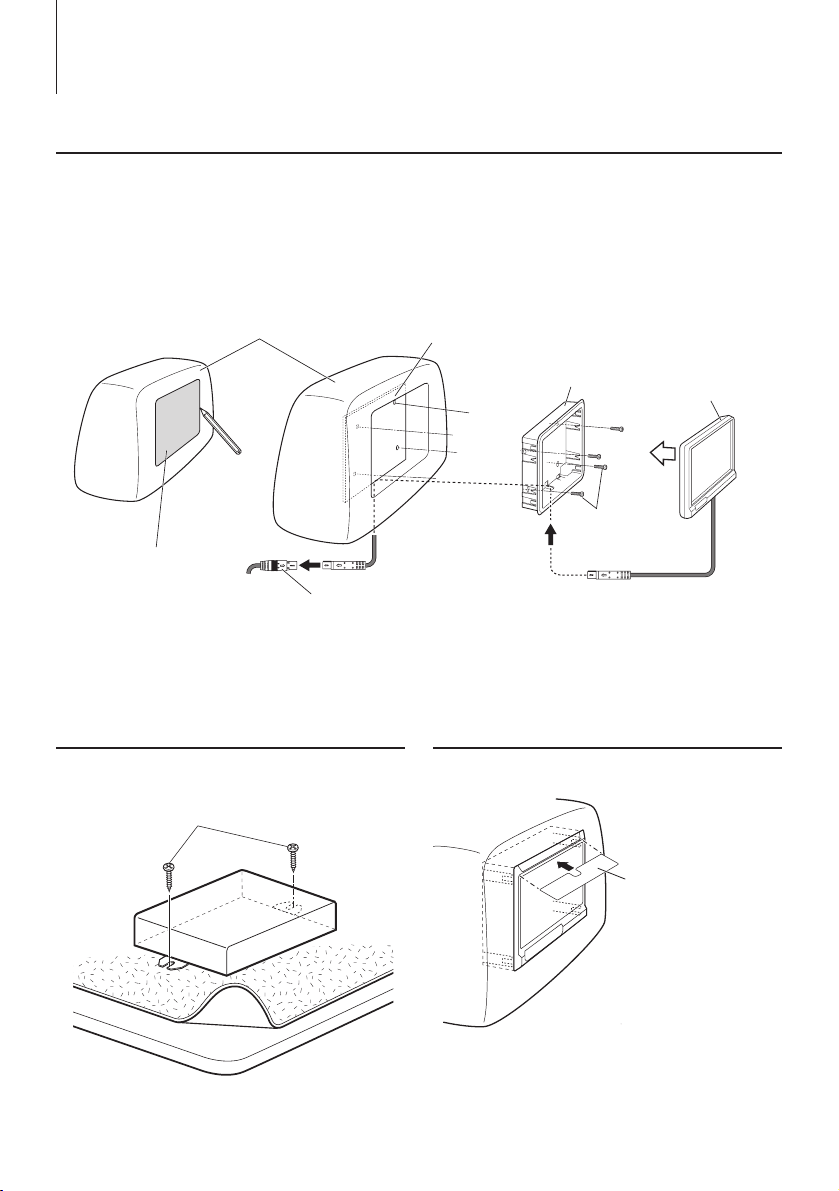
• Mountingandwiringthisproductrequiresskillsand
experience.Forsafety’ssake,leavethemounting
and wiring work to professionals.
• DonottouchtheliquidcrystalfluidiftheLCDis
damagedorbrokenduetoshock.Theliquidcrystal
fluid may be dangerous to your health or even fatal.
IftheliquidcrystalfluidfromtheLCDcontactsyour
body or clothing, wash it off with soap immediately.
• Thismonitorunitissetforrearpassengeruseonly.
Use of this monitor unit in any front seat and/or
where it may be visible to the driver may be illegal
in some states and may cause driver distraction and
accident, resulting in injury or death.
CAUTION
To prevent damage to the machine, take
the following precautions:
• Makesuretogroundtheunittoanegative12VDC
power supply.
• Donotinstalltheunitinaspotexposedtodirect
sunlightorexcessiveheatorhumidity.Alsoavoid
places with too much dust or the possibility of
water splashing.
• Whenreplacingafuse,onlyuseanewfusewith
the prescribed rating. Using a fuse with the wrong
rating may cause your unit to malfunction.
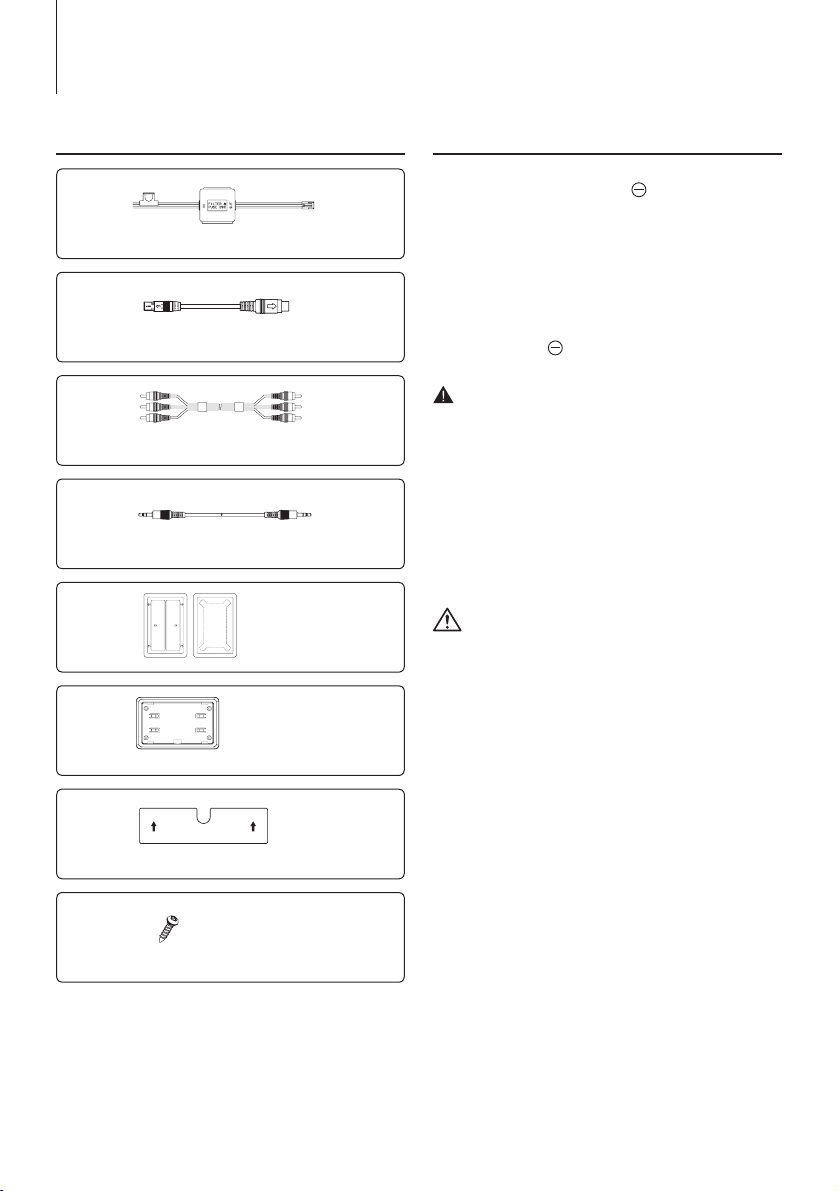
• Donotuseyourownscrews.Useonlythescrews
provided. If you use the wrong screws, you could
damage the unit.
How to Reset Your Unit
• Iftheunitfailstooperateproperly,presstheReset
button.Theunitreturnstofactorysettingswhenthe
Reset button is pressed.
Reset button
• EveniftheResetbuttonispressed,valuesset
forindividualitemsarenotcleared.Toinitialize
set values, perform the operation mentioned in
<Settings> (page 6).
Cleaning the Unit
If the faceplate of this unit is stained, wipe it with a
dry soft cloth such as a silicon cloth.
If the faceplate is stained badly, wipe the stain off with
a cloth moistened with neutral cleaner, then wipe it
again with a clean soft dry cloth.
• Applyingspraycleanerdirectlytotheunitmayaffectits
mechanicalparts.Wipingthefaceplatewithahardclothor
usingavolatileliquidsuchasthinneroralcoholmayscratch
the surface or erases characters.
Screen brightness during low temperatures
Whenthetemperatureoftheunitfallssuchasduring
winter,theliquidcrystalpanel’sscreenwillbecome
darker than usual. Normal brightness will return after
using the monitor for a while.
• Ifyouexperienceproblemsduringinstallation,
consult your Kenwood dealer.
• Whenyoupurchaseoptionalaccessories,checkwith
your Kenwood dealer to make sure that they work
with your model and in your area.
• Theillustrationsofthedisplayandthepanel
appearinginthismanualareexamplesusedto
explainmoreclearlyhowthecontrolsareused.
Therefore,whatappearsonthedisplayinthe
illustrations may differ from what appears on the
displayontheactualequipment,andsomeofthe
illustrations on the display may represent something
impossible in actual operation.
Protecting the monitor
Toprotectthemonitorfromdamage,donotoperate
the monitor using a ball point pen or similar tool with
the sharp tip.
Safety precautions Notes
1-LZ-612IR_ENG_0405.indd 2 2010-04-05 �� 5:11:57