Kobalt SGY-AIR86TZ User manual

ITEM #0301337
MODEL #SGY-AIR86TZ
1
Français p. 15
Español p. 30
KOBALT® and the K & Design® are registered
trademarks of LF, LLC.All rights reserved.
LATEX GRAVITY FEED
HVLP SPRAY GUN
ATTACH YOUR RECEIPT HERE
Serial Number Purchase Date
Questions, problems, missing parts? Before returning to your retailer, call
our customer service department at 1-888-3KOBALT, 8:00 a.m.-8:00 p.m.,
EST, Monday-Friday.

TABLEOF CONTENTS
2
Safety Information ............................................................................................... 3
Package Contents ............................................................................................... 5
Product Specifications ......................................................................................... 5
Preparation .......................................................................................................... 5
Assembly Instructions .......................................................................................... 6
Operating Instructions ........................................................................................ 8
Repair Instructions ............................................................................................. 8
Care and Maintenance ....................................................................................... 10
Troubleshooting .................................................................................................. 11
Warranty ............................................................................................................. 13
Replacement Parts List ...................................................................................... 14

3
SAFETY INFORMATION
Please read and understand this entire manual before attempting to assemble, operate
or install the product. If you have any questions regarding the product, please call
customer service at 1-888-3KOBALT, 8:00 a.m.-8:00 p.m., EST, Monday-Friday.
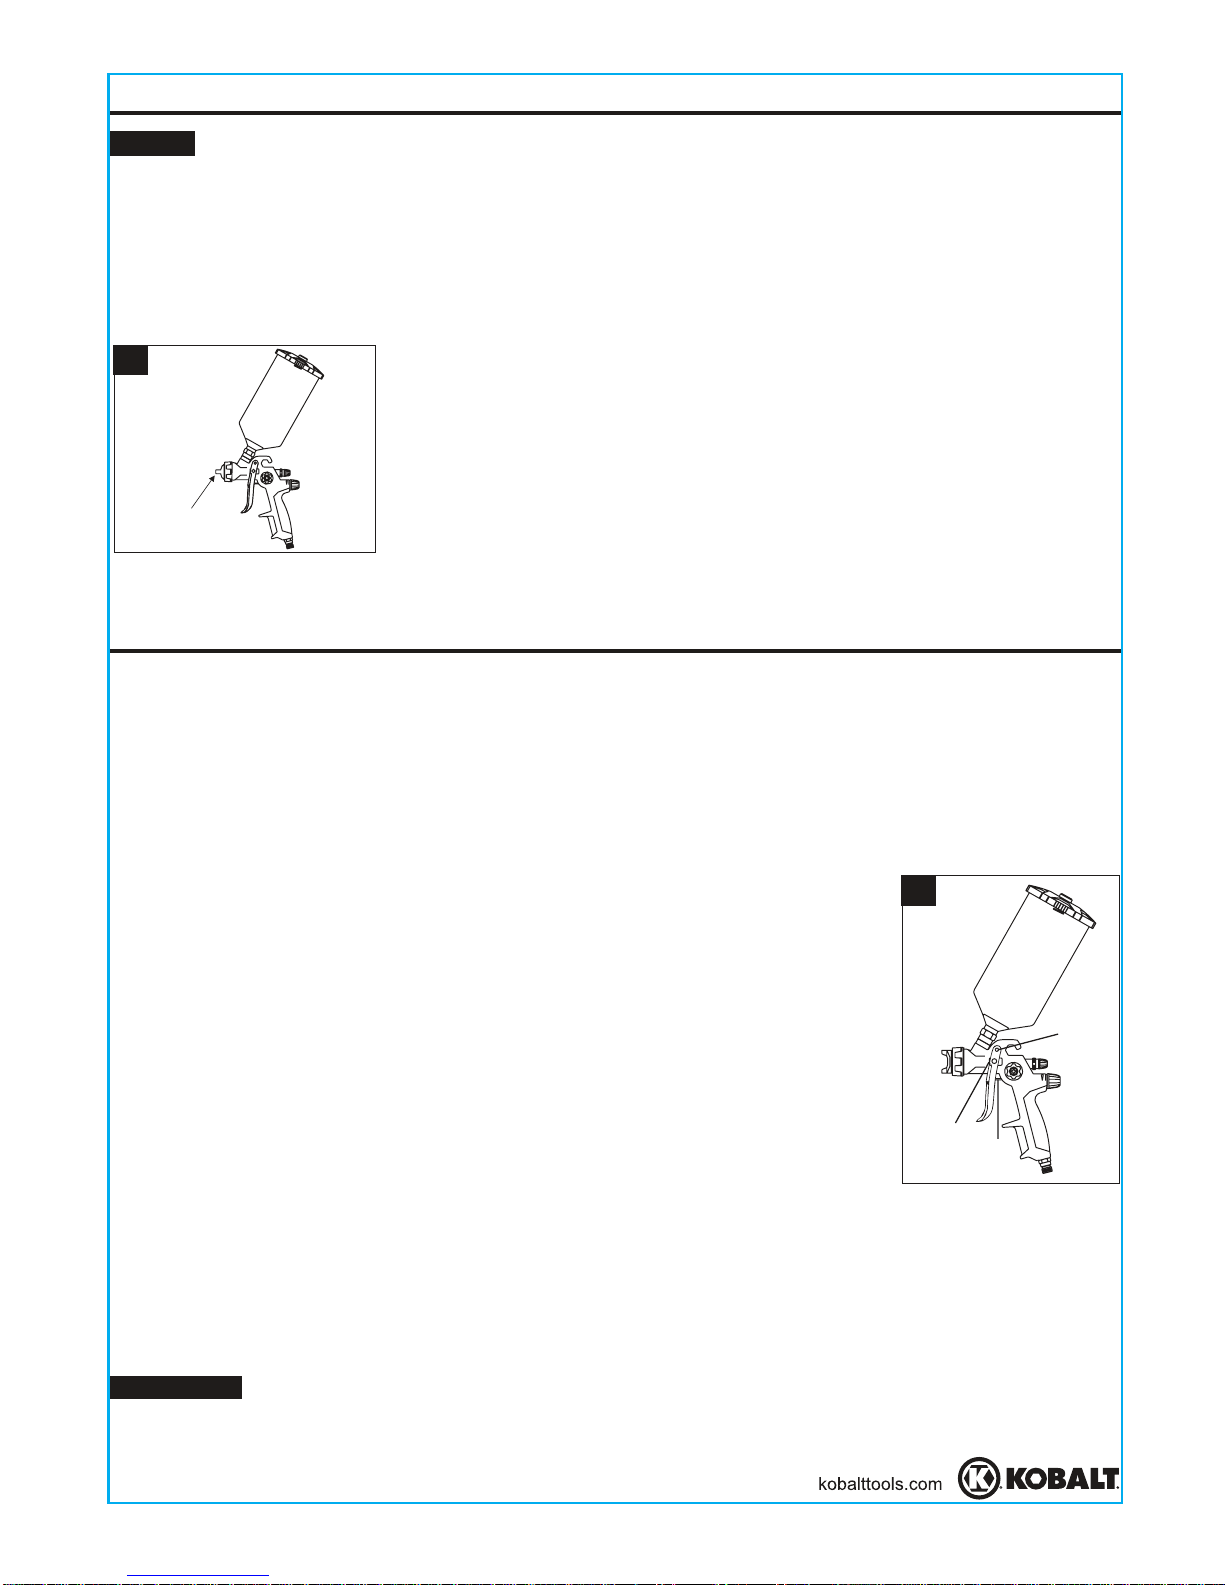
During cleaning and flushing, solvents can be forcefully expelled from fluid and air
passages which may cause eye injury. Be sure all others in the area are wearing impact
resistant eye and face protection. Even small objects can injure eyes and cause
blindness.
Before changing accessories, when making repairs, and or when tool is not in use,
always first shut off air supply and release / drain air pressure from hose. Then
disconnect tool from air supply or hose and store in a safe location.
Always have control of the air hose.
Never direct air at yourself of anyon else.
Whipping hoses can cause serious injury. Always check for damaged or loose hoses
and fittings. Never use quick change couplings at tool. They add weight and could fail
due to vibration. Instead,add a hose whip connect coupling between air supply and
hose whip ,or between hose whip and leader hose.
Always use the tool at a safe distance from other people in the work ares and ensure
work area is safe at all times.
Do not allow children to operate tool.
Maintain tools with care.Keep tools clean and oiled for best and safest performance.
Follow instruction for lubricating and changing accessories. Wiping or cleaning rages
and other flammable waste materials must be placed in a tightly closed metal container,
and disposed of in a proper manner.
Do not wear loose clothing, jewelry, or anything that may get caught or tangled when
using the tools.
Keep proper footing at all times , do not overreach , as slipping ,tripping, and or falling
can be a major cause of serious injury and or death.Be aware of excess hose left in the
working area or work surface. Do not abuse hoses or connectors. Never carry the tool
by the hose or yank it to disconnect it from power supply. Keep hoses away from heat,
oil, and sharp edges. Check hoses for weak or worn connections before each use and
make certain that al connections are secure.
Whenever possible ,secure work with clamps or vise so both hands can be free to
operate the tool.
Repetitive motions, awkward positions and exposure to vibration can be harmful to
hands and arms.
Adequate exhaust must be provided to keep the air free of toxic materials. Use proper
work clothing to avoid direct skin contact. Use a proper respirator whenever possible,
hands and arms. or if there is a chance of inhaling sprayed materials. The mask must
be compatible with the material(s) being sprayed. Contact the material supplier for
further details.
Solvent and coatings can be highly combustible especially when sprayed.
High sound levels can cause permanent hearing loss. Wear ear protection.

4
SAFETY INFORMATION
Adequate exhaust must be provided to keep air free of flammable vapors.
Do not smoke in or near the work area. Always keep a fire extinguisher present in the
work area.
Always have control of the air hose.
Never spray near sources of ignition such as pilot lights, welders, and etc.
Halogenated hydrocarbon solvents,for example,methylene chloride ,are not chemically
compatible with the aluminum that might be used in many system components. The
chemical reaction caused by these solvents reacting with aluminum can become
dangerous and lead to an equipment explosion.Guns with stainless steel fluid passages
may be used with these solvents. However, aluminum is widely used in other spray
applicationequipment such as material pumps, cups and regulators, valves, and etc.
Check all other equipment items before use and make sure they can also be used
safely with those solvents. Read the label or material safety data sheet for the material
you intend to spray.
If in doubt as to whether or not a coating or cleaning material is compatible, contact you
material supplier for further details.
Operators and maintenance personnel must be physically able to handle the bulk
weight, and power of the tool.
This tool is not intended for using in explosive atmospheres and is not insulated for
contact with electrical power sources.
LEAD FROM LEAD - BASED PAINTS
ARSENIC AND CHROMIUM FROM CHEMICALLY - TREATED LUMBER
CRSTALLINE SILICA FROM BRICKS, CEMENT AND OTHER MASONRY
PRODUCTS
Do not remove Brass baffle attached to front of gun body as special technical traning
and tools are required. Only authorized service centers should remove this part.
To avoid cross-threading, all spray gun parts should be screwed in hand tight initially.
If the parts can not easily be turned by hand, be sure you have the correct parts,
unscrew, realign, and try excessive force in matching parts.
SOME DUST CREATED BY POWER SANDING, SAWING, GRINDING, DRILLING
AND OTHER RELATED ACTIVITIES CONT AINS CHEMICALS KNOWN TO THE
STATE OF CALIFORNIA TO CAUSE CANCER, BIRTH DEFECTS OR OTHER
REPRODUCTIVE HARM. SOME EXAMPLES OF THESE CHEMICALS ARE:
YOUR RISK FROM THESE EXPOSURES VARIES, DEPENDING ON HOW OFTEN
YOU DO THIS TYPE OF WORK. TO REDUCE YOUR EXPOSURE TO THESE
CHEMICALS, WORK IN A WELL VENTIATED AREA , AND WORK WITH
APPROVED SAFETY EQUIPMENTS , SUCH AS THOSE DUST MASKS THAT ARE
SPECIALLY DESIGNED TO FILTER OUT MICROSCOPIC PARTICLES.
WARNING
CAUTION

A B
C
D
F
G
E
H
I
J
SPECIFICATIONS
PRESSURE/SIPHON
INTERNAL/EXTERNAL
BLEEDER/NON-BLEEDER
0.055 IN. (1.4 MM)
40 PSI
5.4 AVERAGE/8.6 CONTINUOUS
8 IN. @ 40 PSI/8 IN. DISTANCE FROM WORKPIECE
1/4 IN. NPS (M)
3/8 IN. NPS (M)
COMPONENT
FEED TYPE
MIX TYPE
BLEED TYPE
FLUID NOZZLE I.D.
MAX. WORKING PRESSURE
20 TO 40 PSI
WORKING PRESSURE
AIR REQ'D (SCFM @ 40 PSI)
PATTERN SIZE
AIR INLET
FLUID INLET
PRODUCT SPECIFICATIONS
5
PACKAGECONTENTS
PREPARATION
Description
Air Cap w/Ring
Fluid Nozzle
Paint Needle
Fluid Adjustment Knob
Air adjustment Knob
Aluminum Cup
Cover
Air Pressure Regulator
Spray Pattern Adjustment
Knob
Wrench
Quantity
1
1
1
1
1
1
1
1
1
1
Part
A
B
C
D
E
F
G
H
I
J
Before beginning assembly and operation of product, make sure all parts are present.
Compare parts with package contents list and diagram above. If any part is missing or
damaged, do not attempt to assemble or operate the product. Contact customer
service for replacement parts.
Estimated Assembly Time: 3 minutes
Tools Required for Assembly: Wrench (included)

6
1. This spray gun is rugged in construction, and is
built to yield exceptional value. The life of this
product and the efficiency of its operation depend
upon the knowledge of its construction, usage
and maintenance. (See Figure1. Not all
accessories shown are included)
ASSEMBLY INSTRUCTIONS
2. Take out spray gun and put filter on spray gun.
(See Figure 2)
3. Put on paint cup, and securely tighten by hand
making sure there is a tight secure fit.
(See Figure 3)
4. Put on air pressure regulator at air intake
connector and tighten by hand.
Gravity Feed Cup
Fluid Adjustment Knob
Oil and
Water
Extractor
Atomization
Pressure Gauge
Air Hose
Air Inlet
1
2
3
4

7
ASSEMBLY INSTRUCTIONS
Spray Pattern Adjustment Knob
Air Adjustment Knob
Fluid Adjustment Knob
5
6
Load paint
5. Connect air tube intake connector from air
compressor and tighten, then set pressure to
29 PSI. Fully open the air adjustment knob and
adjust the spray pattern adjustment knob to proper
range. (See Figure 5.Not all accessories shown are
included)
6. Pour paint into paint cup. Hold or adjust paint cup
so that paint can be easily added and controlled
once into paint cup and secure paint cap lid by
screwing on by hand. (See Figure 6. Not all
accessories shown are included)

8
6 to 12 inches
Start
stroke Pull
trigger
Even and wet coat
Release
trigger End of
stroke
RIGHT
Light coat Heavy coat
WRONG
7
Proper handling of the gun is essential for obtaining a good finish. The gun should be
held at a 90° angle to the surface being covered, and moved parallel to it. For precise
control of the gun and material, the trigger should be released before the end of the
stroke. Hold the gun 6 to 12 inches away from the surface depending on material and
atomizing pressure. For a uniform finish, lap each stroke over the preceding stroke,
making sure the spray is smooth and wet. Using the lowest possible atomizing air
pressure will reduce over spray and provide maximum efficiency. (See Figure 7)
OPERATION INSTRUCTIONS
Take care not to damage the seals on the gun body when removing the
air distribution ring.
1. Remove the nozzle set:
a. Remove air cap w/ring. (See Figure 1)
b. Unscrew the fluid adjustment knob. (See Figure 2)
c. Pull out needle spring and paint needle. (See Figure 3)
d. Remove paint nozzle using wrench provided. (See Figure 4)
REPAIR INSTRUCTIONS
1 2 3
4
Remove air pressure from air hose / gun.
CAUTION:

9
2. Pull out the air distribution ring using a needle-nose pliers,
and remove dirt. (See Figure 5)
NOTE:Make sure that dirt has not settled in the sealing
surfaces and no scratches prevent optimum sealing
performance.
REPAIR INSTRUCTIONS
5
Reconnect air hose with spray gun set to desired PSI.
3. The new air distribution ring must be inserted in a way that the plastic
pin marked with an arrow (1) fits smoothly into the hole marked (2). (See Figure 6)
Then firmly push in the air distribution ring. (See Figure 7) Insert the paint nozzle
and tighten slightly. Then remove itagain. Make sure the air distribution ring
fits securely against the gun body.
4. Mount the nozzle set:
a. Screw on paint nozzle.
(See Figure 8)
b. Attach the air cap w/ring.
(See Figure 9)
c. Put on paint needle.
(See Figure 10)
d. Attach the needle spring.
(See Figure 11)
e. Screw on the fluid adjustment
knob. (See Figure 12)
12
6 7
89
10 11
12

10
During normal use, the air cap wings are horizontal and the air cap should be pointed
up as shown here. (See Figure 13) This provides a vertical fan-shaped pattern which
gives maximum and even material coverage as the gun is moved back and forth
parallel to the surface being finished.
The air cap wings
are horizontal.
13
NOTE: Test spray pattern before use again.
REPAIR INSTRUCTIONS
CARE AND MAINTENANCE
1. Submerge the front end of the gun in solvent just until the fluid connection is
covered.
2. Paint that has built up on the gun should be removed using a bristle brush and
solvent.
3. Never submerge all the spray gun in solvent as:
a. Air passages in the gun will become clogged with dirty
solvent.
b. This will dissolve the lubricant in the leather packing and on
wear surfaces, causing them to dry out resulting in difficult
operation and faster wear.
4. Using a rag moistened with solvent, wipe down the outside of
the gun.
5. Oil gun daily. Use a drop of lightweight machine oil on:
a. fluid needle packing
b. air valve packing
c. trigger pivot point
See Figure 14 for location of the above points.
CAUTION: Do not use lubricants which contain silicone. Silicone may cause defects
in the finish application.
c
ab
14
Disconnect and remove air hose and sprayer.

11
Soak nozzle in solvent to
loosen clog, then blow air
through until clean. To clean
orifices use a broom straw
or toothpick. Never try to
detach dried material with
sharp tool.
One side of nozzle is clogged.
a) Loose air nozzle.
b) Material around outside of air
nozzle has dried.
a) Atomization air pressure is set
too high.
b) Trying to spray a thin material
in too wide a pattern.
a) Packing around needle valve is
dried out.
b) Fluid nozzle loosely installed, or
dirt between nozzle and body.
c) Needle sealing damaged.
a) Back up knurled nut, put a
few drops of machine oil
on packing, retighten nut.
b) Take off fluid nozzle, clean
rear of nozzle and seat in
gun body. Replace nozzle
and bring in tight to body.
c) Replace seal.
a) Reduce air pressure.
b) Increase material control
by turning fluid adjustment
knob to left, while reducing
spray width by turning
knob to right.
spray pattern adjustment
a) Trigger air nozzle.
b) Take off air nozzle and
wipe off fluid tip, using a
rag moistened with thinner.
Intermittent spray
TROUBLESHOOTING
SOLUTIONPROBLEM SPRAYPATTERN/
CONDITION
If you have any questions regarding the product, please call customer service at
1-888-3KOBALT, 8:00 a.m.-8:00 p.m., EST, Monday-Friday.
Fan adjustment screw not seating
properly. Clean or replace.
Unable to get
round spray.
a) Gun improperly adjusted.
b) Dirty air cap.
c) Fluid tip obstructed.
d) Sluggish needle.
a) Re-adjust gun. Follow
instructions carefully.
b) Clean air cap.
c) Clean.
d) Lubricate.
Improper spray
pattern.

12
Gun held too close to surface.
a) No air pressure at gun.
b) Fluid pressure too low with
internal mix cap and pressure
tank.
c) Fluid control screw not open
enough.
d) Fluid too heavy for suction feed.
a) Packing nut loose.
b) Packing worn or dry.
a) Dry packing.
b) Sluggish needle.
c) Tight packing nut.
d) Worn fluid nozzle or needle.
a) Gun held too far from surface.
b) Atomization pressure set too
high.
Move gun further from
surface.
a) Move gun closer to
surface.
b) Adjust atomization
pressure.
a) Lubricate.
b) Lubricate.
c) Adjust.
d) For pressure feed,
replace with new fluid
nozzle and needle.
a) Tighten, but not so tight
as to grip needle.
b) Replace packing or
lubricate.
a) Check air supply and air
lines.
b) Increase fluid pressure at
tank.
c) Open fluid control screw.
d) Thin material or change
to pressure feed.
Dripping from
fluid tip.
Will not spray.
Fluid leakage
from packing nut.
Thick, dimpled
finish resembling
orange peel.
Thin, sandy
coarse finish.
SOLUTIONPROBLEM SPRAYPATTERN/
CONDITION
TROUBLESHOOTING
If you have any questions regarding the product, please call customer service at
1-888-3KOBALT, 8:00 a.m.-8:00 p.m., EST, Monday-Friday.

13
WARANTTY
This tool is warranted by the manufacturer to the original purchaser from the original
purchase date for three ( 3) years subject to the warranty coverage described herein.
This tool is warranted to the original user to be free from defect in material and
workmanship. If you believe that a tool is defective , return the tool, with proper
proof of purchase to the point of purchase. If it is determined that the tool is defective
and covered by this warranty, the distributor will replace the tool or refund the
purchase price.
This warranty is void if: defects in materials or workmanship or damages result from
repairs or alterations which have been made or attempted by others or the
unauthorized use of nonconforming parts; the damage is due to normal wear,
damage is due to abuse ( including overloading of the tool beyond capacity),
This warranty gives you specific legal rights, and you may also have other rights that
vary from state to state.
For warranty questions, call ou customer service department at 1-888-3KOBALT ,
8:00 a.m. - 8:00 p.m. EST, Monday - Friday.
improper maintenance,neglect or accident ; or the damage is due to the use of the
use of the tool after partial failure or use with improper accessories of unauthorized
repair or alteration.

Printed in China
14
A
32
31
50
30
29
28
27
26 25 24 23 22 21 2042 41 40 39 35
7
464544
47
48
149
2345678
9 10 11 12 13 14 15 16
53
17 18 19
363738
51 52
33
33
REPLACEMENT PARTS LIST
28
29
F
31
32
G
34
35
36
37
38
B
40
41
42
A
44
45
46
47
48
49
J
51
52
53
Filter
Joint nut
Aluminum cup
Hex nut
Non-drip control device
Cover
Gasket
Needle gasket seal
Sealing gasket
Needle sealing screw
Air distribution ring
Fluid nozzle
Air cap washer
Air cap
Air nozzle washer
Air cap ring
Upper trigger pin
Trigger
Gasket
Lower trigger pin
Washer
End cap
Wrench
Bursh
Air pressure regulator
Gun holder
1
1
1
1
1
1
1
1
1
1
1
1
1
1
1
1
1
1
1
1
2
1
1
1
1
1
1
2
I
4
5
6
7
8
9
10
11
12
13
14
15
16
17
18
19
20
E
22
23
24
25
26
Air connection
Screw M4 x 7
Spray pattern adj. knob
Pattern Adj. Knob
Pattern Adjust Screw
O-ring 6 x 2
Snap Retainer
Washer
Needle sealing washer
O-ring 3.85 x 1.8
Direction Screw
Switch bulkhead
Air Valve Body
Switch Spring
Bushing
O-ring 6.8 x 1.6
Screw
Air adj. knob
Screw
Screw
Fluid adj.knob
Lockout fluid control
Lockout
Needle spring
Paint needle
Gun body
27 Washer
1
1
1
1
1
1
2
1
1
1
1
1
1
1
1
1
1
1
1
1
1
1
1
1
1
1
1
Part No.
Description Qty.
Part No.
Description Qty.

ARTICLE #0301337
MODÉL #SGY-AIR86TZ
JOIGNEZ VOTRE REÇU ICI
Numéro de série Date d'achat
15
KOBALT® et le motif de K® sont des marques
de commerce déposées de LF, LLC.Tous droits
réservés.
Des questions, des problèmes, des pièces manquantes? Avant de
retourner l'article au détaillant, communiquez avec notre service à la
clientèle au 1 888 3KOBALT, entre 8 h et 20 h (HNE), du lundi au vendredi.
GRAND PISTOLET DE
PULVÉRISATION À BASSE
PRESSION ET À GRAVITATION

TABLE DES MATIÈRES
16
Consignes de sécurité ....................................................................................... 17
Contenu de l’emballage ..................................................................................... 19
Caractéristiques du produit ................................................................................ 19
Préparation ........................................................................................................ 20
Instructions pour l’assemblage ........................................................................... 20
Mode d’emploi ................................................................................................... 22
Instructions pour la réparation ........................................................................... 22
Entretien ............................................................................................................ 24
Dépannage ......................................................................................................... 26
Garantie ............................................................................................................. 27
Liste des pièces de rechange ............................................................................ 28

17
CONSIGNES DE SÉCURITÉ
Veuillez vous assurer de lire et de comprendre l’intégralité de ce manuel avant de
tenter d’assembler ou d’utiliser le produit. Si vous avez des questions, communiquez
avec le clientèle au 1 888 3KOBALT, entre 8 h et 20 h (HNE), du lundi au vendredi.
Au cours du nettoyage et du rinçage, les solvants peuvent être expulsés sous la
pression d’air et de liquide et causer des blessures aux yeux. Assurez-vous que toutes
les personnes dans l’aire de travail portent des lunettes de protection ou un masque
résistant au choc. Les petits objets peuvent également blesser les yeux et entraîner la
cécité.
Coupez toujours l’alimentation en air et évacuez la pression d’air du tuyau avant de
changer des accessoires ou d’effectuer des réparations ou si l’outil n’est pas utilisé.
Débranchez ensuite l’outil de la source l’alimentation en air ou du tuyau, puis rangez-le
dans un endroit sûr.
Gardez toujours la maîtrise du tuyau à air.
Ne dirigez jamais l’air vers vous ou toute autre personne.
Le cinglage des tuyaux souples peut entraîner de graves blessures. Vérifiez toujours les
tuyaux et les raccords pour déceler des dommages ou desserrages éventuels. N’utilisez
jamais de raccords à changement rapide sur l’outil. Ils ajoutent du poids et pourraient se
desserrer en raison des vibrations. Ajoutez plutôt une amorce de tuyau et fixez le
raccord entre l’arrivée d’air et l’amorce ou entre l’amorce et le tuyau principal.
Utilisez toujours l’outil à une bonne distance des personnes présentes dans l’aire de
travail et assurez-vous que l’aire est sans danger en tout temps.
Ne laissez pas les enfants utiliser l’outil.
Entretenez les outils avec soin. Maintenez les outils propres et bien graissés pour une
performance et une sécurité optimales. Suivez les instructions relatives au graissage et
au changement des accessoires. Les chiffons utilisés pour essuyer ou nettoyer l’outil et
autres déchets inflammables doivent être placés dans un contenant en métal étanche
et mis au rebut de façon appropriée.
Ne portez pas de vêtements amples, de bijoux ni d’autres accessoires qui pourraient se
prendre ou s’enchevêtrer dans l’outil lorsque vous l’utilisez.
Conservez un bon équilibre en tout temps. Ne vous étirez pas pour étendre votre
portée, ce qui pourrait vous faire glisser, basculer ou tomber et causer des blessures
graves, voire mortelles. Prenez garde à l’excédent de tuyau laissé dans l’aire de travail
ou sur la surface de travail. Ne faites pas un usage abusif des tuyaux ou des raccords.
Ne transportez jamais l’outil par son tuyau et ne tirez jamais sur le tuyau pour le
débrancher de la source d’alimentation. Tenez les tuyaux éloignés des sources de
chaleur, de l’huile et des objets coupants. Vérifiez l’état des tuyaux avant chaque
utilisation et assurez-vous que tous les raccords sont solides.
Si possible, fixez la pièce sur laquelle vous travaillez avec des pinces ou un étau afin de
pouvoir vous servir de vos mains pour faire fonctionner l’outil.
Les mouvements répétitifs effectués pendant le travail, les positions inconfortables et
l’exposition aux vibrations peuvent se révéler douloureux pour les mains et les bras.
Des niveaux de bruit élevés peuvent entraîner une perte d’ouïe définitive. Portez des
protecteurs auditifs.

18
Assurez-vous que l’évacuation d’air est adéquate pour laisser s’échapper les vapeurs
inflammables.
Ne fumez pas dans l’aire de travail ou à proximité de celle-ci. Gardez toujours un
extincteur d’incendie dans l’aire de travail.
Toujours avoir le contrôle de la canalisation d'air.
Ne pulvérisez jamais de produit près de sources d’inflammation telles que des flammes
pilotes ou des soudeuses.
Les halons, par exemple le dichlorométhane, ne sont pas chimiquement compatibles
avec l’aluminium qui pourrait être utilisé dans de nombreux composants de l’outil. La
réaction chimique causée par ces solvants réagissant à l’aluminium peut se révéler
dangereuse et provoquer une explosion de l’équipement. Les pistolets munis de
conduites de fluide en acier inoxydable peuvent être utilisés avec ces solvants.
Toutefois, l’aluminium est largement utilisé dans d’autres outils de pulvérisation tels que
les pompes à pulvériser, les godets et les régulateurs, les soupapes, etc. Vérifiez toutes
les pièces de l’équipement avant de vous en servir et assurez-vous qu’elles peuvent
être utilisées en toute sécurité avec ces solvants. Lisez l’étiquette ou la fiche
signalétique du produit que vous prévoyez pulvériser.
En cas de doute quant à la compatibilité d’un enduit ou d’un produit de nettoyage,
communiquez avec le fournisseur du produit.
Les utilisateurs et le personnel d’entretien doivent être physiquement capables de
supporter le poids et la puissance de l’outil.
Cet outil n’est pas conçu pour être utilisé dans des atmosphères explosives et n’est pas
isolé de façon à pouvoir supporter un contact avec les sources d’alimentation électrique.
LE PLOMB PROVENANT DES PEINTURES À BASE DE PLOMB
L’ARSENIC ET LE CHROME PROVENANT DU BOIS D’ŒUVRE TRAITÉ AVEC UN PRODUIT
CHIMIQUE.
LA SILICE CRISTALLINE PROVENANT DE LA BRIQUE, DU CIMENT ET D’AUTRES
MATÉRIAUX DE MAÇONNERIE
LA POUSSIÈRE CRÉÉE PENDANT LE PONÇAGE MÉCANIQUE, LE SCIAGE, LE POLISSAGE, LE
PERÇAGE ET AUTRES ACTIVITÉS CONNEXES CONTIENT DES PRODUITS CHIMIQUES
RECONNUS PAR L’ÉTAT DE LA CALIFORNIE COMME ÉTANT LA CAUSE DE CANCERS,
D’ANOMALIES CONGÉNITALES OU D’AUTRES PROBLÈMES LIÉS AUX FONCTIONS
REPRODUCTRICES. VOICI QUELQUES EXEMPLES DE CES PRODUITS CHIMIQUES :
LES RISQUES LIÉS À L’EXPOSITION À CES PRODUITS VARIENT SELON LE NOMBRE DE FOIS
OÙ VOUS PRATIQUEZ CES ACTIVITÉS. AFIN DE LIMITER VOTRE EXPOSITION À CES
PRODUITS CHIMIQUES, TRAVAILLEZ DANS UN ENDROIT BIEN VENTILÉ ET UTILISEZ DE
L’ÉQUIPEMENT DE SÉCURITÉ APPROUVÉ, TEL QU’UN MASQUE ANTIPOUSSIÈRE CONÇU
SPÉCIALEMENT POUR FILTRER LES PARTICULES MICROSCOPIQUES.
AVERTISSEMENT
Assurez-vous que l’évacuation d’air est adéquate pour laisser s’échapper les
substances toxiques. Portez des vêtements de travail appropriés pour éviter le contact
direct avec la peau. Portez un appareil respiratoire approprié dans la mesure du
possible ou s’il y a un risque d’inhalation des produits vaporisés. Le masque doit être
adapté au produit vaporisé. Pour de plus amples renseignements, communiquez avec
le fournisseur du produit.
Les solvants et les enduits peuvent être très combustibles, particulièrement lorsqu’ils
sont pulvérisés.
CONSIGNES DE SÉCURITÉ

A B
C
D
F
G
E
H
I
J
CARACTÉRISTIQUES
À PRESSION/À SIPHON
INTERNE/EXTERNE
PURGEUR/NON PURGEUR
1,44 MM (0,055 PO)
1/4 PO NPS (M)
3/8 PO NPS (M)
COMPOSANTE
TYPE D’ALIMENTATION
TYPE DE MÉLANGE
TYPE DE PURGE
DIAMÈTRE INTÉRIEUR DE
LA BUSE À PEINTURE
MAXIMALE
PRESSION DE SERVICE
LARGEUR DU JET
ENTRÉE D’AIR
ENTRÉE DE FLUIDE
CARACTÉRISTIQUES DU PRODUIT
19
CONTENU DE L’EMBALLAGE
Description
Obturateur d’air avec anneau
Buse à peinture
Pointeau à peinture
Bouton de réglage du fluide
Bouton de réglage de l’air
Réservoir en aluminium
Couvercle
Régulateur de pression d’air
Bouton de réglage de
l’étendue du jet
Clé
Quantité
1
1
1
1
1
1
1
1
1
1
Pièce
A
B
C
D
E
F
G
H
I
J
NE RETIREZ PAS
le déflecteur en laiton fixé à l'avant du corps du pistolet car une
formation technique spéciale et certains outils sont nécessaires. Le retrait de cette
pièce devrait être confié aux centres de
Pour éviter de fausser le filetage, toutes les pièces du pistolet de pulvérisation
devraient d'abord être solidement vissées à la main. Si les pièces ne peuvent pas
être tournées facilement à la main, assurez-vous de disposer des pièces
appropriées, dévissez, réalignez et réessayez. Ne forcez jamais excessivement
pour apparier les pièces.
MISE EN GARDE
CONSIGNES DE SÉCURITÉ
LB/PO )
2
5,4 EN MOYENNE/8,6 EN CONTINU
AIR REQUIS (PI /MIN À 40
3
20 À 40 LB/PO
2
PRESSION DE SERVICE
40 LB/PO
2
21,66 CM (8 PO) À 40 LB/PO /À 21,66 CM (8 PO)
2
DE LA PIÈCE

20
1. Ce pistolet de pulvérisation est d'une fabrication
robuste; il a été conçu pour offrir une valeur
exceptionnelle. La durée de vie et l'efficacité de ce
produit dépendent des connaissances qu'ont les
utilisateurs relativement à sa fabrication, à son
utilisation et à son entretien. (Consultez la figure 1.
Les accessoires illustrés ne sont pas
nécessairement inclus.)
DIRECTIVES D'ASSEMBLAGE
2. Sortez le pistolet de pulvérisation et placez le filtre
sur le godet de peinture. (Voir figure 2)
3. Mettez en place le réservoir à peinture, puis fixez-le
solidement à la main. (Consultez la figure 3.)
1
2
3
PRÉPARATION
Avant de commencer l'assemblage et d'utiliser le produit, assurez-vous de disposer
de toutes les pièces. Comparez les pièces dans l'emballage avec la liste et le
tableau ci-dessus. Si des pièces sont manquantes ou endommagées, ne tentez pas
d'assembler ou d'utiliser le produit. Communiquez avec le service à la clientèle pour
obtenir des pièces de rechange.
Temps d'assemblage approximatif : 3 minutes
Accessoires requis pour l'assemblage : Clé (comprise)
Godet de pistolet
à gravitation
Molette de réglage du fluide
Extracteur
d'huile
et d'eau
Manomètre
de pulvérisation
Tuyau d'air souple
Arrivée d'air
Table of contents
Languages:
Other Kobalt Paint Sprayer manuals

Kobalt
Kobalt SGY-AIR70TZ User manual

Kobalt
Kobalt KC-599CS User manual

Kobalt
Kobalt SGY-AIR70NB User manual

Kobalt
Kobalt SGY-AIR293 User manual

Kobalt
Kobalt KBSP 1040B-03 User manual

Kobalt
Kobalt KSP 440-06 User manual

Kobalt
Kobalt SGY-AIR88NB User manual

Kobalt
Kobalt SGY-AIR160NB User manual

Kobalt
Kobalt SGY-AIR176 User manual

Kobalt
Kobalt SGY-AIR176NB User manual
Popular Paint Sprayer manuals by other brands

BARGAM
BARGAM AT Biturbo Series Maintenance & Operation Manual

Fast Mover
Fast Mover FMT2138 Product instruction manual

Goizper Group
Goizper Group MATABI Super Green 12 manual

Graco
Graco ULTRA 500 Instructions-parts list

Graco
Graco 695 Premium Hi Operation manual

Rapid Spray
Rapid Spray BUDDY SMART REEL Operator's handbook