manuals.online logo
Brands
  1. Home
  2. •
  3. Brands
  4. •
  5. KOBLE
  6. •
  7. Indoor Furnishing
  8. •
  9. KOBLE DOOTTO User manual

KOBLE DOOTTO User manual

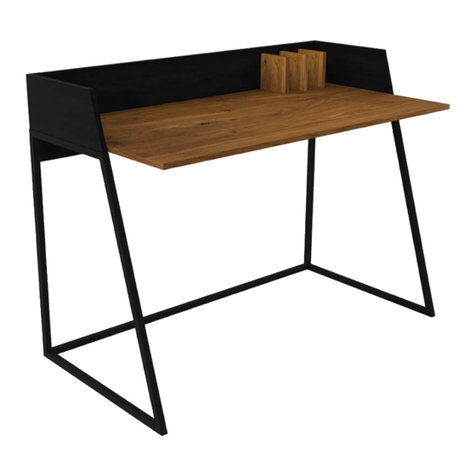
Otto Smart Desk
Assembly Instructions
Issue 1 - 16/12/2021
Thank you for purchasing the Otto Desk. In order to make the best use
of this product and to use it safely, please read the manual carefully before use and
Thank you for keep it for future reference.
STOCK REF. : DOOTTO
Imported By: Koble Designs(Justwise Group Ltd). CB11 3AP.
Main Components
Please check you have all the parts listed below
For missing or damaged parts, call our Customer Helpline: 01799 513466 or email
[email protected]
1
Centre Back Panel Qty 1
(1178x87x5mm)
Lower Back Panel Qty 1
(1156x100x16mm)
Drawer Side (Left) Qty 2
(350x65x12mm)
Drawer Back Panel Qty 2
(526x65x12mm)
Top Qty 1
(1168x499x16mm)
1Front Support Qty 1
(1168x80x16mm)
2(1168x110x16mm)
Rear Support Qty 1
3
Upper Back Panel Qty 1
(1168x219x16mm)
4 5 6
Side Panel (Left) Qty 1
(330x500x16mm)
7Side Panel (Right) Qty 1
(330x500x16mm)
8Shelf Qty 1
(1168x120x16mm)
9Divider Qty 1
(77x457x16mm)
10
Drawer Front (Right) Qty 1
(581x90x16mm)
11 Drawer Front (Left) Qty 1
(581x90x16mm)
12 13 14
Drawer Base Qty 2
(536x348x5mm)
Drawer Side (Right) Qty 2
(350x65x12mm)
15 16 (660mm)
Leg Frame (Left) Qty 1
17 (660mm)
Leg Frame (Right) Qty 1
18
(1155mm)
Support Stretcher Qty 2
19 Lower Stretcher Qty 1
(1155mm)
20
Main Components
Please check you have all the parts listed below
For missing or damaged parts, call our Customer Helpline: 01799 513466 or email
[email protected]
2
Fixings, Fittings And Tools
Please check you have all the parts listed below
For missing or damaged parts, call our Customer Helpline: 01799 513466 or email
[email protected]
The quantities below are the correct amount to complete the assembly. In some cases more
fittings may be supplied than are required.
M6*40
Large Cam Dowel Qty 28Φ8*30 Wooden Dowel Qty 18
Φ15*12
Large Cam nut Qty 28Self adhesive covers Qty 36
3
A B C D
Tools needed (not supplied)
Screwdriver Tape Measure Hammer
M6*16 Allen Screw Qty 22 M4 Allen Key Qty 1
H
GN
Drawer Runner Qty 4
M6*34
Small Cam Dowel Qty 16
Φ12*10.5
Small Cam nut Qty 16
O
P
Φ7*50 Screw Qty 2
QR
M3.5*12 Screw Qty 16
M6 Spring Washer Qty 10
U
M6 Plain Washer Qty 10
V
Wireless Charging Coil Qty 1
Power Adapter 150cm Qty 1
ST
E
Corner bracket Qty 6
M
Cable Clips Qty 3
Plastic Cover Qty 1
W
Main Component Diagram
For missing or damaged parts, call our Customer Helpline: 01799 513466 or email
[email protected]
4
1
3
4
5
6
8
7
9
10
11 12
13
14
15
16
17
18
19
19
20
2
x2
Left
Right
5
Assembly Steps
Step 1
Large Cam Dowel Qty 28Wooden Dowel Qty 18
A B
A
B
A
B
AB
A
A
A
A
A
A
A
A
A
A
B
B
B
B
B
AB
A
A
A
A
A
A
AA
A
A
B
B
B
B
B
B
B
UNDERSIDE
UNDERSIDE
Turn
over
Turn over
2
1
1
3
3
4
8
7
Plastic Cover Qty 1
W
W
B
Step 2
6
Assembly Steps
Large Cam nut Qty 4
C
Large Cam nut Qty 3
C
Step 3
C
C
C
4
9
FRONT
C
1
9
7
Assembly Steps
Large Cam nut Qty 2
C
Step 4
Large Cam nut Qty 3
C
Step 5
Shown upside down.
UNDERSIDE
1
49
10
Groove
this side
3
6
C
8
Assembly Steps
Step 6
N1
N1
N1
N1
N1
N1 N2
N
N
N
Drawer Runner Qty 4
R
M3.5*12 Screw Qty 8
N1
1
8
7
R
R
R
RR
R
R
R
Release plastic
lever to separate
drawer runners
into two sections.
Pull apart.
Front
Back
Note hole locations for
screws .
Front
Back
R
FRONT
BACK
R
Note hole locations for
screws .
R
IMPORTANT
Push wireless charging coil firmly down.
Maintain pressure and turn central
knob to secure
Wireless Charging Coil Qty 1
T
9
Assembly Steps
Step 7
Step 8
Φ7*50 Screw Qty 2
Q
TT
1
Push firmly
down
UNDERSIDE
Shown upside down.
Turn knob
to secure
Q
H
1
5
3
6
2
Shown upside down.
Q
Q
Slide into
grooves.
Hole this end
Groove
Groove
A B
Use self adhesive covers
to cover fixing holes.
Assembly Steps
C
Large Cam nut Qty 16
C
10
Step 9
Step 10
Self adhesive covers Qty 28
D
D
D
Shown upside down.
Shown upside down.
1
8
7
C
C
Groove
Groove
H
G
H
G
11
M6*16 Allen Screw Qty 6
G
M6*16 Allen Screw Qty 6
G
Step 12
FRONT
FRONT
BACK
BACK
18
19
19
19
19
17
20
20
Step 11
Assembly Steps
Brackets
at top
G
G
G
G
G
G
G
U
V
H
12
Assembly Steps
M6*16 Allen Screw Qty 10
G
Step 13
M6 Split Lock Washer Qty 10 M6 Washer Qty 10
V
U
Two people required!!
FRONT
BACK
V
U
G
M6*34
Small Cam Dowel Qty 8
O
Φ12*10.5
Small Cam nut Qty 4
P
13
Assembly Steps
Step 14
Step 15
Step 16
O
P
x2
x2
x2
11 12
14
15
15
O
O
O
P
Ensure grooves
are aligned
15
14
16
13
14
Φ12*10.5
Small Cam nut Qty 4
P
P
R
M3.5*12 Screw Qty 4Drawer Slider Qty 1
N2
Self adhesive covers Qty 8
D
14
Assembly Steps
Step 17
Step 18
D
x2
x2
V1
V1
Front
Back
hole locations for
screws
N2
N2
R
R
R
R
P
11 12
15
Assembly Steps
Step 19
Engage
drawer
runners.
N2
N1
Right
Left
11
12
Adjustment alignment as
required fully tighten.
16
Assembly Steps
Step 20
E
Corner bracket Qty 6
E
Power Adapter 150cm Qty 1
S
S
E
Shown from back
S
T
Use Cable Clips to route the
power cable as required
M
tidy clip .
A B
M
Fixed
Route cable
through cable
M
Cable Clips Qty 3
Wireless charging function
If you have a wireless charging compatible phone, please put the phone on the wireless
charging indicator and check if the phone is successfully connected to the charging function.
If not, move the mobile phone around the logo until the connection is successful.
Some phone cases may inhibit the wireless charging function or it's efficiency. It may be
necessary to remove the phone case if difficulties with charging are experienced.
Wireless charging will only work with wireless charging compatible mobile devices.
Technical Specification
Working voltage: DC DC 5V/2A
Wireless Charging:5W
Power Supply: AC adapter,100-240V~50/60Hz
17
Wireless
Charging
Location
Safety and Care Advice
1.The maximum weight that can be placed on this product is 30KG
2.This product must not be used as a seat.
3. Always use the original AC power adapter and power cable, otherwise it may cause slow
Function
7.Do not expose the product to dust or smoke.
8.If the product will not be used for a long time,please unplug the power.
9. When using the product ,if smoke appears,or if there is a peculiar smell,please turn off the
power,pull out the socket and seek professional help.
10.Pull out the plug before cleaning the surface of the product. It can be cleaned with a damp
cloth and soap.
6.Keep the product away from containers holding liquid.If any liquid enters into the product,
it may be damaged.
5.Do not expose the product to damp or moisture.
4. In order to avoid accidents, do not open any electrical covers. Refer to a professional if the
circuit is faulty.
wireless charging,In extreme cases,an incompatible AC power adapter may burn out.
Wireless charging function
Trouble shooting
If any failure occurs, please refer to the following solutions, to help solve the problem.
If these are of no help, please contact the customer service helpline.
PROBLEM PROBLEM CAUSE REMEDY
No power display
No wireless
charging
Power plug not inserted properly.
There is no power in the socket.
The power is not switched on.
Power not connected.
Mobile device does not have wireless charging
function.
Check plug.
Check power supply.
Turn on the power socket.
Check power is connected and on.
Check your mobile debice has wireless
Remove any cover from your mobile device.
charging capability.
Disposal
If disposal of this product becomes necessary, please do this in an environmentally
responsible way. Contact your local government office or authority for suitable disposal or
recycling options in your local area. Do not dispose of this product, or it's components, with
your general domestic waste.
18
After Sales Support / Product Returns
19
Purchased from kobledesigns.com
In the unlikely event that you need to return the unit because it is faulty, please follow the
replacements or faulty items instructons at www.kobledesigns.com website.
Should you need to request replacement parts, please contact our after sales support team at:-
Email - [email protected]
Tel: + 44 (0)1799 513 466
Address: Koble Designs, 6 The Shires, Shirehill industrial Estate, Saffron Walden, Essex, CB11 3AP
Purchased from other retailer
If you purchased your product from one of our retail partners, please refer back to the retailer
directly, for any customer services related issues, refunds or returns requests.
Koble designs may still be able to offer support with technical related queries.

Other KOBLE Indoor Furnishing manuals

KOBLE New England Manual

KOBLE

KOBLE New England Manual

KOBLE Bahamas GFBAHC Manual

KOBLE

KOBLE Bahamas GFBAHC Manual

KOBLE Axel User manual

KOBLE

KOBLE Axel User manual

KOBLE Apollo User manual

KOBLE

KOBLE Apollo User manual

KOBLE Tulum Table Manual

KOBLE

KOBLE Tulum Table Manual

KOBLE Malmo GFLMAL Manual

KOBLE

KOBLE Malmo GFLMAL Manual

KOBLE Juno DOJUNB4 User manual

KOBLE

KOBLE Juno DOJUNB4 User manual

KOBLE Bahamas Coffee Table Manual

KOBLE

KOBLE Bahamas Coffee Table Manual

KOBLE Hedda User manual

KOBLE

KOBLE Hedda User manual

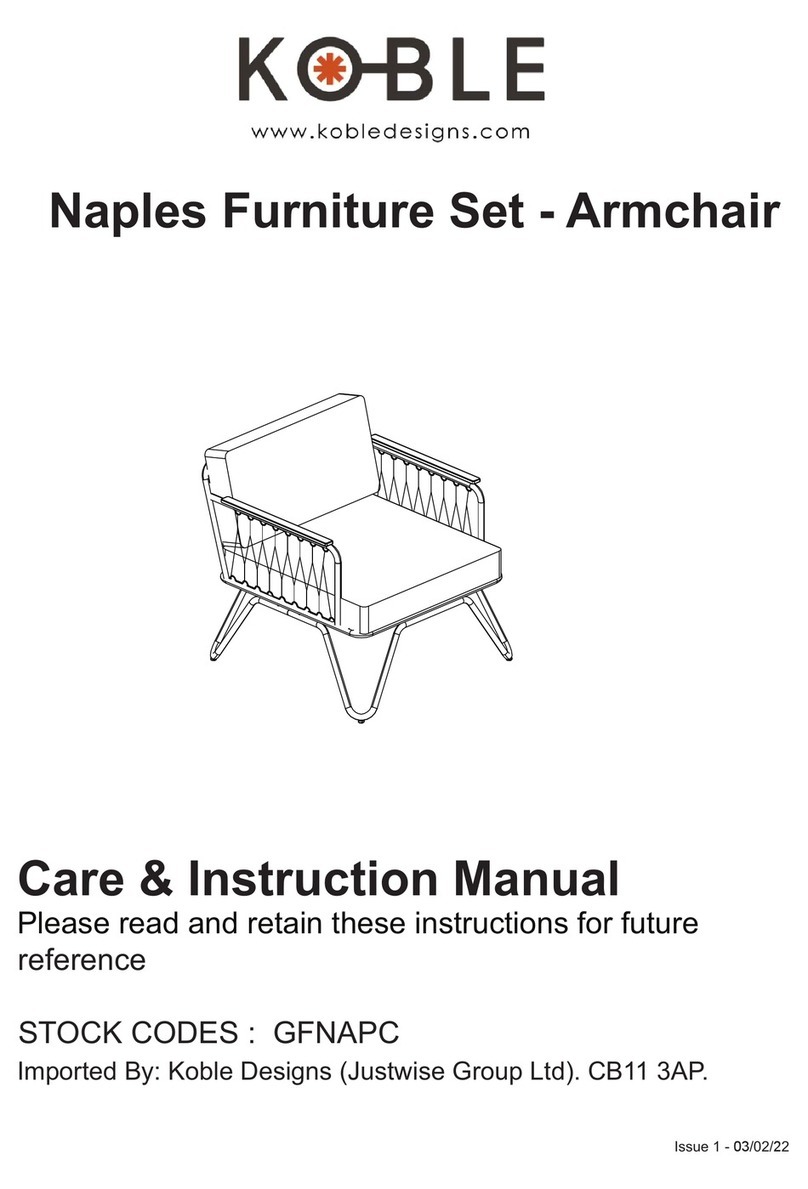
KOBLE Naples GFNAPC Manual

KOBLE

KOBLE Naples GFNAPC Manual

KOBLE Juno DOJUNN User manual

KOBLE

KOBLE Juno DOJUNN User manual

KOBLE Anders Smart Desk User manual

KOBLE

KOBLE Anders Smart Desk User manual

KOBLE Kennet User manual

KOBLE

KOBLE Kennet User manual

KOBLE Charleston Manual

KOBLE

KOBLE Charleston Manual

KOBLE Astrid Desk User manual

KOBLE

KOBLE Astrid Desk User manual

KOBLE Gino DOGINOW User manual

KOBLE

KOBLE Gino DOGINOW User manual

KOBLE Bahamas GFBAH2 Installation guide

KOBLE

KOBLE Bahamas GFBAH2 Installation guide

KOBLE Larsen HM-TS001-001 User manual

KOBLE

KOBLE Larsen HM-TS001-001 User manual

KOBLE Gino DOGINCOW User manual

KOBLE

KOBLE Gino DOGINCOW User manual
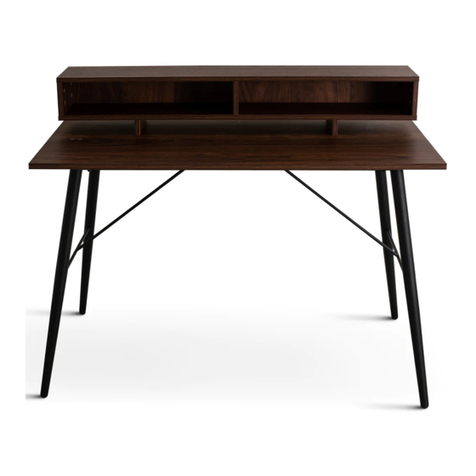
KOBLE Bea Desk User manual

KOBLE

KOBLE Bea Desk User manual

KOBLE Naples GFNAPB Installation guide

KOBLE

KOBLE Naples GFNAPB Installation guide

KOBLE Oskar Desk User manual

KOBLE

KOBLE Oskar Desk User manual
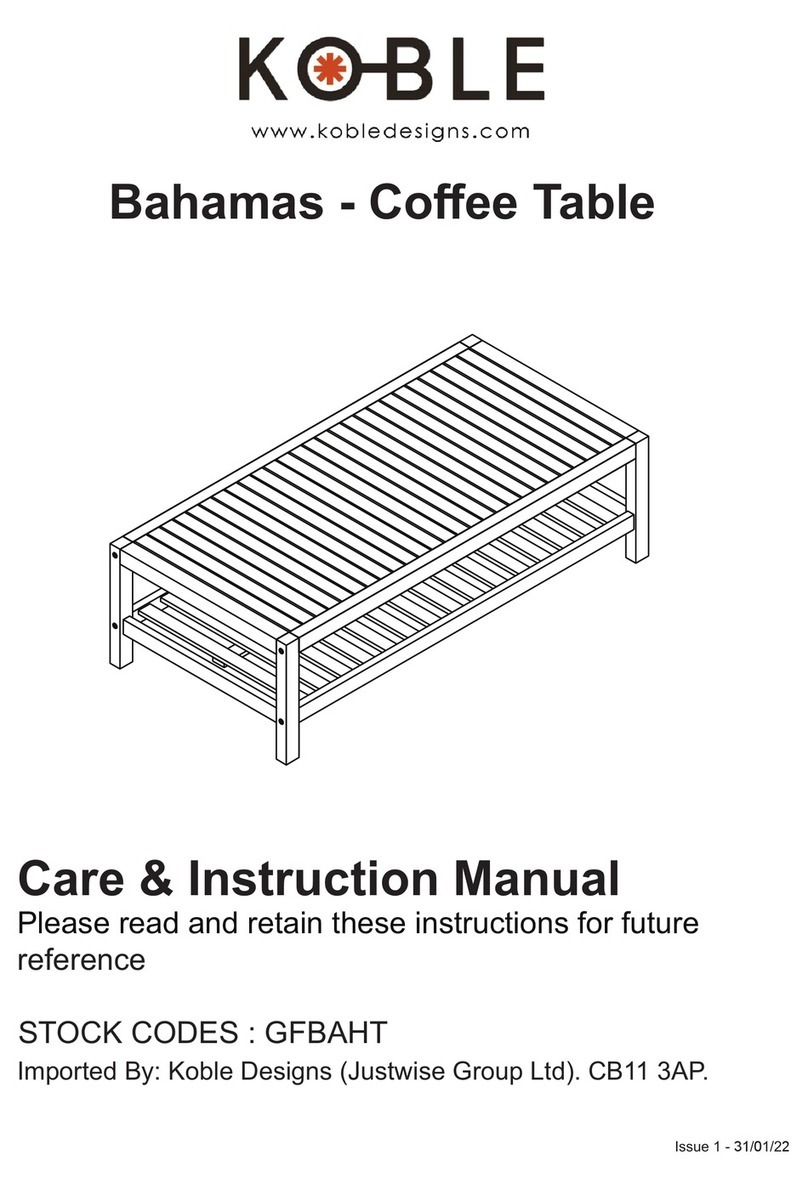
KOBLE HM-BD003-012 Manual

KOBLE

KOBLE HM-BD003-012 Manual

Popular Indoor Furnishing manuals by other brands

Coaster 723458 Assembly instructions

Coaster

Coaster 723458 Assembly instructions

Bravo 254150 quick start guide

Bravo

Bravo 254150 quick start guide

DITALIA CD-674 Assembly instructions

DITALIA

DITALIA CD-674 Assembly instructions

Rapidline GTDSHELF Assembly instructions

Rapidline

Rapidline GTDSHELF Assembly instructions

Tuft & Needle Contrast Platform Bed Care & assembly instructions

Tuft & Needle

Tuft & Needle Contrast Platform Bed Care & assembly instructions

Poliform LEXINGTON NIGHT Assembly instructions

Poliform

Poliform LEXINGTON NIGHT Assembly instructions

Next NEW MADSEN OPEN TV 446167 Assembly instructions

Next

Next NEW MADSEN OPEN TV 446167 Assembly instructions

BLACK RED WHITE KENTAKI IDENTO S320-REG/90 Assembly

BLACK RED WHITE

BLACK RED WHITE KENTAKI IDENTO S320-REG/90 Assembly

Ovente MNLFW70 Series instruction manual

Ovente

Ovente MNLFW70 Series instruction manual

Sauder OfficeWorks AFFIRM 427471 Instruction booklet

Sauder

Sauder OfficeWorks AFFIRM 427471 Instruction booklet

Finori LW60/016 Assembly instructions

Finori

Finori LW60/016 Assembly instructions

Seconique LUDLOW BOOKCASE Assembly instructions

Seconique

Seconique LUDLOW BOOKCASE Assembly instructions

Sauder 412091 Instruction booklet

Sauder

Sauder 412091 Instruction booklet

Royalcraft Amalfi Ivory Stacking Chair Assembly instructions

Royalcraft

Royalcraft Amalfi Ivory Stacking Chair Assembly instructions

MH MH-TB-872 Assembly instructions

MH

MH MH-TB-872 Assembly instructions

Cosco 5953216COM Assembly instructions

Cosco

Cosco 5953216COM Assembly instructions

Seconique FINLEY Assembly instructions

Seconique

Seconique FINLEY Assembly instructions

Powell 586-851T2 Assembly instructions

Powell

Powell 586-851T2 Assembly instructions

manuals.online logo
manuals.online logoBrands
  • About & Mission
  • Contact us
  • Privacy Policy
  • Terms and Conditions

Copyright 2025 Manuals.Online. All Rights Reserved.