manuals.online logo
Brands
  1. Home
  2. •
  3. Brands
  4. •
  5. Kohler
  6. •
  7. Indoor Furnishing
  8. •
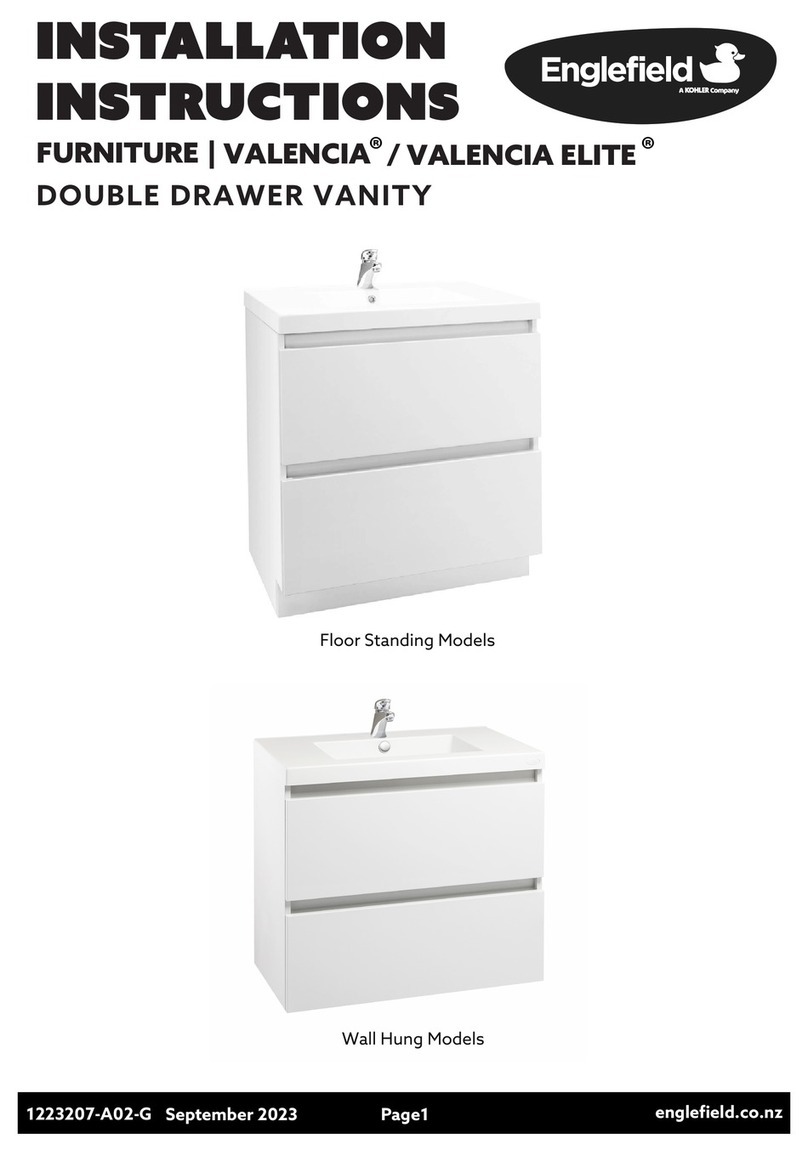
  9. Kohler K-3087 AA Series User manual

Kohler K-3087 AA Series User manual


Copyright  1992 Kohler Co.
112629–BA (0492)
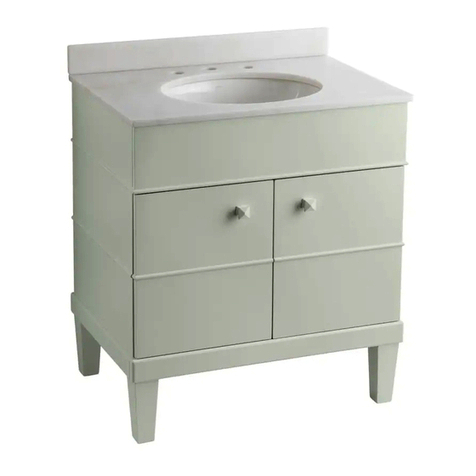
QUEEN ANNE DOUBLE
BASIN VANITY
K-3087-**-AA
BEFORE YOU BEGIN
HOW TOUSE THESEINSTRUCTIONS
Please read these instructions carefully to familiarize
yourself with the required tools, materials, and
installation sequences.
All information in this manual is based on the latest
product information available at the time of publication.
KohlerCo.reservestherighttomakechangesinproduct
characteristics, packaging, or availability at any time
without notice.
These instructions contain importantcare,cleaning, and
warranty information - please leave for the consumer.
PRODUCTREQUIREMENTS
The product requires two people to install.
The product requires two Kohler 17” x 14”
undercounter lavatories to complete installation.
Rough-in supplies and drain piping according to
rough-in dimensions.
Refertowatersupplyanddrainroughing-inabove
for installation of Kohler faucet.
Add 3” long pipe nipples from finished wall to the
supplies and drain pipe.
NOTICE: Observe all local plumbing codes.
112629–BA (0492) 2
TOOLS AND MATERIALS REQUIRED:
Screwdriver
Pencil
INSTALLATION:
DISASSEMBLE VANITY
1. Remove the drawers and shelf from the cabinet.
2. Remove top of vanity by removing 16 screws located at
the top sides.
3. Turn top upside down, making sure to protect the
surface. Avoid scratching countertop.
4. Unpack lavatory.
5. Apply bead of sealant (provided with lavatory) to top
surface of lavatory rim.
6. Position lavatory on underside of top.
7. Install lavatory clips with screws. Use lavatory clips and
screwsprovidedinhardwarebagoflavatory(positionat
4 places). Avoid forcing screws through
countertop.
1/4” x 3/4”
screws located
at 4 places
 
Lavatory Basin
(bottom view)
Lavatory
Clip (4 clips
each)
8. Removeexcesssealantimmediately with adampcloth.
9. Install drain and lift rod assembly to lavatory. Lift rod
assembly must face toward back of lavatory.
REASSEMBLE VANITY
1. Place vanity top on cabinet. Insert and tighten the 16
screws located at the top sides.
2. Position vanity against the wall.
3. Mark supply and drain pipe location on back wall of
cabinet.
4. Slide unit away from wall and cut supply and drain pipe
holes in back wall of unit.
5. Slide vanity against wall, ensuring supply and drain
pipes fit through holes in cabinet.
6. Using the two 3-3/4” screws provided, fasten vanity to
wall studs through backer board on rear of vanity.
Tighten completely.
Screw
Vanity
Finished
Wall
Stud
Backer
board
7. Install faucets, following instructions packed with them.
Install escutcheons and supply valves to vanity.
CONNECT PLUMBING
1. Install drain tailpiece, cut if necessary.
2. Connect P-trap and drain line.
3. Connect water supply lines.
4. Check all connections for leaks.
5. Return drawer and shelf to cabinet.
112629–BA (0492)
3
IMPORTANT CONSUMER INFORMATION
CONSUMERRESPONSIBILITIES
When cleaning vitreous china product, do not use
harsh abrasive cleaners or you may scratch the
surface. Follow the lavatory cleaning instructions
included with the lavatory.
A fine wood vanity should be cared for just like any other
fine furniture. Use furniture polish to help retain the
beauty of the wood and its finish.
Kohler Co. does not recommend the use harsh abrasive
cleaners on any of its products. Harsh cleaners, used
regularly, will scratch the lavatory and vanity surfaces
and eventually dull the finish.
For lavatory and vanity top: Water conditions in various
parts of the country will determine any extra cleaning
attention you give your new vanity top. A simple routine
ofdailycarewillkeepyourvanityandlavatorylookinglike
new.
REQUESTINGSERVICE
Please take a moment to familiarize yourself with the
Kohler Warranty, its benefits, and limitations. Kohler Co.
and its distributors support you with one of the largest
Service Networks of its type. Here’swhat youneed todo
if you require service:
FIRST: Contact the dealer or contractor who sold
and installed the product. They should be
able to solve any problems you may have.
SECOND: If your dealer or contractor cannot solve the
problem, they will contact or supply you with
the name of the local Kohler Distributor and
the:
KOHLER TECHNICAL SPECIALIST
THIRD: If you are unable to obtain warranty service
through either your contractor or Kohler Co.
distributor, please write us directly at Kohler
Co., Consumer Affairs, Kohler, Wisconsin
53044
FOURTH: Include all pertinent information regarding
your claim, including a complete description
of the product, model numbers, colors,
finishes, and the date the product was
installed. Include a description of the
problem, and a photocopy of your invoice for
the products involved. Alsogive us thename
of the contractor and distributor.
LIMITED ONE-YEAR WARRANTY
Kohler plumbing fixtures and fittings are warranted free
of manufacturing defects.
Kohler Co. will, at its election repair, replace, or make
appropriate adjustment where Kohler Co. inspection
discloses any such defects occurring in normal usage
within one year after installation. Kohler Co. is not
responsible for installation costs.
To obtain warranty service, contact Kohler Co. either
throughyourDealerorPlumbingContractororbywriting
Kohler Co., Attn: Consumer Affairs Department, Kohler,
WI 53044 U.S.A.
Implied warranties, including that of merchantability, are
expressly limited in duration to the duration of this
warranty. Kohler Co. disclaims any responsibility for
consequential damages.
Some states do not allow limitations on how long an
implied warranty lasts or the exclusion or limitation of
incidental or consequential damages, so this limitation
and exclusion may not apply to you. This warranty gives
you specific legal rights. You may also have rights which
vary from state to state.
This is our exclusive written warranty.
KOHLER CO., KOHLER, WISCONSIN 53044
112629–BA (0492) 4

Other Kohler Indoor Furnishing manuals

Kohler Fountainhead K-2441 Assembly instructions

Kohler

Kohler Fountainhead K-2441 Assembly instructions

Kohler K-2659 Assembly instructions

Kohler

Kohler K-2659 Assembly instructions

Kohler Vanity K-2435 User manual

Kohler

Kohler Vanity K-2435 User manual

Kohler VEIL K-21800T-X User manual

Kohler

Kohler VEIL K-21800T-X User manual

Kohler K-76663T User manual

Kohler

Kohler K-76663T User manual

Kohler K-2732 Assembly instructions

Kohler

Kohler K-2732 Assembly instructions

Kohler K-13013T User manual

Kohler

Kohler K-13013T User manual

Kohler Top Art K-14041 User manual

Kohler

Kohler Top Art K-14041 User manual

Kohler K-2463 User manual

Kohler

Kohler K-2463 User manual

Kohler Natura 15457T User manual

Kohler

Kohler Natura 15457T User manual

Kohler K-2967 Assembly instructions

Kohler

Kohler K-2967 Assembly instructions

Kohler Verdera User manual

Kohler

Kohler Verdera User manual

Kohler TOOBI K-15468T User manual

Kohler

Kohler TOOBI K-15468T User manual

Kohler TRESHAM K-45980T-L User manual

Kohler

Kohler TRESHAM K-45980T-L User manual

Kohler K-9330 Assembly instructions

Kohler

Kohler K-9330 Assembly instructions

Kohler VERDERA K-26376T User manual

Kohler

Kohler VERDERA K-26376T User manual

Kohler K-11750 Assembly instructions

Kohler

Kohler K-11750 Assembly instructions

Kohler K-20195 Assembly instructions

Kohler

Kohler K-20195 Assembly instructions

Kohler SEQUOIA User manual

Kohler

Kohler SEQUOIA User manual

Kohler K-11578 Assembly instructions

Kohler

Kohler K-11578 Assembly instructions

Kohler Vanity K-2604 Assembly instructions

Kohler

Kohler Vanity K-2604 Assembly instructions

Kohler 1221226-2-B Assembly instructions

Kohler

Kohler 1221226-2-B Assembly instructions

Kohler K-2553 Assembly instructions

Kohler

Kohler K-2553 Assembly instructions

Kohler FAIRFIELD K-72490T User manual

Kohler

Kohler FAIRFIELD K-72490T User manual

Popular Indoor Furnishing manuals by other brands

IKEA karlby Assembly instructions

IKEA

IKEA karlby Assembly instructions

Rev-A-Shelf 4PIL-18SC-2 installation instructions

Rev-A-Shelf

Rev-A-Shelf 4PIL-18SC-2 installation instructions

JAKO-O 640-871 Assembly instructions

JAKO-O

JAKO-O 640-871 Assembly instructions

Coaster 709950 Assembly instructions

Coaster

Coaster 709950 Assembly instructions

Flash Furniture UL-A074-RD-GG Assembly instructions

Flash Furniture

Flash Furniture UL-A074-RD-GG Assembly instructions

Furinno NT-12035 Assembly instruction

Furinno

Furinno NT-12035 Assembly instruction

overstock MF288036 Assembly instructions

overstock

overstock MF288036 Assembly instructions

Kettler H 4028-002 Assembly instructions

Kettler

Kettler H 4028-002 Assembly instructions

Southern Enterprises CK548200TX Assembly instructions

Southern Enterprises

Southern Enterprises CK548200TX Assembly instructions

nardi FOLIO 300 quick start guide

nardi

nardi FOLIO 300 quick start guide

Multimoveis 5452 Assembly instructions

Multimoveis

Multimoveis 5452 Assembly instructions

topstar SITNESS 4D Instructions for use

topstar

topstar SITNESS 4D Instructions for use

Blanco BLANCOPRECIS 515-652 Specification sheet

Blanco

Blanco BLANCOPRECIS 515-652 Specification sheet

Monarch Specialties I 3615 quick start guide

Monarch Specialties

Monarch Specialties I 3615 quick start guide

John Greenleaf Rustic Lodge 371W Assembly instructions

John Greenleaf

John Greenleaf Rustic Lodge 371W Assembly instructions

Sauder North Avenue 425190 manual

Sauder

Sauder North Avenue 425190 manual

LTL Home Products Reflections Ralston installation instructions

LTL Home Products

LTL Home Products Reflections Ralston installation instructions

Jysk Jleisure 4705110 manual

Jysk

Jysk Jleisure 4705110 manual

manuals.online logo
manuals.online logoBrands
  • About & Mission
  • Contact us
  • Privacy Policy
  • Terms and Conditions

Copyright 2025 Manuals.Online. All Rights Reserved.