manuals.online logo
Brands
  1. Home
  2. •
  3. Brands
  4. •
  5. Konica Minolta
  6. •
  7. Printer
  8. •
  9. Konica Minolta 2230 User manual

Konica Minolta 2230 User manual

- 1 -
TRM 2230 Service Guide
•How to Clean the Mirrors
•How to Resolve Light Prints
•How to Check Toner Motor Operation
(Light Copies)
•How to Adjust CVR
•(Light Intensity)
•How to Remove Drum Unit
•How to Remove Developer Unit
•How to Change Developer
•How to Reset Developer Count
•How to Replace Drum and Cleaning Blade
•How to Reset Drum Count
•How to Reset PM Count
•How to Reset 34, 35 and 36 Error Codes
•How to Remove Fusing Assembly
•How to Change Cleaning Web on Fuser
•How to Change Lower Pressure Roller
•How to Change Upper Fuser Roller
- 2 -
How to Clean the Mirrors
1. Turn copier off. Switch is on the left hand side below flap.
2. Open top cover.
Remove two screws on left hand side and remove scale plate.
Remove glass (slides up and to the left).
3. Slide optics unit to the right.
4. Clean the 3 mirrors on the optics unit (mirrors 1, 2 and 3).
Slide optics unit back to the left.
- 3 -
5. Remove Light Shield cover (1 screw then cover lifts up and to the left).
6. Clean mirrors (mirrors 4 and 5).
7. Reinstall Light Shield cover (ensure black mylar is under rail).
8. Open front cover.
9. Remove screw from toner hopper, and swing hopper to the right.
- 4 -
10. Loosen screw on developing unit. (***Screw will not come all the way out***).
Swing lever one down.
Remove developing unit.
Cover drum with a piece of paper.
CAUTION: Do not tip unit. Keep it level.
11. Clean the two mirrors that sit above the developing unit (mirror 5 and 6).
12. Reinstall developing unit (tighten screw).
13. Swing toner hopper to the left and reinstall screw.
14. Swing lever 1 up.
15. Close front cover.
16. Confirm copier operation and copy quality.
- 5 -
How to Resolve Light Prints
1. Open front cover.
2. Swing toner hopper to the right.
Open toner hoppers top cover (Activate lock switch in back left corner, use a flat tip
screwdriver and push the switch to the right).
Pull green handle forward.
3. While holding down the 4 and 7 buttons on the number pad, turn the copier back on.
The LCD will display:
IO Check Mode.
4. On the number pad push 0 then 1
5. Activate Front Door Switch
6. Press the Print Button.
Look inside the Toner Hopper:
If Toner Agitator is turning, refer to CVR adjustment.
If Toner Agitator is not turning, refer to How to Check Toner Motor Operation.
- 6 -
How to Check Toner Motor Operation
(Light Copies)
7. Turn Copier Off.
Open front cover.
8. Swing toner hopper to the right.
9. Remove Wiring Cover (two screws) and Motor Cover (two screws).
10. Remove the Toner Driving Plate Assembly (two screws) (leave toner motor attached to
bracket and the two wires attached to the toner motor).
11. While holding down the 4 and 7 buttons on the number pad, turn the copier back on.
The LCD will display:
IO Check Mode
On the number pad press 0 and then 1
- 7 -
12. Activate Front Door switch.
13. With the Toner Motor in your hand, press the Print Button.
If Toner Motor is turning, press the Stop/Clear Button. Continue with step 14.
If Toner Motor is not turning, press the Stop/Clear Button. Toner Motor will need to be
replaced. Continue with step 14.
14. Manually turn Toner Supply gears on Toner Hopper. These gears should turn freely
clockwise. It may be necessary to stir up the toner inside the toner hopper. Continue
working gears until the turn freely clockwise.
15. Reattach Toner Motor to Hopper.
16. Reattach Motor cover and Wiring cover.
Caution: Do not pinch wire.
17. Confirm Toner Motor operation.
(See steps 5 – 7)
18. Check Copier operation and Copy Quality.
- 8 -
How to Adjust CVR
(Light Intensity)
1. Turn copier off.
2. While holding down the 3 and 6 buttons on the number pad, turn the copier back on.
The LCD will display:
Adjustment mode menu.
3. Press the up arrow (second button from left) until the third line reads:
Timing adjustment mode
4. Press the OK button to enter Timing adjustments.
5. Press the OK button again to enter CVR adjustments. The CVR adjustments screen will
be displayed on the LCD.
- 9 -
6. The first set of numbers on the third line is the current setting of the CVR.
Note: To make a darker copy, the number will be set lower. To make a lighter copy,
the number will be set higher. Normally, this setting will be somewhere between 24
and 35. Outside of that range, CVR adjustment probably is not the reason for light
or dark copiers. Contact tech support.
7. Using the number pad, enter a two-digit number within the possible setting parameters.
Press the OK button. The copier will now accept the setting entered and change the
current setting to reflect the change.
8. Press the test button (second button from left) to switch the LCD to the basic screen and
into the test copy mode. Press the Start Print key to make a copy and check copy quality.
9. If further adjustments are necessary, on the number pad, press and hold the P button
and then press the Stop/Clear key to return to the CVR adjustment screen.
10. If no further adjustments are necessary, turn the copier off then back on.
11. Confirm copier operation and copy quality.
- 10 -
How to Remove Drum Unit
1. Turn copier off with power button under flip cover.
2. Open front cover.
3. Remove one screw then swing the toner supply hopper to the right.
- 11 -
4. Loosen screw on developing unit. (***Screw will not come all the way out***).
5. Turn down Lever 1 to the left.
6. Remove Knob 3 (pulls off).
7. Pull the drum unit out carefully to the front.
CAUTION: Do not tip. Keep unit level.
8. Reinstall the drum unit by reversing the above procedure.
- 12 -
How to Remove Developer Unit
9. Remove Drum Unit (Refer to How to Remove Drum Unit)
10. Remove the Developer Unit from the Drum Unit (2 screws).
CAUTION: DO NOT TIP. KEEP UNIT LEVEL.
11. Reinsert Developer Unit into Drum Unit (2 screws).
12. Reinsert Drum Unit into copier.
13. Confirm copier operation and copy quality.
- 13 -
How to Change Developer
Note: The developer currently in the unit will be dumped out of the developer unit.
Please ensure you have a plastic bag that this developer can be dumped into
before starting this procedure.
1. Remove Drum Unit from the main body (Refer to How to Remove Drum Unit).
2. Remove the Developer Unit from the Drum unit (2 screws).
CAUTION: DO NOT TIP. KEEP UNIT LEVEL.
3. Remove the two screws of the Developer Unit cover.
Developer Input Gear
4. Release the developer cover hooks.
Lift the cover up and remove.
5. Place developer unit inside plastic bag and rotate the developer input gear
counterclockwise until all traces of developer from inside the developer unit and from the
magnet roller.
6. Add entire box of developer evenly over the agitating screws.
7. Rotate the developer input gear so that the developer forms a consistent bristle height
over the magnet roller (usually takes only one rotation of the developer input gear.
8. Reinstall the developer unit cover.
9. Reinstall the developer unit to the drum unit.
10. Reinstall drum unit into copier
11. Reset Developer count in 25 mode (refer to How to Reset Developer Count).
12. Confirm copier operation and copy quality.
- 14 -
How to Reset Developer Count
12. Turn copier off.
13. While holding down the 2 and 5 buttons on the number pad, turn the copier back on.
The LCD will display – Memory setting mode menu.
14. Press the up button (second button from the left) until the third line reads
Drum/Developer count
15. Press the OK button to enter the Drum/Developer count menu. The LCD will display –
Drum Count reset YES/NO.
16. Press the Next button (third button from the left) one time. The LCD will display –
Developer Count reset YES/NO.
17. Press the Yes button (first button on left). The developer count will be reset and the
screen will return to the Main Menu.
18. Turn copier off.
19. Turn copier on and confirm copier operation and copy quality.
- 15 -
How to Replace Drum and Cleaning Blade
14. Remove Drum Unit from copier (Refer to How to Remove Drum Unit)
15. Remove Developer Unit from Drum Unit (Refer to How to Remove Developer Unit)
16. Remove Charge Corona Unit from Drum Unit (two screws and two connectors).
(It is possible to leave the connector hooked up and just swing the corona up)
17. Remove the Cleaning Blade from the Drum Unit (two screws)
18. Release the Drum Shaft Stopper Knob and pull the Drum Shaft out the back of the Drum
Unit.
19. Lift out the Drum very carefully, holding it by both ends only,
20. Reinsert new Drum and insert the drum shaft. Lock Drum Shaft Stopper Knob in place.
21. Rotate the Drum one rotation counterclockwise (towards where the cleaning blade
will be inserted)
- 16 -
22. Reinsert the Cleaning Blade. The Cleaning Blade is properly positions when the black
tabs in the Drum unit are through the upper holes on the cleaning blades installation
plate. Caution: Do not force the blade into place. If the black tabs break, proper
cleaning blade installation is not possible.
23. Reinsert the Developer Unit (2 screws).
24. Reinsert the Charge Corona Unit (2 screws and 2 connector).
Caution: Confirm no wires are pinched.
25. Reinsert the Drum Unit into the copier (1 screws).
26. Put on Knob 3.
27. Return Lever 1 into the up position.
28. Close front door.
29. Reset Drum Count (Refer to How to Reset Drum Count).
30. Confirm copier operation and copy quality.
- 17 -
How to Reset Drum Count
20. Turn copier off.
21. While holding down the 2 and 5 buttons on the number pad, turn the copier back on.
The LCD will display – Memory setting mode menu.
22. Press the up button (second button from the left) until the third line reads
Drum/Developer count
23. Press the OK button to enter the Drum/Developer count menu. The LCD will display –
Drum Count reset YES/NO.
24. Press the Yes button (first button on left). The drum count will be reset and the screen will
return to the Main Menu.
25. Turn copier off.
26. Turn copier on and confirm copier operation and copy quality.
- 18 -
How to Reset PM Count
27. Turn copier off.
28. While holding down the 2 and 5 buttons on the number pad, turn the copier back on.
The LCD will display – Memory setting mode menu.
29. Press the up button (second button from the left) until the third line reads
PM COUNT ?
30. Press the OK button to enter the PM count menu. The LCD will display:
PM Count/Cycle.
31. Press the RESET button (second button from left). The LCD will display:
PM count reset YES/NO.
32. Press the YES button (first button on left) to reset the PM count to zero. The LCD will
then display the PM count start date screen. Using the keypad, enter the year and press
OK. Enter the month and press OK. Enter the date and press OK.
33. Turn copier off.
34. Turn copier on and confirm copier operation and copy quality.
- 19 -
How to Reset 34, 35 and 36 Error Codes
1. Turn copier off with button under flip cover.
2. Hold down 2 and 5 on the number pad, turn copier on.
3. Press OK to enter Memory Switch Setting.
- 20 -
4. Use first arrow key to change the first number (dipswitch) to 3.
5. Use second arrow key to change the second number (the bit) to either 5, 6, or 7
(The third number will either have a 1 or 0. If it is a 1, it means this bit is turned on. This
bit will need to be turned off. This is done by pressing the on/off key next to the arrows)
a. Bit 5 – 34 error code
b. Bit 6 – 35 error code
c. Bit 7 – 36 error code
Please check all 3 bits and ensure they are set to 0 (off).
6. Turn copier off, and then back on.
7. Confirm unit operation and copy quality.

Other manuals for 2230

1

Other Konica Minolta Printer manuals

Konica Minolta PAGEPRO 5650EN User manual

Konica Minolta

Konica Minolta PAGEPRO 5650EN User manual

Konica Minolta A32P011 User manual

Konica Minolta

Konica Minolta A32P011 User manual

Konica Minolta Magicolor 4650 User manual

Konica Minolta

Konica Minolta Magicolor 4650 User manual

Konica Minolta bizhub 43 User manual

Konica Minolta

Konica Minolta bizhub 43 User manual

Konica Minolta Magicolor 5550 User manual

Konica Minolta

Konica Minolta Magicolor 5550 User manual

Konica Minolta Magicolor 7300 User manual

Konica Minolta

Konica Minolta Magicolor 7300 User manual

Konica Minolta bizhub 4050 User manual

Konica Minolta

Konica Minolta bizhub 4050 User manual

Konica Minolta Magicolor 5430 DL User manual

Konica Minolta

Konica Minolta Magicolor 5430 DL User manual

Konica Minolta AccurioPress C2070 User manual

Konica Minolta

Konica Minolta AccurioPress C2070 User manual

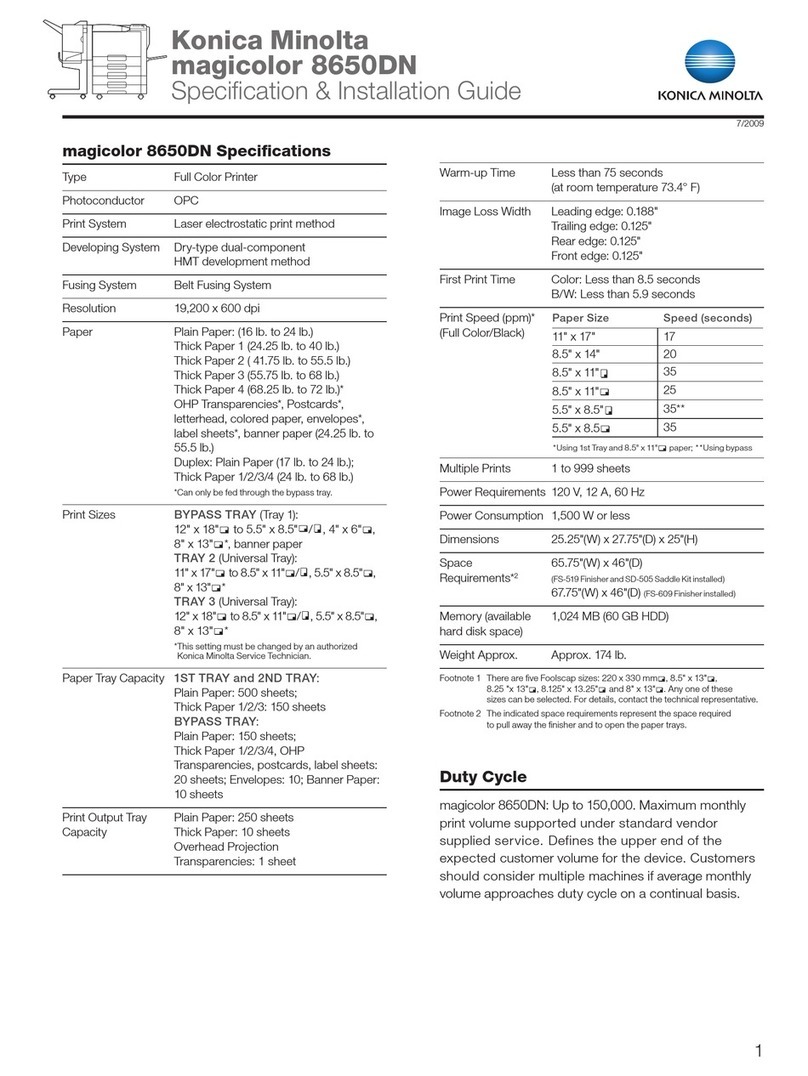
Konica Minolta magicolor 8650DN User manual
Konica Minolta

Konica Minolta magicolor 8650DN User manual

Konica Minolta 1216 How to use

Konica Minolta

Konica Minolta 1216 How to use

Konica Minolta Magicolor 2550 User manual

Konica Minolta

Konica Minolta Magicolor 2550 User manual

Konica Minolta magicolor 1600W User manual

Konica Minolta

Konica Minolta magicolor 1600W User manual

Konica Minolta Magicolor 2550 User manual

Konica Minolta

Konica Minolta Magicolor 2550 User manual

Konica Minolta bizhub 40p User manual

Konica Minolta

Konica Minolta bizhub 40p User manual

Konica Minolta magicolor 2430 DL User manual

Konica Minolta

Konica Minolta magicolor 2430 DL User manual

Konica Minolta PagePro 1350EN User manual

Konica Minolta

Konica Minolta PagePro 1350EN User manual

Konica Minolta bizhub 3301P User manual

Konica Minolta

Konica Minolta bizhub 3301P User manual

Konica Minolta bizhub 40p User manual

Konica Minolta

Konica Minolta bizhub 40p User manual

Konica Minolta bizhub pro C6501 User manual

Konica Minolta

Konica Minolta bizhub pro C6501 User manual

Konica Minolta bizhub 4752 User manual

Konica Minolta

Konica Minolta bizhub 4752 User manual

Konica Minolta bizhub C658 User manual

Konica Minolta

Konica Minolta bizhub C658 User manual

Konica Minolta Magicolor 5570 User manual

Konica Minolta

Konica Minolta Magicolor 5570 User manual

Konica Minolta BIZHUB 164 User manual

Konica Minolta

Konica Minolta BIZHUB 164 User manual

Popular Printer manuals by other brands

Utax LP 3230 Service manual

Utax

Utax LP 3230 Service manual

Oki C8600 user guide

Oki

Oki C8600 user guide

Epson ActionLaser Plus user manual

Epson

Epson ActionLaser Plus user manual

Atari 1025 Technical service data

Atari

Atari 1025 Technical service data

Xerox DocuPrint 96 Installation planning guide

Xerox

Xerox DocuPrint 96 Installation planning guide

Seiko I Infotech IP-5620 user guide

Seiko I Infotech

Seiko I Infotech IP-5620 user guide

Printekmobile I-820 Operator's manual

Printekmobile

Printekmobile I-820 Operator's manual

Epson Stylus 10000 Series user guide

Epson

Epson Stylus 10000 Series user guide

Samsung CLP-315 - CLP 315 Color Laser Printer manual

Samsung

Samsung CLP-315 - CLP 315 Color Laser Printer manual

Canon MG2900 Series Getting started

Canon

Canon MG2900 Series Getting started

Cashino KMP-II user manual

Cashino

Cashino KMP-II user manual

Brother QL-570VM - B/W Direct Thermal Printer user guide

Brother

Brother QL-570VM - B/W Direct Thermal Printer user guide

Canon lpb3360 user guide

Canon

Canon lpb3360 user guide

Astro Machine ASTROJET 2650P Operator's manual

Astro Machine

Astro Machine ASTROJET 2650P Operator's manual

Texlabel SP1 user guide

Texlabel

Texlabel SP1 user guide

Triumph Adler CLP 4630 Instruction handbook

Triumph Adler

Triumph Adler CLP 4630 Instruction handbook

Kyocera ECOSYS P3050dn Operation guide

Kyocera

Kyocera ECOSYS P3050dn Operation guide

Epson SureColor SC-T7000 datasheet

Epson

Epson SureColor SC-T7000 datasheet

manuals.online logo
manuals.online logoBrands
  • About & Mission
  • Contact us
  • Privacy Policy
  • Terms and Conditions

Copyright 2025 Manuals.Online. All Rights Reserved.