kruss Mobile Surface Analyzer User manual

KRÜSS GmbH | Borsteler Chaussee 85 | 22453 Hamburg | Germany | www.kruss.de
Mobile Surface Analyzer – MSA
User Manual
V1-04
© KRÜSS GmbH, Hamburg 2014

Contents page 1
KRÜSS GmbH | Borsteler Chaussee 85 | 22453 Hamburg | Germany | www.kruss.de
Contents
1General information..................................................................................3
1.1General safety information.................................................................................................................................................3
1.2Intended use and application restrictions....................................................................................................................3
1.3Storage and transportation................................................................................................................................................4
1.4Scope of documentation and reference to other documents .............................................................................4
1.5Technical customer support...............................................................................................................................................4
2Controls .........................................................................................................5
2.1Overview ....................................................................................................................................................................................5
2.2Measurement button............................................................................................................................................................5
2.3Dosing unit................................................................................................................................................................................5
2.3.1Dosing units available..................................................................................................................................................5
2.3.2Cover...................................................................................................................................................................................6
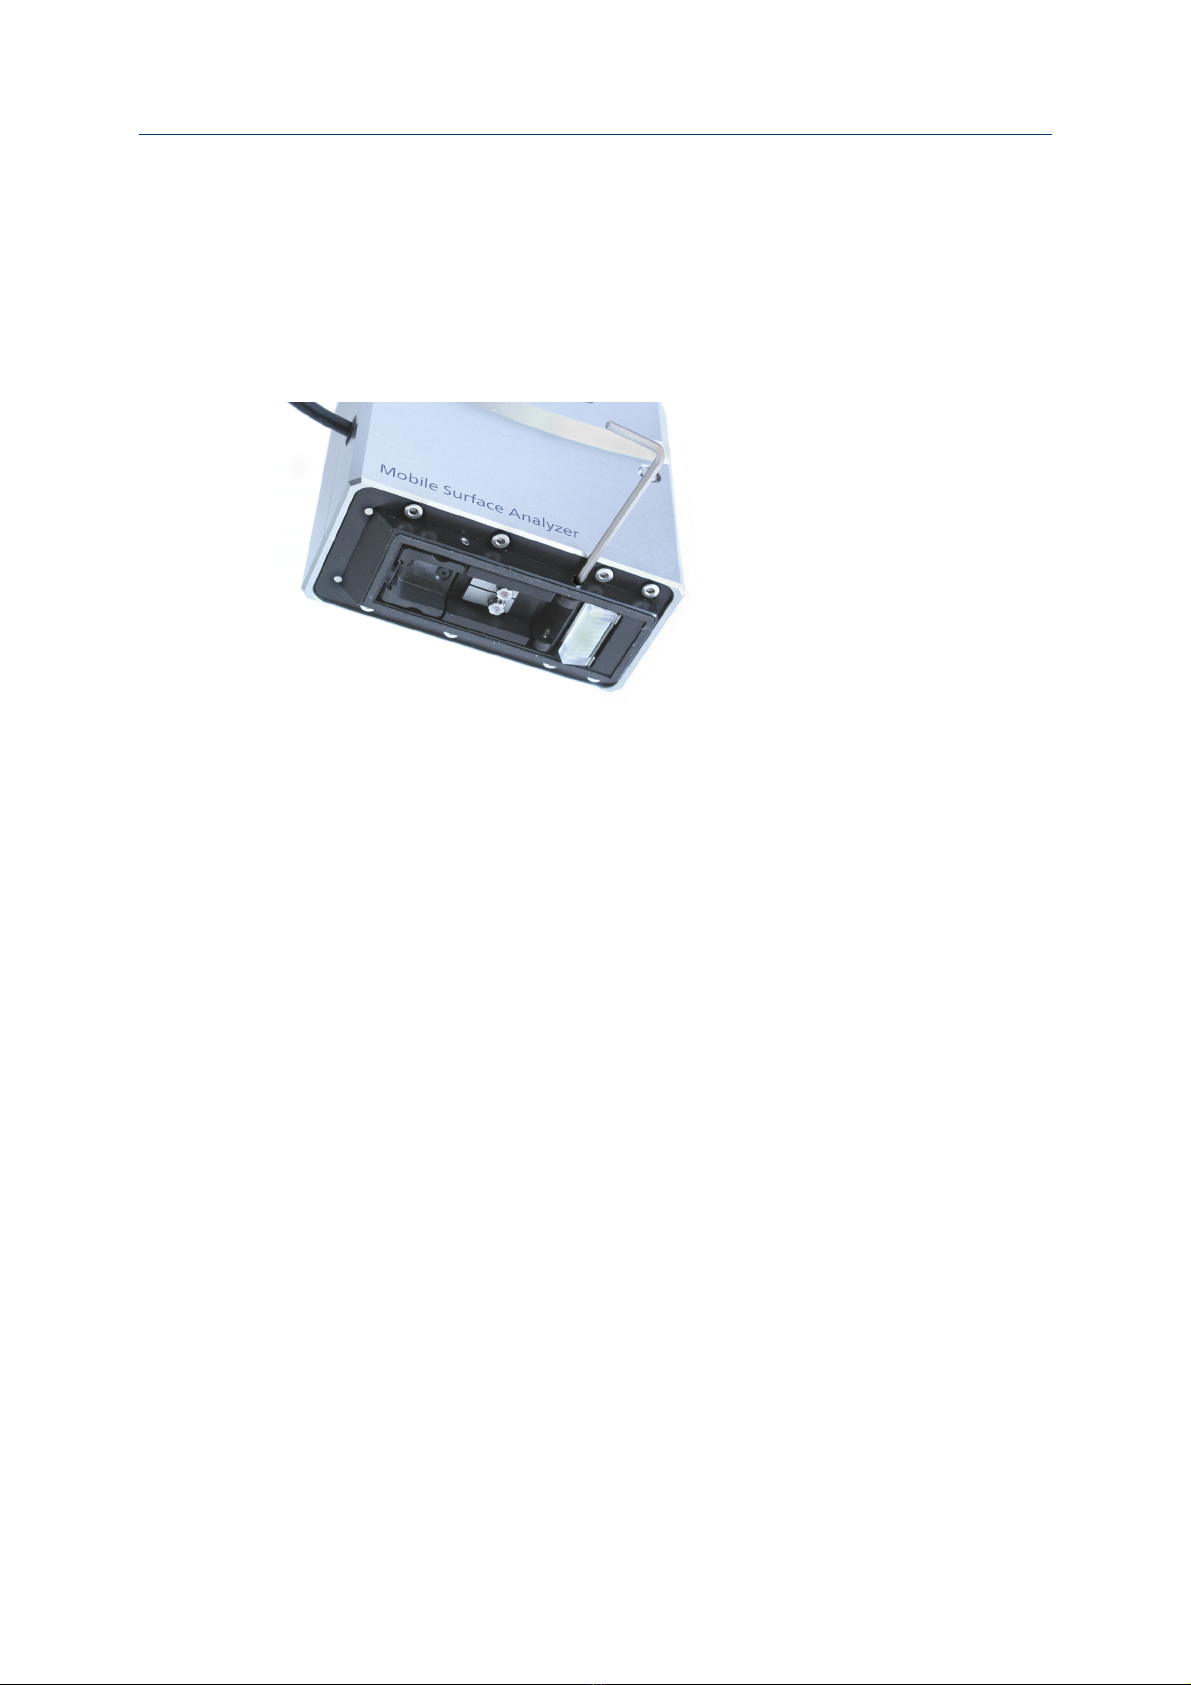
2.4Components on the underside.........................................................................................................................................6
2.4.1Illumination.......................................................................................................................................................................6
2.4.2Prism....................................................................................................................................................................................6
2.4.3Aperture.............................................................................................................................................................................7
2.4.4Dosing outlet ...................................................................................................................................................................7
3Filling cartridges for the pressurized dosing unit..........................8
4Carrying out a measurement ............................................................. 10
4.1Note for dosing and calibration.....................................................................................................................................10
4.2Connecting the MSA...........................................................................................................................................................10
4.3Creating a measurement in ADVANCE........................................................................................................................10
4.4Calibration of the drop volume......................................................................................................................................10
4.5Carrying out a measurement...........................................................................................................................................11
5Using the optional syringe dosing unit.......................................... 12
5.1Notes on reconfiguration..................................................................................................................................................12
5.2Changing the dosing unit .................................................................................................................................................12
5.3Filling the syringe dosing unit.........................................................................................................................................14
5.3.1Opening the cover.......................................................................................................................................................14
5.3.2Filling the syringe.........................................................................................................................................................15
5.3.3Fitting the syringe sleeve..........................................................................................................................................15

Contents page 2
KRÜSS GmbH | Borsteler Chaussee 85 | 22453 Hamburg | Germany | www.kruss.de
5.3.4Removing the syringe sleeve ..................................................................................................................................15
6Cleaning...................................................................................................... 16
6.1Housing ....................................................................................................................................................................................16
6.2Underside, prism and illumination ................................................................................................................................16
6.3Valve ..........................................................................................................................................................................................16
6.4Needle guide for the optional syringe dosing unit................................................................................................17
Appendix......................................................................................................... 18
ITechnical data........................................................................................................................................................................18
IIComputer requirements ....................................................................................................................................................18
IIIProcedure if repairs should be necessary...................................................................................................................19
IVWarranty and caveat emptor...........................................................................................................................................20
VCopyright and right to make alterations ....................................................................................................................20

General information page 3
KRÜSS GmbH | Borsteler Chaussee 85 | 22453 Hamburg | Germany | www.kruss.de
1General information
Dear KRÜSS GmbH Customer,
Thank you for having chosen our Mobile Surface Analyzer – MSA. This manual will help you with
the commissioning, operation and maintenance of the MSA.
This manual is subject to continuous quality control. You can download the latest version of
the manual from the customer download area on our website www.kruss.de.
1.1 General safety information
SPAC SP AC SPAC SPA C
The MSA may only be used by trained personnel.
SPAC SPA C SPAC SPAC
Wear protective goggles against chemicals when working with the MSA.
The MSA is not designed for working with liquids that are classified as toxic, corrosive,
explosive or radioactive.
SPAC SP AC SPAC SPA C
When carrying out measurements with hazardous substances the safety regulations and, if
available, information in the appropriate safety data sheets must be taken into account when
handling such substances.
SPAC SPA C SPAC SPAC
The controls of the MSA and a connected computer must not be operated when wearing
protective gloves, which have already been used for handling hazardous materials.
SPAC SPA C SPAC SPAC
Do not use the MSA if the unit is obviously damaged.
SPAC SPA C SPAC SPAC
1.2 Intended use and application restrictions
The MSA is only intended for measuring the contact angle of liquids on solid surfaces and
for determining the surface free energy of solids.
The intended use includes the exclusive use of accessories supplied by KRÜSS or substitutes
with an identical design if disposable accessories are being used.
Do not use the instrument in atmospheres containing dust, smoke or aerosols; these affect
the optical components of the instrument and could damage them.
The following temperature ranges apply for working with the MSA:
10°C to 40°C for operation
-10°C to 70°C for storage
Avoid contacting the optical components with sharp objects.

General information page 4
KRÜSS GmbH | Borsteler Chaussee 85 | 22453 Hamburg | Germany | www.kruss.de
1.3 Storage and transportation
!If you intend to not use the instrument for a longer period of time or transport it longer
distances (i.e. by plane), remove the cartridges.
1.4 Scope of documentation and reference to other
documents
This handbook describes the manual operating steps for the MSA and the measurement of
surface free energy with distilled water and diiodomethane based on the standard measuring
template in the ADVANCE software. The modification of measurement parameters and all other
functions of ADVANCE are described in the software documentation.
SPAC SPA C SPAC SPAC
1.5 Technical customer support
If your KRÜSS product should not word as expected, please consult our technical customer
support. You can contact them at:
KRÜSS GmbH
Technical customer support
Tel: +49 040/514401-55
Fax: +49 040/514401-98
SPAC SP AC SPAC SPA C

Controls page 5
KRÜSS GmbH | Borsteler Chaussee 85 | 22453 Hamburg | Germany | www.kruss.de
2Controls
2.1 Overview
2.2 Measurement button
Pressing the measurement button starts the automated sequence which is set up in the
ADVANCE software. In the standard configuration, the contact angles with water and
diiodomethane are measured simultaneously and the surface free energy is calculated.
Do not press the measurement button when the MSA is not positioned on a sample. The
pressurized dosing system ejects drops of the test liquids.
2.3 Dosing unit
2.3.1 Dosing units available
The MSA can be used with two different dosing units:
Standard: Pressurized dosing unit with two cartridges for the simultaneous dosing of
distilled water and diiodomethane
Option: Syringe dosing unit DO3910 for the dosing of other liquids (Chapter 5)
Dosing unit
cover
Measurement
button
Connecting
cable (USB)
Camera
(integral)
Underside with dosing
outlet and optics

Controls page 6
KRÜSS GmbH | Borsteler Chaussee 85 | 22453 Hamburg | Germany | www.kruss.de
2.3.2 Cover
The cover is only opened for filling purposes. When the MSA is connected, the dosing unit is
prepared for filling by opening the cover:
Pressurized dosing unit (standard): the pressure is released.
Optional injection dosing unit: the plunger is moved to the top.
2.4 Components on the underside
2.4.1 Illumination
The illumination is divided into segments to enable two dispensed drops to be illuminated
separately. In the standard configuration, the illumination is optimized for two drops, each of
1 µL.
The illumination is switched on when the MSA is connected.
2.4.2 Prism
The prism deflects the light into the integral camera.
Prism
Illumination
(MSA connected)
Aperture
Dosing
outlet

Controls page 7
KRÜSS GmbH | Borsteler Chaussee 85 | 22453 Hamburg | Germany | www.kruss.de
2.4.3 Aperture
The rotatable aperture prevents flat drops from being over-illuminated. As standard, it is set to
an angle of approximately 45° for drops of 1 µL with contact angles of 30° and above.
If necessary, adjust the aperture with the help of the Allen key provided to optimize the drop
image for flatter drops.
2.4.4 Dosing outlet
The drops emerge from the dosing outlet and come into contact with the sample between the
illumination unit and the prism.

Filling cartridges for the pressurized dosing unit page 8
KRÜSS GmbH | Borsteler Chaussee 85 | 22453 Hamburg | Germany | www.kruss.de
3Filling cartridges for the pressurized dosing
unit
The pressurized dosing unit is used exclusively for water and diiodomethane.
1. Open the cover of the MSA. Remove the wing nut.
2. Remove the dosing cover. The cartridges are now accessible.
3. Remove the cartridge to be filled. To get an easier access to the cartridges there is a removal
tool included which is to be put underneath the lid of a cartridge.
!The transparent cartridge is intended for water, and the brown one for diiodomethane.
Do not transpose the cartridges or their positions in the dosing unit.
4. Fit a Luer adapter to the cartridge. Fill a disposable syringe with exactly 1 mL of the test
liquid.
Diiodomethane cartridge
Water cartridge

Filling cartridges for the pressurized dosing unit page 9
KRÜSS GmbH | Borsteler Chaussee 85 | 22453 Hamburg | Germany | www.kruss.de
5. Hold the cartridge with the Luer connection downwards. Fit the syringe. Press the test liquid
into the cartridge. In doing so, the plunger will be forced upwards.
6. Rotate the assembly so that the Luer outlet is at the top. Extract any remaining air with the
syringe. Remove the syringe and the Luer adapter.
7. Place the cartridge in the dosing unit. Repeat the filling process for the second cartridge if
necessary.
8. Fit the cover to the dosing unit. Tighten the nut by hand. Close the cover.
9. Operate the dosing unit to dispense drops onto a suitable surface until drops appear on
both sides (Chapter 4).
Syringe
Luer adapte
r
Plunge
r
Cartridge

Carrying out a measurement page 10
KRÜSS GmbH | Borsteler Chaussee 85 | 22453 Hamburg | Germany | www.kruss.de
4Carrying out a measurement
4.1 Note for dosing and calibration
!Make sure that liquid drops to not come into contact with the optical components. Do not
change the position of the MSA on the sample or calibration plate once dosing is complete.
After the measurement or calibration, raise it without changing its position.
4.2 Connecting the MSA
!There must be liquid in the cartridges before the MSA is connected. Otherwise, it will not be
possible to build up the working pressure in the dosing unit.
Connect the USB plug on the MSA's main cable to a USB port on the computer.
The MSA will initialize and in doing so build up the working pressure step-by-step.
If initialization does not start, connect the second USB plug to another USB port.
4.3 Creating a measurement in ADVANCE
1. Run the ADVANCE software.
2. Double-click on DoubleSessileDrop in the structure tree.
3 Enter a name for the measurement.
4.4 Calibration of the drop volume
If the set value of drop volume does not correspond with the measured volume a calibration of
the drop volume must be executed.
1. Put the MSA on to the supplied calibration plate made of Plexiglas.

Carrying out a measurement page 11
KRÜSS GmbH | Borsteler Chaussee 85 | 22453 Hamburg | Germany | www.kruss.de
2. Enter the used liquids into ADVANCE.
3. Press the button Calibrate in ADVANCE.
The calibration is executed automatically. The MSA is ready for measurement.
During calibration one drop per liquid is dosed in three steps, i.e. there are two drops on
the calibration plate after calibration.
4.5 Carrying out a measurement
Set the MSA to the required measuring position on the sample.
Press the measurement button on the MSA.
The measurement is carried out fully automatically. The contact angles for water and
diiodomethane appear in the results list. The surface free energy of the sample is shown
below them.

Using the optional syringe dosing unit page 12
KRÜSS GmbH | Borsteler Chaussee 85 | 22453 Hamburg | Germany | www.kruss.de
5Using the optional syringe dosing unit
The pressurized dosing unit can be exchanged for the optional syringe dosing unit DO3910 for
measuring with liquids other than distilled water and diiodomethane.
5.1 Notes on reconfiguration
!The electronic components of the MSA can be damaged if touched when the body is
charged electrostatically.
Discharge your body immediately before reconfiguring the unit, for example by
touching a metallic earthed object.
Avoid touching electronic components.
5.2 Changing the dosing unit
!The screws to be removed in the following steps are of different lengths and are in some
cases fitted with washers. Be sure to use the correct screws when reassembling.
1. Remove the plug from the USB port on the computer.
2. Remove the six screws on the underside of the MSA marked in the illustration.

Using the optional syringe dosing unit page 13
KRÜSS GmbH | Borsteler Chaussee 85 | 22453 Hamburg | Germany | www.kruss.de
3. Remove the two screws on the side of the housing without the cable gland. Remove the
housing half shell. Open the cover.
4. Remove the screw on the printed circuit board marked in the illustration.
5. Carefully remove the printed circuit board. At the same time, remove the plug-in connection
between the board and the dosing unit.

Using the optional syringe dosing unit page 14
KRÜSS GmbH | Borsteler Chaussee 85 | 22453 Hamburg | Germany | www.kruss.de
6. Remove the dosing unit. Fit the syringe dosing unit.
7. Carry out the assembly steps 2 to 5 in reverse.
5.3 Filling the syringe dosing unit
5.3.1 Opening the cover
If the instrument is connected, the plunger fitted moves upwards for removal when the cover of
the MSA is opened.
!Only open the cover when the syringe head is to be filled or the liquid is to be changed.
After the cover has been closed, the electronics assumes that the syringe is full and moves
the plunger to the top position.
Fitted plunge
r

Using the optional syringe dosing unit page 15
KRÜSS GmbH | Borsteler Chaussee 85 | 22453 Hamburg | Germany | www.kruss.de
5.3.2 Filling the syringe
The smaller syringe sleeves with the red plunger that are supplied with the unit are used for the
syringe dosing unit.
Filling is carried out as with the standard dosing system. The only additional step is to fit a
dosing needle after the Luer adapter has been removed.
5.3.3 Fitting the syringe sleeve
1. Unscrew the fitted plunger from the dosing unit with the help of the turning tool supplied.
2. Slide the syringe sleeve into the opening of the dosing unit.
3. Screw the plunger back onto the dosing unit.
5.3.4 Removing the syringe sleeve
Remove the plunger from the dosing unit (see above)
Turn the MSA over and allow the syringe head to slide out. If necessary, catch it using a
cloth.

Cleaning page 16
KRÜSS GmbH | Borsteler Chaussee 85 | 22453 Hamburg | Germany | www.kruss.de
6Cleaning
6.1 Housing
Clean the housing with a damp cloth. A little rinsing agent can be used in the case of severe
contamination.
6.2 Underside, prism and illumination
!Use only water or benzene-free cleaning petrol for cleaning purposes. The illumination unit
in particular is not resistant to large amounts of solvent.
!Do not touch the prism or the illumination unit with hard objects. Use soft, lint-free cotton
swabs.
6.3 Valve
The valve has to be cleaned if
drops are dosed in wrong size and a calibration does not help with the issue.
no drop emerges from the dosing outlet.
1. Turn the MSA upside down.
2. Screw the valve with the supplied valve wrench out of the MSA.
3. Fill one of the supplied disposable syringes with a suitable cleaning fluid (e.g. clean water or
isopropanol).
4. Put the short tube with one end on the filled syringe and insert the valve in the other end.

Cleaning page 17
KRÜSS GmbH | Borsteler Chaussee 85 | 22453 Hamburg | Germany | www.kruss.de
5. Put the rod magnet parallel against the valve. Clean the valve by pressing the syringe
plunger.
The magnet opens the valve.
Alternately you can put the valve opened with the magnet in an ultrasonic bath.
6.4 Needle guide for the optional syringe dosing unit
The needle guide on the underside of the MSA can be removed for cleaning.
Insert the turning tool with the two pins supplied with the unit into the holes in the needle
guide. Unscrew the needle guide.
Clean the needle guide using a suitable solvent.
!The needle guide is not resistant to acids.
Needle guide

Appendix page 18
KRÜSS GmbH | Borsteler Chaussee 85 | 22453 Hamburg | Germany | www.kruss.de
Appendix
ITechnical data
Dimensions 106 × 59 × 112 mm (W × D × H)
Weight approx. 850 g
Power consumption 4.5 W
Operating voltage 5 VDC (via USB)
Interface USB
II Computer requirements
The following is a list of the minimum requirements to enable the ADVANCE software to run
without any problems:
SPAC SP AC SPAC SPA C
General
Current version 1.0
Supported operating systems Windows 7
Windows 8
Windows 8.1
Architecture 32 or 64 bit
User privileges Administrator privileges required only for installation
Processor Minimum Intel Core i5 or i7 with DualCore (QuadCore or higher
recommended) and 2 GHz (4 GHz or higher recommended)
Main memory ≥4 GB
Free hard disc space ≥1 GB + space for stored data
Resolution Minimum 1366 x 768 pixel
Optimal 1680 x 1050 or 1920 x 1080 pixel
Required ports for individual instruments
Mobile Surface Analyzer – MSA 1x USB 3.0 Port
MobileDrop – GH11 1x USB 2.0 port (or higher)

Appendix page 19
KRÜSS GmbH | Borsteler Chaussee 85 | 22453 Hamburg | Germany | www.kruss.de
Required ports for individual instruments
Drop Shape Analyzer – DSA25
Drop Shape Analyzer – DSA30
Drop Shape Analyzer – DSA100
For PC: 1x PCIe slot for IEEE1394b board
1x RS232 or 1x USB 2.0 port (or higher) with RS232
USB adapter
For Laptop: 1x PC card slot for IEEE1394b interface
1x RS232 or 1x USB 2.0 port (or higher) with RS232
USB adapter
SPAC SP AC SPAC SPA C
III Procedure if repairs should be necessary
SPAC SP AC SPAC SPA C
Contact KRÜSS
Contact KRÜSS customer support.
If you did not obtain the measuring instrument directly from KRÜSS but from a dealer,
please contact your dealer first. He may be able to rectify the damage. If not, contact
KRÜSS customer support directly.
You will be given a repair number. Please quote this number in your covering letter when
you dispatch the unit.
Send us the measuring instrument or accessories
!Do not dispatch the measuring instrument or accessories without consulting KRÜSS
customer support.
Components which are not directly affected by the damage may also have to be sent
with the unit. KRÜSS customer support will advise you on the necessary scope of the
shipment.
!Remove liquids (e.g. samples, temperature control liquid) completely from the instrument
and the accessories.
!Clean the unit or accessories before dispatch. This applies particularly if there is
contamination due to hazardous substances.
!Use the original packaging to pack the instrument or accessories. If you no longer have the
original packaging, it must be ordered from KRÜSS at the customer’s expense.
!Pack all components separately which were packed separately when the unit was supplied.
Do not dispatch the unit in the assembled state.
Table of contents
Other kruss Measuring Instrument manuals
Popular Measuring Instrument manuals by other brands

Solar Light
Solar Light SL-3101 SP-METER quick start guide

Epilog Laser
Epilog Laser Zing 10000 owner's manual

Resol
Resol DL3 Short manual

Sermatec
Sermatec Acrel ACR10R-D10TE4/C45 Installation

Stefan Mayer Instruments
Stefan Mayer Instruments FERROMASTER instruction manual

Kestrel
Kestrel 3000 Pocket Weather manual