Precision Seed Drills
2
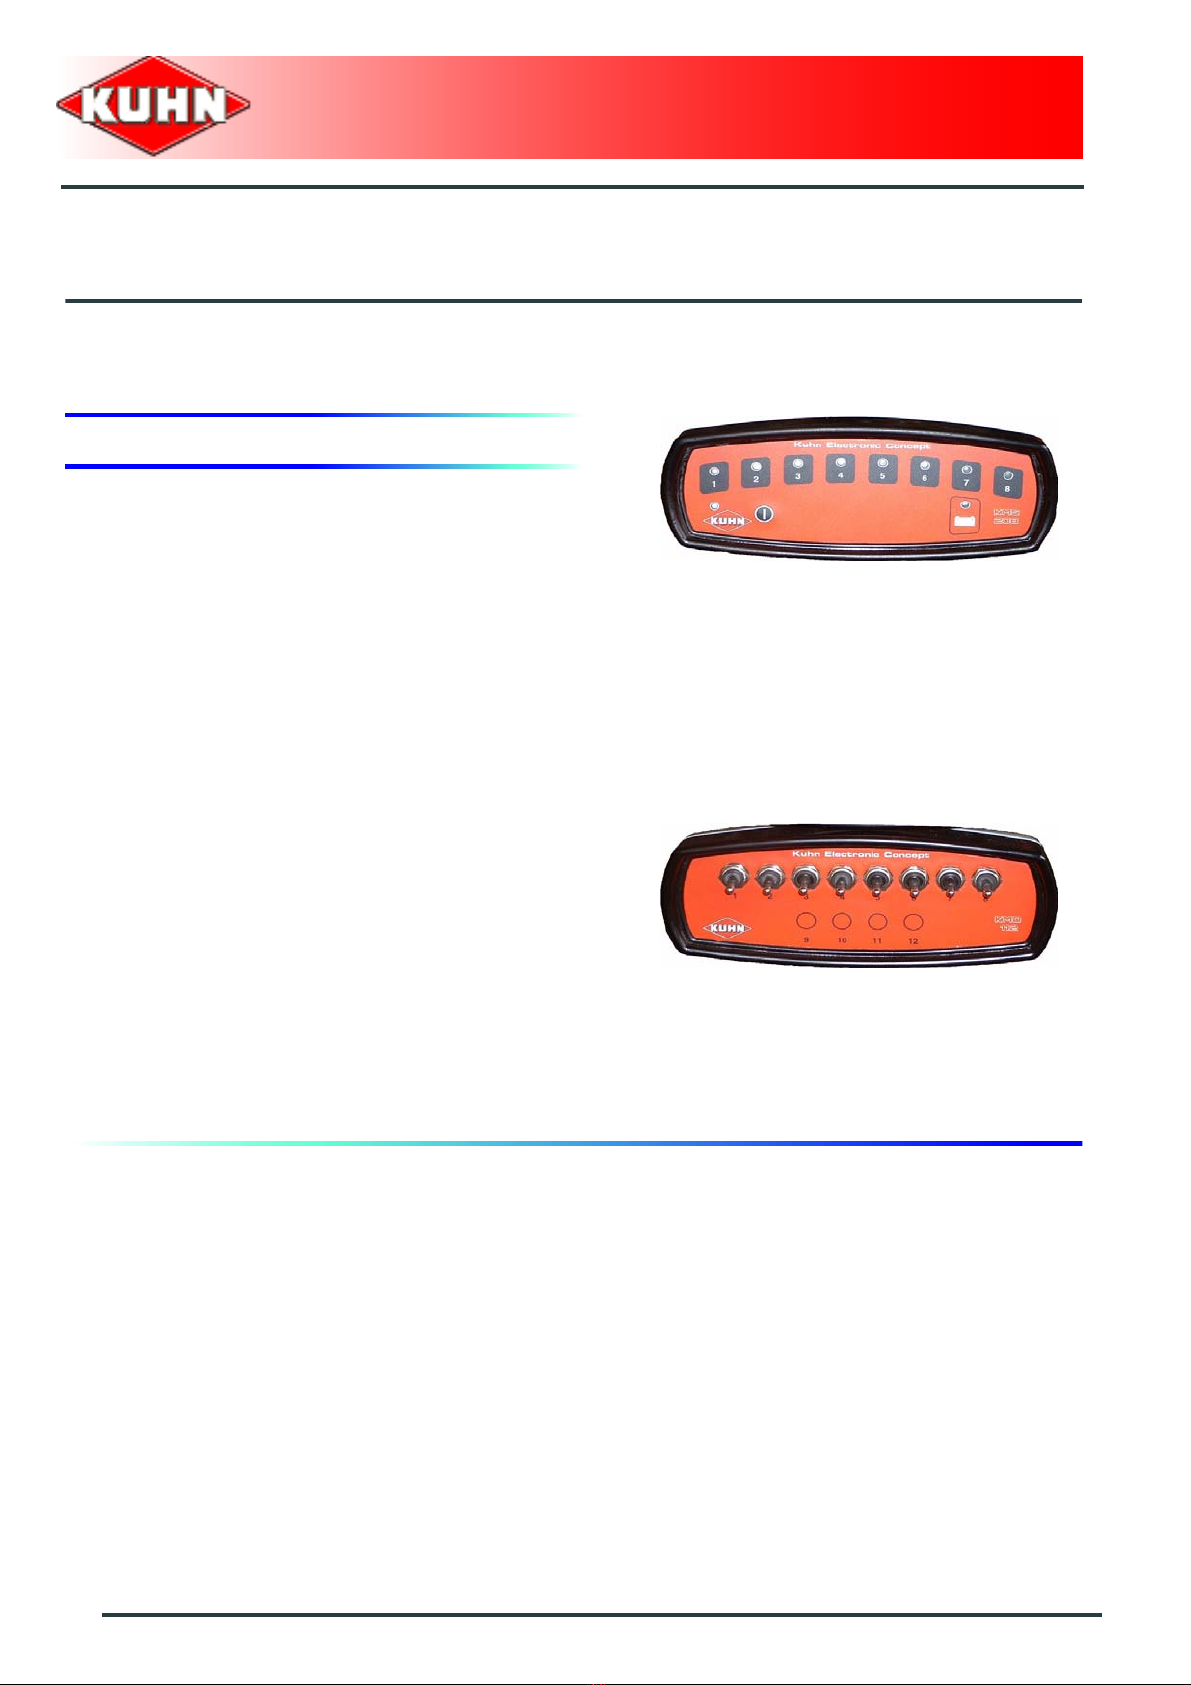
KMS208-KMD112
Contents
$CONTENTS
Dear Owner..................................................................................................................... 1
Contents.......................................................................................................................... 2
Safety .............................................................................................................................. 3
Description of symbols used in this document ............................................................................ 3
General description ......................................................................................................................... 4
Description ....................................................................................................................................... 4
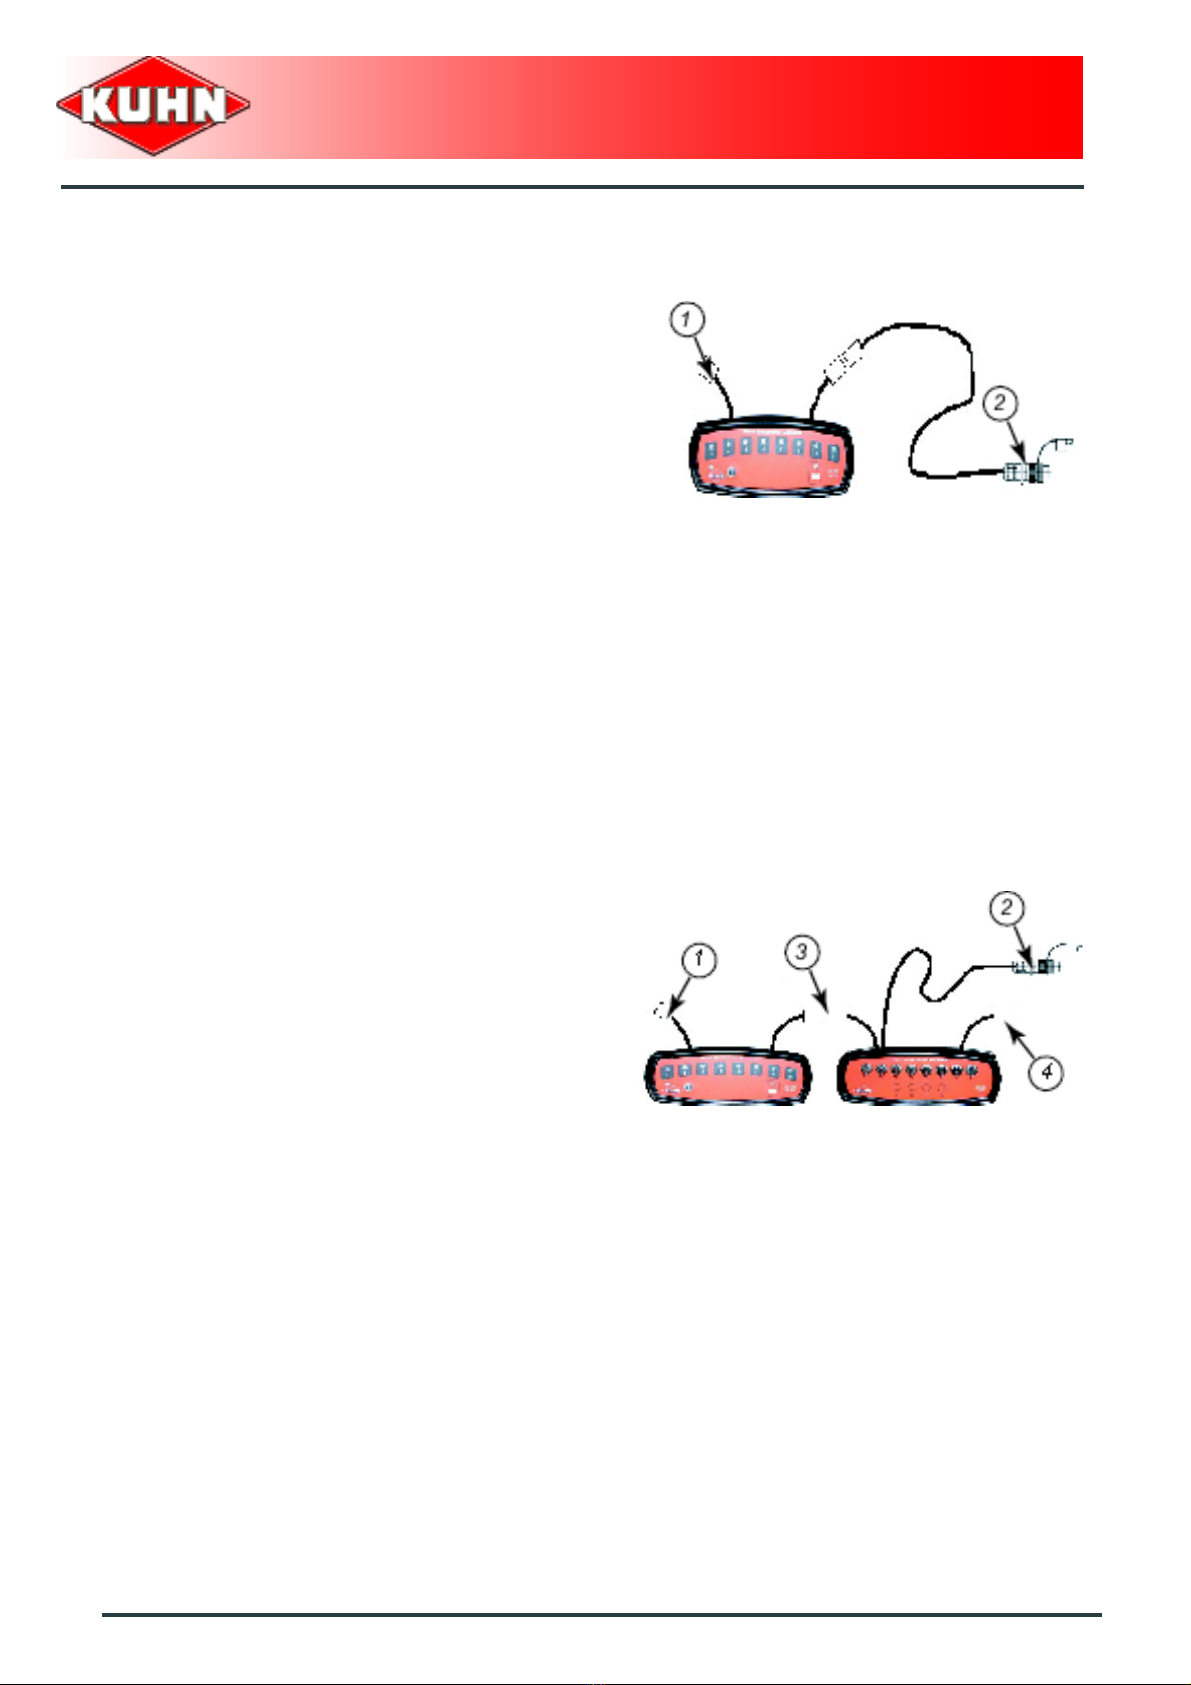
Description of the connection ........................................................................................................ 5
Putting into service........................................................................................................ 8
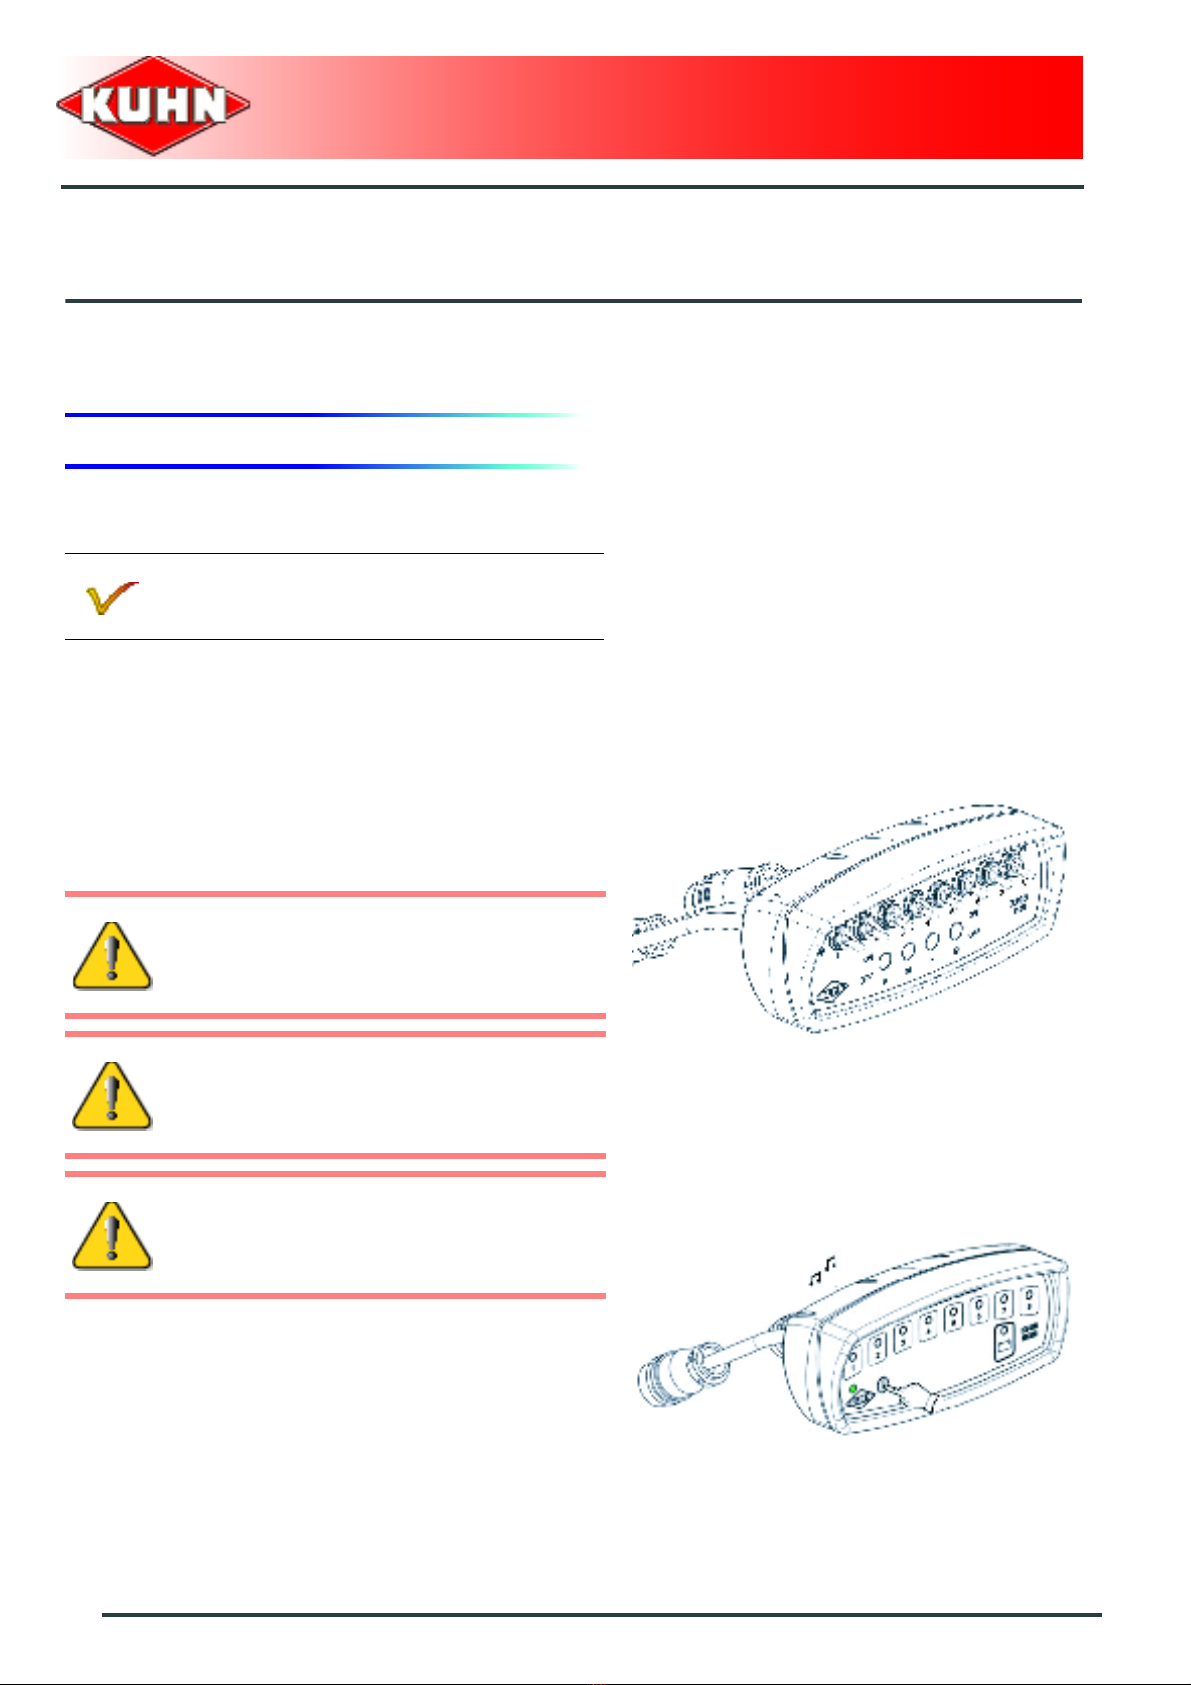
Operation.......................................................................................................................................... 8
Trouble shooting guide ................................................................................................................. 18
Wiring diagram of the main cell harness..................................................................................... 22
Wiring diagram of the main declutching mechanism harness.................................................. 23
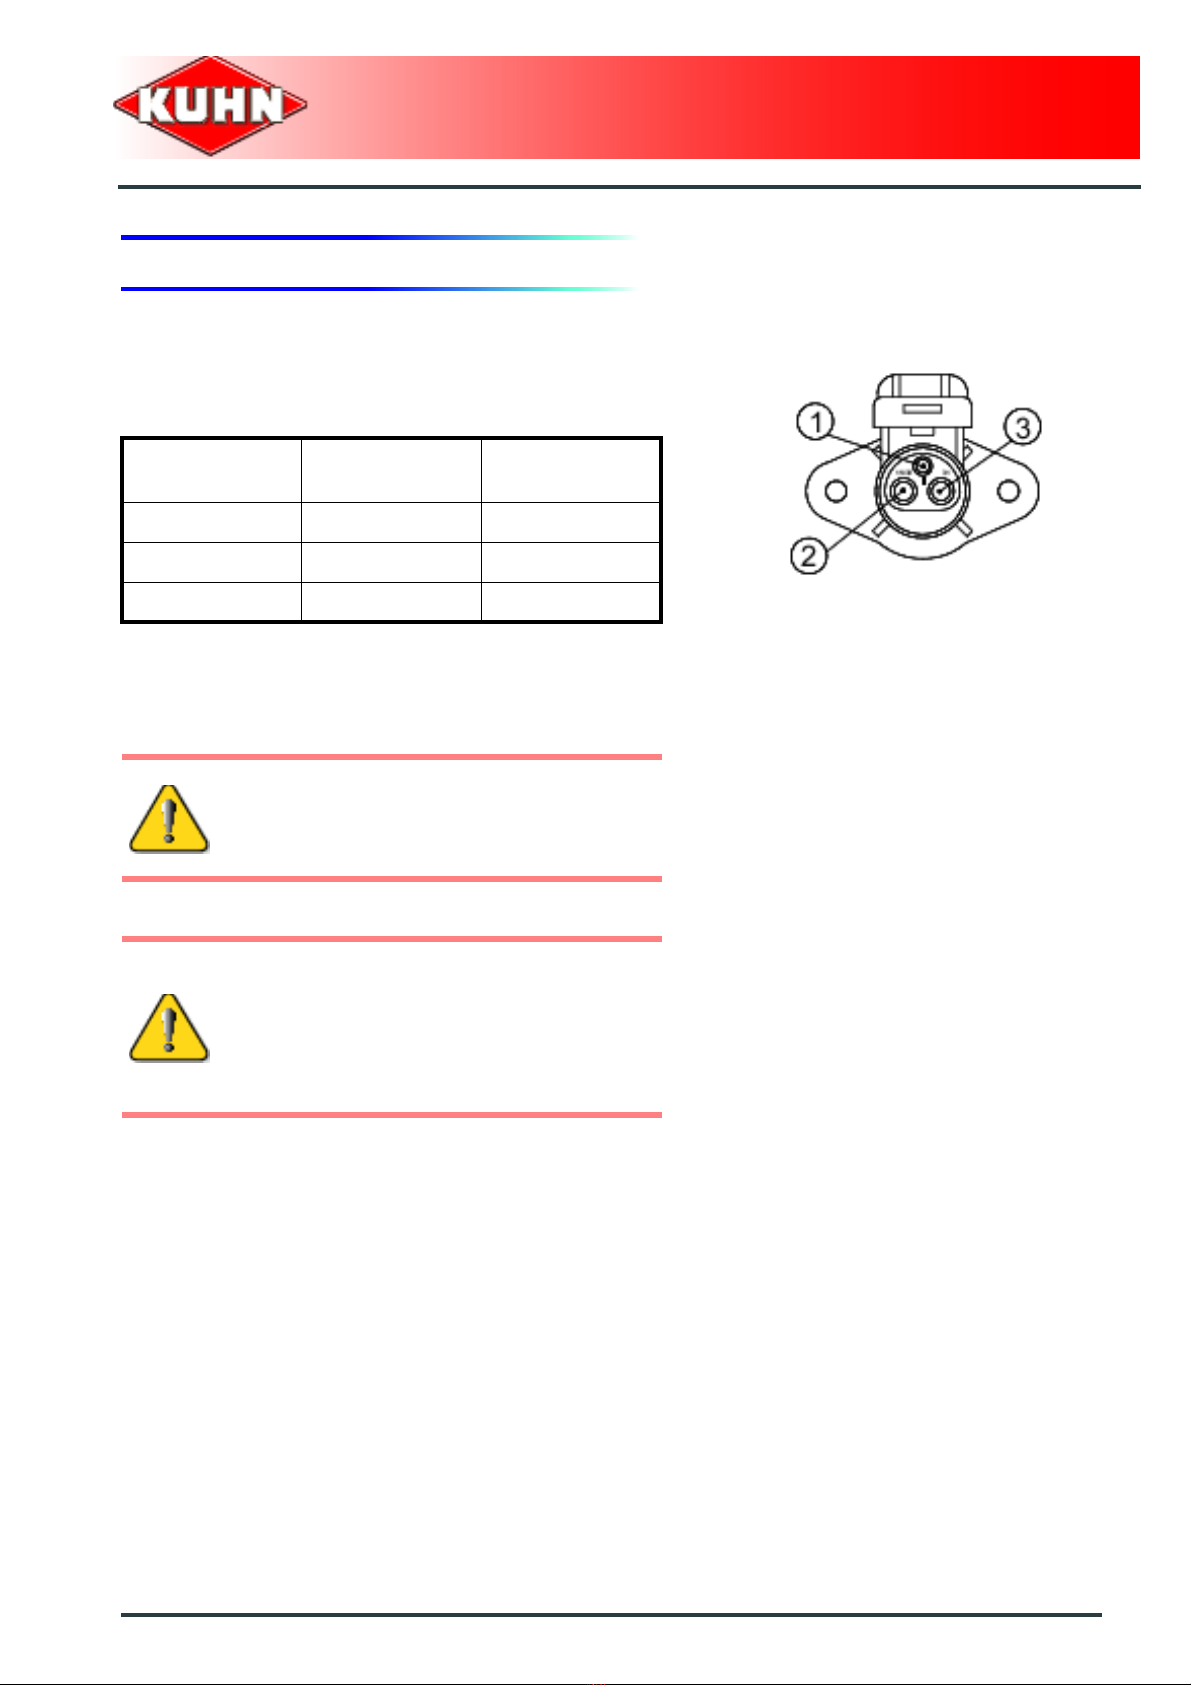
Connector connection................................................................................................................... 24
Installation diagram ..................................................................................................... 25
KMS208 on MAXIMA...................................................................................................................... 25
KMS208 and KMD112 on MAXIMA................................................................................................ 26
KMS208 and KMD112 on PLANTER ............................................................................................. 27
KMS208 on PLANTER.................................................................................................................... 28
Limited warranty .......................................................................................................... 29