manuals.online logo
Brands
  1. Home
  2. •
  3. Brands
  4. •
  5. Kurgo
  6. •
  7. Pet Care Product
  8. •
  9. Kurgo SKYBOX REAR BOOSTER SEAT User manual

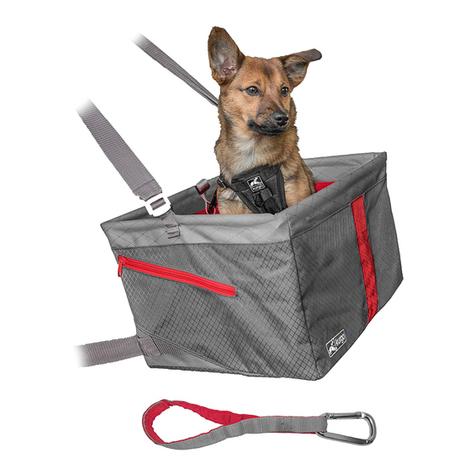
Kurgo SKYBOX REAR BOOSTER SEAT User manual

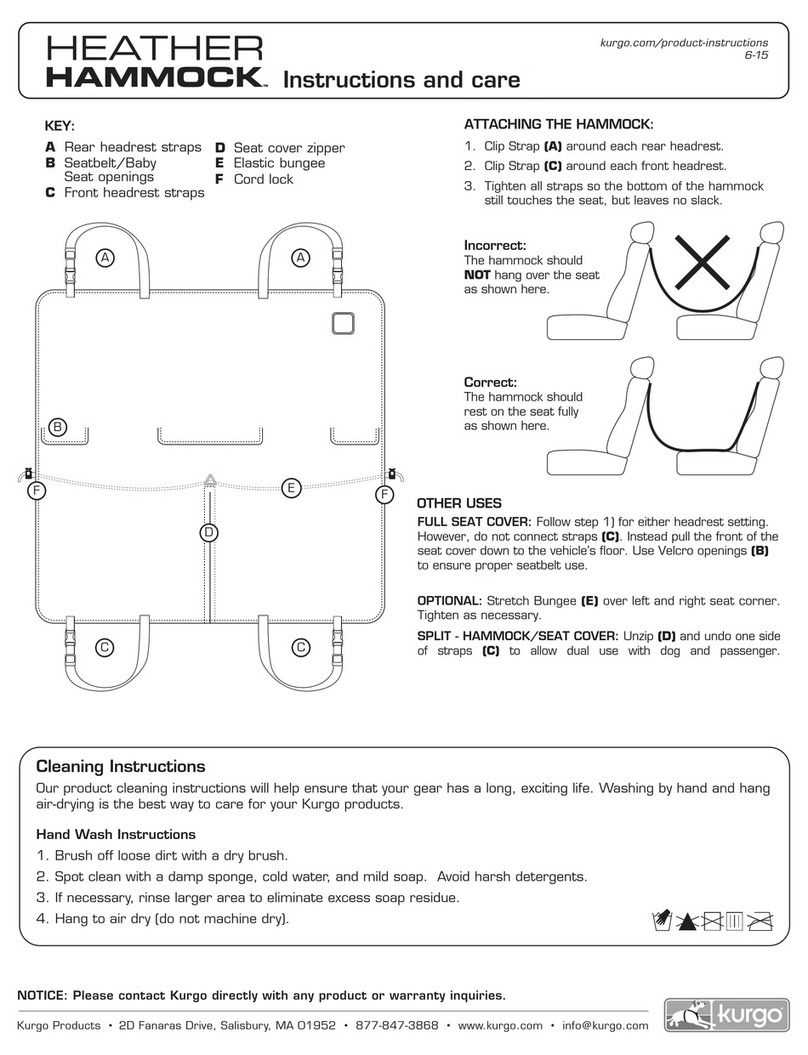
Cleaning Instructions
Washing by hand and hang air-drying is the best way to care for your
Kurgo products.
Notice
Please contact Kurgo directly with any product or warranty inquiries.
Avertissement:
Après avoir attaché la courroie d’amarrage du Booster à un harnais de chien,
ajustez la longueur de la courroie afin d’empêcher chien de sauter pour en sortir.
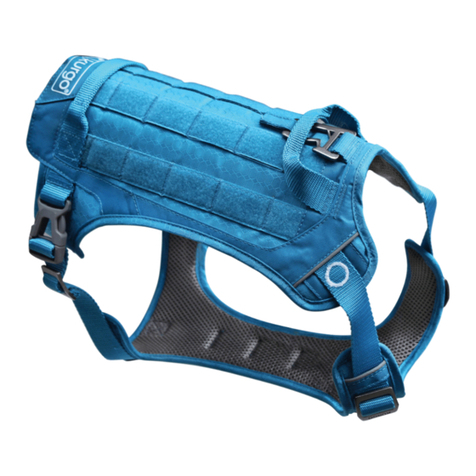
Utilisez toujours un harnais avec le Booster (le harnais Tru-Fit Smart de Kurgo est
recommandé), un collier n’est pas un dispositif de retenue en automobile. En cas
d’accident, la ceinture, le câble d’attache et le harnais de sécurité subiront
l’impact, alors que le cadre du rehausseur est conçu pour se détacher. En cas
d’accident, le rehausseur devrait être remplacé.
Instructions de lavage:
Nettoyer l’endroit souillé avec un détersif sans
danger pour les animaux. Essuyer pour sécher.
Avis:
Veuillez communiquer toute demande relative aux produits directement à Kurgo.
Warning:
After clipping the tether strap to a dog harness, adjust the length of the strap to
keep dog from jumping out. Always use a harness with the booster seat, collars are
not suitable for automotive restraint. In the event of an accident the seatbelt, tether
and safety harness will incur the impact while the booster seat frame is meant to
break away. Should an accident occur the booster seat should be replaced.
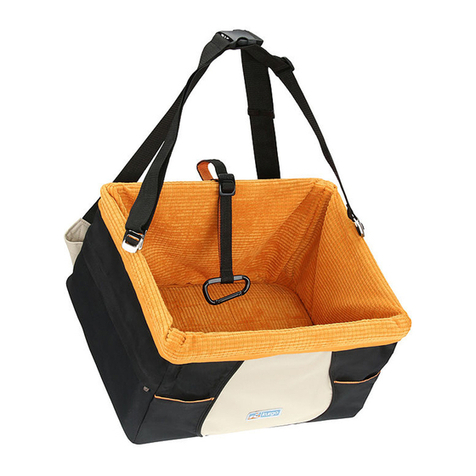
Seat Insert
Flaps
Seatbelt
Straps
Car Seat Belt
Padded Cushions
EN - SKYBOX REAR BOOSTER SEAT | INSTRUCTIONS AND CARE 7-19
FR - SKYBOX REAR BOOSTER SEAT | INSTRUCTIONS ET ENTRETIEN
kurgo.com/
product-instructions
Kurgo Products: Salisbury, MA 01952 •877-847-3868 •www.kurgo.com •info@kurgo.com | Kurgo Products-EU: +353 (0) 76 892 0427 •customerhelp@kurgo.com
4. Secure booster seat by running
seat belt through straps on the
back of the seat. Clip attached
tether to your dog’s harness so
he stays safely inside.
3. Connect seat insert flaps to
hook and loop fabric. Position
seat insert securely on the
bottom of booster.
2. With the pocket facing the front,
rotate padded cushions toward
side walls and secure firmly with
hook and loop fabric strips.
1. Unfold the booster seat frame.
Installation
3. Re-attach carabiner to strap and
attach to harness leash hook.
2. Pull tether through the slide
located in the back of the
booster seat.
Using the tether with your vehicle’s seat belt
Insert de siège
rabats
sangles
de ceinture
de sécurité
Ceinture
de siège
de voiture
coussins rembourrés
4. Attacher le rehausseur en
passant la ceinture de sécurité
dans les courroies à l’arrière du
siège. Fixer la laisse attachée au
harnais du chien pour qu’il reste
à l’intérieur en sécurité.
3. Connecter les rabats du fond du
siège au tissu avec boucles et
crochets. Placer le fond du
siège solidement dans le fond du
rehausseur.
2. En positionnant la pochette vers
l’avant, faire pivoter les coussins
rembourrés vers les parois
latérales et les fixer solidement
avec les bandes en tissu à
boucles et crochets.
1. Déplier le cadre du rehausseur.
Mode d’emploi:
Utilisation de la laisse avec le ceinture de sécurité du véhicule
A
B
CC
1A 1B 2 3
OU
A
B
CC
1A 1B 2 3
OU
1B. Remove carabiner and remove
the tether from the slide
located in the back of the
booster seat. Loop tether
around the seatbelt and pull
back through tether handle.
1B. Retirer le mousqueton et retirer
la laisse du glissoir situé à
l’arrière du rehausseur. Faire
passer la laisse autour de la
ceinture de sécurité et ensuite
dans la poignée de la laisse.
3. Attacher à nouveau le
mousqueton à la courroie et
l’attacher au crochet pour la
laisse du harnais.
2. Faire passer la laisse dans le
glissoir situé à l’arrière du
rehausseur.
1A. Passer la ceinture de sécurité
dans l’ouverture de la poignée
de la laisse et attacher le
mousqueton au crochet pour
laisse du harnais du chien.
1A. Pass the seat belt through the
handle opening of the tether and
attach the carabiner to your
dog’s harness leash hook.
DE - SKYBOX REAR BOOSTER SEAT | ANLEITUNGEN UND PFLEGE
ES - SKYBOX REAR BOOSTER SEAT | INSTRUCCIONES Y CUIDADO
Kurgo Products: Salisbury, MA 01952 •877-847-3868 •www.kurgo.com •info@kurgo.com | Kurgo Products-EU: +353 (0) 76 892 0427 •customerhelp@kurgo.com
Cleaning Instructions
Flecken mit einem für Haustiere geeignetem
Reinigungsmittel reinigen. Trockenreiben.
Hinweis:
Bitte wenden Sie sich bezüglich jedweder Produkt- oder
Garantieanfragen direkt an Kurgo.
Advertencia:
Luego de sujetar la correa de fijación al arnés del perro, ajuste el largo de la correa
para que el perro no pueda saltar del asiento. Siempre use un arnés con el asiento
elevador; los collares no son adecuados para sujetar en un automóvil. En el caso de
un accidente, el cinturón de seguridad, la correa de sujeción y el arnés de seguridad
soportarán el impacto, mientras el armazón del elevador está diseñado para
desprenderse. En caso de accidente, se debe reemplazar el asiento elevador.
Instrucciones de lavado:
Limpiar las manchas con un detergente que
sea seguro para las mascotas. Secarlo.
Avis:
Contacte directamente a Kurgo para consultar sobre algún producto o garantía.
Warnung:
Stellen Sie die Länge des Gurtes richtig ein, nachdem Sie den Haltegurt an einem
Hundegeschirr angebracht haben, um den Hund davon abzuhalten,
herauszuspringen. Benutzen Sie für die Sitzerhöhung immer ein Geschirr;
Halsbänder sind als Rückhaltevorrichtung im Auto nicht geeignet. Im Falle eines
Unfalls werden der Sicherheitsgurt, Haltegurt und das Sicherheitsgeschirr die
Stoßwirkung auffangen, während der Rahmen der Sitzerhöhung sich loslösen soll.
Sollte ein Unfall auftreten, sollte man die Sitzerhöhung ersetzen.
Sitzeinlage
Klappen
Sicherheitsgurt-Haltebänder
Sicherheitsgurt des Autos
Gepolsterte Kissen
4. Die Sitzerhöhung sicher befestigen, indem man
den Sicherheitsgurt durch die Haltebänder auf
der Rückseite des Sitzes führt. Den befestigten
Gurt am Geschirr Ihres Hundes befestigen,
damit er sicher in der Sitzerhöhung bleibt.
3. Die Sitzeinlageklappen mit den
Klettbändern befestigen. Die
Sitzeinlage sicher unten in der
Sitzerhöhung positionieren.
2. Die Kissen, mit nach vorne zeigender
Tasche, zu den Seitenwänden
drehen und sicher mit den
Klettbandstreifen befestigen.
1. Rahmen der Sitzerhöhung
aufklappen.
3. Den Karabiner wieder anbringen
und an der Leinenöse des
Geschirrs befestigen.
2. Ziehen Sie den Haltegurt durch
den Schieber auf der Rückseite
der Sitzerhöhung.
Den haltegurt mit dem sicherheitsgurt ihres fahrzeuges verwenden:
Asiento
Solapas
Tiras para el
cinturón de seguridad
Cinturón de seguridad del vehículo
Paneles acolchados
4. Asegure el asiento elevador, pasando
el cinturón de seguridad por las tiras
que se encuentran en la parte
trasera del asiento. Sujete la correa
atada al arnés de su perro para
mantenerlo dentro de forma segura.
3. Fije las solapas del asiento a las
tiras de cierre por contacto.
Coloque el asiento en el
elevador de manera segura.
2. Con el bolsillo mirando al frente, de
vuelta los paneles acolchados
hacia las paredes del asiento, y
fíjelos firmemente con las tiras de
cierre por contacto.
1. Despliegue el armazón
del asiento elevador
Instrucciones de uso:
Uso de la correa con el cinturón de seguridad del vehículo
A
B
CC
1A 1B 2 3
ODER
A
B
CC
1A 1B 2 3
OU
1B. Entfernen Sie den Karabiner und lösen
Sie den Haltegurt aus dem Schieber
auf der Rückseite der Sitzerhöhung.
Schlingen Sie den Haltegurt um den
Sicherheitsgurt und ziehen Sie ihn
dann zurück durch den Haltegurtgriff.
1B. Quite el mosquetón y desenganche la
correa del pasador, que se
encuentra en la parte trasera del
asiento elevador. Pase la correa
alrededor del cinturón de seguridad y
luego por el orificio de la correa.
3. Vuelva a colocar el mosquetón
en la correa y sujételo al
gancho de la correa del arnés.
2. Pase la correa por el pasador
que se encuentra en la parte
trasera del asiento elevador.
1A. Pase el cinturón de seguridad
por la abertura de la correa, y
enganche el mosquetón al
gancho de la correa del arnés
de su perro.
1A. Führen Sie den Sicherheitsgurt
durch die Grifföffnung des
Gurtes und befestigen Sie den
Karabiner an der Leinenöse des
Geschirrs Ihres Hundes.
Gebrauchsanweisung:

Other Kurgo Pet Care Product manuals

Kurgo JOURNEY BENCH SEAT COVER User manual

Kurgo

Kurgo JOURNEY BENCH SEAT COVER User manual

Kurgo ROVER BOOSTER SEAT User manual

Kurgo

Kurgo ROVER BOOSTER SEAT User manual

Kurgo Ridgeline User manual

Kurgo

Kurgo Ridgeline User manual

Kurgo K9 COURIER User manual

Kurgo

Kurgo K9 COURIER User manual

Kurgo Long Hauler User manual

Kurgo

Kurgo Long Hauler User manual

Kurgo LOFT BOOSTER SEAT User manual

Kurgo

Kurgo LOFT BOOSTER SEAT User manual

Kurgo Long Hauler Joring Pack Belt User manual

Kurgo

Kurgo Long Hauler Joring Pack Belt User manual

Kurgo HEATHER HALF HAMMOCK User manual

Kurgo

Kurgo HEATHER HALF HAMMOCK User manual

Kurgo BAXTER BACKPACK Installation manual

Kurgo

Kurgo BAXTER BACKPACK Installation manual

Kurgo Skybox Booster Seat User manual

Kurgo

Kurgo Skybox Booster Seat User manual

Kurgo Auto Zip Line User manual

Kurgo

Kurgo Auto Zip Line User manual

Kurgo RSG COUNTY HARNESS User manual

Kurgo

Kurgo RSG COUNTY HARNESS User manual

Kurgo Journey Air User manual

Kurgo

Kurgo Journey Air User manual

Kurgo EXTENDED HAMMOCK User manual

Kurgo

Kurgo EXTENDED HAMMOCK User manual

Kurgo SKYBOX REAR Booster Seat Series User manual

Kurgo

Kurgo SKYBOX REAR Booster Seat Series User manual

Kurgo Loft Hammock User manual

Kurgo

Kurgo Loft Hammock User manual

Kurgo LOFT HAMMOCK User manual

Kurgo

Kurgo LOFT HAMMOCK User manual

Kurgo RSG Active Utility Belt User manual

Kurgo

Kurgo RSG Active Utility Belt User manual

Kurgo JOURNEY HARNESS User manual

Kurgo

Kurgo JOURNEY HARNESS User manual

Kurgo G TRAIN K9 PACK Quick guide

Kurgo

Kurgo G TRAIN K9 PACK Quick guide

Kurgo Heather Hammock User manual

Kurgo

Kurgo Heather Hammock User manual

Kurgo CARGO CAPE User manual

Kurgo

Kurgo CARGO CAPE User manual

Kurgo BACKSEAT BRIDGE User manual

Kurgo

Kurgo BACKSEAT BRIDGE User manual

Kurgo JOURNEY HAMMOCK User manual

Kurgo

Kurgo JOURNEY HAMMOCK User manual

Popular Pet Care Product manuals by other brands

Qpets AF 108 user manual

Qpets

Qpets AF 108 user manual

Petainer PET916N quick start guide

Petainer

Petainer PET916N quick start guide

Trixie Reptiland Reptile Rain Instructions for use

Trixie

Trixie Reptiland Reptile Rain Instructions for use

Petsafe Drinkwell PWW17-16560 quick start guide

Petsafe

Petsafe Drinkwell PWW17-16560 quick start guide

Garmin Astro Specifications

Garmin

Garmin Astro Specifications

Flamingo Galaxy quick start guide

Flamingo

Flamingo Galaxy quick start guide

Waterpik Pet Wand PRO PPR-252 Installation and user guide

Waterpik

Waterpik Pet Wand PRO PPR-252 Installation and user guide

SportDOG Sport Trainer 450M operating guide

SportDOG

SportDOG Sport Trainer 450M operating guide

Schwinn Rascal Plus owner's manual

Schwinn

Schwinn Rascal Plus owner's manual

Petlibro PLAF103 user manual

Petlibro

Petlibro PLAF103 user manual

ANTCUBE 1005615 user manual

ANTCUBE

ANTCUBE 1005615 user manual

Woodley g-Pet user guide

Woodley

Woodley g-Pet user guide

Sunbeam Lighted Nail Trimmer instruction manual

Sunbeam

Sunbeam Lighted Nail Trimmer instruction manual

Petrainer PET910 Operation manual

Petrainer

Petrainer PET910 Operation manual

Automated Pet Care Products LITTER-ROBOT manual

Automated Pet Care Products

Automated Pet Care Products LITTER-ROBOT manual

Pet Fit Designs Tall Tiger User manual & assembly instructions

Pet Fit Designs

Pet Fit Designs Tall Tiger User manual & assembly instructions

Leuchtie Premium manual

Leuchtie

Leuchtie Premium manual

DT SPT 2400 Series owner's manual

DT

DT SPT 2400 Series owner's manual

manuals.online logo
manuals.online logoBrands
  • About & Mission
  • Contact us
  • Privacy Policy
  • Terms and Conditions

Copyright 2025 Manuals.Online. All Rights Reserved.