DuraLabel.com | 800.788.5572 2. Setup and Supply Loading | 5
KODIAK QUICKSTART GUIDE
LOAD RIBBON INTO RIBBON CARTRIDGE
1. Insert an empty take-up roll (with orange toothed ends) into the top of an empty
ribbon cartridge.
2. Locate the arrow on the end cap of a fresh roll of ribbon. Align this arrow with the
arrow on the side of the ribbon cartridge. Slide the ribbon roll into place.
3. Begin unwinding the ribbon from its fresh roll. Pull the end of the ribbon down, under
the bottom of the cartridge, and up to the empty take-up roll.
4. Adhere the end of the ribbon to the take-up roll. Turn the take-up roll to remove any slack.
INSTALL RIBBON CARTRIDGE INTO KODIAK
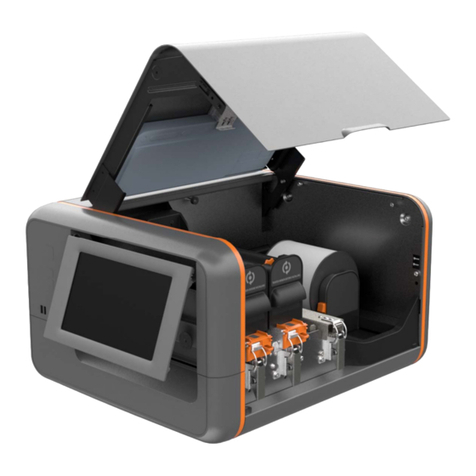
1. Unlatch one of the print heads and raise it by its orange tab until it clicks into
position, where it will hold.
2. Hold a loaded ribbon cartridge so the handle faces you, the two legs of the cartridge
are on either side of the print head, and the loose ribbon at the bottom of the
cartridge is below the print head.
3. Slide the cartridge onto the rails of the print head. It should slide smoothly back until
the number on the print head is visible; you may hear the cartridge click into place.
4. Lower the print head by its orange tab, and latch it down.
5. Repeat the ribbon loading process for both ribbons that you will use. If you are using
a black ribbon, place it on print head 2.
Once your supplies are loaded, close the lid and turn on your Kodiak.
