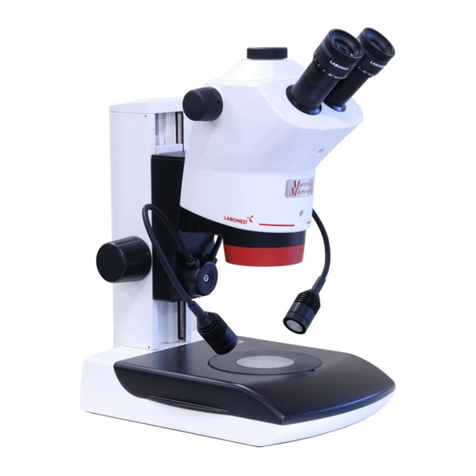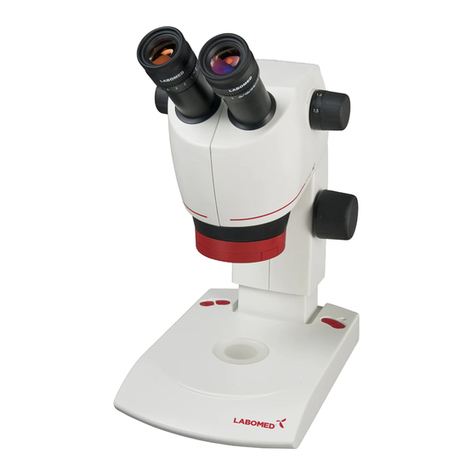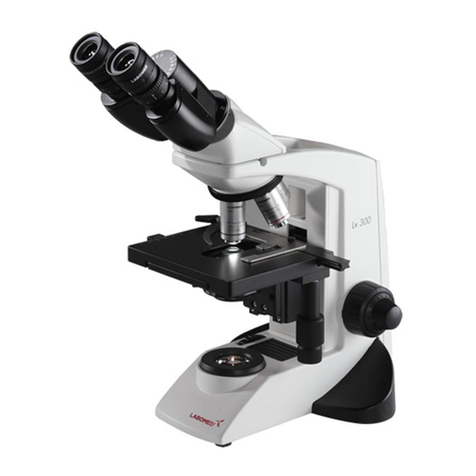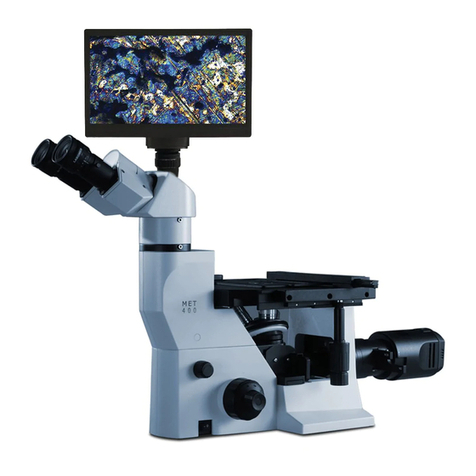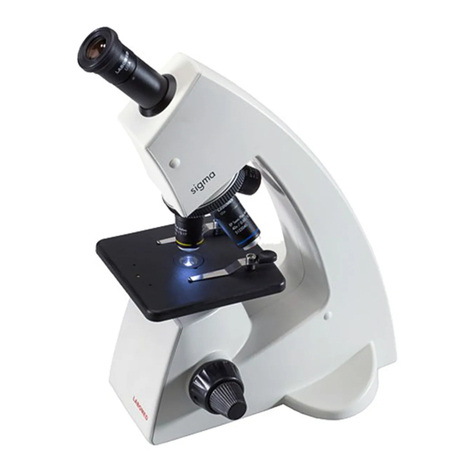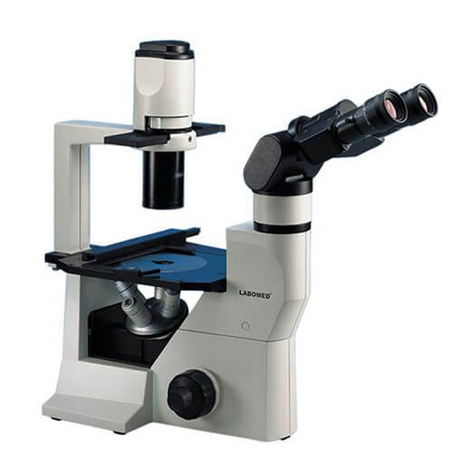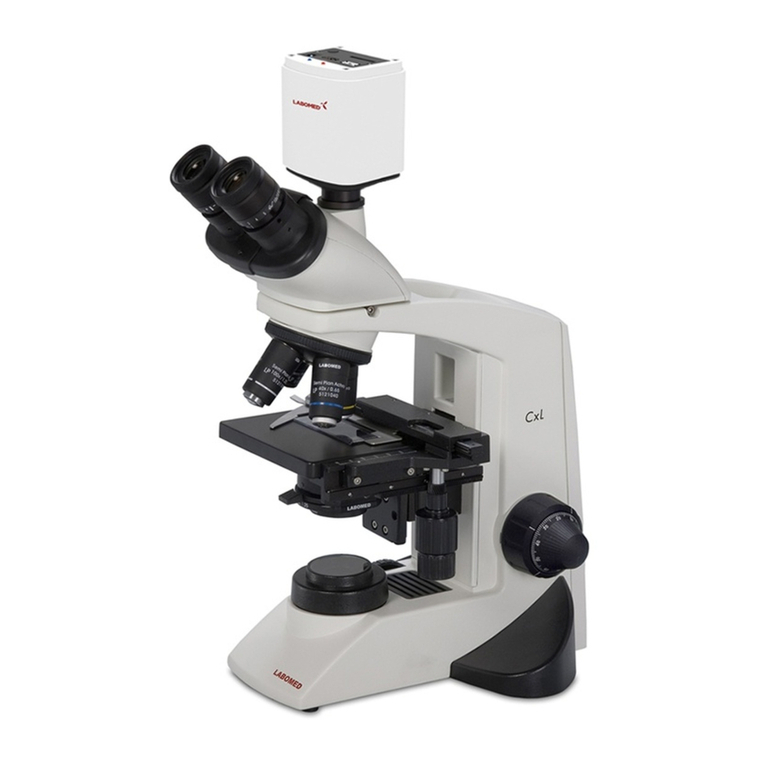
Fig. 2
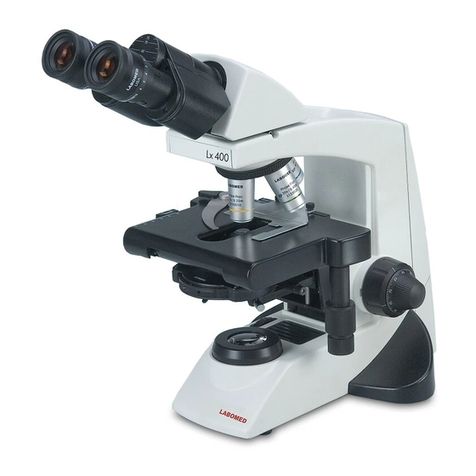
Fig. 3
1. A microscope is a precision instrument with delicate glass compo-
nents. Please handle with care.
2. Do not use the microscope where it is subjected to direct sunlight,
high temperature, humidity, dust and vibrations. ( For the operat
-ing conditions, see chapter 14. “SPECIFICATIONS”) on Page 24.
3. The microscope is ventilated by natural convention. Be sure to
leave enough space (10cm or more) around body when installing
the unit.
4. Arm handle is provided for carrying the microscope.
To prevent damage, do not hold the microscope by the stage or
observation tube.
Be sure to remove the specimen from the stage clip while
transporting unit to avoid damage of the specimen slide.
1. Clean all glass components by wiping gently with cleaning cloth provided. To remove fingerprints or oil
smudges, wipe with cleaning cloth slightly moistened with a mixture of petroleum (85%) and isopropa
-nol (15%).
Since solvents such as petroleum and isopropanol are highly flammable, they must be handled carefully.
Be sure to keep these chemicals away from open flames or potential Sources of electrical sparks - For
Example, electrical equipment that is being switched “ON” or “OFF”. Also remember to always use these
chemicals only in a well-ventilated room.
2. Do not attempt to use organic solvents to clean the microscope components other than the glass compo
-nents. To clean non-glass components, use a lint-free, soft cloth slightly moistened with a diluted neutral
detergent.
3. Do not disassemble any part of the microscope as this could result in malfunction or mitigated perfor
-mance.
4. When not using the microscope, ensure that the frame is fully
cooled before storing the unit in a dry locker or covering with a
dust cover (provided).
5. To clean the condenser/phase turret, fully loosen the securing
thumb screw (1) and remove the condenser then, wipe the front
lens of the condenser with optical cleaning solution (mixture
suggested above) and lens tissue.
The condenser can be re-attached by replacing the condenser in
its seat, tightening securing thumb screw, and raising condens-
er bracket to desired position.
6. Be sure to observe your local rules/regulation for product disposal.
3
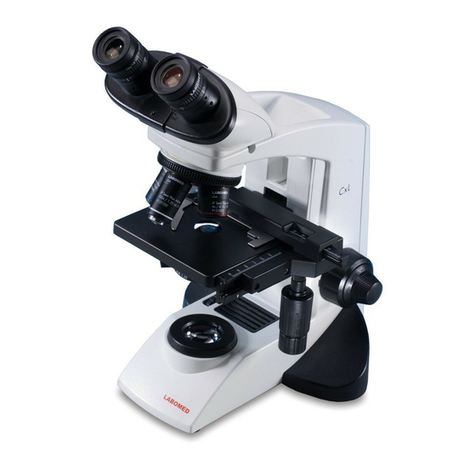
CxL
2
1GETTING STARTED
MAINTENANCE AND STORAGE
9135000-795 CxL
Issue 1.5
Printed onJune,2020
WARNING LABEL
Bottom of microscope
frame
A warning indication label is attached to every part where special precaution is required while handling and
using the microscope. Always read the warnings.
Warning label
position
[Warning against high temperature in
bulb/LED compartment]
[Warning against risk of electric shock]
[Warning against damage in non-
compliance with instructions manual]
If the warning label is stained or peeled off, contact your LABOMED distributor.
!
