manuals.online logo
Brands
  1. Home
  2. •
  3. Brands
  4. •
  5. Lamp
  6. •
  7. Indoor Furnishing
  8. •
  9. Lamp XL-US02K User manual

Lamp XL-US02K User manual

UNIT SHELF (TYPE K) XL-US02K
INSTALLATION MANUAL
Part description
1
Frame Cutting Procedure
2
Height adjustable head: 4 pieces
Height adjust head screw: 4 pieces Vertical Frame gap reducing plate: 4 pieces
Vertical Frame: 2 pieces (Length 2500mm)
Length of Vertical Frame should be 100mm
shorter than the specified installation height
42mm
40mm
How to connect individual components
3
Please insert the height adjustable head into the vertical frame
where the three holes match.
Then, insert the height adjust head screw and screw
it until both components attach securely.
For attachment of the adjustable head, please attach the top
and bottom the same way.
Height adjustable head
Vertical frame
Height adjust
head screw
Screwdriver
(Philips type)
Applicable measurements
Thickness of Glass: Max. 10mm Distance between each vertical frame: Max. 1200mm
Load capacity of each shelf: Max. 50kg Height from floor to ceiling: Max. 2600mm
Point fix mounting plate: 6 plates
Point fix PE32: 12 pieces
(Size 32g30mm)
Point fix bolt M8g12 hexagon bolt: 12 pieces
Shelf stopper: 10 pieces
Wire mount mounting plate: 4 plates
(Size 175mmg46mmgt5)
Wire tension : 8 pieces (Size 18g122~142mm)]
Halogen Lamp XL-US02-P18
(LampNFC1620B): 6 pieces
M6g14 Hexagon bolt: 8 pieces Plastic covered wire KT-L1-200: Length 10m
(Available separately by a unit of 1 meter)ųųųųųųųųų
Transformer OMN60LT: 2 pieces
Size:124mmg36mmg28mm
In-put voltage: 100V
Rated frequency: 50-60 Hz
Out-put voltage: 11.5V
Power feeder C88850: 2 sets (4 pieces)
●When cutting the frame, please wear special protection  
 glasses.
●When cutting the frame, please be aware to cut precisely.
 Imprecise cutting procedure may be the reason for unstable
 installation.
Lamp holder XL-US02-SO16
(Lamp holder L-101): 6 sets
Set includes: 12 pieces of wire holder,
6 pieces of lamp holder, and 12 pieces of wire
4
ISO9001(Japan Offices and Sugatsune America) and ISO14001(Chiba Production division and Logistic center), certified.
How to install the gap reducing plate.
4
Vertical Frame gap reducing plate
Attachment of vertical frame
6
Adjusting part
Constructing Point Fix mounting
8
Preparation of glass plate
7
Space calculation between the glass shelf and the vertical frame.
5
Installation of Vertical frame
9
Point fix mounting plate
Tools to be used: 6 hexagon spanner
Recommendable glass thickness: 10mm
Countersunk
c
ᲭᲬ

MAX450᳧᳧
34᳧᳧
40᳧᳧
20᳧᳧
Vertical frame
Glass shelf frame
:
120᳧᳧
20᳧᳧ᾄ
120ᾄ300᳧᳧
20᳧᳧ᾄ
For space between vertical frame (center-center) max gap 1200mm.
Please prepare 3 glass plates
For wall-floor installation, please attach the gap
reducing plate for the floor only. Attach it at the
center of the frame.
For ceiling-floor installation, please install the
gap reducing plate not only for the floor, but on
the ceiling as well.
Please prepare the screws or the anchors, which
are needed to secure the gap reducing plate.
For wooden surface: use bigger size of 4-6 x
20 mm tapping screws
For concrete surface: use bigger size of 4-6 x
20 mm plastic anchors
Please cover the height
adjustable head onto the
gap reducing plate.
Please use it
between 48-58mm
Maximum gap 1092mm
(when space between 2 frames are 1200mm)
For the ceiling installation.
X calculation can be set
at your convenience.
For the installation of model
XL-US02-S008, making hole
should be arranged off-set
position. X calculation: 70mm
For the installation of model
XL-US02-S009, making hole
may be arranged off-set
position in accordance with
the installation length. X
calculation: 70-250mm
Please loosen point fix
PE32 top, and screw to
secure
Secure the point fix to the side which
is smooth. Please attach 2 point fix
to one mounting plate (6 sets in all)
By using special cabinet shelf
securing hardware, you can
attach other shelf appliances.
Please install the mounting at the
same level height of the cabinet
shelf of the left and right of the
frame.
Please loosen the
screw of shelf stopper
and set it after
checked stopper-pin
closed. Tightening the
screw of shelf stopper
can loosen the
stopper-pin.
Tools to be used: 4 hexagon spanner
Please make sure that the stopper pin
of shelf stopper is correctly set on the
track of vertical frame.
100mm
46mm
:
Wall mounting parts
is optional parts.
For ceiling-floor installation,the
height adjustable head can
adjust the installing height.
Please make sure that the
tension between ceiling and
floor is enough to keep the
vertical frame in stable
position.
Tool: Pin spanner
Point fix PE32 head
Place the glass plates
Installation of vertical frame.
Constructing the wire mounting
Installing glass plates
10 13
14
11
12
e.g. : Installation for horizontal direction
Tools to be used: 4 hexagon spanner
9KTGOQWPVOQWPVKPIRNCVG
Plastic covered wire
Isolation connector
127mm
20mm
20mm
150mm
175mm
Connecting the transformer to the plastic
covered wire on the vertical frame
Arrangement process of the transformer
Power feeder
Screw stopper
Cut the plastic covered wire and attach
to the wire tension. The connector has a
turn-buckle shape. Please loosen wire
tension around 2-3mm in order to adjust
the tension itself after the installation of
vertical frame.
M5x5 hexagon bolt
Tools to be used: 3 hexagon snapper
Please make sure that the end of plastic
covered wire should be held more than
15mm by the connector.
After securing the wire mount
mounting plate, please adjust by
screwing the wire tension screw
until the wire is completely
stretched.
M6x14 hexagon bolt
(4 hexagon wrench)
Possible to install the wire vertically, or diagonally.
When constructing vertically, note that the wire goes in
between the shelf and the frame, so there will be a limit for
the shelf hardware. 1. Shelf hard wares that may be used
are:XL-US202-S001 Point fix glass shelf hardware 2.
XL-US02-S002 Wood shelf hardware 3. XL-US02-S003 Point
fix glass shelf hardware (Angle adjustable)
Cut the connector side of the trans
Cut off the plastic of the wire. Please be
careful not to damage the original wire.
Tool: 2 hexagon spanner
Cut and pull out the bronze
cord and attach it to the
power feeder itself.
Attach the power feeder to the
plastic coated wire. Please make
sure that fixing screws of power
feeder touch the metal part of the
wire.
Tools to be used: Screwdriver
Transformer can be installed
on the back of vertical frame
with a sticky tape
Please make sure that the
tip of fixing screws of
lamp holder touches the
center point of the plastic
covered wire.

Other Lamp Indoor Furnishing manuals

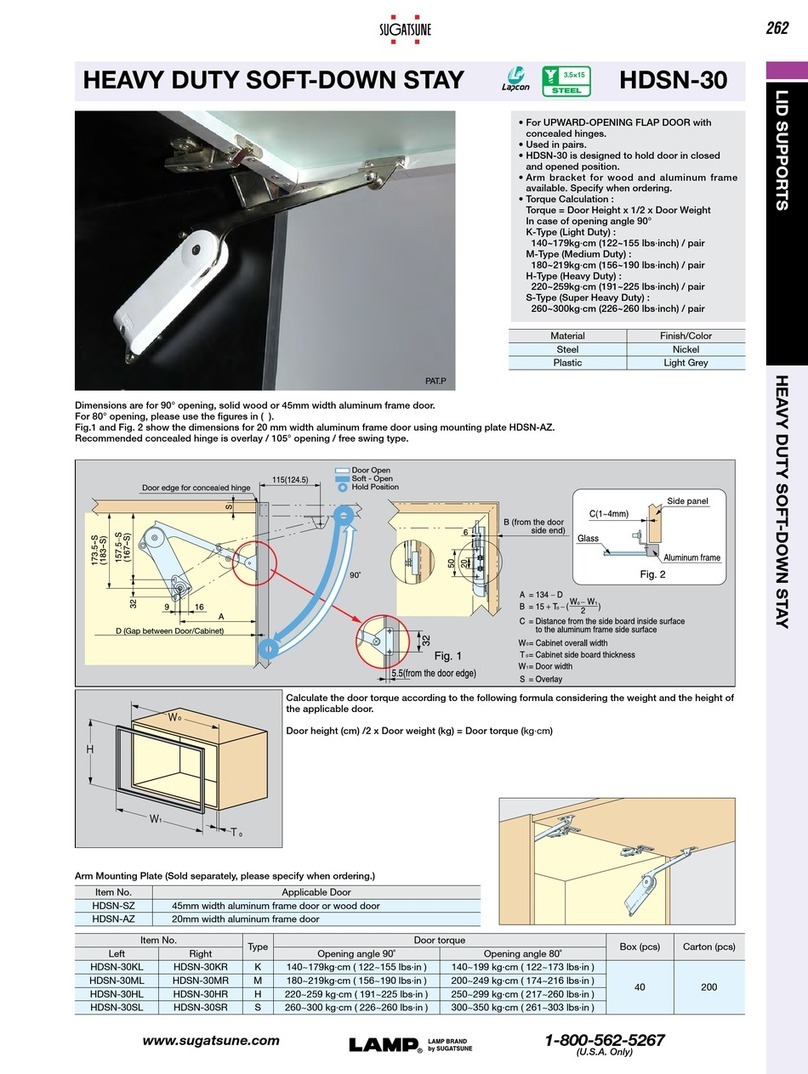
Lamp HDSN-30 User manual

Lamp

Lamp HDSN-30 User manual

Lamp SLUN-N User manual

Lamp

Lamp SLUN-N User manual

Lamp SLU-ELAN User manual

Lamp

Lamp SLU-ELAN User manual

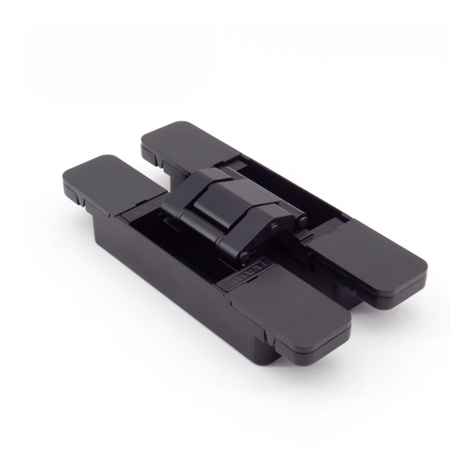
Lamp HES3D-E160DN User manual

Lamp

Lamp HES3D-E160DN User manual

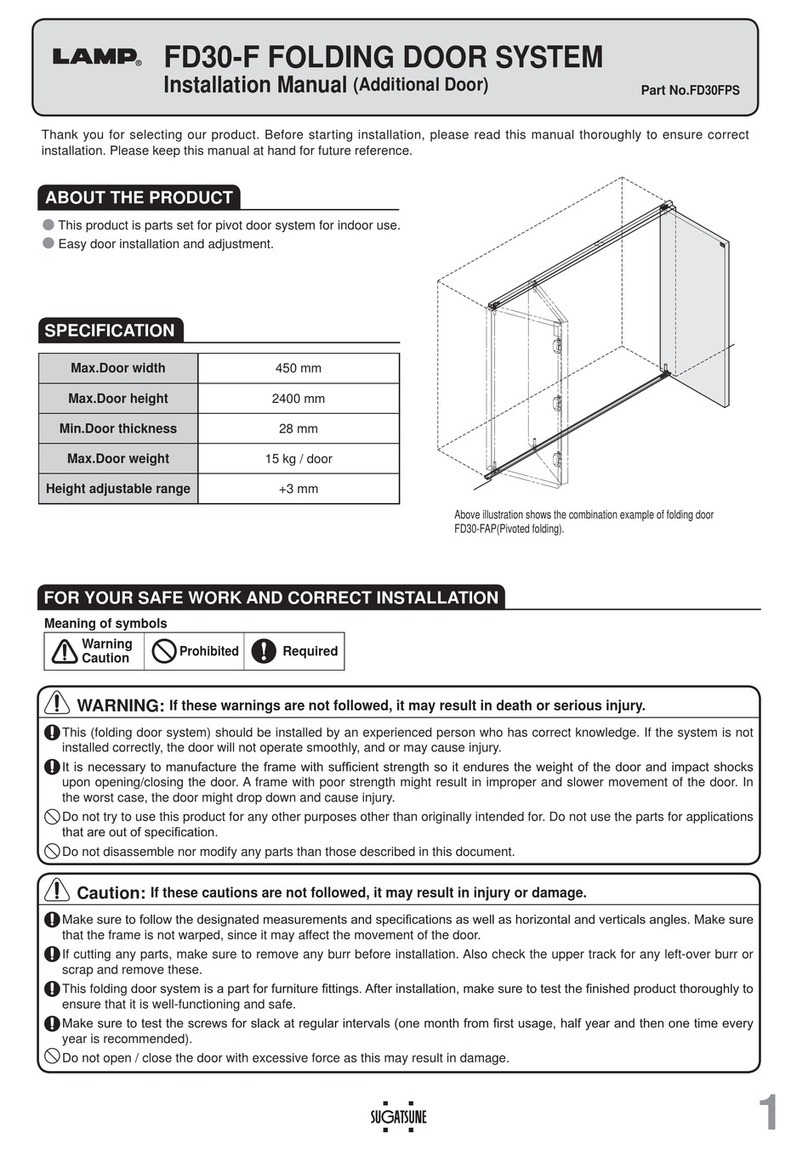
Lamp FD30-F User manual

Lamp

Lamp FD30-F User manual

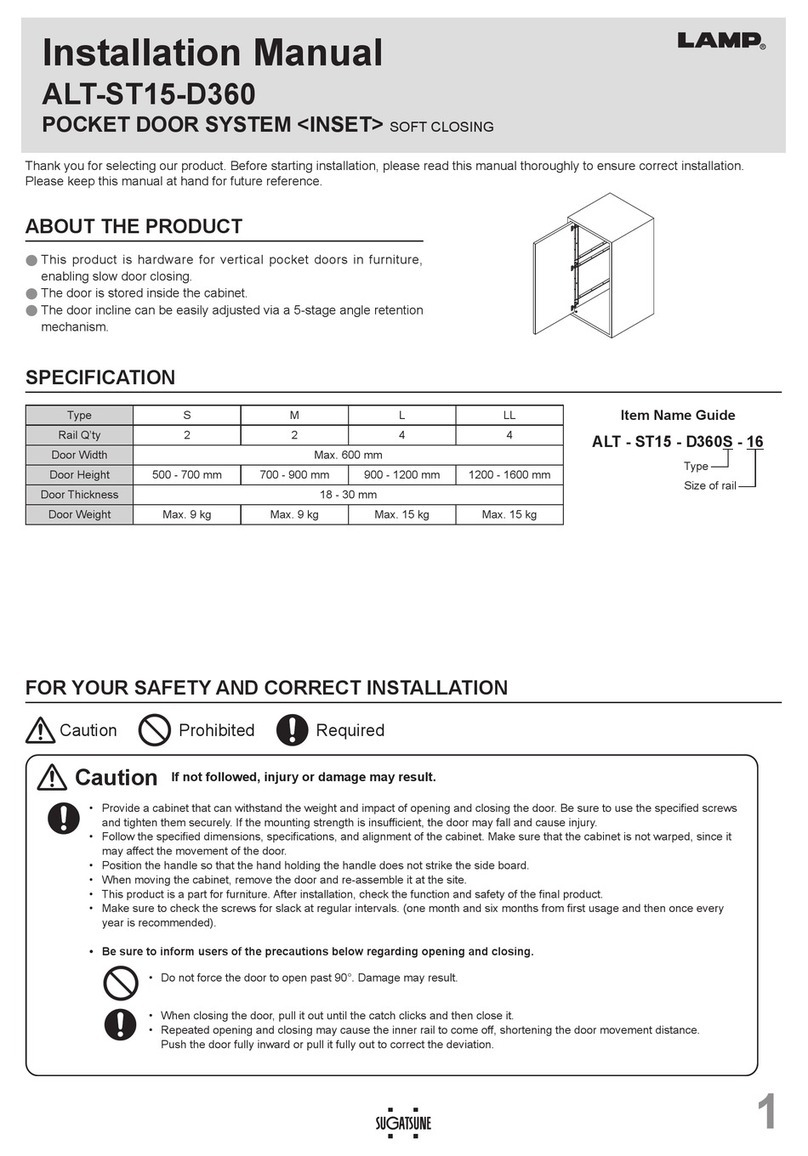
Lamp ALT-ST15-D360 User manual

Lamp

Lamp ALT-ST15-D360 User manual

Lamp HES3D-E160 User manual

Lamp

Lamp HES3D-E160 User manual

Lamp AZ-AT230-HL User manual

Lamp

Lamp AZ-AT230-HL User manual

Lamp ALT-ST15-D10 User manual

Lamp

Lamp ALT-ST15-D10 User manual

Lamp SH740 User manual

Lamp

Lamp SH740 User manual

Lamp FD30-F User manual

Lamp

Lamp FD30-F User manual

Lamp ALT-F18LV2 User manual

Lamp

Lamp ALT-F18LV2 User manual

Lamp FAD-44 User manual

Lamp

Lamp FAD-44 User manual

Popular Indoor Furnishing manuals by other brands

Argos Walton 166/2629 Assembly instructions

Argos

Argos Walton 166/2629 Assembly instructions

Serta CR48150 Assembly instructions

Serta

Serta CR48150 Assembly instructions

Dunelm INDIANA 30151829 Assembly instructions

Dunelm

Dunelm INDIANA 30151829 Assembly instructions

Seconique CORONA EXTENDING DINING TABLE Assembly instructions

Seconique

Seconique CORONA EXTENDING DINING TABLE Assembly instructions

Lifetime 2127 owner's manual

Lifetime

Lifetime 2127 owner's manual

Costway HU10054 user manual

Costway

Costway HU10054 user manual

HDX 21436BPS Use and care guide

HDX

HDX 21436BPS Use and care guide

Hiddenbed Majestic Double Assembly instructions

Hiddenbed

Hiddenbed Majestic Double Assembly instructions

modway Adept Performance EEI-3059 quick start guide

modway

modway Adept Performance EEI-3059 quick start guide

Oxybul éveil & jeux 315882 Instruction Notice

Oxybul éveil & jeux

Oxybul éveil & jeux 315882 Instruction Notice

IFM Lewiston 80400-0 Assembly instruction

IFM

IFM Lewiston 80400-0 Assembly instruction

HDX SL-THDUS-006B Use and care guide

HDX

HDX SL-THDUS-006B Use and care guide

Cosmopolitan CosmoLiving Westerleigh Instruction booklet

Cosmopolitan

Cosmopolitan CosmoLiving Westerleigh Instruction booklet

Rauch M0003 Assembly instructions

Rauch

Rauch M0003 Assembly instructions

Better Homes and Gardens Austen BH19-D1-1011-02 manual

Better Homes and Gardens

Better Homes and Gardens Austen BH19-D1-1011-02 manual

Steelcase Brody 488 Assembly Directions

Steelcase

Steelcase Brody 488 Assembly Directions

Amisco M656480251 Assembly

Amisco

Amisco M656480251 Assembly

B. JORGSEN & CO MALIBU BBC42WH Assembly instructions

B. JORGSEN & CO

B. JORGSEN & CO MALIBU BBC42WH Assembly instructions

manuals.online logo
manuals.online logoBrands
  • About & Mission
  • Contact us
  • Privacy Policy
  • Terms and Conditions

Copyright 2025 Manuals.Online. All Rights Reserved.