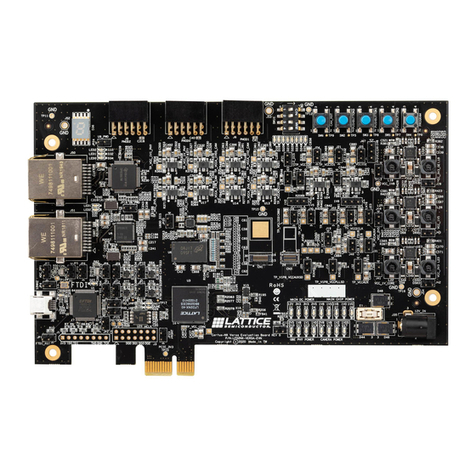
iCEblink40-HX1K
Evaluation Kit
Connect the iCEblink40-HX1K Evaluation Board
The iCEblink40 Evaluation Board is functional without the development software or
drivers, although ideally you should download and install the iCEcube2 development
softwarerst.
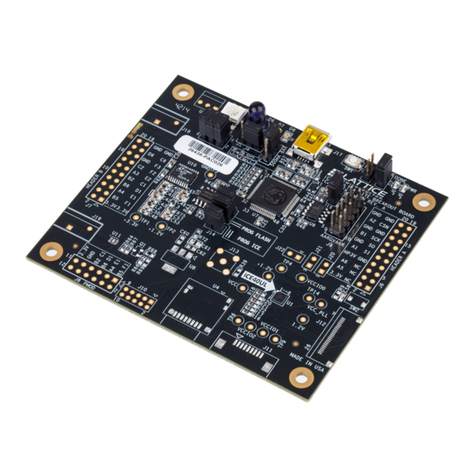
Connect the iCEblink40-HX1K board to your PC using the USB cable provided.
a. Connect the USB cable provided to a USB port on your PC and to the board’s
USB interface socket on the top-left corner of the board.
b. The iCEblink40 Evaluation Board is pre-programmed and powered through the
USB cable. After properly connecting the board, the four green LEDs should light
up in a scrolling pattern. Press a capacitive touch button to toggle the LEDs. If no
buttonispressedwithinveseconds,theboardreturnstoscrollingtheLEDs.
c. Additional capabilities, including controlling virtual I/Os from the PC display
via USB, are described in the iCEblink40-HX1K Evaluation Kit User’s Guide
available on the Lattice web site at www.latticesemi.com/iceblink40-hx1k.
Note: If Windows prompts you for a USB device driver and you have not already
installed the iCEcube2 development software, simply click Cancel. The iCEblink40
Evaluation Board is functional even without the development software or drivers.
oggle LED with Button Press
1. Power On
Green LEDs scroll upward.
3. Press a button to toggle the
associated LED on or off.
If no button is pressed within
five seconds, the board returns
to Scroll LEDs Mode.
2. Press any button to enter
LED Toggle Mode.
