Evaluating the ORCA ORT42G5 with the
Lattice Semiconductor High-Speed SERDES Board
6
3. Observe LED D12-1 (packet errors LED). If this LED is on, previous packet errors were seen.The LED
needs to be cleared to see if it latches any additional errors.Move SW14-C3 to the “down”position, then to
the “up” position.D12-1 should be cleared by now.
4. If D12-1 is not cleared, then a reset of the resync logic might be required. Check then uncheck the
GSWRST check box for Ax in the ORCAstra GUI.In addition, check then uncheck the FMPU_RESYNC1
check box for AD in the GUI.Repeat step 10.
Transmit Eye DiagramTest Procedures (PRBS 2
7
Data Eye)
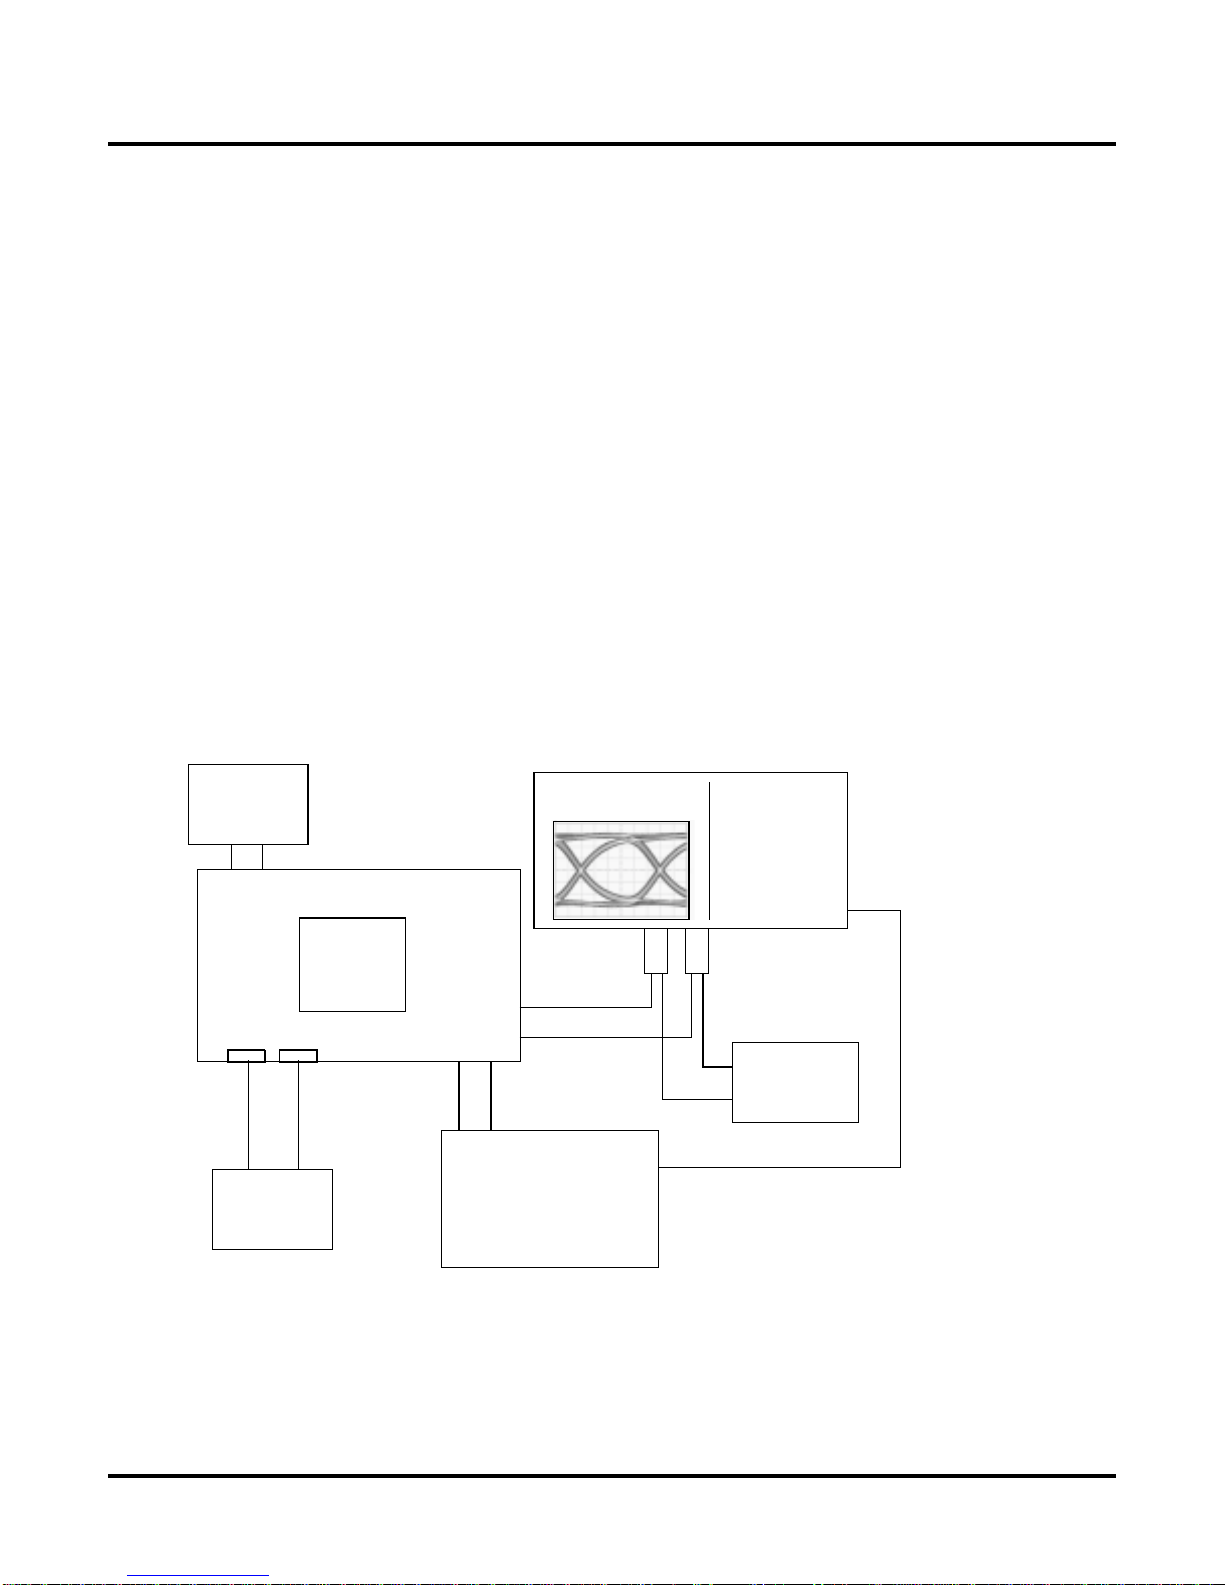
1. Connect the system as shown in Figure 4.The scope SMA cables should be connected to the
HDOUTP_Bx and HDOUTN_Bx SMA connectors on the board.
2. Power-up the system
3. Start the clock generator and provide a nominal 155.52MHz CML reference clock.
4. Download the ort42g5v10ceval.bit bitstream into the ORT42G5.
5. Open Configuration raw_ac.fp1 using the pull-down menu in the ORCAstra application.This will setup the
AC and AD channels in SERDES-only mode
6. Run the prbsAC.fpm macro using the pull-down menu in the ORCAstra application.This macro will setup
the AC and AD channels in SERDES-only mode and transmit PRBS 2
7
packets.
7. Make sure that SW14-C1 and SW14-C2 are in the “up” position to prevent far end loop-back on channels
AC and AD.
8. Observe the PRBS data eye on the scope.
Now that the eye is present, the system can be manipulated to improve and/or distort the eye diagram. The
ORCAstra software can be used to change the pre-emphasis settings for the CML output buffer, change the half-
amplitude setting for the CML output buffer, change the half-rate setting for the Tx SERDES channel, or change the
frequency of the incoming reference clock.TheTx SERDES channel can also be powered down using the ORCAs-
tra application.
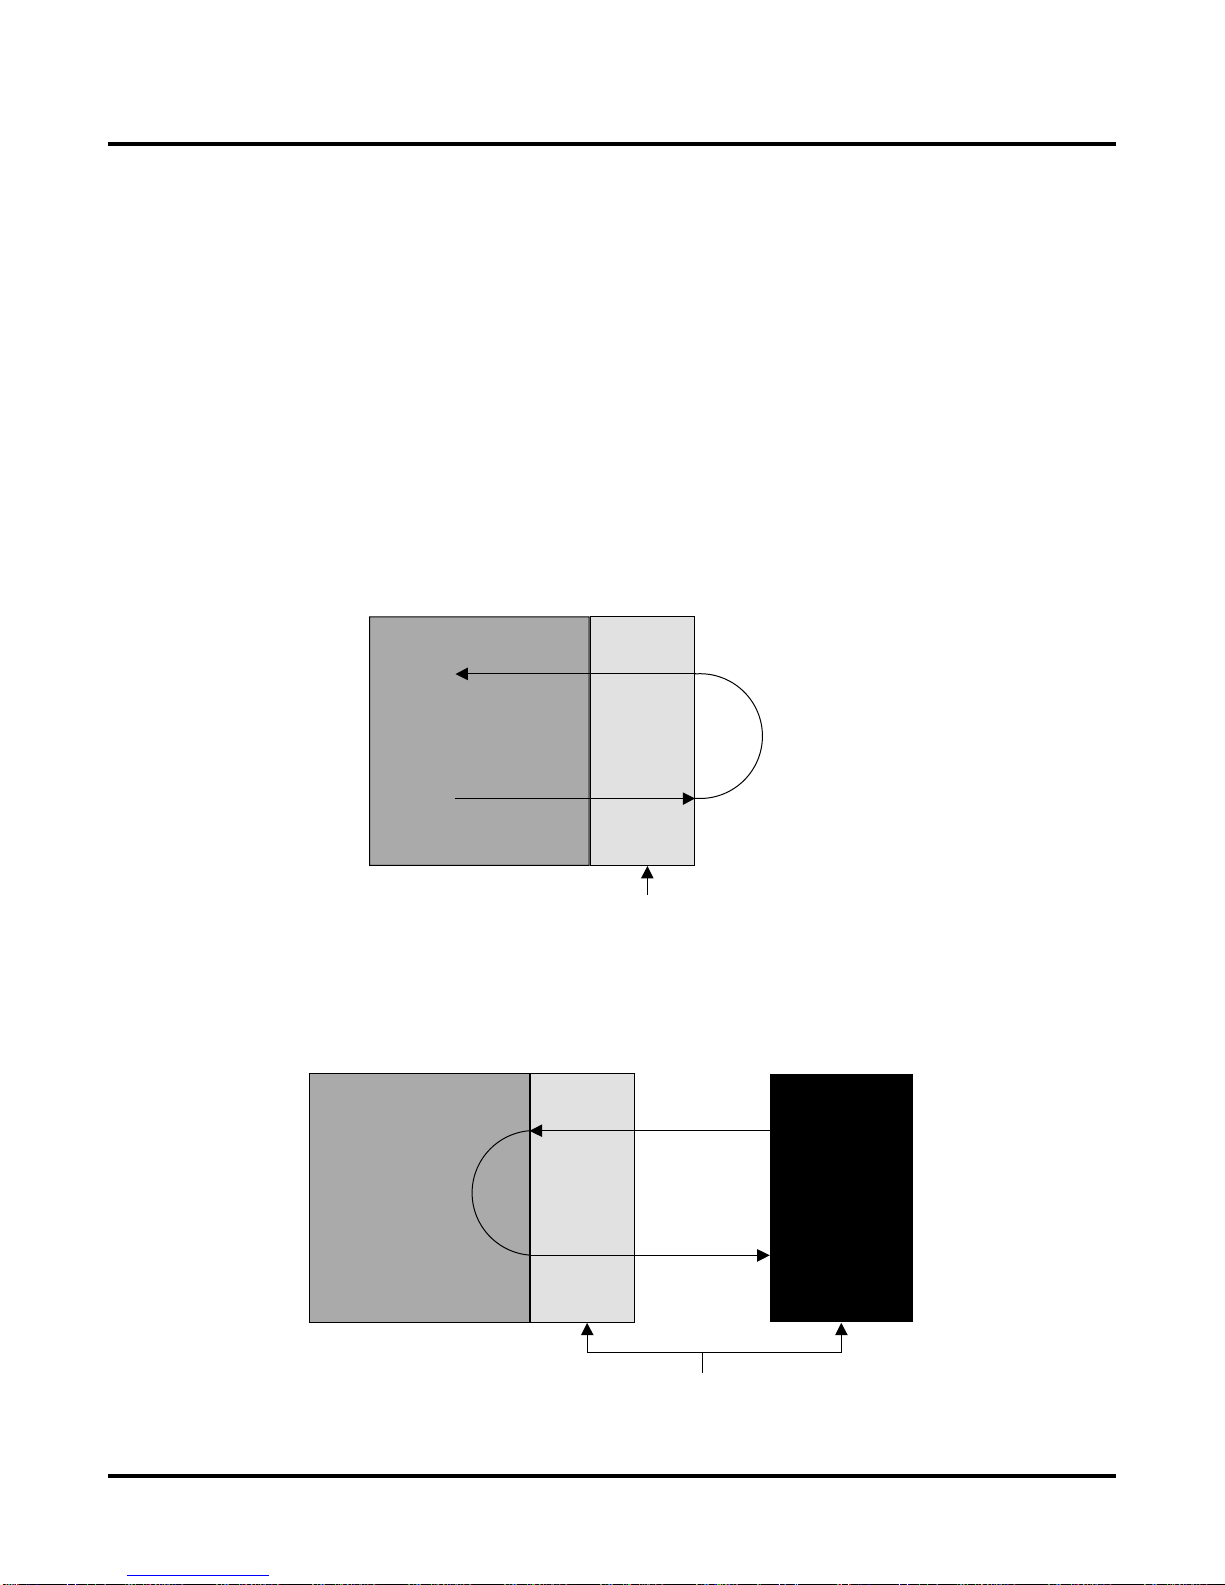
Note:To obtain a valid eye diagram measurement, both outputs of the CML buffer must be connected to the same
load. A difference in the loading of the P and the N outputs of the CML buffer will degrade the measured data eye.
Near-end Loop-back (PRBS 2
7
-1 Data Eye)
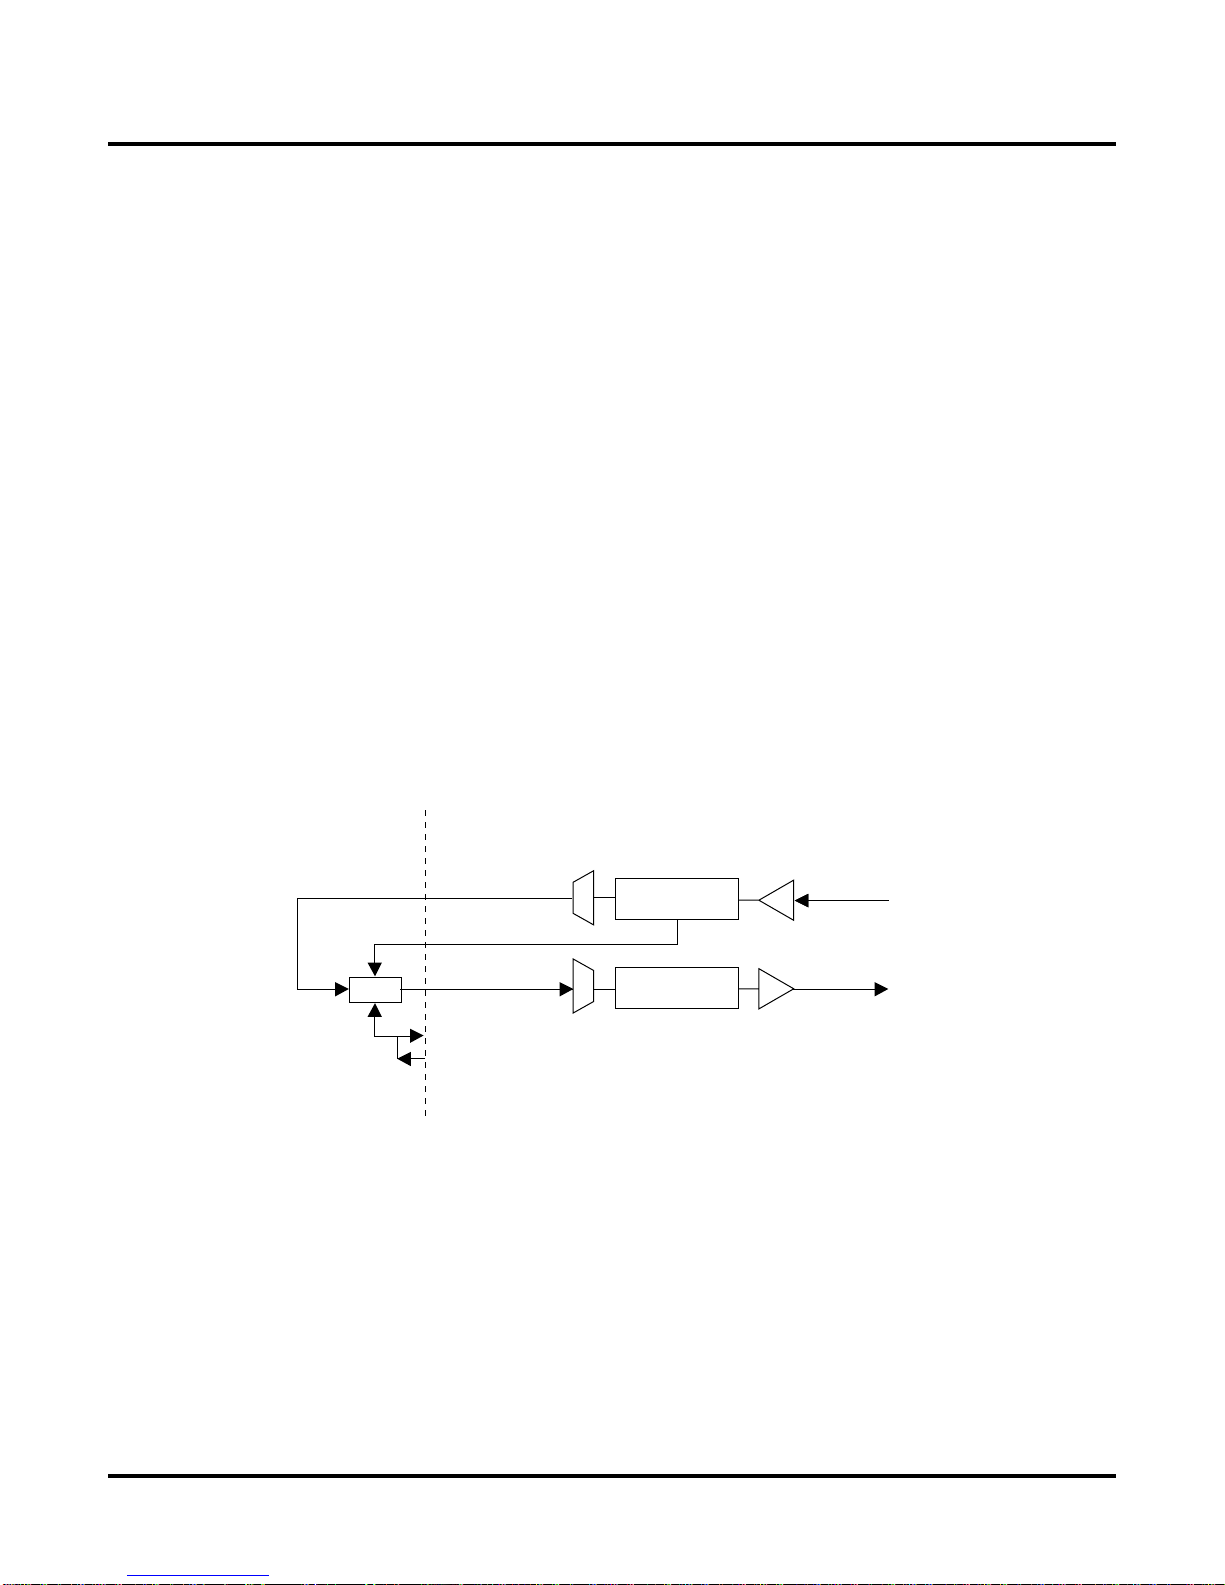
In addition to the steps performed above to observe an 2
7
-1 eye, it is possible to perform an internal loop-back on
either channel AC or AD and verify the 2
7
-1 PRBS checker functionality.
In addition to the steps shown under the “Transmit Eye Diagram Test Procedures (PRBS 2
7
-1 Data Eye)” section,
the following steps enable checking channel AC for PRBS 2
7
-1 PRBS in near end loop-back:
1. Open Configuration raw_ac.fp1 using the pull-down menu in the ORCAstra application.This will setup the
AC and AD channels in SERDES-only mode.This also sets channel AC are the source of TCK78A.
2. Check theTESTEN check box for channel AC (or write Data=41, address =30024) in the ORCAstra GUI.
This sets channel AC in internal loop-back while still enabling the data output to observe an eye on AC.
3. Run the prbsAC.fpm macro using the pull-down menu in the ORCAstra application.This macro will enable
channels AC and AD to transmit PRBS 2
7
-1 and allows checking of PRBS 2
7
-1 using channel AC.Observe
LED D9-1 (PRBS 2
7
-1 errors LED). If this LED is on, then previous packet errors were seen.The LED
needs to be cleared to see if it latches any additional errors.Move SW14-C3 to the “down”position, then to
the “up” position.D9-1 should be cleared by now.
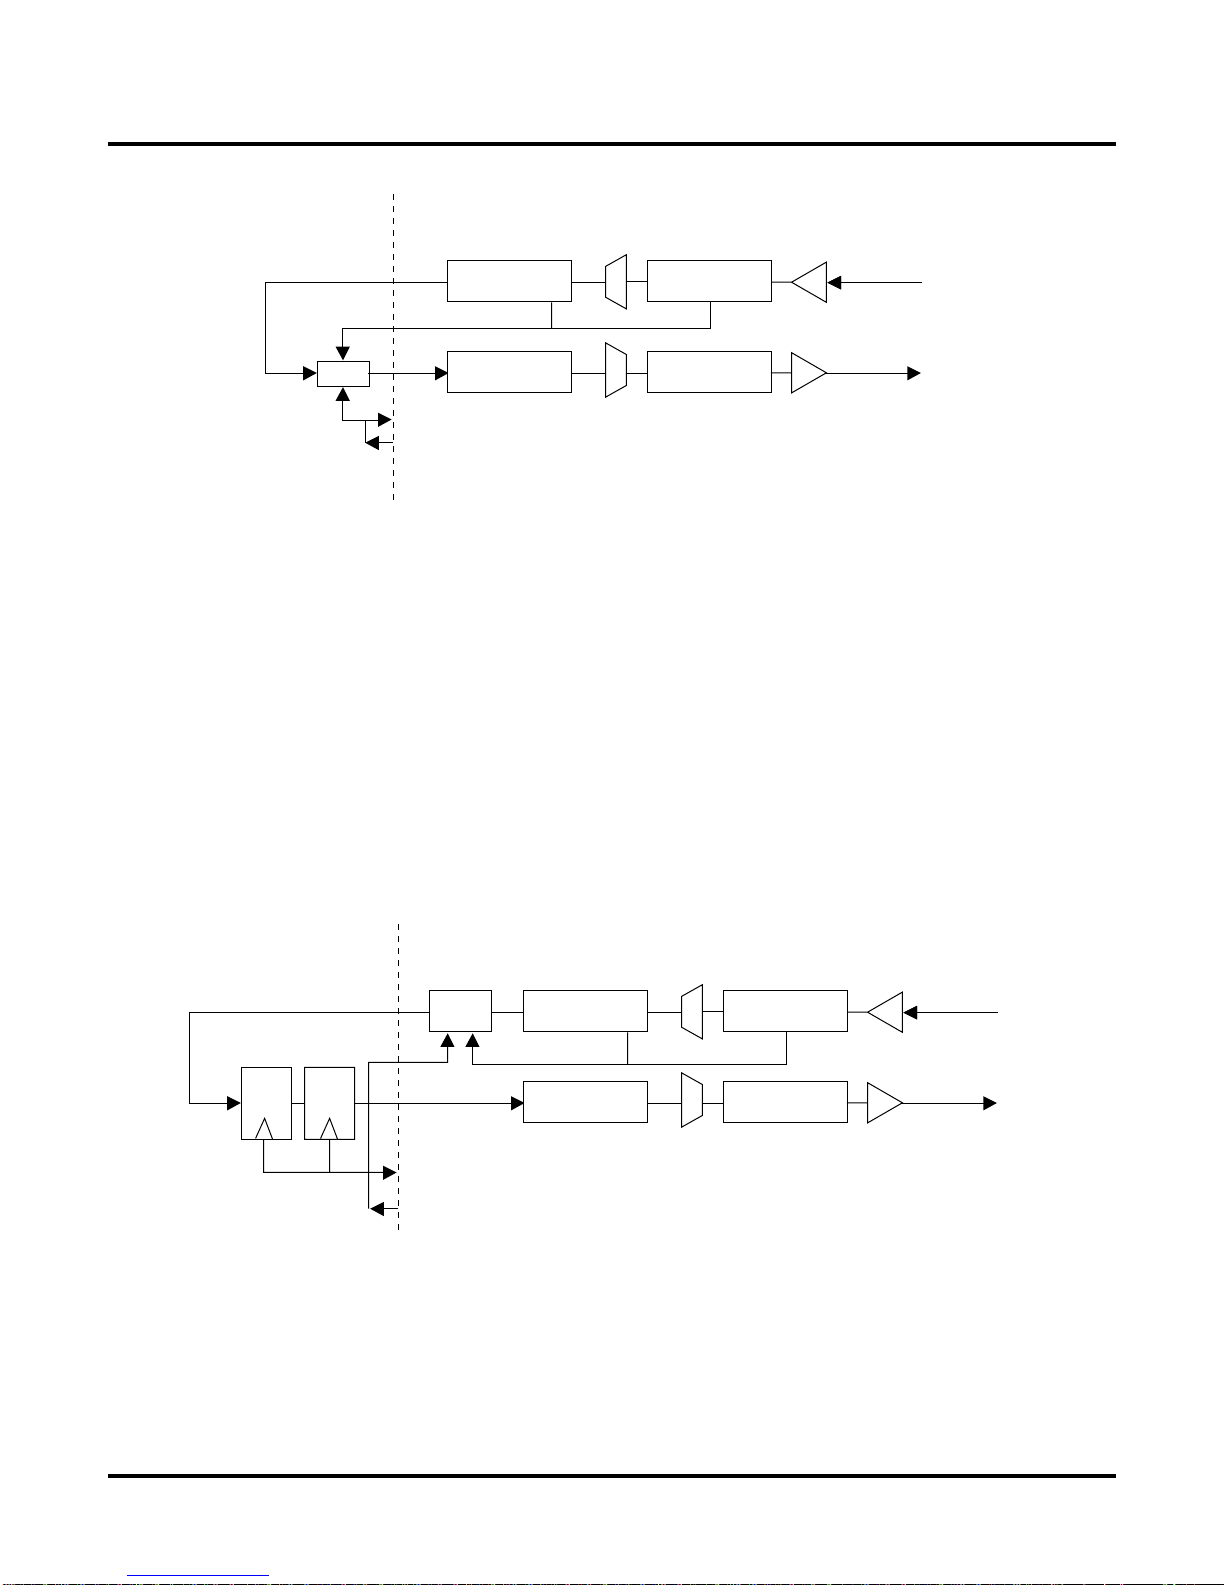
In addition to the steps shown under the “Transmit Eye Diagram Test Procedures -(PRBS 2
7
-1 Data Eye)” section.
The following steps enable checking channel AD for PRBS 2
7
-1 PRBS in near end loop-back:
1. Open Configuration raw_ad.fp1 using the pull-down menu in the ORCAstra application.This will setup the
AC and AD channels in SERDES-only mode.This also sets channel AD are the source of TCK78A.