3
Measurement Preparations Sprinter 150/150M/250M - 1.0.0en
EN
DE
FR
ES
NO
SV
FI
DA
IT
PT
NL
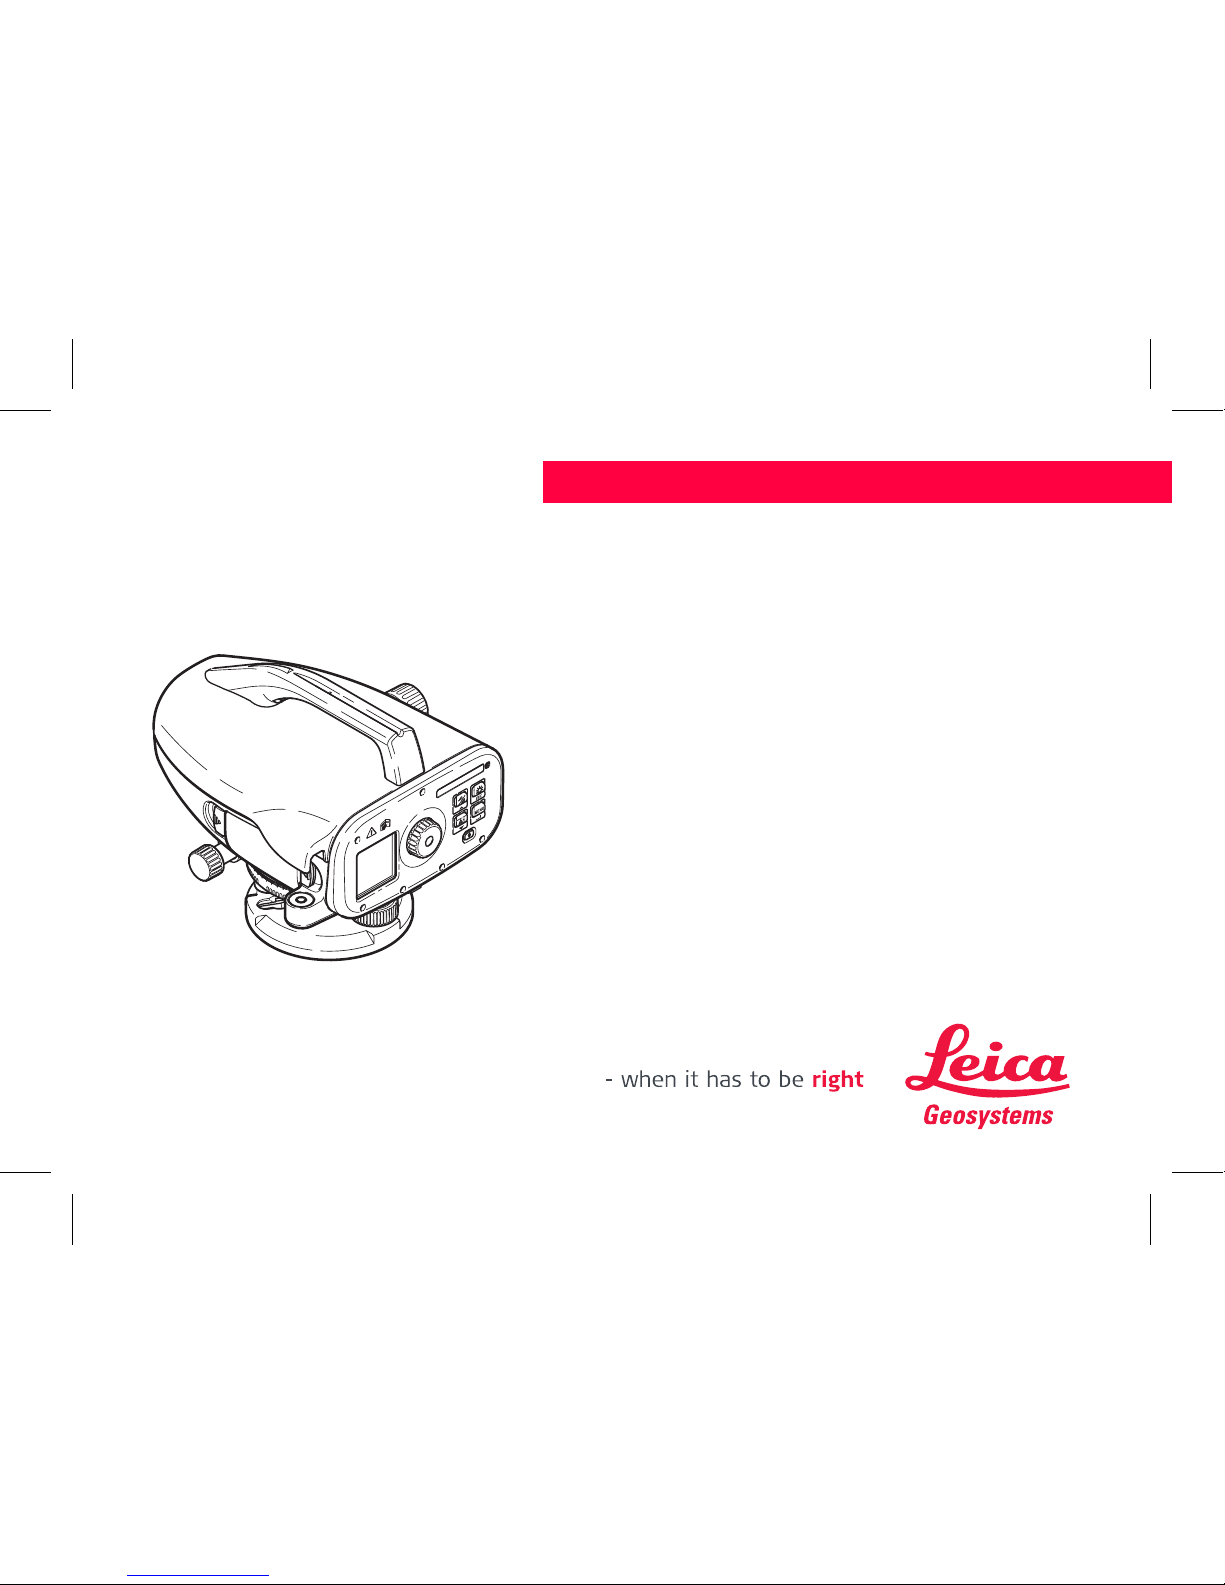
Accessories
Tripod, aluminum staff (region dependant), fibre glass staff (to
achieve 0.7 mm accuracy with Sprinter 250M). (Optional:
sunshade, 4 rechargeable batteries and charger)
3. Measurement Preparations
3.1 Change Battery
Insert 4 AA dry cells according to the positive and negative signs as
indicated on the holder.
)Always replace with a complete battery set!
)Do not use old and new batteries together.
)Do not use batteries from different manufacturers or
batteries of different types.
3.2 Set-up Instrument
Levelling
• Set up the tripod. Extend the legs to a suitable length and ensure
that the tripod head is approximately level. Tread the tripod
shoes firmly into the ground to ensure stability.
• Mount the instrument on the tripod by screwing the tripod screw
onto the base of the instrument.
• Use the three levelling foot screws to center the circular bubble
in order to level the instrument.
Eyepiece Adjustment
Point the telescope to a uniform light surface such as a wall or a
piece of paper. Turn the eyepiece until the cross hairs are sharp or
distinct.
Target Image Focusing
Use the gunsight to aim the objective lens at the staff. Turn the hori-
zontal fine motion screw until the staff is nearly centered in the field
of view and then turn the focusing knob to focus on the staff. Ensure
that staff image and reticle are sharp or distinct.
Power ON
The instrument is ready to measure.
)Technical hints:
• First check and adjust the electronic and optical line-of-sight
errors, then the circular level on the instrument and then the staff:
before starting work in the field, after long storage periods, after
long transportation.
• Keep the optics clean. Dirt or condensation on the optics can
limit measurements.
• Before starting work, let the instrument adjust to the ambient
temperature (approx. 2 minutes per °C of temperature differ-
ence).
• Avoid measuring through window panes.
• Staff sections have to be fully extended and properly secured.
• Touching the upper third of the tripod, can damp vibrations at the
instrument due to wind.
• Use the lens hood to cover the objective when backlight disturbs.
• Evenly illuminate the measuring area of the staff with a flashlight
or spotlight in darkness.