manuals.online logo
Brands
  1. Home
  2. •
  3. Brands
  4. •
  5. Leigh Country
  6. •
  7. Outdoor Furnishing
  8. •
  9. Leigh Country Char-Log Aspen Series User manual

Leigh Country Char-Log Aspen Series User manual

4ft SWING WITH ”A” FRAME
Mallet
00mm
Plumber’s
Socket
Wrench
Phillips
Screwdriver
Tools required Tools included
12
X 4PCS
3
TOP BEAM LEG BRACE
X 1PC
length length
lengthlength
length
X 4PCS
4
SIDE BEAM
X 2PCS
ARM REST
X 2PCS
65
X 1PC
BACK BEAM
7
BACK SUPPORT
X 2PCS
10
BACK PANEL
X 1PC
FRONT SUPPORT
X 2PCS
8
SEAT PANEL
X 1PC
9
FRONT
BACK
X 6PCS
BC
N10-13
NUT & BOLT
N10-12
NUT & BOLT
D
HOOK
NUT & BOLT
X 6PCSX 8PCS X 6PCS
A
N10-19
NUT & BOLT
LONG CHAIN -
EF
FRONT CHAIN
X 2PCSX 2PCS
G
SHORT CHAIN - BACK CHAIN
S04-4 - SCREW
X 6PCS
PARTS AND HARDWARE LIST
Recessed Hole Pre-Checked
IMPORTANT: READ CAREFULLY BEFORE BEGINNING
1. Do not tighten bolts until fully assembled.
2. Recessed holes to face outward.
3. Insert bolts with washer and secure with washer and nut.
4. Pre-checked side must always face downward or inward.
Make sure all parts and hardware are present before beginning assembly.
DO NOT USE POWER TOOLS!
Socket
& Wrench
17mm
Do not fully tighten the bolts.
G
C
9
D
7
10
Step 3:
Back Panel Assembly
Step 4:
Back Panel Assembly
Secure the cone heads at the top of
Back Support (7) into the holes of the
upper part of the Back Panel (10) with
Screws (C).
Insert Bolts (C) into the Back
Support (7) and the lower part
of the Back Panel (10).
Insert the Hook Nut
and Bolts (D) into the
Back Beam (5) and also
on the front part of the
Seat Panel (9). Make
sure that the Hook Nut
and Bolts are fully
tightened.
Insert the Nut and Bolt
(A) through the Back
Beam (5) & the Back
Support (7) and into the
Arm Rest (6).
C
A
7
7
6
5
7
7
10
10
G
D
5
D
9
5
6
7
C
washer
washer
nut
nut
2
2
1
1
Do not fully tighten the bolts.
Step 1:
Step 2:
1
2
2
22
3
33
3
B
B
CC
A
A
B
B
B
BB
B
B
B
4
4
9
9
6
6
6
77
8
8
8
8
LEFT
RIGHT G
G
C
C
C
Construction of “A” Frame
Part 1
Part 2
Part 3
Seat Panel Assembly
Attach the Legs (2) to the
Top Beam (1) using the Nuts
& Bolts (A). Please ensure
that there is one washer
on both ends of the Nuts &
Bolts.
Attach the Legs (2) to the Side Beam (4)
using the Nuts & Bolts (B). Please ensure
that there is one washer on both ends of
the Nuts & Bolts.
Insert Bolt (C) through the
Back Supports (7) and the
Front Supports (8) to secure
the Seat Panel (9).
Insert Front Support (8) into the
Arm Rest (6). Secure the Arm Rest
(6) to the Front Support (8) using
Screw (G).
B
2
4
C
3
A
Attach Brace (3) to the Top
Beam (1) and to the Legs (2)
with Nuts & Bolts (B).
Please ensure that there is
one washer on both ends
of the Nuts & Bolts.
Congratulations
on your assembly!
Step 5:
Step 6:
D
D
Tighten all nuts & bolts once every part and
assembled piece are securely in place.
5 or 9
Chain Assembly
Complete the Assembly
Attach the Front (E) and Back (F)
chains to the Hook Nut & Bolts (D). The
longer chain (E) goes in the front and
the shorter chain (F) goes in the back.
Attach the Front (E) and Back (F)
chains to the Hook Nut & Bolts (D)
located on tehe A-Frame.
Be careful with your hands and
fingers when attaching the chains.
2
E or F
1
www.LeighCountry.com
DISTRIBUTED BY
UNITED GENERAL SUPPLY CO., INC
HOUSTON, TX 77036
© 2017 UGS Co., Inc. All Rights Reserved The Char-log finish is copyright protected
Limited Warranty and Care Instructions
LIMITED ONE YEAR WARRANTY (NON-TRANSFERABLE)
This product is covered under United General Supply’s (UGS) one (1) year limited warranty. To the original
purchaser of this piece of furniture, cooler or accessory; UGS warrants that it will be free from defects in material
and workmanship for up to one year from the date of purchase under normal use and proper care.
Replacement of defective or missing parts will be sent at no charge to the customer for a period of 30 days from the
date of purchase. UGS will no longer be responsible for missing parts or hardware 30 days after date of purchase.
Freight, packaging, labor or material charges to and from our customer service center is not covered under the
warranty and is therefore the customer’s responsibility.
The limited warranty does not cover this piece of furniture, cooler or accessory for commercial purposes, abusive
use, damage by modification, freeze damage, rust, fading and issues caused by improper care.
For minor defects or missing parts/hardware, please contact customer service immediately upon purchase. Please
do not return product to the store unless the product is irreparable. A customer service agent may help determine
whether the damage is reparable and will provide further instructions.
For returns and refunds, please refer to your local store return policy with proof of purchase.
Proof of purchase (dated register receipt) will be required for warranty claims.
ASSEMBLY WITH POWER TOOLS MAY VOID THIS WARRANTY.
PROPER CARE INSTRUCTIONS
To preserve and maintain the original finish of Char-log /Aspen log furniture, we recommend that a light lacquer
coating be applied every 4 to 6 months depending on the seasons.
We recommended an exterior poly-urethane product that features a clear satin or semi-gloss finish and a fast
drying process.
The use of power tools during assembly may void this warranty.
Customer Service may be reached Monday through Friday from 9:00a.m. to 5:00p.m. CST.
[email protected] or 1-877-875-3444

Other Leigh Country Outdoor Furnishing manuals
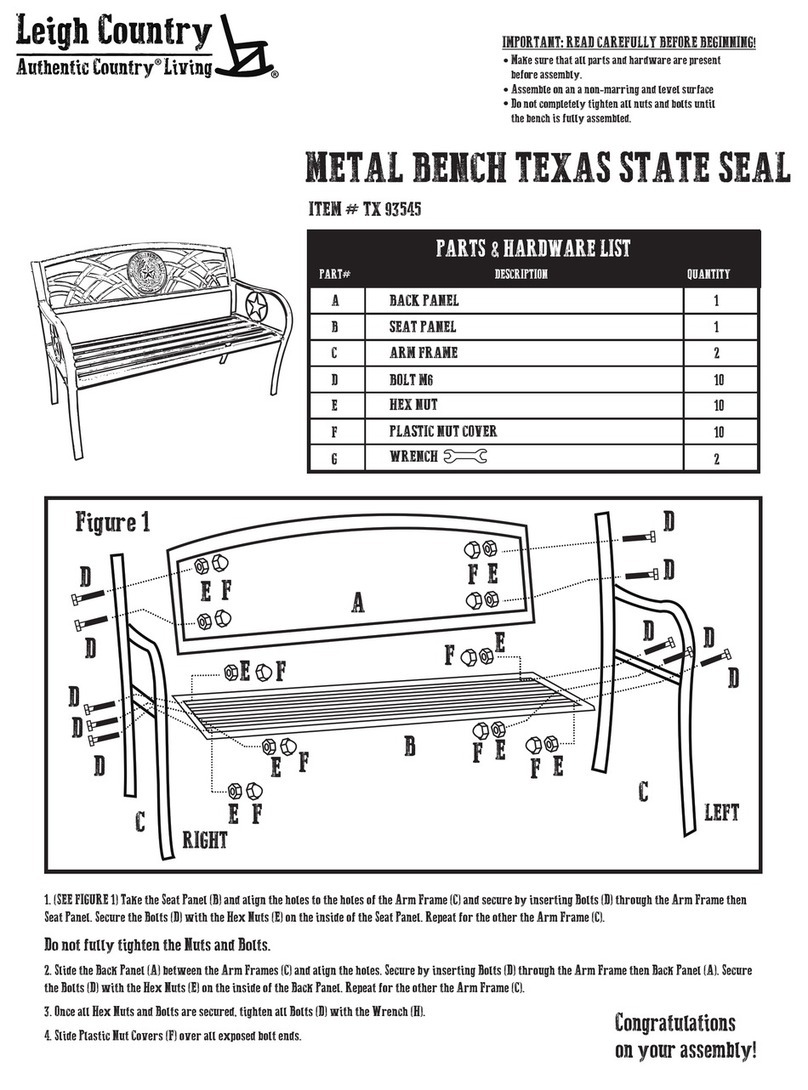
Leigh Country TX 94104 User manual

Leigh Country

Leigh Country TX 94104 User manual

Leigh Country TX94094 User manual

Leigh Country

Leigh Country TX94094 User manual

Leigh Country TX 94101 User manual

Leigh Country

Leigh Country TX 94101 User manual

Leigh Country TX 36600 User manual

Leigh Country

Leigh Country TX 36600 User manual

Leigh Country TX 93480 User manual

Leigh Country

Leigh Country TX 93480 User manual

Leigh Country TX 94062 User manual

Leigh Country

Leigh Country TX 94062 User manual

Leigh Country TX 94062 User manual

Leigh Country

Leigh Country TX 94062 User manual

Leigh Country TX 93548 User manual

Leigh Country

Leigh Country TX 93548 User manual

Leigh Country METAL BENCH TEXAS STATE SEAL TX 93545 User manual
Leigh Country

Leigh Country METAL BENCH TEXAS STATE SEAL TX 93545 User manual

Popular Outdoor Furnishing manuals by other brands

Santa & Cole Urbidermis HARPO Miguel Mila Assembly instructions

Santa & Cole Urbidermis

Santa & Cole Urbidermis HARPO Miguel Mila Assembly instructions

PHI VILLA THD7-104-344B Use and care guide

PHI VILLA

PHI VILLA THD7-104-344B Use and care guide

Suncast CABINET Steel Core TC7028 owner's manual

Suncast

Suncast CABINET Steel Core TC7028 owner's manual

MIRADOR BIOCLIMATIC PERGOLA 111 instruction manual

MIRADOR

MIRADOR BIOCLIMATIC PERGOLA 111 instruction manual

Flash Furniture JJ-092H-GG Assembly instructions

Flash Furniture

Flash Furniture JJ-092H-GG Assembly instructions

Living & Co Verona Bench instruction manual

Living & Co

Living & Co Verona Bench instruction manual

siena GARDEN Alu M51801 Assembly instruction

siena GARDEN

siena GARDEN Alu M51801 Assembly instruction

Safavieh Outdoor Kendrick PAT2506 quick start guide

Safavieh Outdoor

Safavieh Outdoor Kendrick PAT2506 quick start guide

real living OAKMONT Assembly instructions

real living

real living OAKMONT Assembly instructions

Sunjoy A102007214 Assembly and safety instructions

Sunjoy

Sunjoy A102007214 Assembly and safety instructions

Sunjoy A111500500 Assembly instructions

Sunjoy

Sunjoy A111500500 Assembly instructions

VonHaus 2500320 manual

VonHaus

VonHaus 2500320 manual

Elle Decor Vallauris Assembly instructions

Elle Decor

Elle Decor Vallauris Assembly instructions

SNOWJOE Sunjoy Santa Belle manual

SNOWJOE

SNOWJOE Sunjoy Santa Belle manual

Northbeam ADC0481120810 Care Instructions

Northbeam

Northbeam ADC0481120810 Care Instructions

leco 47 39307 114 manual

leco

leco 47 39307 114 manual

pols potten Floris 520-020-053 instruction manual

pols potten

pols potten Floris 520-020-053 instruction manual

PERGOLA Brim Pergola Kit Assembly instructions

PERGOLA

PERGOLA Brim Pergola Kit Assembly instructions

manuals.online logo
manuals.online logoBrands
  • About & Mission
  • Contact us
  • Privacy Policy
  • Terms and Conditions

Copyright 2025 Manuals.Online. All Rights Reserved.