Table of Contents
~ 1 ~
Table of Contents...................................................................................................................................................................1
Safety Information..................................................................................................................................................................2
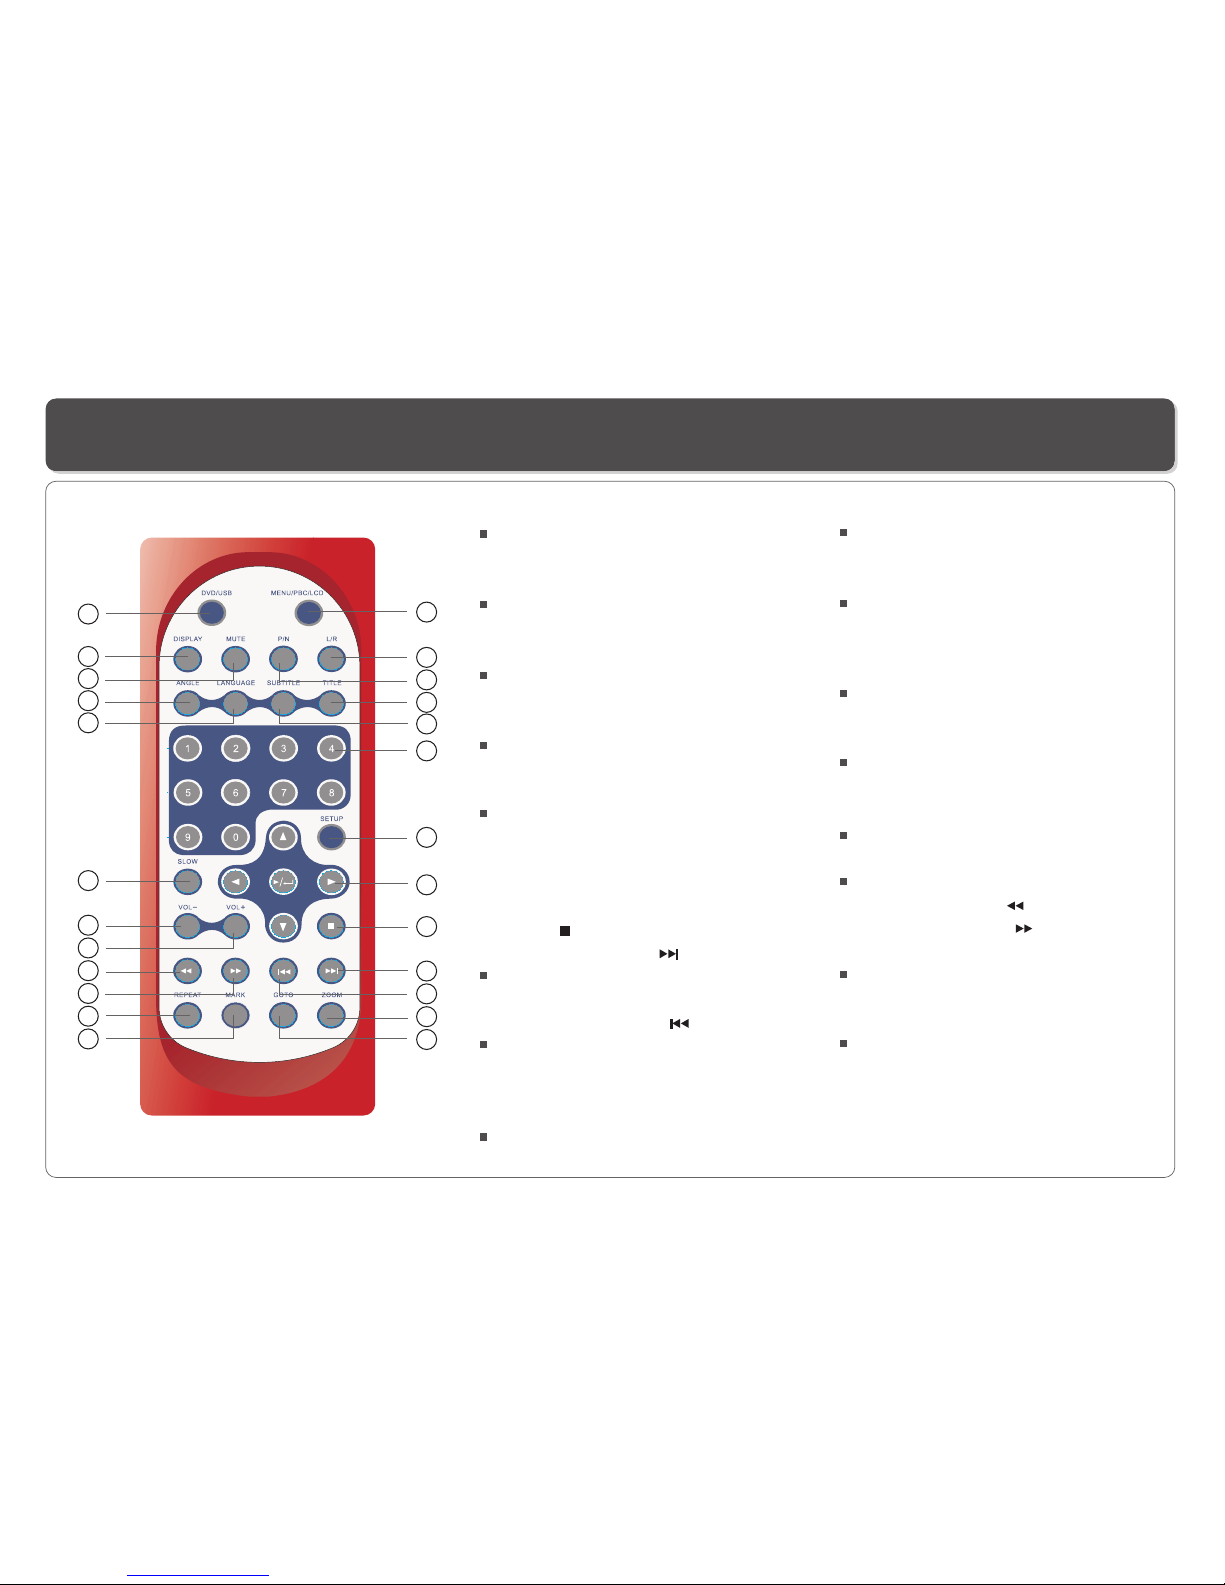
Remote Control......................................................................................................................................................................3
Description of the DVD Player.................................................................................................................................................4
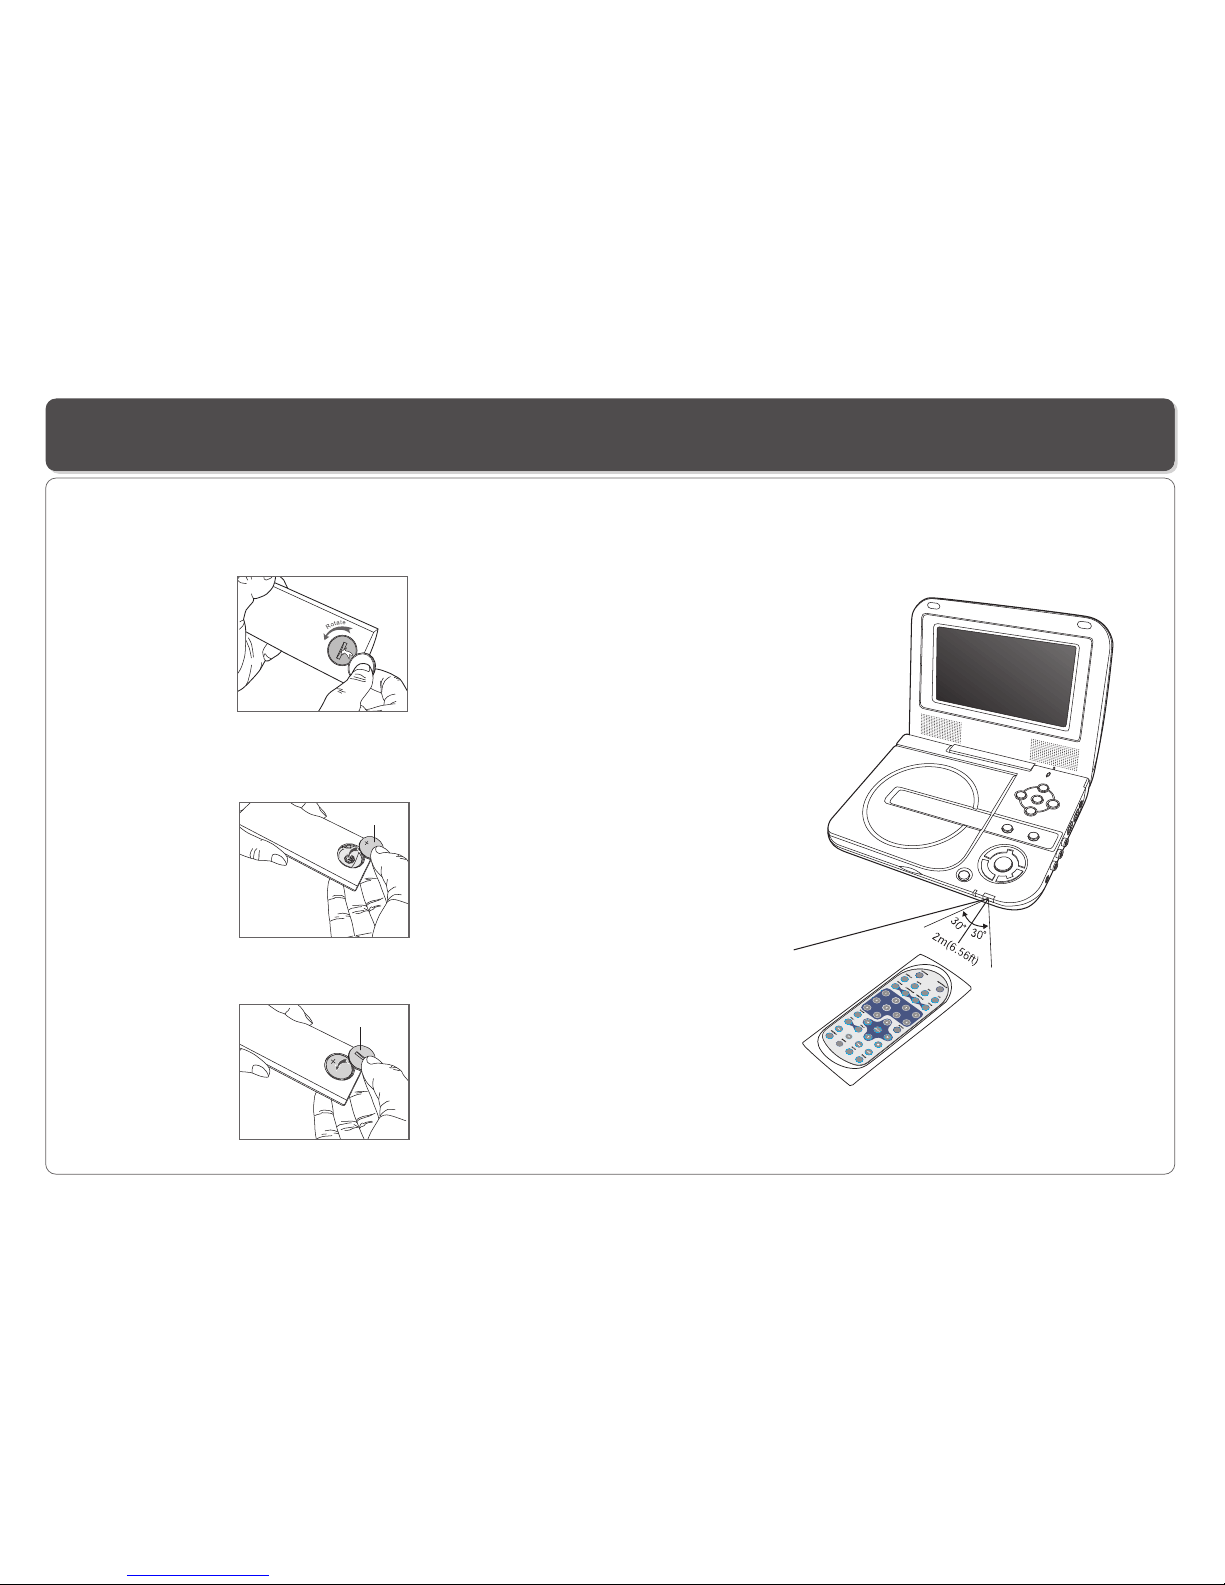
Using the Remote Control.......................................................................................................................................................5
Connecting Earphones (OptionalAccessory)............................................................................................................................6
Connecting to a TV.................................................................................................................................................................7
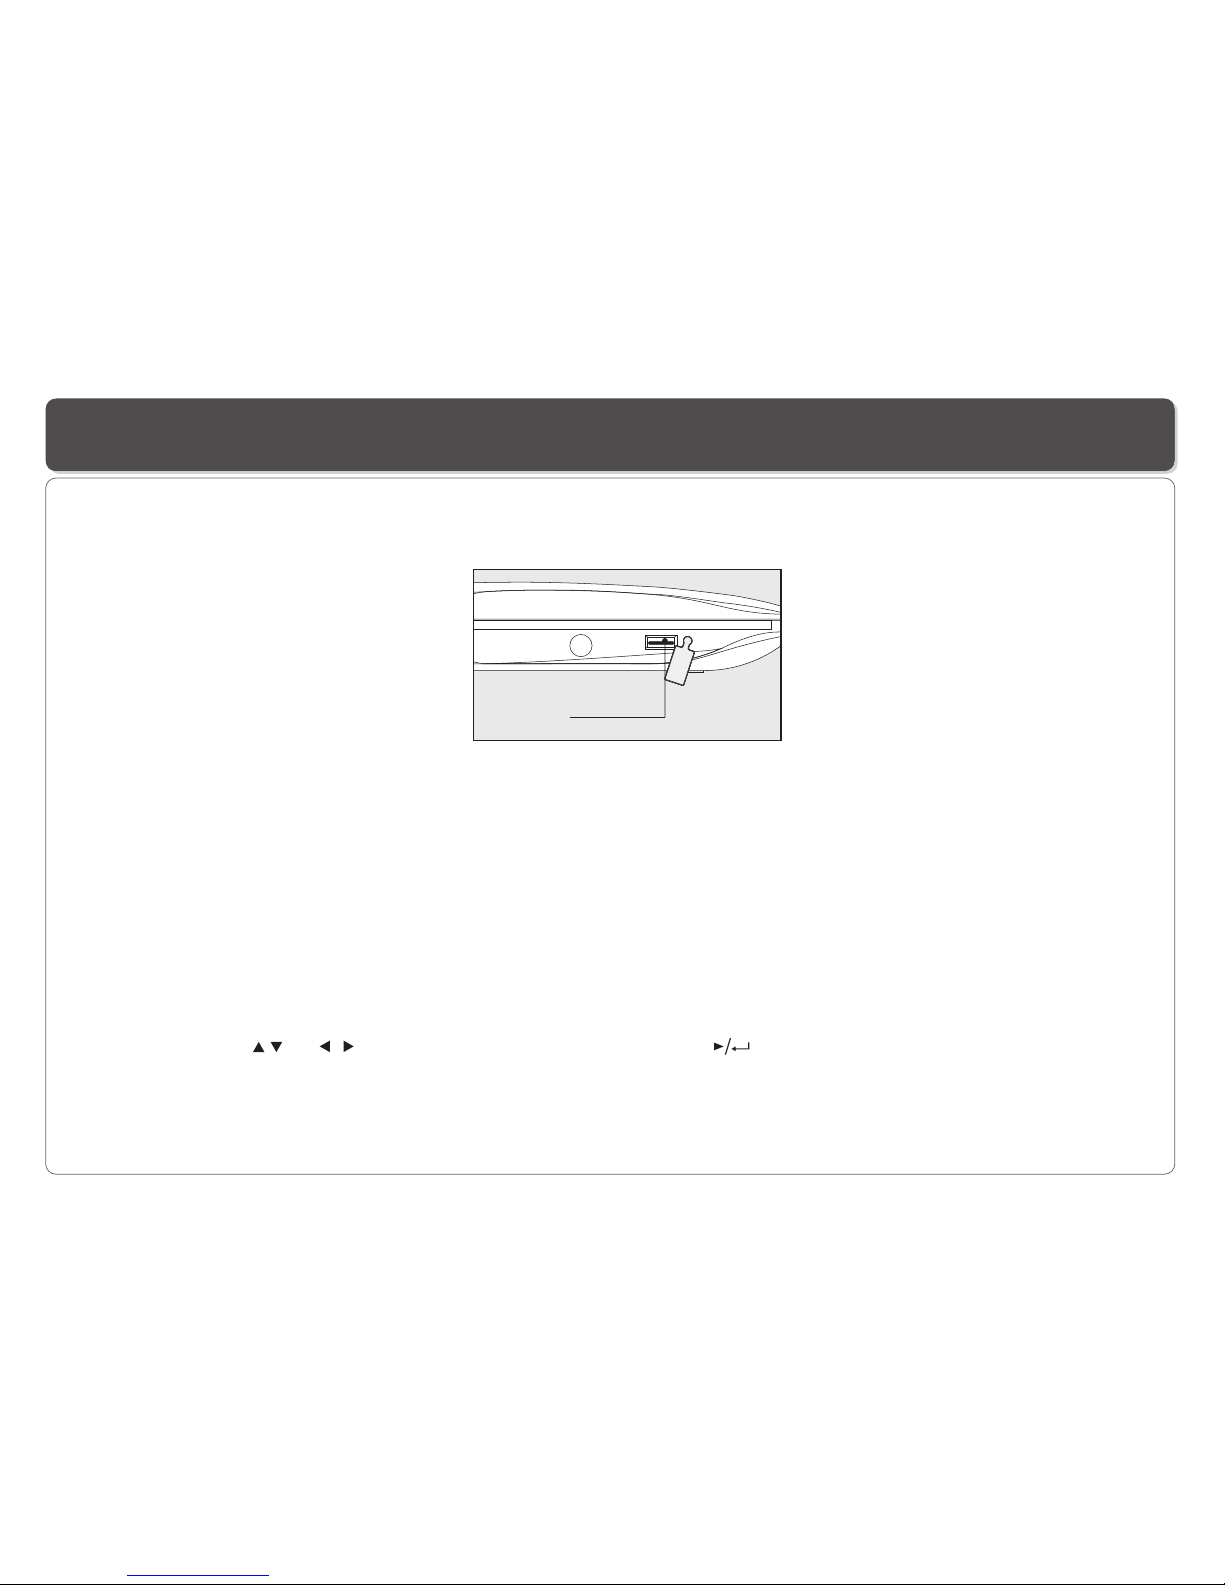
Using USB Port......................................................................................................................................................................8
Using the AC Adaptor..............................................................................................................................................................9
Charging the battery pack ....................................................................................................................................................10
Playing a Disc.................................................................................................................................................................11-13
Playing MP3 andRegular AudioCD........................................................................................................................................14
Playing Picture CD...............................................................................................................................................................15
Displaying and Sorting Files..................................................................................................................................................16
Setting Language forOSD, Menu,Audio, Subtitle....................................................................................................................17
Setting Screen forDisplay Format, Screen Saver, TVSystem ..................................................................................................18
Setting Audio for Downmix....................................................................................................................................................19
Setting Parental Control, Password, Camera Angle, Default....................................................................................................20
Adjusting LCD Screen..........................................................................................................................................................21
Troubleshooting..............................................................................................................................................................22-23
Specifications......................................................................................................................................................................24