manuals.online logo
Brands
  1. Home
  2. •
  3. Brands
  4. •
  5. Leviton
  6. •
  7. Dimmer
  8. •
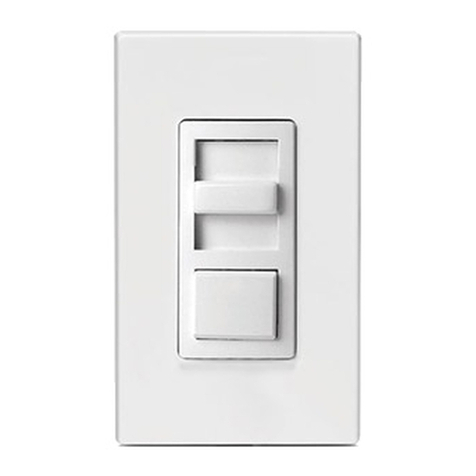
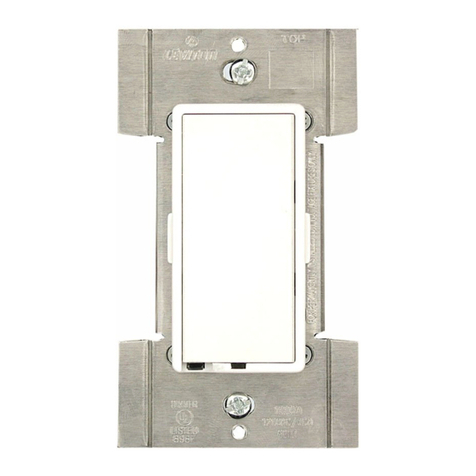
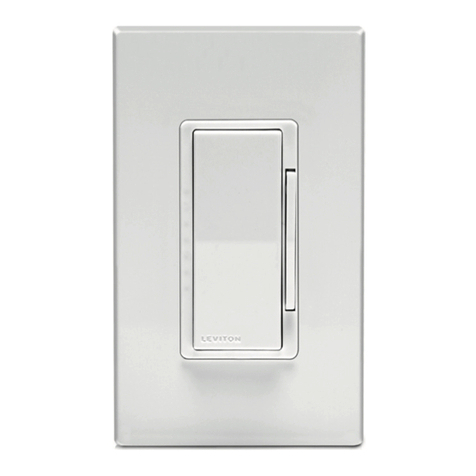
  9. Leviton Decora Mural MDE03-1 User manual

Leviton Decora Mural MDE03-1 User manual

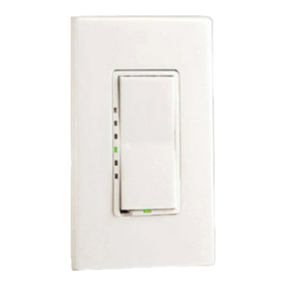
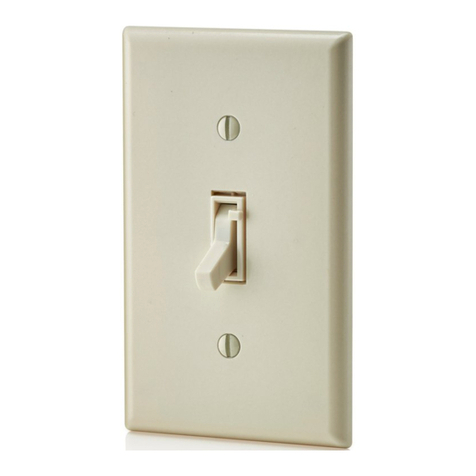
FEATURES
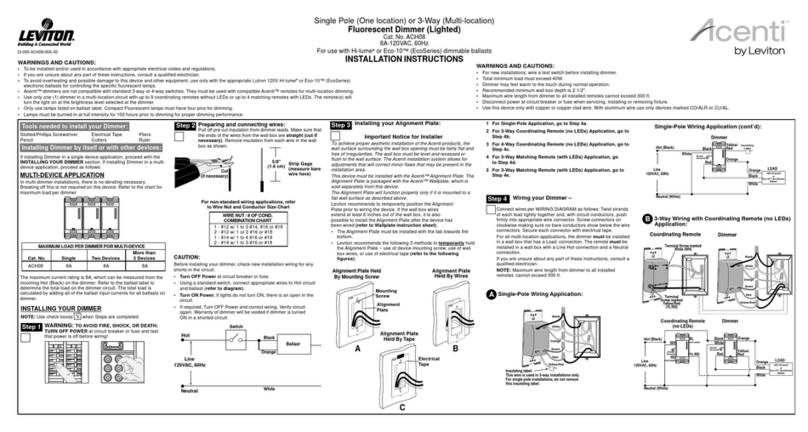
•Leviton's Decora® Style design • Double Tap functions
•Soft fade ON/OFF • Power interruption – load returns to existing state
•Minimum Brightness Adjustment • ON/OFF LED indicates status of load
•Brightness Level Display • Color conversion available
FCC COMPLIANCE STATEMENT
This device complies with part 15 of the FCC Rules. Operation is subject to the following two conditions: (1) This device must not cause harmful interference, and (2) This
device must accept any interference received, including interference that may cause undesired operation.
INSTALLATION INSTRUCTIONS
WARNING: TO BE INSTALLED AND/OR USED IN ACCORDANCE WITH APPROPRIATE ELECTRICAL CODES AND REGULATIONS.
WARNING: IF YOU ARE NOT SURE ABOUT ANY PART OF THESE INSTRUCTIONS, CONSULT A QUALIFIED ELECTRICIAN.
WARNING: TO AVOID OVERHEATING AND POSSIBLE DAMAGE TO THIS DEVICE AND OTHER EQUIPMENT, DO NOT INSTALL TO CONTROL A RECEPTACLE,
FLUORESCENT LIGHTING, A MOTOR- OR A TRANSFORMER-OPERATED APPLIANCE OTHER THAN APPROPRIATE LOW-VOLTAGE LIGHTING.
CAUTION: USE WITH ELECTRONIC LOW-VOLTAGE TRANSFORMERS ONLY. DO NOT USE TO CONTROL A MAGNETIC LOW-VOLTAGE TRANSFORMER. USE A
LEVITON MAGNETIC LOW-VOLTAGE DIMMER TO CONTROL MAGNETIC LOW-VOLTAGE TRANSFORMERS.
CAUTION: THIS DIMMER PROVIDES PROTECTION FROM OVERHEATING. IF MORE THAN THE RATED WATTAGE IS APPLIED, THE LOAD WILL SHUT OFF UNTIL
THE DIMMER COOLS DOWN AND RESETS. IF THIS SHOULD OCCUR, THE EXCESS LOAD MUST BE REMOVED TO RESUME PROPER OPERATION.
OTHER CAUTIONS:
1. USE ONLY ONE (1) DIMMER IN A MULTI-LOCATION CIRCUIT. THE SWITCH(ES) WILL TURN THE LIGHT
ON AT THE BRIGHTNESS LEVEL SELECTED AT THE DIMMER. FOR MULTI-LOCATION APPLICATIONS,
USE MSE
Ø
R-1 REMOTE(S).
2. DISCONNECT POWER WHEN SERVICING FIXTURE OR CHANGING LAMPS.
3. USE THIS DEVICE ONLY WITH COPPER OR COPPER CLAD WIRE. WITH ALUMINUM WIRE USE ONLY
DEVICES MARKED CO/ALR OR CU/AL.
MULTI-GANG INSTALLATION:
When ganging dimmers, the side sections of the mounting strap must be removed. Use pliers to carefully bend
side sections back and forth until they break off (refer to Figure 1). The side sections dissipate heat, so
removing them requires a derating of the dimmer's capacity (refer to chart).
MAXIMUM BULB WATTAGE (For Electronic Low-Voltage Only):
Low-voltage dimmers are rated in Volt-Amps (VA). The maximum bulb wattage is
determined by the efficiency of the transformer in the low-voltage lighting system.
Transformer efficiencies will vary from different manufacturers; consider 90% efficient as
average. Use the chart to determine maximum bulb wattage for typical transformer
efficiency ratings.
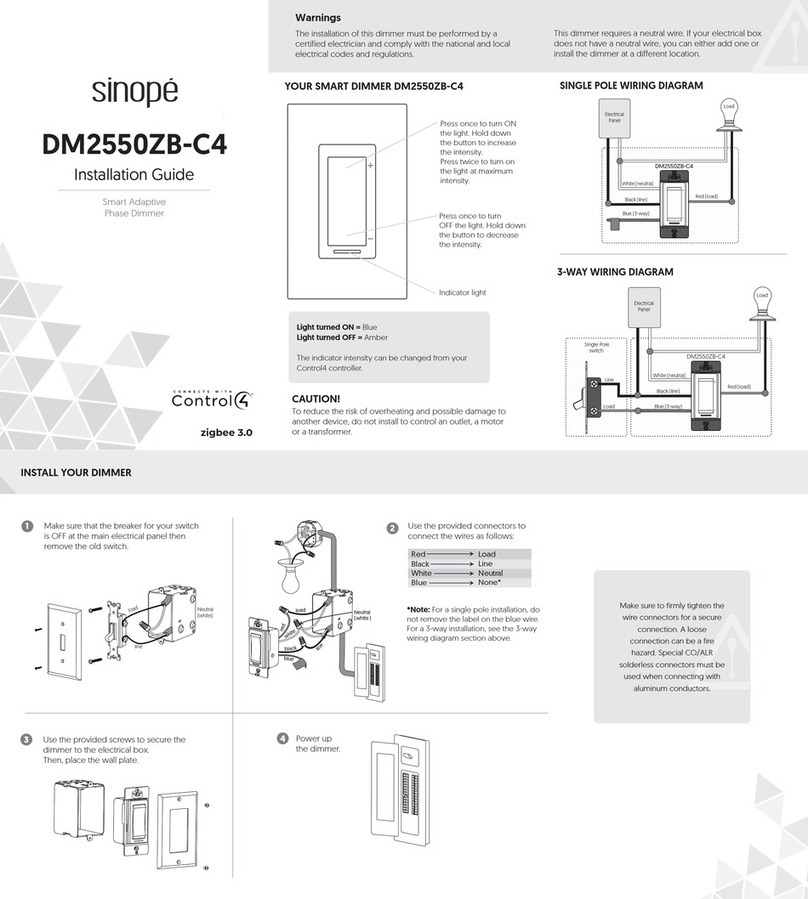
TO INSTALL:
1. WARNING: TO AVOID FIRE, SHOCK, OR DEATH; TURN OFF POWER AT CIRCUIT
BREAKER OR FUSE AND TEST THAT POWER IS OFF BEFORE WIRING!
2. Remove existing wallplate and switch or dimmer, if applicable.
3. Remove 3/4" (1.9 cm) of insulation from each circuit conductor. Make sure that ends of conductors are
straight.
4. Connect lead wires per appropriate WIRING DIAGRAM as follows: WARNING: CONNECT A
ELECTRONIC LOW-VOLTAGE DIMMER ONLY TO THE PRIMARY (HIGH-VOLTAGE) SIDE OF A
ELECTRONIC LOW-VOLTAGE TRANSFORMER. Twist strands of each lead tightly and, with circuit
conductors, push firmly into appropriate wire connector (see chart for allowable wire connector and
number of conductor combinations). Screw connectors on clockwise making sure that no bare conductor
shows below the wire connectors. Secure each connector with electrical tape.
NOTE: For single pole applications, cap YELLOW lead with an appropriate size wire connector. Secure
connector with electrical tape.
NOTE: This model incorporates a trim adjustment which will allow the installer to precisely set the low end of
the dimming range to suit each installation. This adjustment is preset at the factory and should require no
further adjustments for most installations. If adjustment is required proceed as follows, otherwise continue with
step 7:
5. The brightness adjustment is located on the side of the dimmer (refer to Figure 1). Using a small, insulated
screwdriver, depress and hold the brightness adjustment switch. To increase the minimum brightness, press
the upper half of the rocker. To decrease the minimum brightness, press the lower half of the rocker.
For Technical Assistance Call:
1-800-824-3005 (U.S.A. Only)
1 800 405-5320 (Canada Only)
www.leviton.com
LIMITED 2 YEAR WARRANTY AND EXCLUSIONS
Leviton warrants to the original consumer purchaser and not
for the benefit of anyone else that this product at the time of
its sale by Leviton is free of defects in materials and
workmanship under normal and proper use for two years
from the purchase date. Leviton’s only obligation is to correct
such defects by repair or replacement, at its option, if within
such two year period the product is returned prepaid, with
proof of purchase date, and a description of the problem to
Leviton Manufacturing Co., Inc., Att: Quality Assurance
Department, 59-25 Little Neck Parkway, Little Neck, New
York 11362-2591 (In Canada send to Leviton Mfg. of
Canada Ltd., 165 Hymus Blvd., Point Claire, (Quebec),
Canada H9R 1E9). This warranty excludes and there is
disclaimed liability for labor for removal of this product or
reinstallation. This warranty is void if this product is installed
improperly or in an improper environment, overloaded,
misused, opened, abused, or altered in any manner, or is
not used under normal operating conditions or not in
accordance with any labels or instructions. There are no other
or implied warranties of any kind, including merchantability
and fitness for a particular purpose, but if any implied warranty
is required by the applicable jurisdiction, the duration of any
such implied warranty, including merchantability and fitness
for a particular purpose, is limited to two years. Leviton is not
liable for incidental, indirect, special, or consequential
damages, including without limitation, damage to, or loss of
use of, any equipment, lost sales or profits or delay or failure
to perform this warranty obligation. The remedies provided
herein are the exclusive remedies under this warranty,
whether based on contract, tort or otherwise.
DI-000-MDE03-00A
C O L L E C T I O N B Y L E V I T O N
Single Pole (One location) or
3-Way (Multi-location)
Electronic Low-Voltage
Cat. No. MDE
Ø
3-1
(w/brightness level display)
120VAC, 60Hz
350VA
Total minimum wattage must
exceed 40W or 40VA
For use w/Cat. No. MS
EØ
R-1 Multi-Remote™
INSTALLATION INSTRUCTIONS Two More than
Cat. No. Single Gang 2 Gang
MDE
Ø
3-1L 350VA 250VA 200VA
MAXIMUM LOAD PER CONTROL FOR MULTI-GANG
Two More than
Rating Single Gang 2 Gang
350VA 315W 225W 180W
MAXIMUM BULB WATTAGE AT 90% EFFICIENCY
DI-000-MDE03-00A
Upper
Rocker
Air Gap
Switch ON/OFF
LED
Lower
Rocker
Minimum Brightness 
Adjustment Switch
Brightness Level
Display
Mounting Strap
Side Sections
Figure 1 – Dimmer Functions
WIRE CONNECTOR / # OF COND. COMBINATION CHART
1- #12 w/ 1 to 3 #14, #16 or #18
2- #12 w/ 1 #14 w/ 1 #16 or #18
2- #12 w/ 1 #16 w/ 1 or 2 #18
2- #14 w/ 1 to 3 #16, #18 or #20
4- #16 w/ 1 or 2 #18, #20 or #22
1- #14 w/ 1 to 4 #16, #18 or #20
2- #14 w/ 1 to 3 #16, #18 or #20
2- #14 w/ 1 #16 w/ 1 or 2 #18 or #20
3- #14 w/ 1 or 2 #18 or #20
4- #14 w/ 1 #16 or #18
2- #16 w/ 1 #18 w/ 1 or 2 #20 or #22
1- #14 w/ 1 #18 w/ 1 to 3 #20
3- #14 w/ 1 #16 w/ 1 #18, #20, #22
3- #14 w/ 1 #18 w/ 1 #20 or #22
DI-000-MDE03-00A 12/27/02, 4:14 PM1
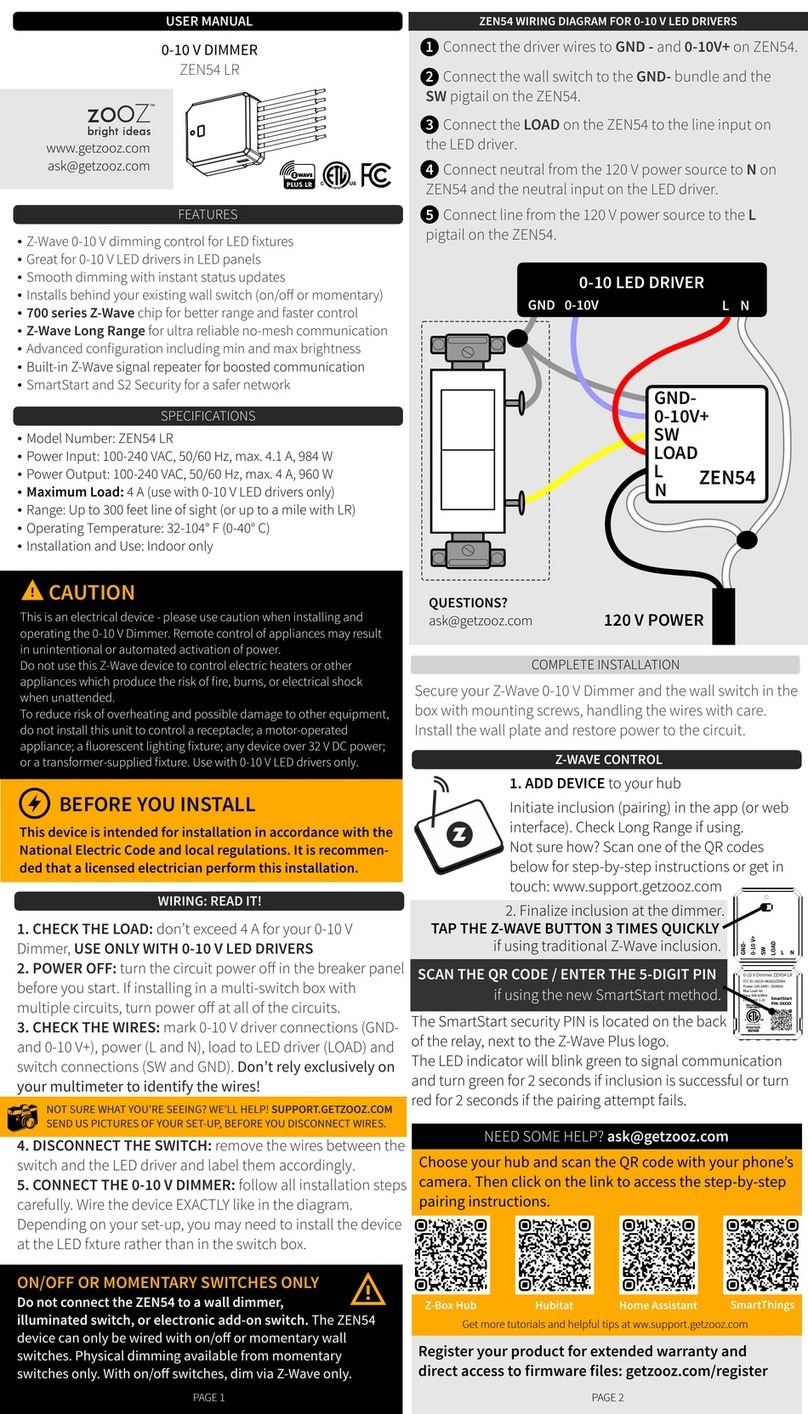
Hot (Black)
Neutral (White)
Mural
Dimmer
Blue
White
Yellow
Green
Ground
Black
Line 
120VAC, 60Hz
Cap with 
Wire Connector

Black
White
Electronic
Low-Voltage
Transformer
Primary
Side
Wiring Diagram 1 – Single Location Control Application
Hot (Black)
Neutral (White)
Mural
Dimmer
Blue
Yellow Yellow
Green
Ground
Green
Ground
Black
White
White
Line 
120VAC, 60Hz
Remote
MSE
Ø
R-1


Black
White
Electronic
Low-Voltage
Transformer
Primary
Side
Wiring Diagram 2 – Two Location Control Application
Hot (Black)
Neutral (White)
Mural
Dimmer
Blue
Yellow
Yellow Yellow
Green
Ground
Green
Ground
Green
Ground
Black
Line 
120VAC, 60Hz
Remote
MSE
Ø
R-1
Remote
MSE
Ø
R-1
Black
White
Electronic
Low-Voltage
Transformer
Primary
Side
White
White White
Wiring Diagram 3 – Three Location Control Application
6. Release the rocker. Release adjustment switch and minimum brightness is set. Check for proper operation
by tapping the lower half of the rocker so the lights turn OFF, then tapping the upper half of the rocker so the
lights turn ON. The lights will turn ON to the new minimum brightness set. If minimum brightness level is not
satisfactory, repeat step 5.
7. Carefully position all wires to provide room in outlet box for dimmer. Mount dimmer into box with mounting
screws supplied.
8. Restore power at circuit breaker or fuse. Turn the dimmer ON by pressing the upper half of the rocker. The
GREEN ON/OFF LED will turn OFF to indicate the dimmer is ON (when the dimmer is OFF, the LED is ON).
9. Attach Decora®wallplate (not included). INSTALLATION IS COMPLETE.
NOTE: On the lower left corner of the switch frame, there is an air-gap switch. When servicing a controlled fixture,
pull lever out (OFF position). This will cut the power to the fixture. After servicing is complete, push the lever in (ON
position) to restore power. The lever must be pushed in all the way (ON position) for normal operation.
COLOR CONVERSION PROCEDURE
The color of this device can be changed to suit your interior design requirements. Simply obtain a color
conversion kit of the appropriate color from your Leviton distributor and proceed as follows (please note that
wallplate must be removed).
1. Select the color of the face you desire.
2. The frame has snaps on its sides. Using a small screwdriver, gently remove the frame from the strap (refer to
Figure 2).
3. Take the new frame and position it properly to the strap. Notice that the frame has a cut-out for the air-gap switch
lever. Line up the plastic snaps with the square holes in the strap. Insert the snaps on one side of the frame into
the strap.
4. Firmly press sideways and down to slip the other snaps into place. The frame snaps in with a audible click.
Ensure that all four snaps are secure. Replace Decora®wallplate. The color conversion is complete.
TO OPERATE
ON: Tap the upper half of the rocker. The lights will brighten to the last set light level.
OFF: Tap the lower half of the rocker. The lights will dim to OFF.
BRIGHTEN: Press and hold the upper half of the rocker to the desired light level.
FULL BRIGHT: If the lights are OFF, double tap the upper half of the rocker. The lights will turn ON FULL
BRIGHT.
If the lights are ON, tap the upper half of the rocker once. The lights will turn ON FULL
BRIGHT.
The previous light level will remain in memory upon next ON operation (see above).
FAST OFF: Double tap the bottom half of the rocker. The lights will immediately turn OFF.
DIM: Press and hold the lower half of the rocker to the desired level.
BRIGHTNESS LEVEL DISPLAY:
Indicates the level of brightness when the lights are ON. Indicates the previous level of brightness when the lights
are OFF (refer to Figure 1).
NOTE: To alert you that there is power to the dimmer when the load is OFF, the AC Indicator Light remains ON.
To alert you that the load is ON, the AC Indicator Light remains OFF.
NOTE: If lights are OFF, regardless if you tap or press and hold the upper half of the rocker, the lights will go to
last set light level.
NOTE: If a power interruption should occur while the device is ON, the light load will return to its previous light level
when power is restored within 10 seconds.
TROUBLESHOOTING
•Light does not turn ON and ON/OFF LED does not turn ON
- Circuit breaker or fuse has tripped.
- Lamp is burned out.
- Low-Voltage transformer is not connected to line Neutral.
- Overheated, correct load and allow dimmer to cool down and reset.
- Air gap switch is open.
•Dimmer does not operate
- Dimmer BLACK wire miswired to Low-Voltage Transformer and Dimmer BLUE wire miswired to LINE Hot.
•Light turns ON and Dimmer works, but remote does not work
- There are no connections from Remote to Dimmer.
- Remote miswired to Dimmer.
•Lights Flickering
- Lamp has a bad connection.
- Lamp power is less than 40W or 40VA.
Frame
Strap
Air-Gap 
Switch
Snaps
Push in 2 Locations
ON/OFF
LED
Brightness Level Display
Figure 2 – Color Conversion
DI-000-MDE03-00A
DI-000-MDE03-00A 12/27/02, 4:14 PM2

Other Leviton Dimmer manuals

Leviton VZX12-7L User manual

Leviton

Leviton VZX12-7L User manual

Leviton Topaz 96 User manual

Leviton

Leviton Topaz 96 User manual

Leviton DDS5300 Operating instructions

Leviton

Leviton DDS5300 Operating instructions

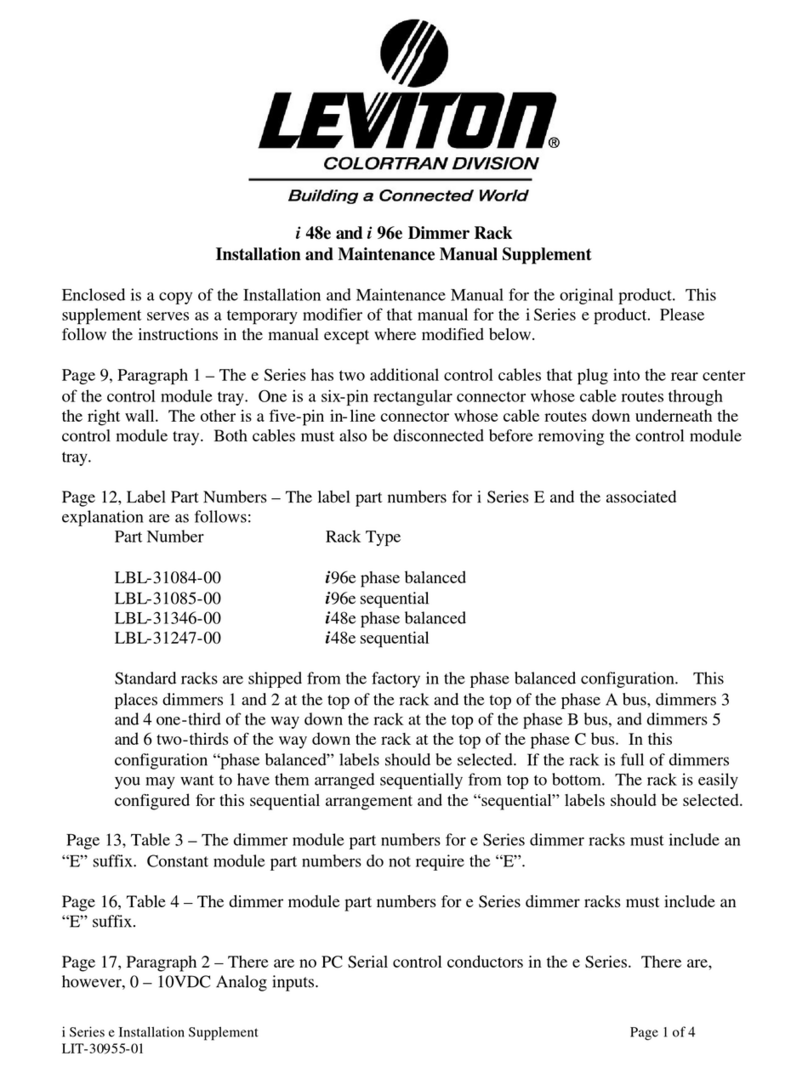
Leviton i 48e Manual

Leviton

Leviton i 48e Manual

Leviton 2408CD Original operating instructions

Leviton

Leviton 2408CD Original operating instructions

Leviton Decora Smart D26HD User manual

Leviton

Leviton Decora Smart D26HD User manual

Leviton 06674 User manual

Leviton

Leviton 06674 User manual

Leviton MRIDC User manual

Leviton

Leviton MRIDC User manual

Leviton VZX10-1L User manual

Leviton

Leviton VZX10-1L User manual

Leviton a-2000 User manual

Leviton

Leviton a-2000 User manual

Leviton Decora Mural MCM06-1 User manual

Leviton

Leviton Decora Mural MCM06-1 User manual

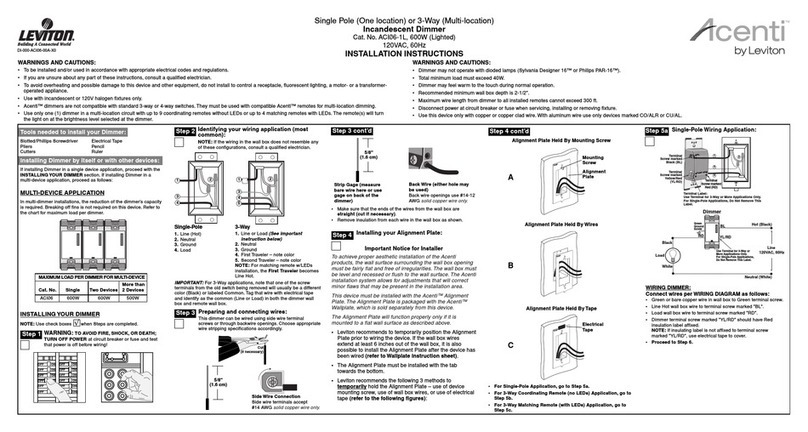
Leviton ACI06-1L User manual

Leviton

Leviton ACI06-1L User manual

Leviton DMX-512 Installation guide

Leviton

Leviton DMX-512 Installation guide

Leviton Decora Illumatech IPX06-1 User manual

Leviton

Leviton Decora Illumatech IPX06-1 User manual

Leviton Decora Illumatech IPI06-1L User manual

Leviton

Leviton Decora Illumatech IPI06-1L User manual

Leviton Decora Smart DWVAA User manual

Leviton

Leviton Decora Smart DWVAA User manual

Leviton Decora Smart DG6HD User manual

Leviton

Leviton Decora Smart DG6HD User manual

Leviton DDS8800 Operating instructions

Leviton

Leviton DDS8800 Operating instructions

Leviton 6628 User manual

Leviton

Leviton 6628 User manual

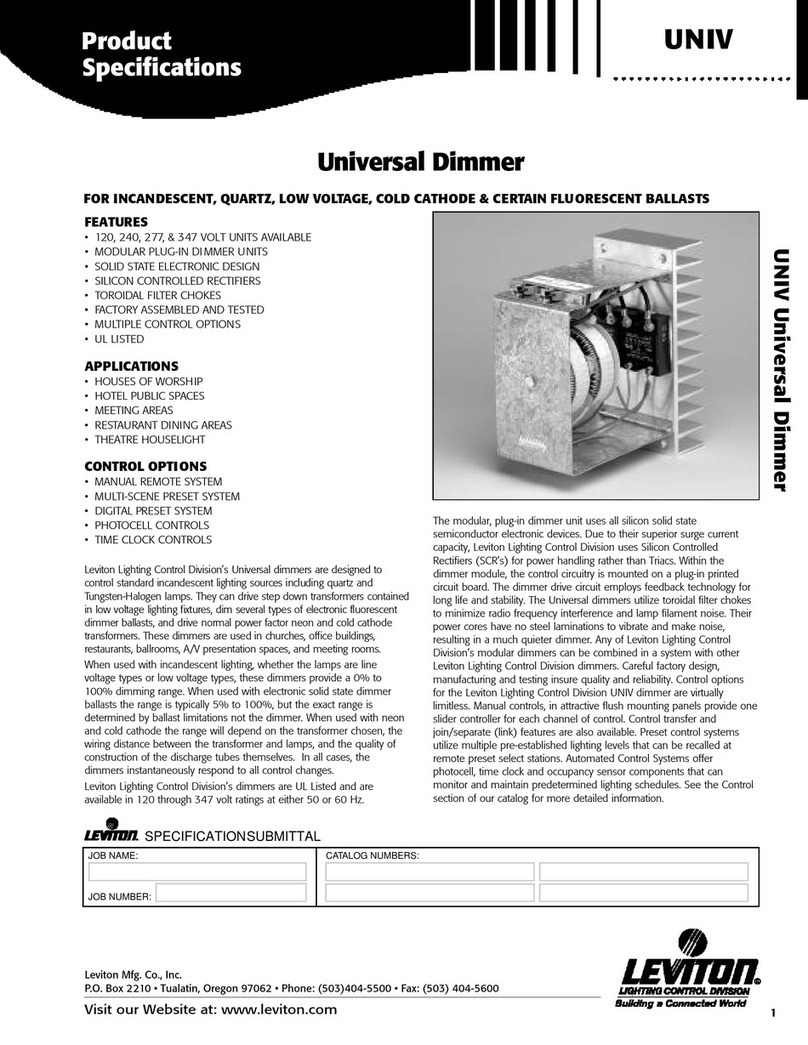
Leviton UNIV User manual

Leviton

Leviton UNIV User manual

Leviton decora smart DZ1KD Operation and maintenance manual

Leviton

Leviton decora smart DZ1KD Operation and maintenance manual

Leviton 6613-PL User manual

Leviton

Leviton 6613-PL User manual

Leviton RZCZ1 User manual

Leviton

Leviton RZCZ1 User manual

Leviton NSI DS8 Operating instructions

Leviton

Leviton NSI DS8 Operating instructions

Popular Dimmer manuals by other brands

Artika Pulsar DIM-PULW instruction manual

Artika

Artika Pulsar DIM-PULW instruction manual

LSC DP-610 user manual

LSC

LSC DP-610 user manual

TRADIM 6431X user manual

TRADIM

TRADIM 6431X user manual

QTX Light DP4 user manual

QTX Light

QTX Light DP4 user manual

Efapel 40215 instructions

Efapel

Efapel 40215 instructions

Niko ENOCEAN 72-500 manual

Niko

Niko ENOCEAN 72-500 manual

Marmitek LMM22 user manual

Marmitek

Marmitek LMM22 user manual

Sunricher SR-2303DIN quick start guide

Sunricher

Sunricher SR-2303DIN quick start guide

EcoDim ECO-DIM.08 manual

EcoDim

EcoDim ECO-DIM.08 manual

Acclaim Lighting AL-DIMMER-1 HP User instructions

Acclaim Lighting

Acclaim Lighting AL-DIMMER-1 HP User instructions

Crestron CNLDAB-4A Brochure & specs

Crestron

Crestron CNLDAB-4A Brochure & specs

INSTEON SwitchLinc 2478D quick start guide

INSTEON

INSTEON SwitchLinc 2478D quick start guide

RC4 Wireless DMX6dim-500 quick start guide

RC4 Wireless

RC4 Wireless DMX6dim-500 quick start guide

DINUY RE EL1 LE3 instruction manual

DINUY

DINUY RE EL1 LE3 instruction manual

ProLights D602 user manual

ProLights

ProLights D602 user manual

Jung 1723NE operating instructions

Jung

Jung 1723NE operating instructions

ETC SmartModule 2 Connection and setup guide

ETC

ETC SmartModule 2 Connection and setup guide

PXM AC Dimmer 12 x 2300W user manual

PXM

PXM AC Dimmer 12 x 2300W user manual

manuals.online logo
manuals.online logoBrands
  • About & Mission
  • Contact us
  • Privacy Policy
  • Terms and Conditions

Copyright 2025 Manuals.Online. All Rights Reserved.