manuals.online logo
Brands
  1. Home
  2. •
  3. Brands
  4. •
  5. LI-COR
  6. •
  7. Laboratory Equipment
  8. •
  9. LI-COR LI-8100 User manual

LI-COR LI-8100 User manual

The 8100-104 Long-Term
Chamber’s opaque “bowl” can be
swapped out with the clear bowl from the
8100-104C Long-Term Chamber, and vice
versa. Upgrade packages (9981-078 and 9981-160) are also
available from LI-COR that contain all of the hardware
required to upgrade either chamber. The upgrade(s) require
only a 3/8" combination wrench and an 11/32" combination
wrench or nut driver. Follow these instructions to change
the chamber bowl on the 8100-104 or 8100-104C:
1. Make sure that the chamber drive column is in the
“Park” position before starting. If the chamber is not
parked, press the OPEN/CLOSE button twice to park.
2. Use the 11/32" wrench or nut driver to remove the two
hex nuts that secure the cable/tubing assembly to the
side of the motor housing, as shown in Figure 2. Un-
screw the nut and disconnect the thermistor cable
(Figure 2).
3. Use the 3/8" wrench to remove the arm mounting nuts
and washers (Figure 3). Remove the arm assembly.
4. For storage, reinstall the flat washer, split washer, and
hex nut on each of the PEM studs on the underside of
the arm assembly you removed in Step 3.
LI-8100 Automated Soil CO2Flux System
9981-078 and 9981-160 Chamber Bowl Assembly Instructions
1
You’ll need a 3/8”
combination
wrench and an
11/32” wrench or
nut driver.
Remove these 2
hex nuts...
Remove the 2
arm mounting
nuts here.
ON/OFF
AutomatedSoil
CO
2
FluxSystem
ON/OFF
POWER
IRGAREADY
ACTIVE
LOWBATTERY
READY
ON/OFF
ON/OFF
2
and then loosen
the nut here and
remove the
thermistor cable.
3
You can store the
washers and hex
nuts on the old
arm assembly.
4
(over)
5
Install the arm
assembly over
the mounting
flange.
Remove the
mounting
hardware from
the new arm
assembly.
Tighten each nut
hand tight only.
LI-COR, inc. ●4647 Superior Street ●P.O. Box 4425 ●Lincoln, Nebraska 68504 USA
Phone: 402-467-3576 ● FAX: 402-467-2819
Toll-free 1-800-447-3576 (U.S. & Canada)
envsales@licor.com ●envsupport@licor.com ●www.licor.com ACU-119
®
5. Remove the mounting hardware from the underside of
the new arm assembly (Figure 5).
6. Place the arm assembly into position on the mounting
flange and install the flat washer, split washer, and hex
nut finger tight (Figure 6). The nuts should be tight
enough to hold the arm flat against the mouting flange,
but should still allow some lateral movement.
7. Adjust the position of the arm assembly so that the bowl
is centered over the gasket (Figure 7). When centered,
tighten the mounting nuts.
8. Use the cable clamps provided to attach the cable/
tubing assembly to the motor housing (Figure 8). Note
that Control Unit dust cap connector is placed under the
lower cable clamp. Plug in the thermistor cable and
tighten the nut.
6
Flat washer
Split washer
Hex nut
Center the bowl
over the black
gasket, and then
tighten the 2 hex
nuts.
7
Attach the cable/
tubing assembly
and dust cap
connector to the
motor housing.
8
8100-104C
8100-104
Reattach the
thermistor cable
and tighten the
nut.

Other manuals for LI-8100

1

This manual suits for next models

4

Other LI-COR Laboratory Equipment manuals

LI-COR LI-6800 User manual

LI-COR

LI-COR LI-6800 User manual

LI-COR Odyssey M 3340 User manual

LI-COR

LI-COR Odyssey M 3340 User manual

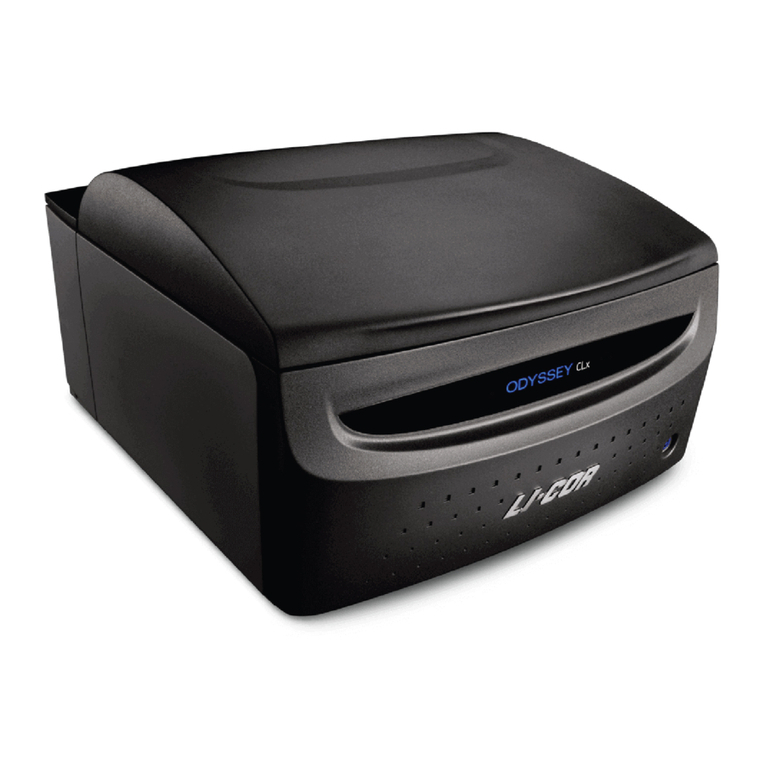
LI-COR Odyssey CLx User manual

LI-COR

LI-COR Odyssey CLx User manual
LI-COR Odyssey CLx User manual

LI-COR

LI-COR Odyssey CLx User manual

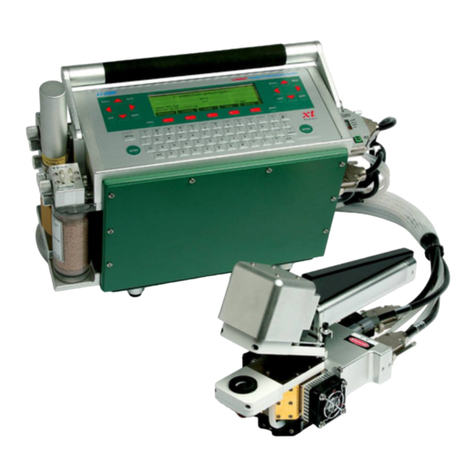
LI-COR 6400-09 User manual

LI-COR

LI-COR 6400-09 User manual
LI-COR LI-6400 User manual

LI-COR

LI-COR LI-6400 User manual

LI-COR LI-6400 User manual

LI-COR

LI-COR LI-6400 User manual

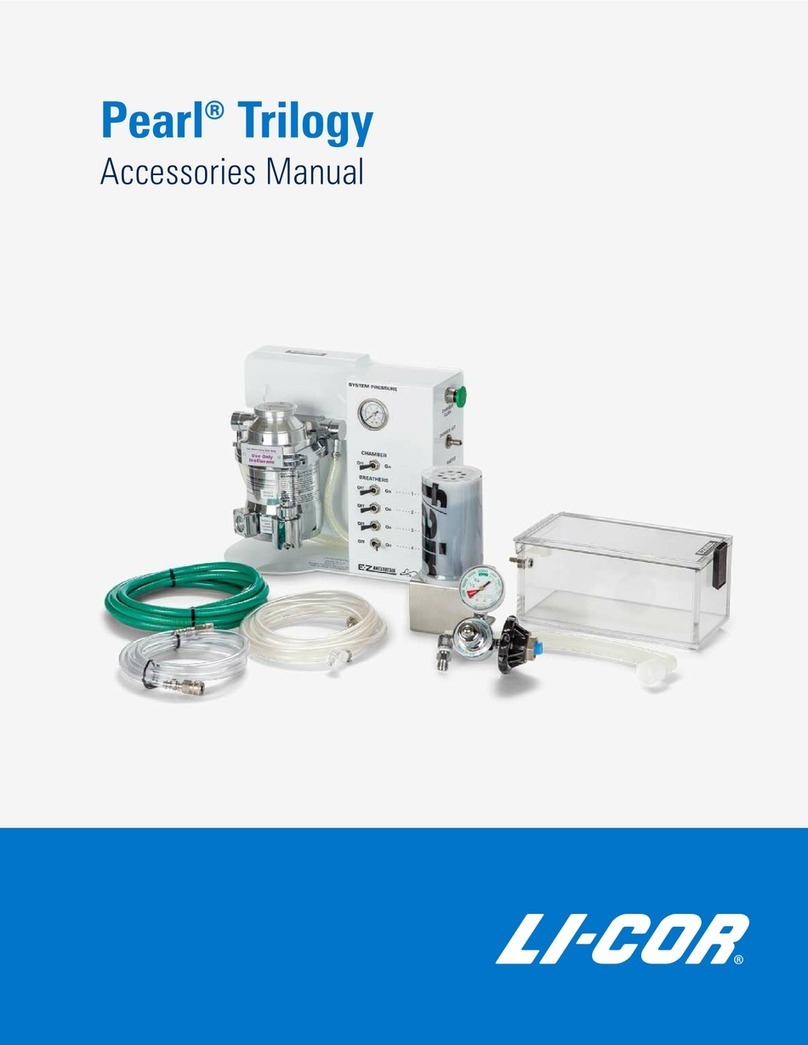
LI-COR Pearl Trilogy User manual

LI-COR

LI-COR Pearl Trilogy User manual

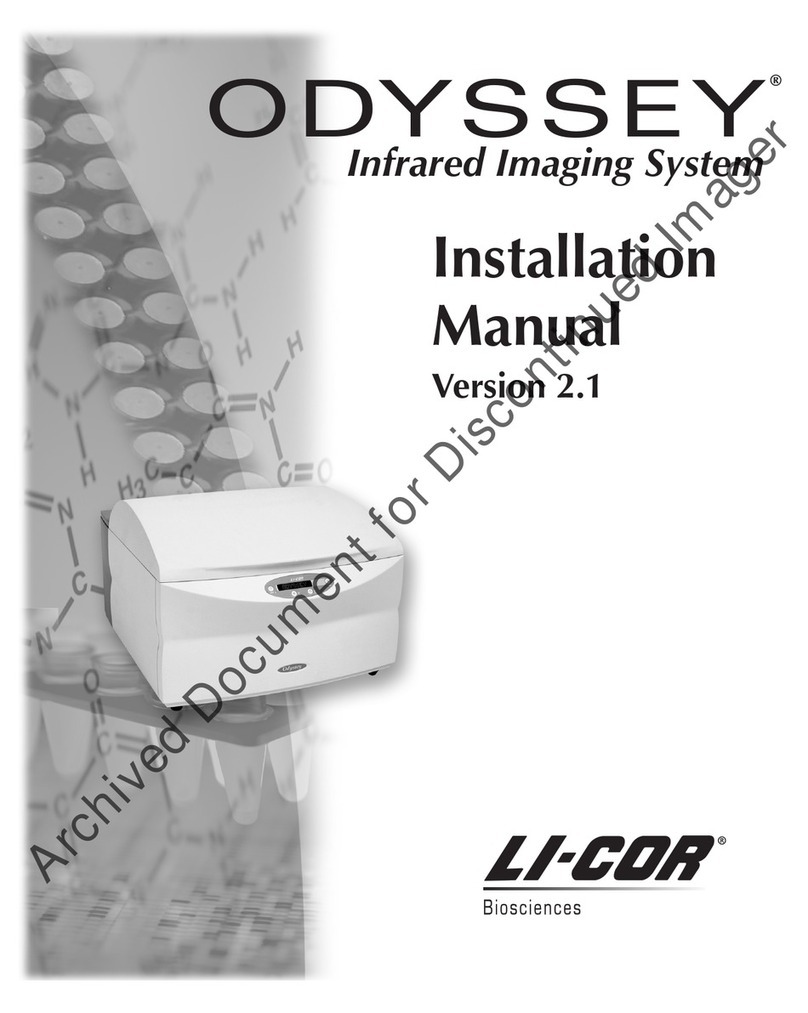
LI-COR Odyssey User manual

LI-COR

LI-COR Odyssey User manual

LI-COR LI-6400XT User manual

LI-COR

LI-COR LI-6400XT User manual
LI-COR LI-6800 User manual

LI-COR

LI-COR LI-6800 User manual

LI-COR LI-6400 User manual

LI-COR

LI-COR LI-6400 User manual

LI-COR Odyssey XF User manual

LI-COR

LI-COR Odyssey XF User manual

Popular Laboratory Equipment manuals by other brands

illumina Infinium LiHa operating manual

illumina

illumina Infinium LiHa operating manual

PASCO EM-8662 instruction sheet

PASCO

PASCO EM-8662 instruction sheet

CURIOSIS Celloger Mini instruction manual

CURIOSIS

CURIOSIS Celloger Mini instruction manual

Rigol DG812 user guide

Rigol

Rigol DG812 user guide

Insphero GravityTRAP product manual

Insphero

Insphero GravityTRAP product manual

MiCo BioMed Veri-Q PCR 316 QD-P100 user manual

MiCo BioMed

MiCo BioMed Veri-Q PCR 316 QD-P100 user manual

Ivoclar Vivadent IvoBase Series operating instructions

Ivoclar Vivadent

Ivoclar Vivadent IvoBase Series operating instructions

LW Scientific BioVID instruction manual

LW Scientific

LW Scientific BioVID instruction manual

Neuation iSWIX JR. NXT Product user manual

Neuation

Neuation iSWIX JR. NXT Product user manual

YOKOGAWA MVAdvanced MV1000 user manual

YOKOGAWA

YOKOGAWA MVAdvanced MV1000 user manual

Bruker NanoScope OMV-UNIVERSAL quick start guide

Bruker

Bruker NanoScope OMV-UNIVERSAL quick start guide

Thermo Scientific Thermo Scientific HyPerforma quick start guide

Thermo Scientific

Thermo Scientific Thermo Scientific HyPerforma quick start guide

Julabo SW23 operating manual

Julabo

Julabo SW23 operating manual

VERDER Carbolite Gero HTMA 5/95 Installation, operation and maintenance instructions

VERDER

VERDER Carbolite Gero HTMA 5/95 Installation, operation and maintenance instructions

Esco MAW-4D user manual

Esco

Esco MAW-4D user manual

Metrohm 728 manual

Metrohm

Metrohm 728 manual

Tuttnauer 1730EK Operation & maintenance manual

Tuttnauer

Tuttnauer 1730EK Operation & maintenance manual

Thermo Scientific STP-120 instruction manual

Thermo Scientific

Thermo Scientific STP-120 instruction manual

manuals.online logo
manuals.online logoBrands
  • About & Mission
  • Contact us
  • Privacy Policy
  • Terms and Conditions

Copyright 2025 Manuals.Online. All Rights Reserved.