4
OPERATING INSTRUCTION
Pull down the screen with the loop(00-22). To the right position, stop for
one second, then release the loop.
If the screen is not used for a long time, hold the loop, pull down SLIGHT-
LY then release it IMMEDIATELY, the screen will go back to the case.
NOTE OF SPEED
Temperature determines the resistance of the dampening oil. With high
temperature, the retraction speed will quicker than normal one; with low
temperature, the retraction speed will slower than normal one.
For long time no use of the screen, the resistance of the dampening oil
will increase, the retraction speed will lower than normal speed.
For long time using ( more than 1 year), the resistance of dampening oil
will decrease, so the retraction speed will quicker than normal speed,
but it do not impair the operation.
PROBLEM AND SOLUTION
The screen may have following several problems after long time frequent use.
If ONLY THE LATER PART of the screen surface could not retract. Solution: Pull down the whole screen
fabric and retract it for several times,the screen surface could fully retract to casing.
Add the loop of the screen:Loose the screws of the left end cap, put out left end cap slightly, make sure it
still connected with the lock head, rotate the spring one or two more turns in clockwise. Then put back the
end cap and fasten the screws.
If THE WHOLE screen surface could not retract.
Solution: reinstall: Unscrew the three screws of the left end cap and remove. Put the left end cap in the lock
head and rotate the spring in clockwise according to the following table.
150x150cm - 7-8 turns
180x180cm - 8-10 turns
200x200cm - 10-12 turns
250x200cm - 10-12 turns
250x250cm - 14-16 turns
300x225cm - 10-12 turns
Then put back the left
end cap and fasten the
screws.
NO.3NO.6
Screen is for indoor use, under normal temperature (20°C) and humidity.
Avoid: Direct sunlight
High temperature and humidity
Install in area that is clear of product interference.
Avoid air currents from air conditioner, furnace, open doors or windows.
NO.7 NO.7
Install using Easy Fix brackets to wall or ceiling in required position. Fix
brackets to wall joist.
Temperature determines the resistance of the dampening oil. With high
temperature, the retraction speed will quicker than normal one; with low
temperature, the retraction speed will slower than normal one.
For long time no use of the screen, the resistance of the dampening oil will
increase, the retraction speed will lower than normal speed.
For long time using ( more than 1 year), the resistance of dampening oil
will decrease, so the retraction speed will quicker than normal speed, but it
do not impair the operation.
NOTE OF SPEED
NO.1NO.8
Thank you for selecting our screen.
Please read information to ensure correct usage and installation.
Note: Installation should be performed by qualified technician.
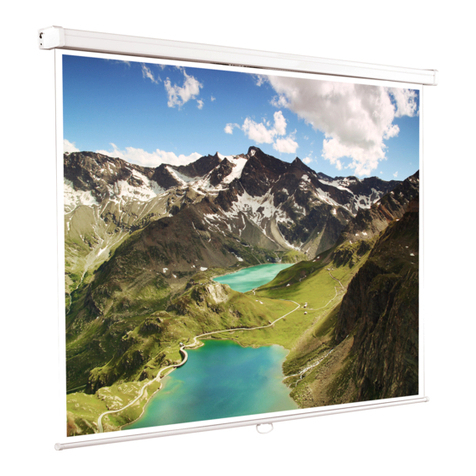
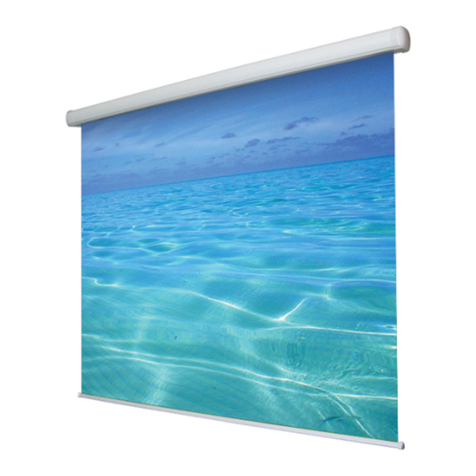
THE SHAPE OF WALL SCREEN.
UNEQUAL SIDES OCTAGONAL
PLASTIC END CAPS
SQUARE PLASTIC END CAPS
DESIGN-ROLL ALUMINUM
W/EASY FIX BRACKETS
Unpack screen carefully. Check for any damage.
Check to be sure all accessories are in carton.
Adopt the appropriate method hanging the screen on the wall or
the suspension hook firmly.
(The suspension part is spare part on option)
WALL MOUNT SCREEN INSTALLMENT
Screw End a of Spring(00-08) to the bottom of lock head
cover(00-06), to prevent any loose between them.
Insert end b of Spring(00-08) into the slot of the stop bar(00-09),
then put the cover(00-10) Lock head tube(00-04) and stop
bar(00-09) have already been assembled at factory。
Remove the rubber end cap of the pull bar, draw out the pull bar,
change the new one .make sure the flatness of the surface before
insert the rubber end cap. Pull the tapes to each side may help
you to get the flat surface.
When assembly this part, please pay ATTENTION to:
Damage of pull loop or pull bar
Check if the spring is not well connected with the lock head cover.
Reassemble it.Please refer to the ATTENTION.
Check if the lock head damaged, change it.
Screen surface could not move totally or droped
00-04
00-06 00-07
00-09 00-10
00-08
00-05 A
a
b
Screw End a of Spring(00-08) to the bottom of lock head cover(00-06), to prevent any loose between
them. Insert end b of Spring(00-08) into the slot of the stop bar(00-09), then put the cover(00-10) Lock
head tube(00-04) and stop bar(00-09) have already been assembled at factory.
Remove the rubber end cap of the pull bar, draw out the pull bar, chan-
ge the new one. Make sure the flatness of the surface before insert
the rubber end cap. Pull the tapes to each side may help you to get
the flat surface.
When assembly this part, please pay ATTENTION to: Damage if pull
loop or pull bar Check if the spring is not well connected with the
lock head cover. Reassemble it. ATTENTION. Check if the lock head
damaged, change it.
ENGLISH
NO.1NO.8
Thank you for selecting our screen.
Please read information to ensure correct usage and installation.
Note: Installation should be performed by qualified technician.
THE SHAPE OF WALL SCREEN.
UNEQUAL SIDES OCTAGONAL
PLASTIC END CAPS
SQUARE PLASTIC END CAPS
DESIGN-ROLL ALUMINUM
W/EASY FIX BRACKETS
Unpack screen carefully. Check for any damage.
Check to be sure all accessories are in carton.
Adopt the appropriate method hanging the screen on the wall or
the suspension hook firmly.
(The suspension part is spare part on option)
WALL MOUNT SCREEN INSTALLMENT
Screw End a of Spring(00-08) to the bottom of lock head
cover(00-06), to prevent any loose between them.
Insert end b of Spring(00-08) into the slot of the stop bar(00-09),
then put the cover(00-10) Lock head tube(00-04) and stop
bar(00-09) have already been assembled at factory。
Remove the rubber end cap of the pull bar, draw out the pull bar,
change the new one .make sure the flatness of the surface before
insert the rubber end cap. Pull the tapes to each side may help
you to get the flat surface.
When assembly this part, please pay ATTENTION to:
Damage of pull loop or pull bar
Check if the spring is not well connected with the lock head cover.
Reassemble it.Please refer to the ATTENTION.
Check if the lock head damaged, change it.
Screen surface could not move totally or droped
00-04
00-06 00-07
00-09 00-10
00-08
00-05 A
a
b
LEFT END CAP
SPRING
TELA


