Lincat PO425/FS Operating instructions
Other Lincat Kitchen Appliance manuals
Lincat
Lincat Lynx Owner's manual
Lincat
Lincat OE7503 User guide
Lincat
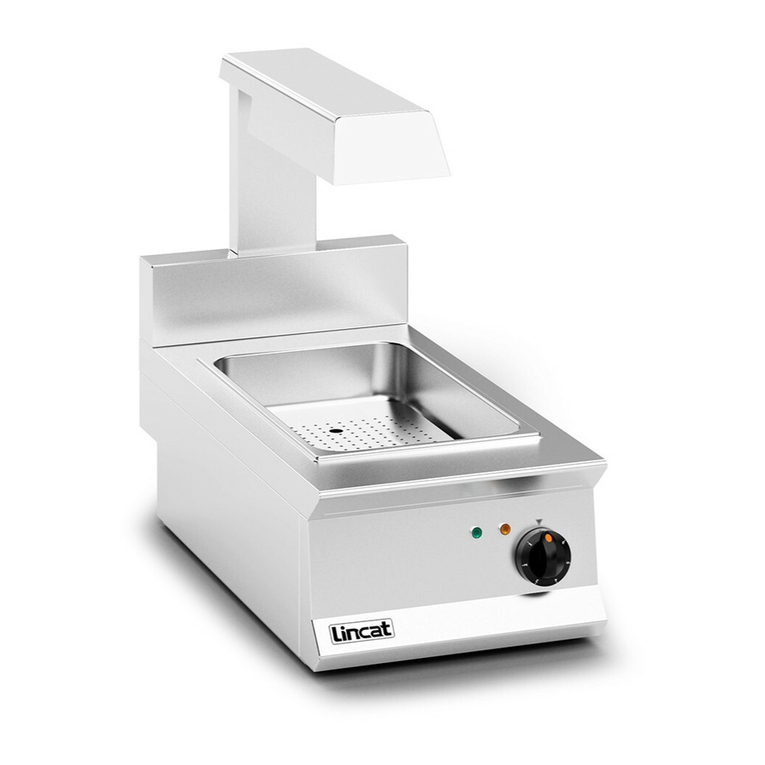
Lincat OE8109 Owner's manual

Lincat
Lincat Opus 800 Series Owner's manual
Lincat
Lincat PO89X Operating manual

Lincat
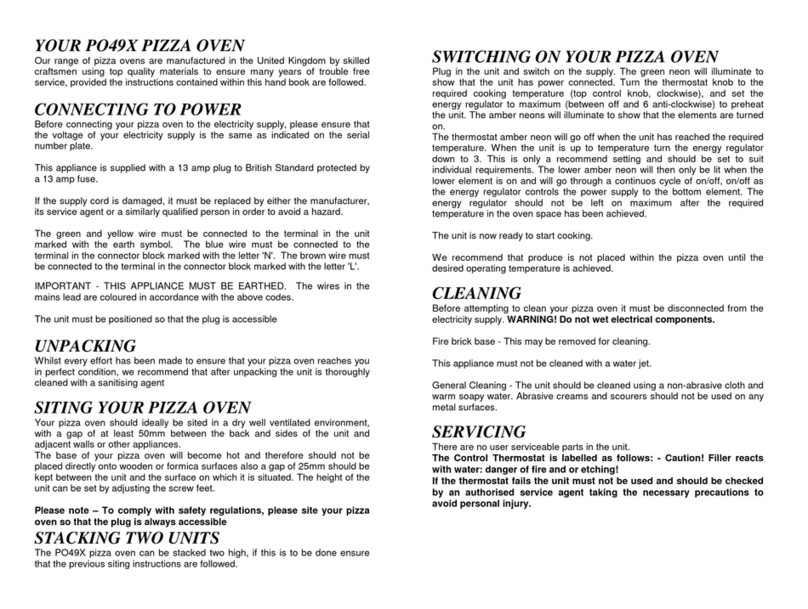
Lincat PO89X Owner's manual
Lincat
Lincat PO49X User manual

Lincat
Lincat PO425 Owner's manual
Lincat
Lincat Silverlink 600 CS4 Owner's manual
Lincat
Lincat Lynx 400 Operating instructions
Popular Kitchen Appliance manuals by other brands

Tayama
Tayama TYG-35AF instruction manual

AEG
AEG 43172V-MN user manual

REBER
REBER Professional 40 Use and maintenance

North American
North American BB12482G / TR-F-04-B-NCT-1 Assembly and operating instructions

Presto
Presto fountain popper instruction manual

Westmark
Westmark 1035 2260 operating instructions


