manuals.online logo
Brands
  1. Home
  2. •
  3. Brands
  4. •
  5. LinkAYL
  6. •
  7. Control Panel
  8. •
  9. LinkAYL LK-UP24 Series User manual

LinkAYL LK-UP24 Series User manual

www.linkayl.com Copyright © Linkayl Technology Limited
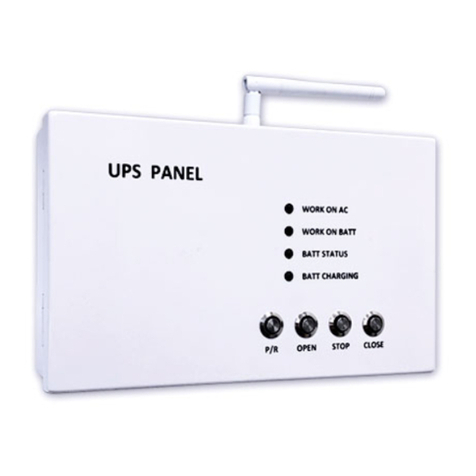
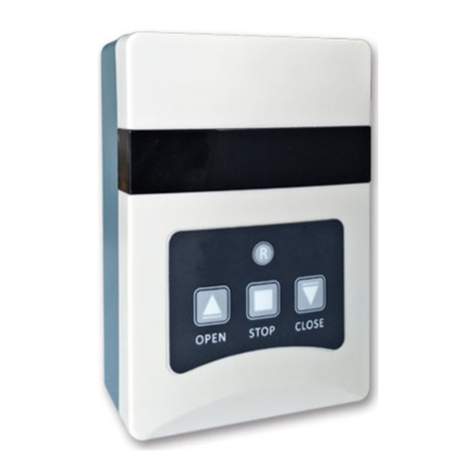
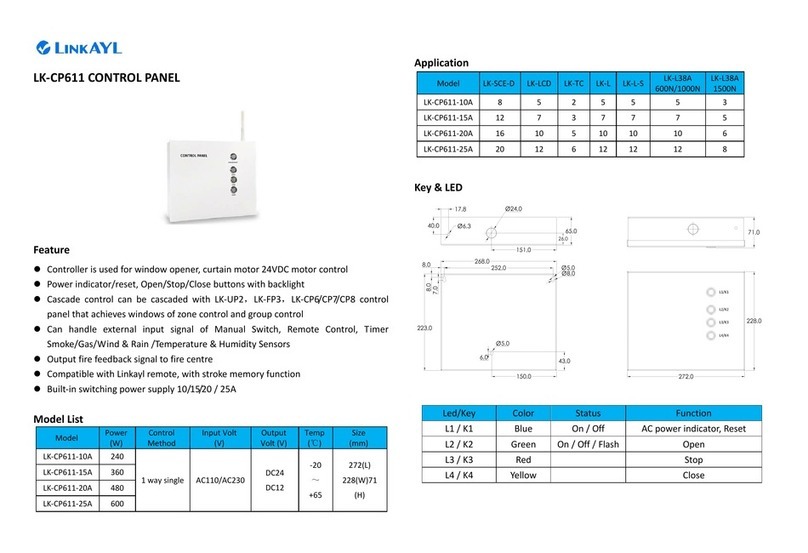
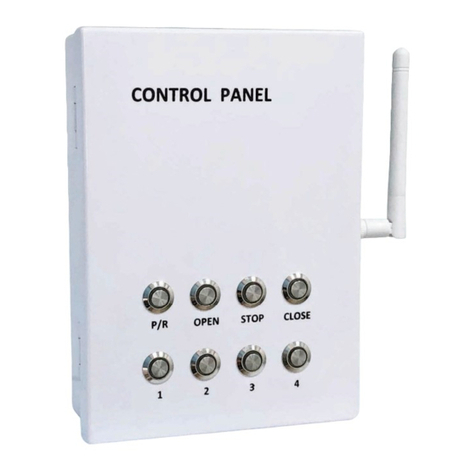
LK-UP24X UPS Control Panel (6A)
¢Manual control
05 06
¢Control mode
—Aer power on all the LEDs light for 1 second and turn off, the power indicator LED
normally on
—Press reset buon, all the LEDs light for 1 second and turn off, reset successfully
—L2 will be explosion-flashing aer controller receives fire signal
—External manual switch is equivalent to controller panel switch
—The maximum running me of the motor is 5 minutes
.
.
£Group control
—Controller has inching mode and connued-run mode which is default
—In the connued-run mode, press UP or DOWN buon less than 1.5 seconds, the motor
will run connuously, press UP or DOWN buon more than 1.5 seconds, the motor will
stop aer running a very short moment
—In the inching mode, press UP or DOWN buon less than 1.5 seconds, the motor will stop
aer running a very short moment, press UP or DOWN buon more than 1.5 seconds,
the motor will run connuously
—Only the manual buons on the panel, manual switch, remote control and cascade signal
have inching mode
—Keep pressing both of UP and STOP buon on the controller for 5 seconds, LEDs flash 3
mes and turn off it's inching mode for the controller, repeat the operaon the controller
turns to connued-run mode
—By default, L1 is normally on, the rest LEDs are off as group control status
—Press UP buon, the windows open, LED turns on, turns off aer 5 seconds
—Press DOWN buon, the windows close, LED turns on, turns off aer 5 seconds
—Press STOP buon, ,the motors stop, LED turns on, LED turns off aer 1 second
£Channel control
—Press channel selecon keys the corresponding LED lights, channel selected
—Press the channel selecon buon again or no operaon on controller thin 10 seconds,
LED turns off, channel unselected
—In the process of opening/closing the current window, you can select another channel(s)
to drive the window
.
¢Remote control
—The controller encodes by 433MHz learning code, can store 10 sets of transmission codes
—The controller defaults to mulple channel, single channel controler has the same way as
mulple channel one
.
£Matching code
—Power the controller on, choose the channel(s) you want to set, can be set to any
combinaon of channel 1-4
—Pressing STOP buon on controller for 5 seconds
—LED flashes 3 mes and turns off
—Choose the channel you want to set on the remote
—Press UP within 15 seconds
—LED flashes 3 mes and turns off
—Code matched successfully
.
£Clearing single code
—Power the controller on
—Keep pressing STOP key on the controller for 5S
—LED flashes 3 mes and turns off
—Press DOWN buon on the remote within 15 seconds
—LED flashes 3 mes and turns off
—Code cleared successfully
.
£Clearing all codes
—Power controller on
—Pressing STOP /DOWN buon on the controller for 5 seconds
—LEDs flash 3 mes and turn off
—All the codes will be deleted aer this operaon
www.linkayl.com Copyright © Linkayl Technology Limited
LK-UP24X UPS Control Panel (6A)
¢Troubleshoong
09 10
—Please read the following instrucons carefully before installing this product
—The control system must be installed by the professional
—The main power must be cut off before wiring to ensure safe operaon
—Two 12V 2.6Ah baeries connected in series
—Please confirm posive and negave polaries before turning on the baeries to ensure
that it cannot be reversed
—The controller does not contain baeries, please purchase with correct size and
specificaons
—Control panel cannot be installed outdoors
—Maximum output power MUST NOT exceed the total rated power of the controller
—Do not use metal objects to touch or cover the controller, otherwise it will affect the
remote control signal recepon
—The maximum transmission distance of the wireless signal can reach 50 meters or more
in the open condion
—The distance between the controller and ground should be more than 1.5 meters
—The distance between the controller and ceiling should be more than 0.3 meters
—The distance between the controller and motor should be more than 1.5 meters
—Avoid stac interference and prevent stac damage to electronic components
—Please use the so wire and cable, aer installaon ensure that the cable carrier is not
affected by the longitudinal tension
—An external sensor must use a product that is compable with this controller
—Non-professionals is not allowed to disassemble the controller. If any funcon is unusual,
please contact your local dealer
.
¢Installaon instrucon
No.
Symptom
Soluon
1
LED flashes, receiver shut down
1. Check the connecon of wires
2. Check the receiver seng
2
LED on the transmier is off or weak
1. Make sure the right installaon of the baery
2. Change the baery
3
The transmier and the receiver work well,
the motor does not work
1. Check the wiring of motor
2. Make sure the motor no failure
¢Stroke memory
—The controller can set and memorize the opening stroke. Upon the stroke set, the
window opening signal is triggered once, the motor will run the memorized stroke one
me
—The default memorized stroke runs for 5 minutes
—Press both of UP /DOWN buons on the controller for 3 seconds, LEDs flash 3 mes and
off, successfully entered the stroke memory seng state
—In the stroke memory seng state, the manual keys are forced to the connued-run
mode, the remote control keys are forced to the inching mode
—Select the channel(S) to be set, the default is all selected, all the channel indicators light.
Press the channel selecon key(s), the indicators light, press the channel selecon key(s)
again the indicator is off, it is deselected. The seng is invalid without operaon in 15
seconds
—Aer the channel selected, determine the stroke that needs to be memorized by pressing
the manual key or the remote control key by moving or jogging
—The memorized stroke can be set to one channel or any combinaon of channel
—Aer the memorized strokes determined, turn on all the channel indicators for seng the
memorized stroke. Press both of UP /DOWN buons on the controller for 3 seconds, LEDs
flash 5 mes and off, the memorized strokes of all channels set successfully and exit the
stroke memory seng state, manual buons and remote control buons restored to the
original mode
—In stroke memory seng state, no operaon is performed within 15 seconds, LEDs flash 3
mes slowly and off, the stroke memory seng state is automacally exited, and the last
memorized stroke is retained
—Stroke memory can be set repeatedly. The controller only retains the last successful
stroke value and automacally clears the previous one
—In stroke memory seng state, press both of STOP /DOWN buons on the controller for
3 seconds LEDs flash 3 mes the memorized stroke is deleted and restored to the default
output for 5 minutes
—When the memorized strokes of master controller and slave controller are not the same,
the master controller will run its own memorized stroke. The slave controller will run the
shorter stroke when it receives the cascade signal from the master controller
—The memorized stroke set for each channel is retained in case the controller is powered
down or reset
—When closing the window, the output me is 5 minutes
This manual suits for next models

3

Other LinkAYL Control Panel manuals

LinkAYL LK-CP711-30A User manual

LinkAYL

LinkAYL LK-CP711-30A User manual

LinkAYL LK-FP3 User manual

LinkAYL

LinkAYL LK-FP3 User manual

LinkAYL LK-CP611 User manual

LinkAYL

LinkAYL LK-CP611 User manual

LinkAYL LK-UP22 Series User manual

LinkAYL

LinkAYL LK-UP22 Series User manual

LinkAYL LK-CP64 Series User manual

LinkAYL

LinkAYL LK-CP64 Series User manual

LinkAYL LK-UP211 User manual

LinkAYL

LinkAYL LK-UP211 User manual

LinkAYL LK-CP62 Series User manual

LinkAYL

LinkAYL LK-CP62 Series User manual

LinkAYL LK-CP63 Series User manual

LinkAYL

LinkAYL LK-CP63 Series User manual

LinkAYL LK-CP63X Series User manual

LinkAYL

LinkAYL LK-CP63X Series User manual

Popular Control Panel manuals by other brands

Sony ICP-X7000 installation manual

Sony

Sony ICP-X7000 installation manual

Elan DSC MAXSYS Series Integration notes

Elan

Elan DSC MAXSYS Series Integration notes

Chamberlain 880LMW manual

Chamberlain

Chamberlain 880LMW manual

Teletek electronics SIMPO Operation and maintenance manual

Teletek electronics

Teletek electronics SIMPO Operation and maintenance manual

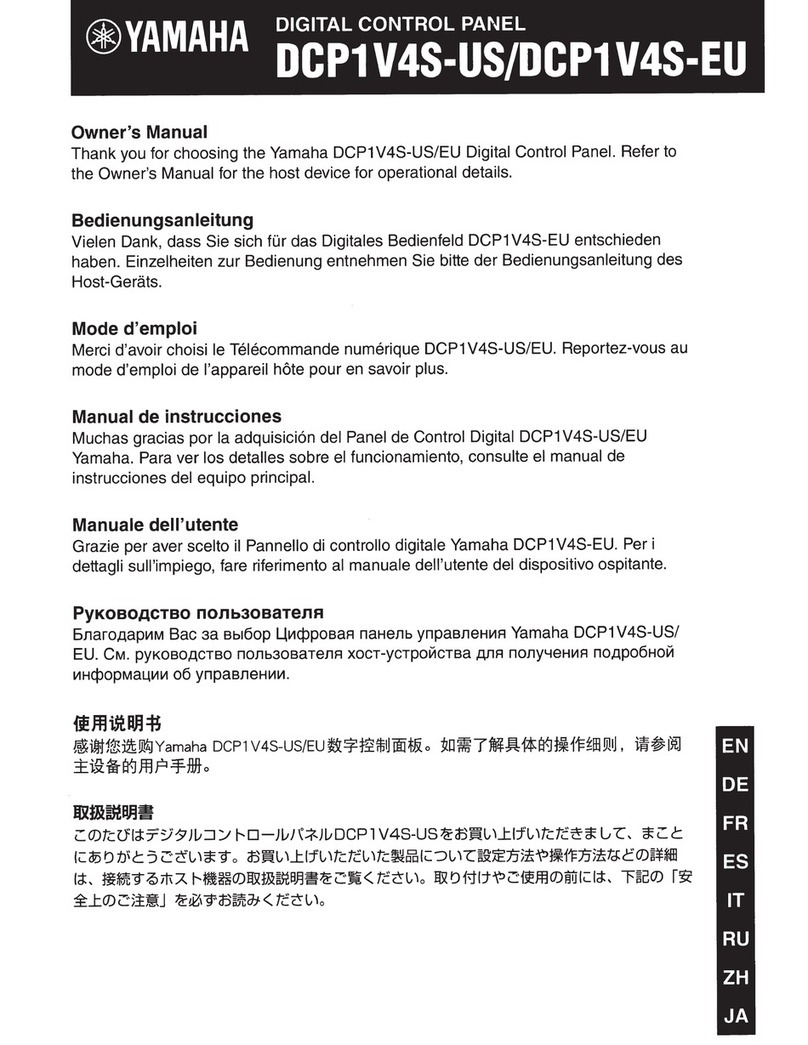
Yamaha DCP1V4S-US owner's manual

Yamaha

Yamaha DCP1V4S-US owner's manual

Bender PRC487 manual

Bender

Bender PRC487 manual

Pittway NOTIFIER MINIGAS Installation and use manual

Pittway

Pittway NOTIFIER MINIGAS Installation and use manual

Strand Lighting 300 Series quick start

Strand Lighting

Strand Lighting 300 Series quick start

Chamberlain 881LM quick guide

Chamberlain

Chamberlain 881LM quick guide

CADDX NetworX NX-8 user manual

CADDX

CADDX NetworX NX-8 user manual

Siemens MJ-5 Installation and operation manual

Siemens

Siemens MJ-5 Installation and operation manual

Mircom FA-300 Series Installation and operation manual

Mircom

Mircom FA-300 Series Installation and operation manual

Crystal Vision REM1U user manual

Crystal Vision

Crystal Vision REM1U user manual

Calira Module C2 operating instructions

Calira

Calira Module C2 operating instructions

IDS IDS1600 user guide

IDS

IDS IDS1600 user guide

tecnoelettra TE805 manual

tecnoelettra

tecnoelettra TE805 manual

Gemini GEM-P9600 Applications

Gemini

Gemini GEM-P9600 Applications

Controls J1939 product manual

Controls

Controls J1939 product manual

manuals.online logo
manuals.online logoBrands
  • About & Mission
  • Contact us
  • Privacy Policy
  • Terms and Conditions

Copyright 2025 Manuals.Online. All Rights Reserved.