MScroll down to Register Proxy
Port, and select Edit.
NEnter the Register Proxy Port
number, and press the
center selection key.
OScroll down to Outbound
Proxy IP, and select Edit.
PEnter the Outbound Proxy IP
address, and press the
center selection key.
QScroll down to Outbound
Proxy Port, and select Edit.
REnter the Outbound Proxy
Port number, and press the
center selection key.
SIf your Internet phone
service provider did not
provide an Expire Time
setting, then keep the
default, 3600 seconds, and
proceed to step U.
If your Internet phone
service provider provided
an Expire Time setting, then
scroll down to Expire Time,
and select Edit.
TEnter the Expire Time,
and press the center
selection key.
UScroll down to Phone
Number, and select Edit.
VEnter the Phone Number
you will use for Internet
phone calls, and press the
center selection key.
WScroll down to User Name,
and select Edit.
XEnter the User Name,
and press the center
selection key.
YScroll down to Password,
and select Edit.
ZEnter the Password,
and press the center
selection key.
AA On the SIP Settings screen,
select Return.
AB On the Phone Settings
screen, select Return.
The standby screen will appear
and indicate that the IP Phone is
ready for phone calls.
Congratulations! The installation
of the Wireless-G IP Phone
is complete.
GA list of SIP settings will be
displayed. You will enter the
settings your Internet phone
service provider has given
you. (If you do not have
these settings, contact your
provider.)
For the Proxy IP setting,
select Edit.
HEnter the Proxy IP address,
and press the center
selection key.
IScroll down to Proxy Port,
and select Edit.
JEnter the Proxy Port number,
and press the center
selection key.
KScroll down to Register Proxy
IP, and select Edit.
LEnter the Register Proxy IP
address, and press the
center selection key.
ATo make a call, enter the phone number you
want to call.
BPress the Call button.
CWhen you are on a phone call, select Option
to see a list of menu choices.
DSelect HangUp to end the call.
To change the volume, use the +and -buttons on the side panel of the
IP Phone.
H
J
L
N
P
Q
T
V
Options
When you are on a call, you have
several options available. Press
the left soft key to make a
selection, and press the right soft
key to return to the previous
menu. Use the navigation pad to
scroll through these menu
choices:
•HangUp
•Mute
•Hold
•Transfer
• Blind TFR (Transfer)
• Conference
For details about these options
and other settings, refer to the User
Guide on the CD-ROM.
For instructions on how to check
your voicemail, contact your
Internet phone service provider.
X
AA
Z
4Using the IP Phone
C
Volume
WIP330_V1.1-QI-60123NC JL
For additional information or troubleshooting
help, refer to the User Guide on the Setup CD-
ROM. You can also call or e-mail for further
support.
24-hour Technical Support
800-326-7114
(toll-free from US or Canada)
E-mail Support
Website
http://www.linksys.com or
http://support.linksys.com
RMA (Return Merchandise Authorization)
http://www.linksys.com/support
FTP Site
ftp://ftp.linksys.com
Sales Information
800-546-5797 (800-LINKSYS)
Linksys is a registered trademark or trademark of
Cisco Systems, Inc. and/or its affiliates in the U.S.
and certain other countries. Copyright © 2006
Cisco Systems, Inc. All rights reserved.
G
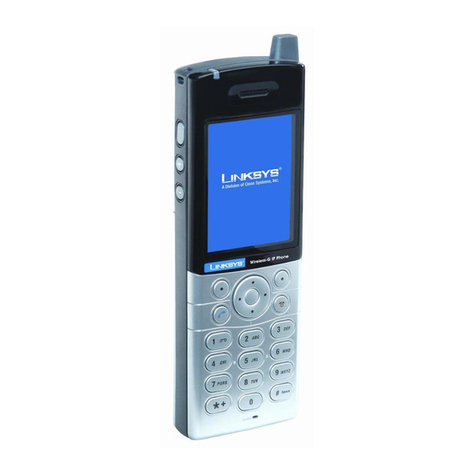
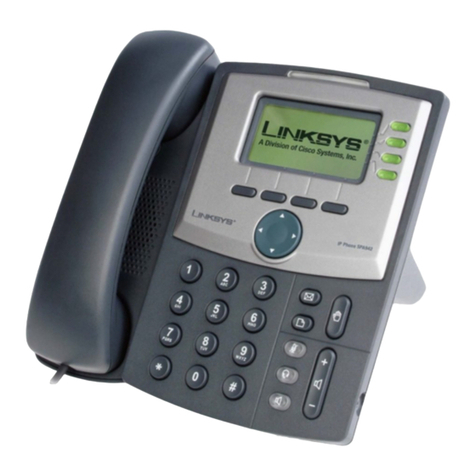
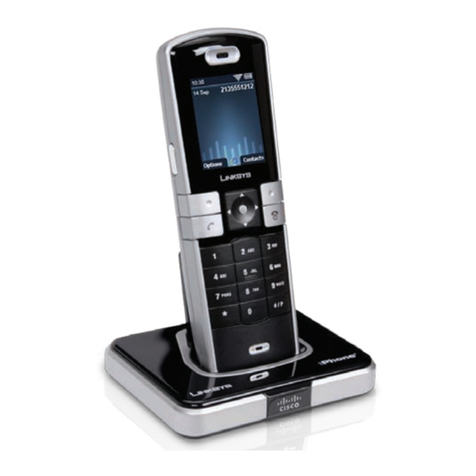
Power LED
Soft Key
Power or
End Call
Soft Key
Navigation Pad
and Center
Selection Key
Call
Enter Symbol
or Space
Different Key
Choices or + Sign
