Page 1 of 38 FA69356–2 English
Jun 2013
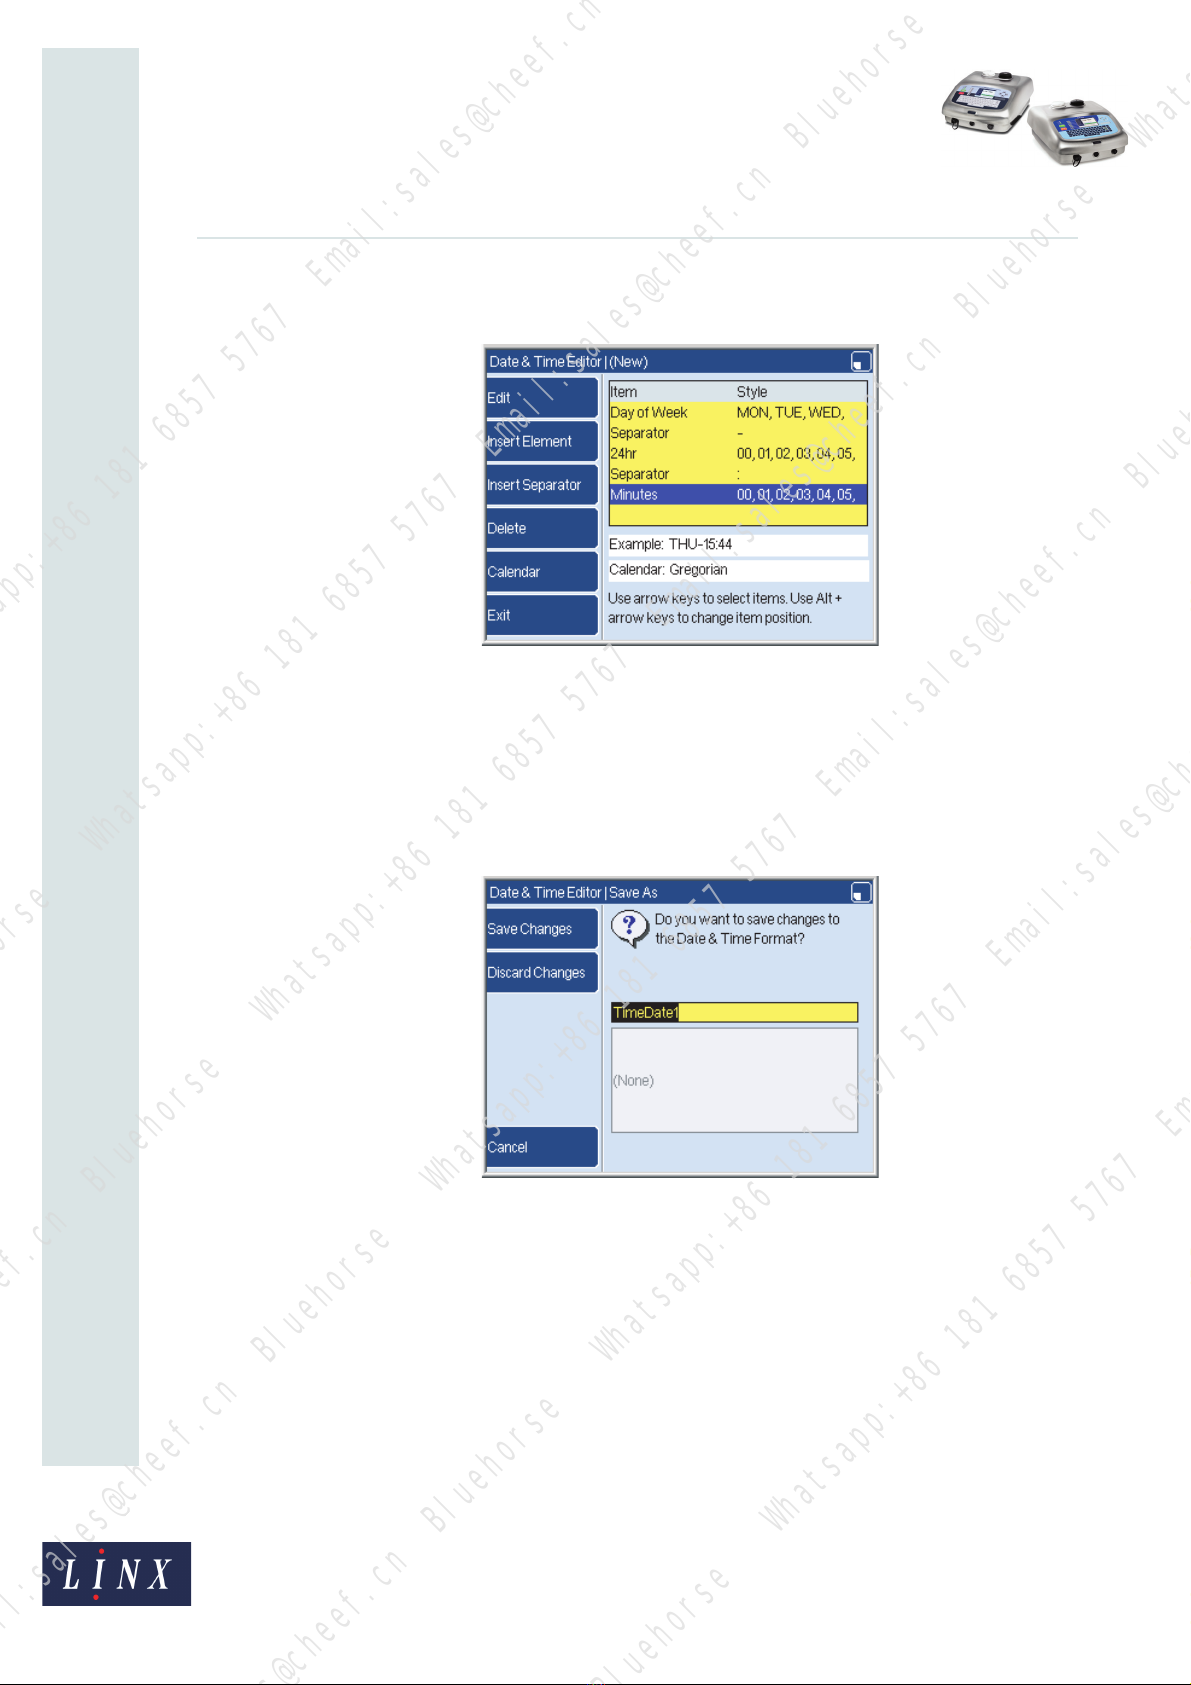
How To Create Date and Time
Formats
Linx 5900 & 7900
Contents
1 Introduction................................................................................................................................... 2
1.1 Health and Safety ................................................................................................................... 2
2 Date and Time store ..................................................................................................................... 3
2.1 Create a new format ............................................................................................................... 4
2.1.1 Elements and separators................................................................................................ 4
2.1.2 Example.......................................................................................................................... 6
2.1.3 Edit key........................................................................................................................... 9
2.1.4 Manage Dates & Times ................................................................................................ 10
2.1.5 Change the order of the elements ................................................................................ 10
2.1.6 Calendar types ............................................................................................................. 10
2.1.7 Edit Strings ................................................................................................................... 11
3 Macro ........................................................................................................................................... 16
3.1 Introduction ........................................................................................................................... 16
3.2 Macro structure..................................................................................................................... 17
3.2.1 Length........................................................................................................................... 17
3.2.2 Use ............................................................................................................................... 17
3.2.3 Time value .................................................................................................................... 18
3.2.4 If.................................................................................................................................... 20
3.2.5 Blocks ........................................................................................................................... 21
3.2.6 Else............................................................................................................................... 22
3.3 Macro examples ................................................................................................................... 23
3.3.1 Example 1..................................................................................................................... 23
3.3.2 Example 2..................................................................................................................... 23
3.3.3 Example 3..................................................................................................................... 23
3.3.4 Example 4..................................................................................................................... 23
3.3.5 Example 5..................................................................................................................... 24
3.3.6 Example 6..................................................................................................................... 24
3.4 Create a Macro element ....................................................................................................... 25
4 Round .......................................................................................................................................... 31
4.1 Introduction ........................................................................................................................... 31
4.2 Command parameters ..........................................................................................................32
4.3 Insert a Round element ........................................................................................................ 34
4.4 Command parameter examples ........................................................................................... 37