OPERATION
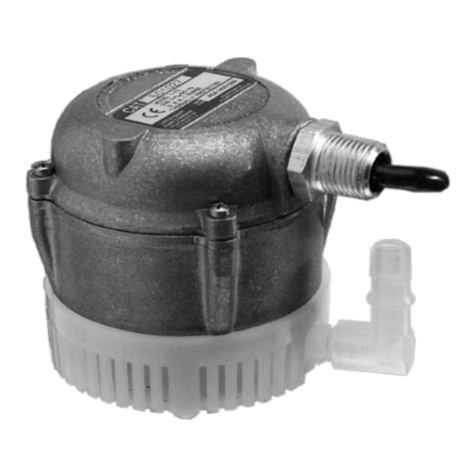
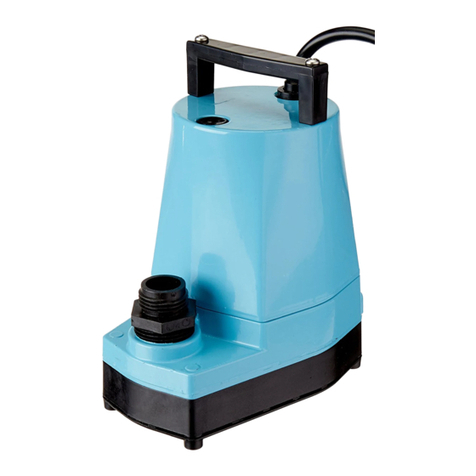
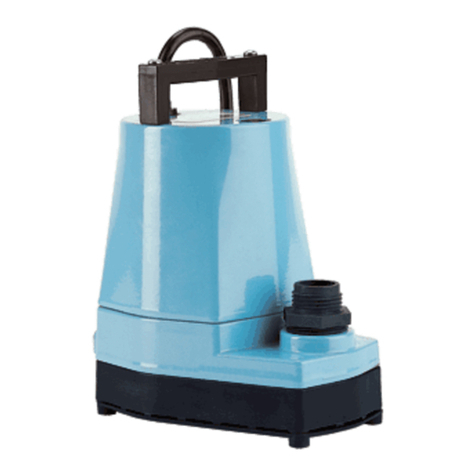
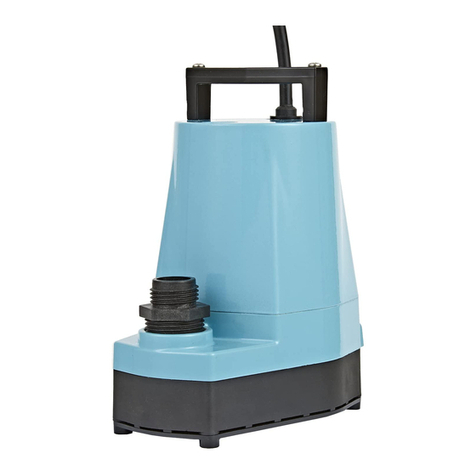
1. The PE-2.5 model pumps must be operated with the volute intake below
the liquid level.
2. The pumps can be placed in any position.
3. The weight of the pump must be supported adequately. DO NOT support
the pumps by the discharge connection alone. Pump may be supported
by using the two mounting holes in the back of the pump. The holes are
designed for #8 self-tapping screws. Hole depth is .37 DO NOT exceed the
hole depth.
4. Do not attempt to restrict the intake side of these pumps. Restricting the
intake may cause damage to the seal and may starve the pump. If you
require reduced flow rates, then place a valve on the discharge side of the
pump or if flexible vinyl tubing is used, a clamp can be used on the tubing
to restrict the flow.
5. Do not let the unit run dry (without liquid). It is designed to be cooled by
pumping fluid. You may damage the seal and the motor may fail if the
pump is allowed to run dry.
6. If the unit is going to be idle for a period of time, follow the cleaning
instructions outlined in the next section. Do not let the unit freeze in
the wintertime. This may cause cracking or distortion that may destroy
the unit.
7. The adaptor (item 6) is a press on style with no threads for connecting
fountain heads with 1/2" MNPT to the 3/8" MNPT pump discharge.
8. If fused type plug is used on 230 volt units, a 2.0 amp fuse is
recommended.
SERVICE INSTRUCTIONS
MAKE CERTAIN THE UNIT IS DISCONNECTED FROM THE POWER
SOURCE BEFORE ATTEMPTING TO SERVICE OR REMOVE ANY
COMPONENT!
1. This unit is permanently lubricated. Oiling is not required. The
power cord on these units cannot be replaced. In case of damage
the whole unit must be replaced.
2. First remove the intake screen from the pump. Screen is screwed
on and can be removed by turning counterclockwise. Then
remove the 3 screws which attach the volute.
3. Lightly clean any corrosion or debris which may clog the impeller.
Use a brush and penetrating oil and lightly scrape to remove
encrusted material.
4. Turn the impeller by hand to make sure it turns freely. Set pump
down so the pump and impeller are not touching anything. Plug
the unit into GFCI circuit for 10 seconds to see if the impeller turns;
a) If it is rotating and GFCI did not trip, unplug unit and install
parts in reverse order in which they were removed. b) If it does
not rotate, if pump is tripping circuit breakers, or not operating
properly after cleaning, return the pump to an authorized service
center. DO NOT attempt repairs yourself.
5. Be certain power cord is in good condition and contains no nicks
or cuts.
FONCTIONNEMENT
1. Les pompes de la série PE-2.5 sont conçues pour fonctionner avec la
volute d’aspiration qui doit se trouver en-dessous du niveau du liquide.
2. Elles peuvent être installées dans n’importe quelle position.
3. The weight of the pump must be supported adequately. DO NOT support
the pumps by the intake (in-line pumps) and discharge connection alone.
Pump may be supported by using the two mounting holes in the back of
the pump. The holes are designed for #8 self-tapping screws. Hole depth
is .37 DO NOT exceed the hole depth.
4. Ne pas laisser fonctionner la pompe à sec, ce qui pourrait endommager
le joint et provoquer une panne de moteur car elle est conçue pour être
refroidie par le liquide pompé.
5. Ne laissez pas l’appareil fonctionner à sec (sans liquide). Il est conçu pour
se refroidir en pompant un liquide. Vous pouvez endommager le joint et le
moteur peut tomber en panne si vous laissez la pompe tourner à vide.
6. Si l’appareil doit rester inutilisé pendant un certain temps, suivez les
instructions de nettoyage ci-dessous. Ne laissez pas l’appareil geler en hiver.
Cela peut entraíner des fêlures ou des déformations qui détruiraient l’appareil.
7. L’adaptateur (pièce n° 6) se fixe par pression et ne présente pas de
filetage. Il permet le raccord de la tête de fontaine à l’aide d’un MNPT½po
au MNPT 5/8 po de la décharge de la pompe.
8. Si l’on utilise une prise de type fusible avec les unités 230 V, nous vous
recommandons d’utiliser un fusible de 2 ampères.
INSTRUCTIONS D’ENTRETIEN
VOTRE POMPE DEMANDERA TRÈS PEU D’ENTRETIEN. SI, POUR UNE
RAISON QUELCONQUE, ELLE NE PEUT PAS FONCTIONNER, SUIVEZ LES
INSTRUCTIONS CI-DESSOUS!
1. Cette unité est lubrifiée en permanence. Il n’est pas nécessaire de
la graisser. Le cordon d’alimentation de ces unités ne peut être
remplacé. En cas de défectuosité, il faut remplacer toute l’unité.
2. Retirez d’abord la grille d’entrée de la pompe. La grille est
maintenue à l’aide de vis, lesquelles peuvent être dévissées dans
le sens contraire des aiguilles d’une montre. Retirez ensuite les
trois vis retenant la volute
3. Nettoyez légèrement toute trace de corrosion ou tout débris
qui peut avoir bloqué le rotor. Utilisez une brosse et de l’huile
pénétrante et grattez lègérement.
4. Faire tourner la roue à la main pour s’assurer qu’elle tourne
librement. Placer la pompe de telle manière que la pompe et
la roue à l’écart de tout ebjet. Pendant 10 secondes, brancher
l’appareil dans un circuit muni d’un disjoncteur de fuite à la terre
pour déterminer si la roue à aubes toune librement; a) Si elle
tourne bien et si le disjoncteur ne se déclenche pas, débrancher
alors l’appareil et poser les pièces dans l’ordre inverse de la
dépose; b) Si elle ne tourne pas, si la pompe déclenche un
court-circuit, ou si elle ne fonctionne pas correctement malgré un
nettoyage en règle, retour pompe à Little Giant autorisé service
center. NEPAS essayer de faire las réparations vous-même.
5. S’assurer que le cordon électrique est en bon état et qu’il n’est
pas coupé.
FUNCIONAMIENTO
1. Las bombas del modelo PE-2.5, deben funcionar con la toma del difusor
por debajo del nivel del líquido.
2. Las bombas pueden colocarse en cualquier posición.
3. El peso de las bombas debe sostenerse de manera adecuada. NO
sostenga las bombas solamente por el empalme de descarga. Las bombas
pueden sostenerse utlizando los dos orificios de montaje de su parte
posterior. Los orificios están diseñados para tornillos #8 que no requieran
agujero previo. La profundidad del orificio es de .37. NO sobrepase la
profundidad del orificio.
4. No permita que la unidad funcione en seco. Está diseñada para que la
enfríen los liquidos bombeados. Si se permite que la bomba funcione en
seco, puede estropearse el obturador y el motor puede caerse.
5. No deje que la unidad en operación se quede sin agua. Esta diseñada
para ser enfriada por medio del bombeo de liquido. Usted puede dañar el
sello y el motor puede fallar si se permite que la bomba opere sin agua.
6. Si la unidad se mantiene sin funcionar por un período de tiempo largo, siga
las instrucciones de limpieza descritas en la próxima sección. No permita
que la unidad se congele en invierno. Esto puede causar agrietamiento o
deformaciones, lo cual puede dest ruir la unidad.
7. El adaptador (artículo 6) es del tipo que se inserta a presión, sin roscas, para
conectar las fuentes con MNPT 1/2" a la descarga de la bomba de MNPT 3/8".
8. Si se usa el enchufe con fusible en las unidades de 230 volt, se recomienda
usar un fusible de 2.0 amperios.
PE-2.5 SERIES
MODÈLES DE LA
SÉRIE PE-2.5
MODELOS DE LA
SERIE PE-2.5
Franklin Electric Co., Inc.
Oklahoma City, OK 73127
www.franklinwater.com
Form 994078 - 07/2013, Rev. 001


