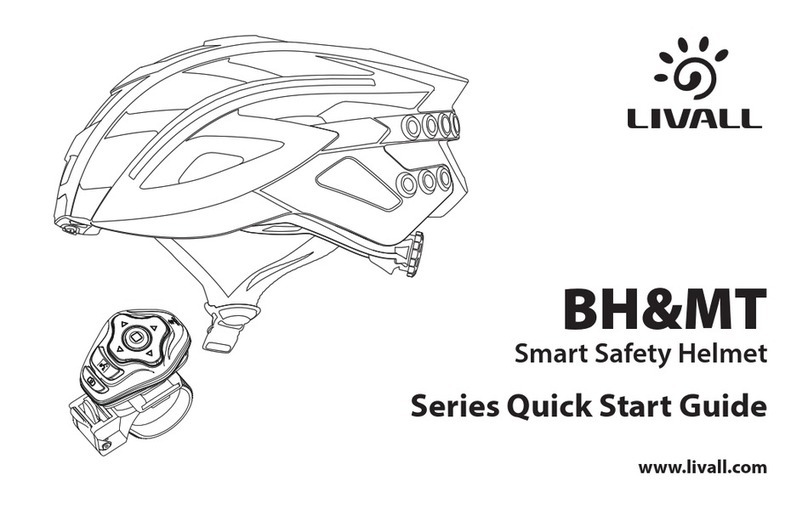
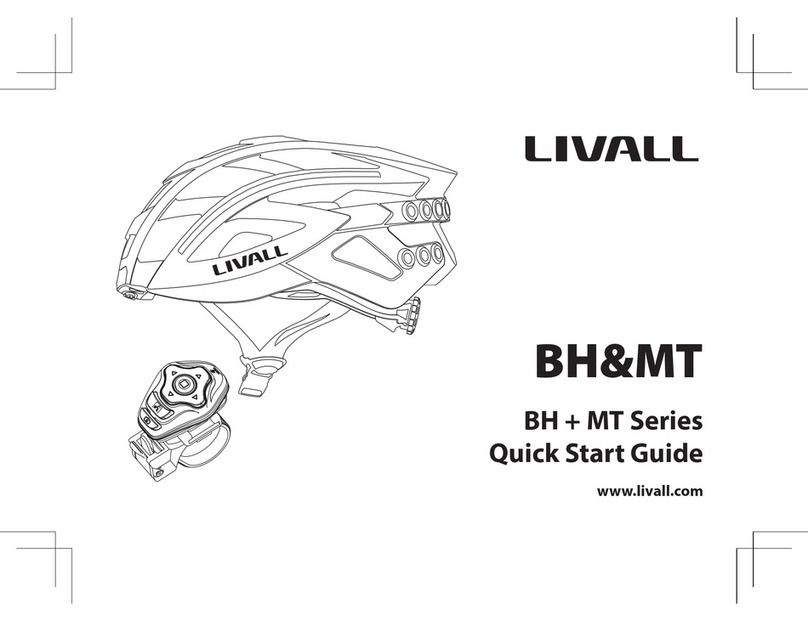
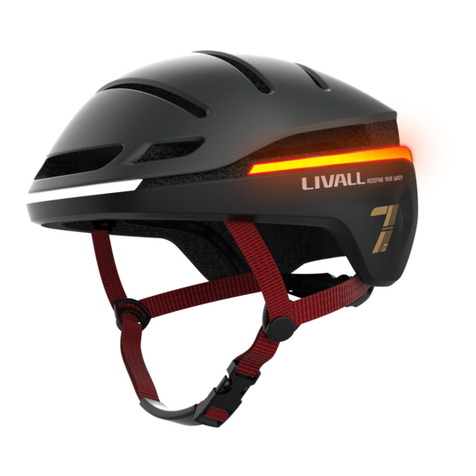
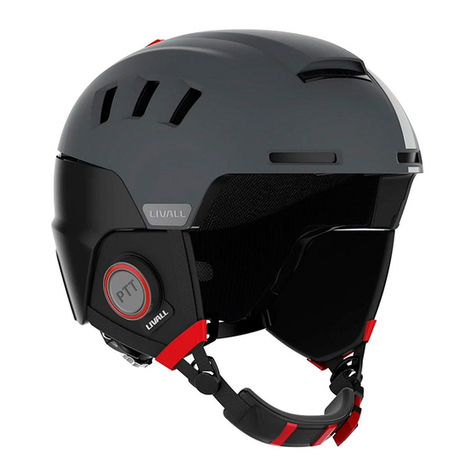
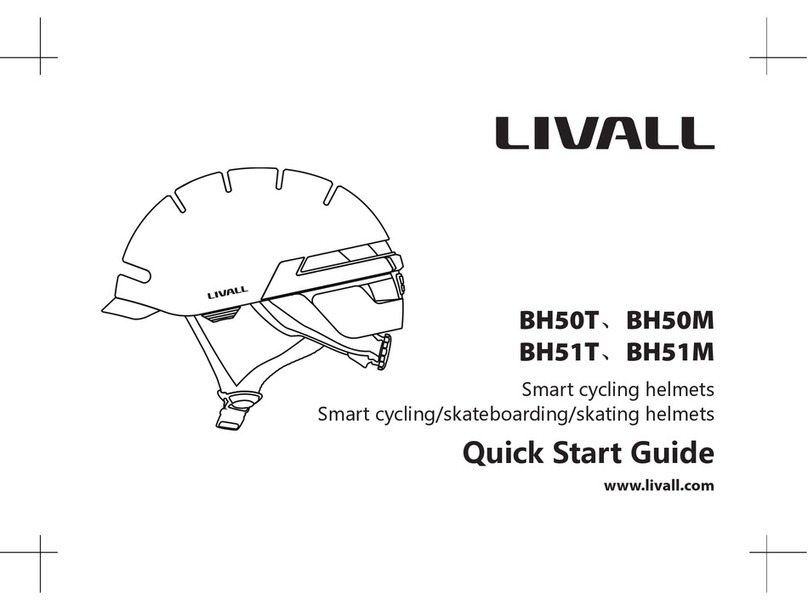
Livall EVO21 User manual

www.livall.com
Smart Helmet EVO21
Quick Start Guide
& Warranty Information

1
I.Introduction
Welcome to the User Guide for LIVALL smart helmets. This Guide will help you better use this product. With
continuous improvements of our products, this Guide will be updated from time to time. You can access the latest
version and learn more about the helmet on www.livall.com.
Front Lights
Note: The picture is for reference only. If the actual product appears dierent from the picture, the real product shall prevail.
Chinstrap Tension adjuster
Taillight
Magnetic USB charging portPower Switch
II. Packing List
Smart Helmet x 1 Bling Remote Controller BR80 x 1
Quick Start Guide & Warranty Information x 1 Magnetic USB charging cable x 1
Front Back

2
III. Wearing Instructions
IncorrectIncorrect Correct
Adjust the length of
the chinstrap Leave a gap as thick
as one nger Correctly position
the helmet Check whether the
buckle is properly
fastened

3
Turn On Your Helmet
Battery Status
Connect the Remote Control BR80 (Control the Turning Signals)
For the rst time to use, press the power on
button located at the back of the helmet,
once the tail lights illuminate the smart
helmet is on.
Remaining battery level is shown by the number of light beads in the middle of the tail, that is displayed when a
helmet is initially turned on. Full battery is indicated when all of the light beads are on.
Hold the button
Note: If it cannot be activated successfully,
please charge it and try again.
Turn on the BR80. Within the
distance of 30cm between the
BR80 and the helmet
Within 30cm
It will automatically connect
to the helmet.
1) First connection
IV. Operation Instructions

4
Automatic Standby
Automatic Wake Up
After the helmet powers on and stays stationary for a while, it will automatically begin saving power by going into
sleep mode. When the tail light is o, without user interaction, the helmet is in sleep mode.
To wake up the helmet, shake it several times until the tail lights illuminate.
Note: If the helmet does not wake up, make sure the battery levels are adequate.
Put the power-on BR80 close to
the main control of the helmet,
and the warning light flashes
three times per second, indicating
that there is a BR80 that needs to
be connected to the helmet.
Press the power button of the
helmet within 10s to conrm the
connection of the BR80.
Then the tail light of the helmet
will continue to flash in the light
mode before connection. After
connected successfully, the left
turn signal or right turn signal can
be realized by the BR80.
2) Replacing device (When the original BR80 lost or damaged)
Note:
A. The left and right turn signal of the helmet can be controlled by the BR80’s left (L) and right (R) buttons;
B. Except for the left (L) and right (R) buttons of BR80 and the red conrmation button in the middle of BR80,
other keys are not needed for the time being.

5
Adaptive lighting(The feature is enabled by default and can be closed by the app.)
Brake warning light
Lighting Mode
Connect With Your Phone
When the helmet is powered on during the day or in a bright environment, only the central LED light will keep
ashing, other LED lights will turn o automatically. During the night, or in a dark environment, the whole taillight
will keep ashing.
When the helmet detects a smooth deceleration, the whole taillight will light up for several seconds to warn the
vehicles behind.
Note: When the helmet shakes too heavy, the built-in sensor detects obvious deceleration to trigger the warning light always
on, which is normal.
After the helmet is turned on, press the power button for a second to switch between the three lighting modes.
1) Download the LIVALL
Riding App on your
smartphone app store;
2) Turn on the Bluetooth on your
phone and turn on the helmet;
3) Click "Device" in the LIVALL Riding app,
then pair the helmet with your phone
through the app by clicking "Helmet." After
a successful connection, "Helmet" will
display "EVO21".
Helmetphone

6
SOS Alert(need to be connected to LIVALL Riding APP)
Power o
Charge
The helmet has a fall detection sensor which sends a signal to the LIVALL Riding APP via Bluetooth technology when
a fall is detected. Then the APP will send an SOS message to a pre-arranged emergency contact.
Hold the power button at the back of the
helmet for several seconds until all the LED
taillight turns o.
When the soft rubber lid with “ ” image is opened, the Magnetic charging port will be seen. Insert a USB cable
into the USB Charging cable interface of the helmet. Charging starts when the middle area LEDs light up. During
charging, when the middle area LEDs stop blinking and turns o, charging is completed.
Tips: In order to ensure a stable Bluetooth connection whilst riding, use a smartphone holder and place the phone on
your handlebars .
“”button
Open the soft rubber

7
EVO21 Product Feature List
NO Function NO Function
1Automatic Standby 6Lighting Mode
2Automatic Wake Up 7Turn light
3Battery Status 8Brake warning light
4Adaptive Lighting 9SOS Alert
5Front light
Kind Reminder: Please refer to the Quick Start Guide for more details about the functions.
V.Considerations
1. The helmet contains electronic parts inside. Please do not take a long ride in the rain although the helmet can
prevent the rain from splashing.
2. After the helmet gets wet in the rain, the water droplets might occur in the chimney of tail LED lights. The water
droplets will disappear when you put the helmet under the ventilation environment for 1-2 days.
3. The helmet contains the battery .The battery capacity varies with temperature change. The battery life can decay
when the helmet is used at low temperatures or below Zero degrees Celsius.
4. If the electronic functions do not work, please charge the helmet for 3 hours and then check if it works normally.
5. The helmet contains impact detection devices. Only if you connect your helmet with LIVALL Riding App and
start ride mode on the App, when your helmet suers from the heavy impact, SOS alert feature can be triggered.
Your emergency contacts set on LIVALL Riding App can accordingly receive your SOS messages.

8
Note:
1. Problems such as network anomalies, may result in the failure to successfully send or receive SOS messages.
2. To maintain ecient battery life, it is recommended that the helmet be fully charged before any long-term
storage (six months to one year).
6. Trying to clean the golden colour contacts of the charging plug sheet with metal or hard tools such as blades or
tweezers is strictly forbidden. Please use cotton swabs with clean water or alcohol in case of cleaning. Please make
sure the charging plug is clean and try while charging the helmet.
7. The built-in battery is forbidden to be disassembled, squeezed, heated or burned. It is also forbidden to use
screwdrivers and other sharp devices breaking down or prying apart the battery. The above operations may make
the battery caught re.
8. Please do not place the helmet with sharp objects, avoiding to damage the helmet.
VI.Technical Specications
Notes: The above data is measured by LIVALL in a controlled environment, with room temperature at 25°C and
specic light patterns. The actual data might be dierent according to the environment.
Charging port : Magnetic USB Electricity parameter : DC 5V/1A
Battery : 3.7V/600mAh Charging time : About 3hours
Waterproof class : IPX5 Battery life : about 10 hrs in the default Light Mode
Temperature: Storage Temperature: -20°C ~45°C. Temperature for use: 0°C~40°C. Temperature while charging:
0°C~40°C.

9
Performance standards:
USA: CPSC1203:1998, FCC Part 15 Rules
Europe: EN 1078: 2012+A1:2012
During the usage, if the following troubles occur, please charge the product according to quick guide of the
model(the helmet can be reset during the charging). If the problems still can not be solved, please contact the after-
Faults:
1. Can not be charged or turn-o normally;
2. The helmet is turn on, but the lights and other functions can not work normally.
3. After power on, it turns o automatically in a short time without reason.
Note: Please refer to the quick guide of the specific model for function details.
VII. Electronic functions troubleshooting
VIII.Instructions for Use and Care
1. That the helmet can only protect if it ts well and that the buyer should try dierent sizes and choose the size
which feels secure and comfortable on the head.
2. That the helmet should be adjusted to t the user e.g. the straps positioned so that they do not cover the ears, the
buckle positioned away from the jawbone and the straps and buckle adjusted to be both comfortable and rm.
3. How the helmet should be position on the head to ensure the intended protection is provided (e.g. that it should
be placed so as to protect the forehead and not be pushed too far over the back of the head.)
4. That a helmet cannot always protect against injury.
5. That a helmet subjected to a severe impact should be discarded and destroyed.
6. A statement of the danger of modifying or removing any of the original component parts of the helmet other
than as recommended by the manufacturer, and that helmets should not be adapted for the purpose of fitting
10
accessories in a way not recommended by the manufacturer.
7. This device complies with part 15 of the FCC Rules. Operation is subject to the following two conditions:(1) This
device may not cause harmful interference, and (2) this device must accept any interference received, including
interference that may cause undesired operation.
8. Take good care of the product, do not wash the surface of the helmet with corrosive solvent, do not strike the
helmet;
9. Validity: Valid for 3 years without impact and under normal use.
This helmet is in conformity with the regulation (EU) 2016/425;
This helmet is in conformity with the Personal Protective Equipment (Enforcement) Regulations 2018;
LIVALL Tech Co., Ltd. declare that the full EU Declaration of conformity and UK Declaration of conformity are available
on the Internet at http://www.livall.com/tech/product.html

11
NOTE: This equipment has been tested and found to comply with the limits for a Class B digital device, pursuant to
part 15 of the FCC Rules. These limits are designed to provide reasonable protection against harmful interference in
a residential installation. This equipment generates uses and can radiate radio frequency energy and, if not installed
and used in accordance with the instructions, may cause harmful interference to radio communications. However,
there is no guarantee that interference will not occur in a particular installation. If this equipment does cause
harmful interference to radio or television reception, which can be determined by turning the equipment o and on,
the user is encouraged to try to correct the interference by one or more of the following measures:
- Reorient or relocate the receiving antenna.
- Increase the separation between the equipment and receiver.
-Connect the equipment into an outlet on a circuit dierent from that to which the receiver is connected.
-Consult the dealer or an experienced radio/TV technician for help
Changes or modications not expressly approved by the party responsible for compliance could
void the user's authority to operate the equipment.

12
一.简介
欢迎使用 LIVALL 智能头盔,本指南会指引您如何更好地使用本产品。随着本公司产品的持续完善,本指南
将会不定期更新,您可以在 LIVALL 官方网站(www.livall.com)上获取最新版本及了解头盔的更多信息。
警示前灯
温馨提示 : 本图片仅供参考,如实物外形与图片不同 , 请以实物为准。
锁扣 调节扣
尾部警示灯
磁吸充电口电源键
二、包装清单
智能头盔:1 个 闪控:1 个 快速入门指南与保修细则 :1 份 磁吸式 USB 充电线 :1 条
前面 后面

13
三 . 佩戴说明
错误
调节好拉带的长度 留有一指间的空隙 把头盔扶正 检查扣具是否完好
错误 正确

14
激活头盔
电量显示
连接闪控(控制左右转向灯)
初次使用,需先激活头盔,按尾部电源键
即可激活,尾灯亮起表示激活成功。
开机时可通过尾部中间灯珠的点亮数量查看头盔剩余电量,灯珠全亮表示满电。
长按 1-2 秒
注:若无法成功激活,请充电后再尝试。
开启闪控,闪控与头盔距离
在 30cm 范围内,会自动连
接到头盔。
距离 30cm
连接成功后,头盔尾灯按默
认灯光模式闪烁。
1、首次连接
四 . 操作说明

15
自动休眠
自动唤醒
头盔开机后,静止一会儿无晃动,即可进入自动休眠(省电)模式,尾灯熄灭表示休眠成功。
佩戴前轻轻摇晃几下,即可自动唤醒头盔,尾灯亮起表示唤醒成功。
将开机的闪控靠近主控,预警灯
出现 3 次 /S 的闪烁,表示有闪
控需要接入头盔。
10s 内按头盔的电源键,确认连
接该闪控。
此时头盔尾灯继续按之前设置
的灯光模式闪烁,连接成功后,
即可控制左右转向灯。
2、连接新闪控:(原闪控丢失或损坏后,需要连接新闪控时)
注:A、闪控连接成功后,可通过操作闪控左(L)、右(R)按键控制头盔左右转向灯;
B、除去闪控左(L)、右(R)按键外、中间红色确认按键外,其他键暂时不需使用。
自适应预警灯光(默认开启,可通过 APP 关闭)
即在光线良好情况下,只有中间的一颗尾灯不停闪烁,其余的尾灯将自动关闭。在夜间或昏暗环境下,整排
尾灯将自动开启,进入闪烁状态。

16
刹车警示灯
多种灯光模式
连接手机
当头盔检测到明显减速时,尾灯将会全部亮起并停留几秒,以警示后方车辆。
注:头盔晃动过大时,内置传感器也会检测到明显减速,可能会触发警示灯常亮,属于正常现象。
可通过短按尾部电源键切循环切换尾部警示灯 3 种闪烁模式。
1、下载“来啊”骑行
APP;
2、打开手机蓝牙,将头盔靠近手
机;
3、在 APP 中点击“装备”,点击“头盔”,
头盔即可与手机连接,连接成功后“头
盔”显示“EVO21”。
Helmetphone
温馨提示:为保障连接信号的稳定性,请尽量将手机放在身体前方。

17
摔倒求救(需连接“来啊骑行”APP)
关机
充电
头盔内含摔倒检测传感器,当检测到摔倒时,可将摔倒信号通过蓝牙技术发送到“来啊骑行”APP,由“来
啊骑行”APP 发出求救信息给事先设置好的紧急联系人。
长按尾部电源键即可强制关机头盔,
尾灯熄灭关机成功。
掀开带有“ ”字符的软胶,可见充电接口。使用磁吸 USB 充电口连接头盔充电口,中间区域尾灯亮起表
示正在充电,熄灭表示充电完成。
“ ”电源键
掀开软胶

18
EVO21 功能列表
序号 功能 序号 功能
1自动休眠 6多灯光模式
2自动唤醒 7左右转向灯
3开机电量显示 8刹车警示灯
4光感警示灯 9SOS 功能
5前警示灯
注:具体功能描述详见快速指南对应内容。
五、注意事项
1、头盔内含电子功能,有短时间防淋溅雨水的功能,请不要长期在下雨环境骑行;
2、头盔淋雨后,尾部警示灯罩内可能会出现水珠,请将头盔放在通风环境下 1-2 天,水珠会自动消除;
3、头盔内含电池,电池的容量会随温度变化而改变,在低温或低于 0 摄氏度环境使用时,产品的续航时间
可能会不同程度衰减;
4、如果出现电子功能无法使用或异常,请充电 3 小时后再继续尝试;
5、 头盔内含撞击检测装置,只有提前连接到“来啊骑行”App 并且开启骑行,头盔受到严重撞击后,您
在“来啊骑行”App 中设置的“紧急联系人”才会收到求救信息;
6、禁止用金属或坚硬工具清洁充电接口金色触点,如刀片、镊子等。如果需清洁请用棉签加清水或酒精擦拭。

19
注:
1、可能因网络异常等问题导致无法成功发送或接收 SOS 信息;
2、为了维持电池的使用寿命,建议头盔每次长期(半年到一年)储存前需充满电。
充电时,请保持充电口清洁,干燥;
7、产品内置的电池,严禁拆卸、挤压、加热或燃烧电池,严禁使用尖锐物、螺丝刀等刺破、撬电池,以上
操作可能会引起电池起火或燃烧;
8、请不要将头盔与尖锐物品一起放置,以免损坏头盔。
六、技术规格
注:以上数据由 LIVALL 实验室在室温 25℃、特定灯光模式下测得,实际使用时因客观环境的变化或有误差。为了维
持电池的使用寿命,建议头盔每次长期(半年到一年)储存前需充满电。
充电接口:磁吸式充电口 电气参数:DC 5V/1A
电池:3.7V/600mAh 充电时间:约 3 小时
防水等级:IPX5 续航时间:默认灯光模式 10 小时
温度:储存温度 -20℃ ~45℃,使用温度 0℃ ~40℃ , 充电温度 0℃ ~40℃
Other manuals for EVO21
1
Other Livall Motorcycle Accessories manuals

Livall
Livall Helmetphone RS1 User manual

Livall
Livall BH6X Series User manual

Livall
Livall BH User manual

Livall
Livall NH51M NSO User manual

Livall
Livall C20 User manual

Livall
Livall BH6X Neo User manual

Livall
Livall BH6X Series User manual

Livall
Livall MTL User manual

Livall
Livall EVO21 User manual

Livall
Livall BH&MT Series User manual
Popular Motorcycle Accessories manuals by other brands

hepco & becker
hepco & becker 500104 quick start guide

Yoshimura
Yoshimura RS-12 manual

hepco & becker
hepco & becker 630719 00 02 Mounting instructions

iWeld
iWeld PANTHER 4.6 user manual

Whelen Engineering Company
Whelen Engineering Company M2FNDR installation guide

Heal-Tech
Heal-Tech X-TRE Power Box Installation and operation manual