PROCEDURE:
1. REMOVE CONTENTS FROM BOX. VERIFY ALL PARTS ARE PRESENT. READ
INSTRUCTIONS CAREFULLY BEFORE STARTING INSTALLATION.
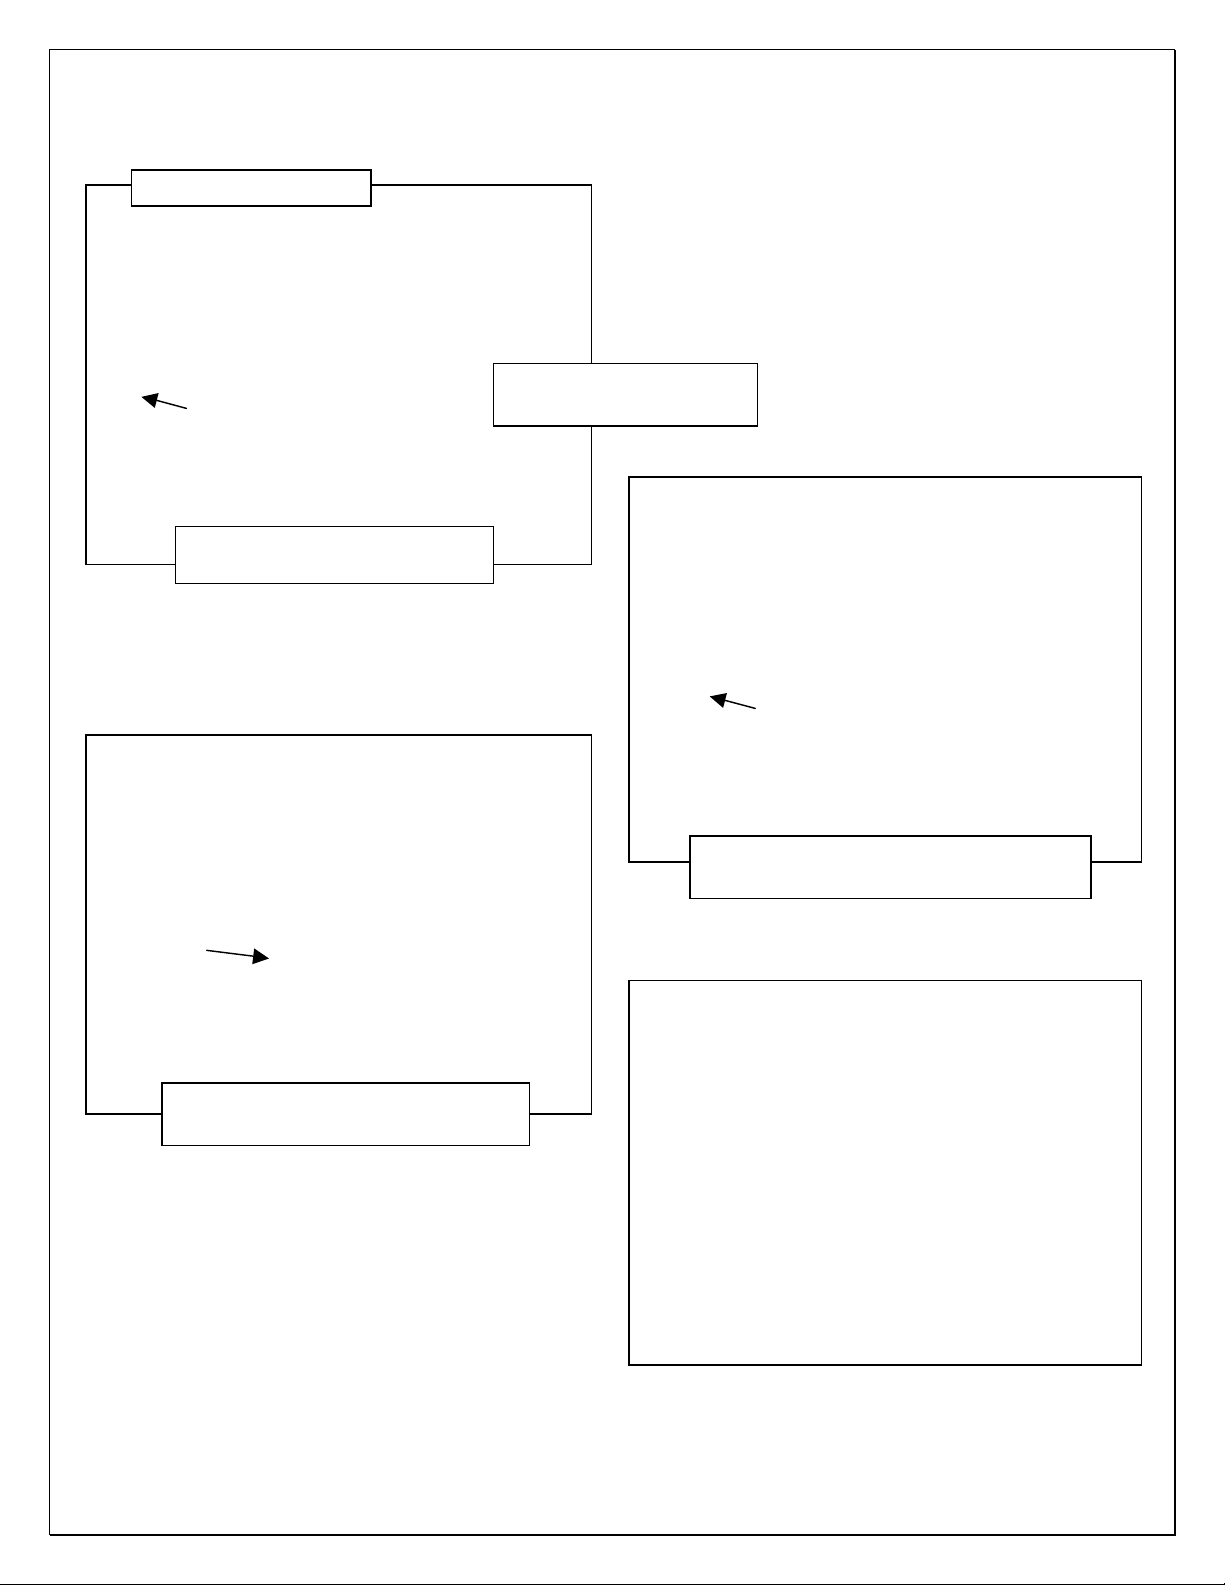
2. Starting on the passenger front side of the body panel, locate the rectangular opening and the
(2) small holes in the inner body panel directly above the (2) holes in the pinch weld, (Figures
1& 2). NOTE: The holes in the inner panel may be covered with sealing tape or insulation,
remove as required.
3. Slide (2) 8mm “U” Clips into the rectangular opening with the nut towards the inside. Line up
the threaded nut on the clips with the (2) small round holes, (Figure 3).
4. Select (1) Passenger side Mounting Bracket. Attach the top of the Bracket to the “U” Clips with
(2) 8mm Hex Bolts, (2) 8mm Lock Washers and (2) 8mm Flat Washers, (Figures 4 & 5).Line
up the lower holes in the Bracket with the (2) holes through the pinch weld. Bolt the Bracket to
the pinch weld with (2) 8mm Hex Bolts, (4) 8mm Flat Washers and (2) 8mm Nylon Lock Nuts,
(Figures 4 & 5). Snug but do not fully tighten Bracket hardware.
5. Move toward the rear of the cab, (Figure 6). Locate the last pair of holes along the pinch weld.
Use Figure 1 to determine the correct mounting location for the rear Bracket. Repeat Steps
2—4 to install (1) Passenger side Mounting Bracket on the rear location, (Figure 7).
6. Once the (2) Brackets have been fully installed, select (1) Running Board. Place the Running
Board on top of the Brackets. Locate the channels in the bottom of the Running Board. Select
(2) 8mm Double Bolt Plates, (Figure 8). Insert the Bolt Plates into the channels in the bottom
of the Running Board closest to the Brackets, (Figure 9). Lift the Board up and guide the studs
through the Brackets.
7. Attach the Running Board to the Brackets with (4) 8mm Flat Washers and (4) 8mm Nylon Lock
Nuts, (Figures 10—12).
8. Level and adjust the Running Board as necessary and fully tighten all hardware.
9. Repeat Steps 2—8 for driver side Running Board installation.
10.Do periodic inspections to the installation to make sure that all hardware is secure and tight.