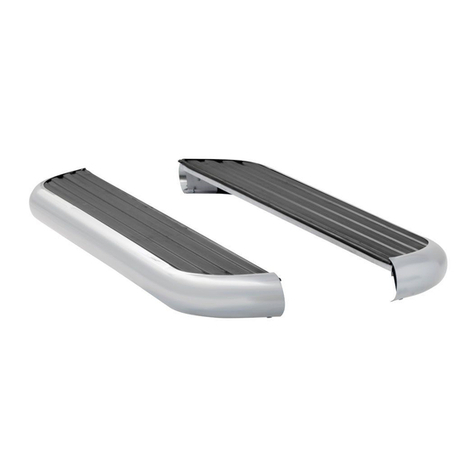
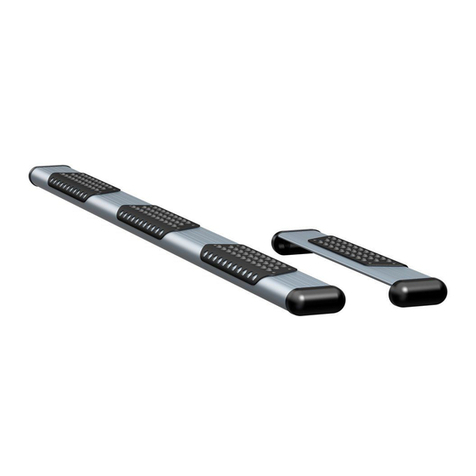
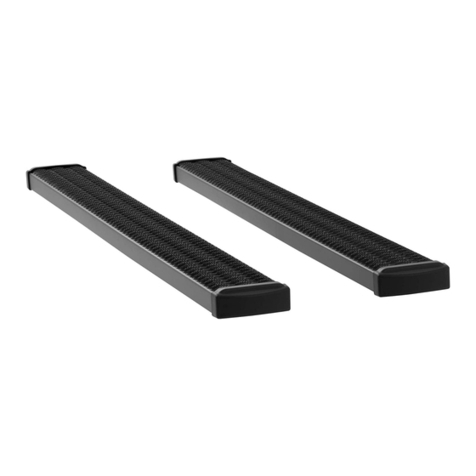
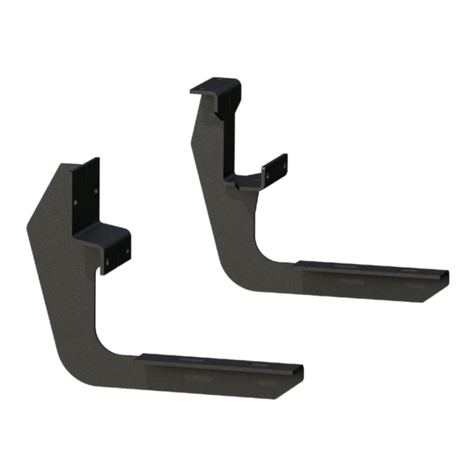
manuals.online logo
Brands
  1. Home
  2. •
  3. Brands
  4. •
  5. Luverne
  6. •
  7. Automobile Accessories
  8. •
  9. Luverne 401800 User manual

Luverne 401800 User manual

LUVERNETRUCK.COM •PRODUCT SUPPORT: 877.287.8634 •401800-INS-RA •05/18/2020 •ECN7062 •PAGE 1
Product Registration and Warranty
LUVERNE stands behind our products with industry-leading warranties. To get copies of the product
warranties, register your purchase or provide feedback, visit: warranty.curtgroup.com/surveys
INSTALLATION MANUAL 401800
Parts List
Qty Description
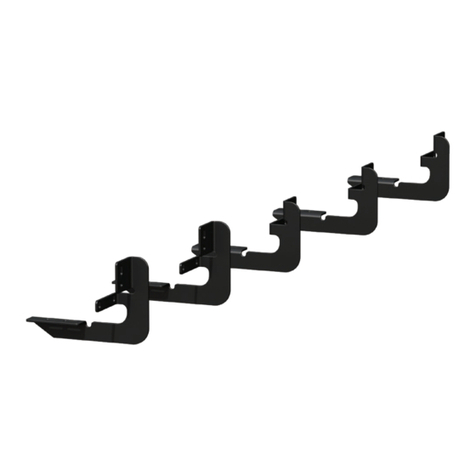
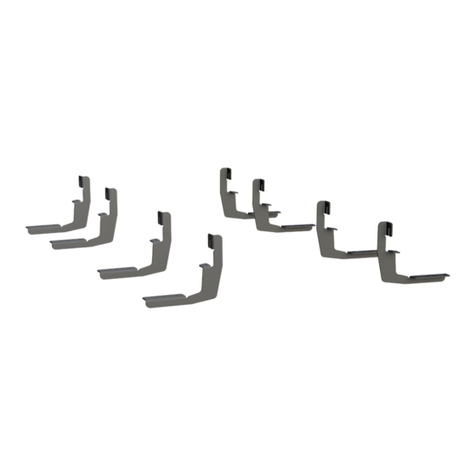
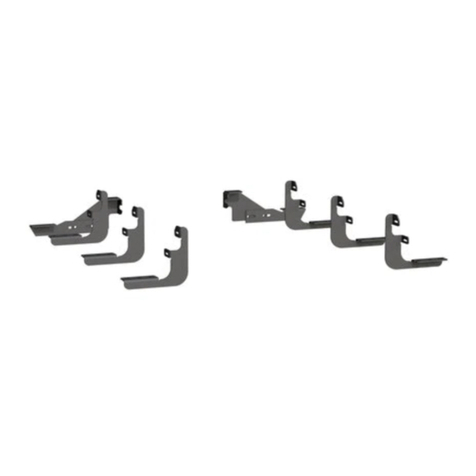
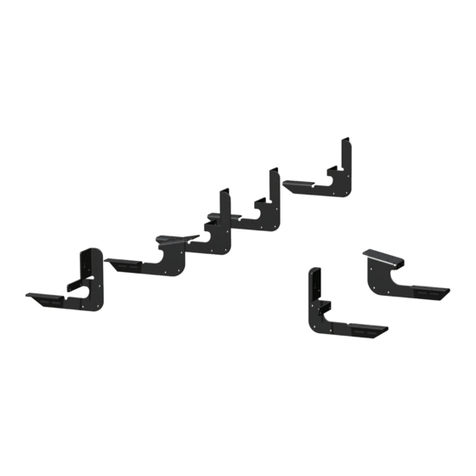
3Mounting bracket, universal
3Rocker support bracket
14 Hex bolt, M8 x 30mm
2Lock washer, M8
2Nut plate, M8
23 Flat washer, M8
15 Nylock nut, M8
3T-bolt, M8 x 30mm
3Self-threading screw, 5/16"
3Bolt retainer
Tools Required
Ratchet Drill
Torque wrench Drill bit, 1/8"
Socket extension Drill bit, 3/8"
Socket, 13mm Drill bit, 17/64"
Marker Flathead screwdriver
Maintenance
Mild automotive detergent may be used to clean the product. Do not use dish detergent, abrasive
cleaners, abrasive pads, wire brushes or other similar products that may damage the finish.
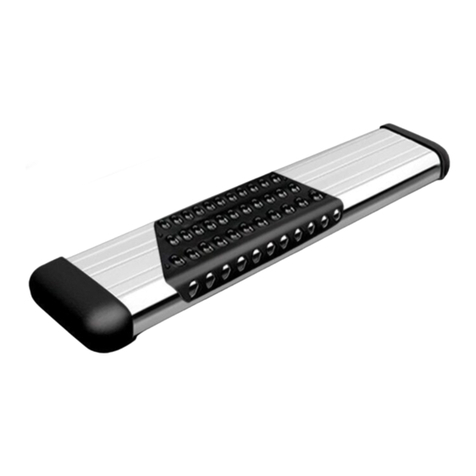
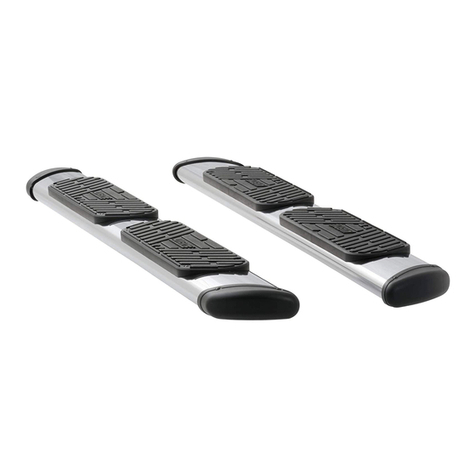
Product Photo
Torque Specifications
M8 bolt 20 ft-lbs.
Use above torque setting unless otherwise noted
Level of Difficulty
Moderate
Installation difficulty levels are based on time
and effort involved and may vary depending on
the installer level of expertise, condition of the
vehicle and proper tools and equipment.
NOTICE
Visit www.luvernetruck.com for a full-color copy of this
instruction manual, as well as helpful videos, guides and much more!
Before you begin installation, read all instructions thoroughly.
Proper tools will improve the quality of installation and reduce the time required.
Periodic inspection of your product should be performed
to ensure all hardware and / or components remain secure.
To help prevent damage to the product or vehicle, refer to the specified
torque specifications when securing hardware during the installation process.
This is the first of two manuals
required to complete this installation.
The second manual is included with
your side bars / running boards.
LUVERNETRUCK.COM •PRODUCT SUPPORT: 877.287.8634 •401800-INS-RA •05/18/2020 •ECN7062 •PAGE 2
Step 1
Locate the three mounting locations and
remove the rubber plugs from the rocker panel.
Note: It may be necessary to scrape off
the underbody coating in these areas so
the bracket can sit flat against the rocker
panel and frame of the vehicle.
Step 4
Attach a mounting bracket to the rocker panel
using an M8 flat washer and nylock nut. Attach
to the frame using an M8 bolt, lock washer and
flat washer. Leave loose at this time.
Note: Due to variations between years,
wheelbases and configurations, if the
frame end of the bracket does not line
up with an existing hole refer to Step 5
for attachment method.
Repeat for the second mounting bracket.
Step 2
Starting at the front location, insert
a T-bolt into the rocker panel and
secure with the bolt retainer.
Step 3
Insert an M8 nut plate into
the frame of the vehicle.
LUVERNETRUCK.COM •PRODUCT SUPPORT: 877.287.8634 •401800-INS-RA •05/18/2020 •ECN7062 •PAGE 3
Step 5
Insert a T-bolt and bolt retainer in the third
mounting location and attach the bracket to
the rocker panel using an M8 flat washer and
nylock nut. Leave loose at this time.
On the frame end of the bracket, locate and
mark a drill location. Drill a pilot hole using a
1/8" drill bit. Enlarge the hole using a 17/64"
drill bit. Attach the bracket to the frame using
a 5/16" self-threading screw. Note: Due to the
thin sheet metal in this area be careful not to
over tighten this screw.
Step 6
Attach the rocker support bracket to the
main bracket using two M8 bolts, four
flat washers and two nylock nuts.
Step 7
Align the rocker support bracket on the
pinch weld. Locate and mark a drill location.
Drill a pilot hole using a 1/8" drill bit and
enlarge using a 3/8" drill bit.
WARNING
Do not drill through the welds in the pinch weld.
Adjust the bracket or your drill locations forward
or rearward to move the drilled holes away
from the factory spot welds. Do not drill into
or through the outer plastic rocker panel cover.
Secure the bracket with two M8 bolts,
four flat washers, and two nylock nuts.
Step 8
Adjust all brackets so that they are level and tighten all hardware to 20 ft-lbs.
NOTICE
To complete the installation, refer to the manual included with your running boards / side steps.

Other Luverne Automobile Accessories manuals

Luverne O-MEGA II 583036 Datasheet

Luverne

Luverne O-MEGA II 583036 Datasheet

Luverne 495154 User manual

Luverne

Luverne 495154 User manual

Luverne 570231 User manual

Luverne

Luverne 570231 User manual

Luverne 400940 User manual

Luverne

Luverne 400940 User manual

Luverne 206620 User manual

Luverne

Luverne 206620 User manual

Luverne 401529 User manual

Luverne

Luverne 401529 User manual

Luverne 205760 User manual

Luverne

Luverne 205760 User manual

Luverne 571726 User manual

Luverne

Luverne 571726 User manual

Luverne 571477 User manual

Luverne

Luverne 571477 User manual

Luverne 431411 Datasheet

Luverne

Luverne 431411 Datasheet

Luverne O-MEGA II Datasheet

Luverne

Luverne O-MEGA II Datasheet

Luverne 416088 User manual

Luverne

Luverne 416088 User manual

Luverne 251124 User manual

Luverne

Luverne 251124 User manual

Luverne Regal 7 477078 User manual

Luverne

Luverne Regal 7 477078 User manual

Luverne 570747 User manual

Luverne

Luverne 570747 User manual

Luverne 571729 Datasheet

Luverne

Luverne 571729 Datasheet

Luverne 415254 User manual

Luverne

Luverne 415254 User manual

Luverne 330750 User manual

Luverne

Luverne 330750 User manual

Luverne 571134 User manual

Luverne

Luverne 571134 User manual

Luverne O-MEGA II Series Datasheet

Luverne

Luverne O-MEGA II Series Datasheet

Luverne 4055122 User manual

Luverne

Luverne 4055122 User manual

Luverne 401445 User manual

Luverne

Luverne 401445 User manual

Luverne 415078 User manual

Luverne

Luverne 415078 User manual

Popular Automobile Accessories manuals by other brands

LSD-Doors 500 60 001 installation instructions

LSD-Doors

LSD-Doors 500 60 001 installation instructions

Vauxhall New Crossland Multimedia Navi Pro Infotainment manual

Vauxhall

Vauxhall New Crossland Multimedia Navi Pro Infotainment manual

Westfalia 11 43 55 instruction manual

Westfalia

Westfalia 11 43 55 instruction manual

tams elektronik FCS Series manual

tams elektronik

tams elektronik FCS Series manual

FIA TR47-23 Installation instructions manual

FIA

FIA TR47-23 Installation instructions manual

Fieryred 93S-FS7S-UFA2 instructions

Fieryred

Fieryred 93S-FS7S-UFA2 instructions

STO N SHO SNS 137 Installation procedures

STO N SHO

STO N SHO SNS 137 Installation procedures

Solight BT01 user manual

Solight

Solight BT01 user manual

AMiO SSR-01L user manual

AMiO

AMiO SSR-01L user manual

BD Diesel Performance Monitor Cool Engine Shutdown installation instructions

BD Diesel Performance

BD Diesel Performance Monitor Cool Engine Shutdown installation instructions

Smittybilt D8545 installation instructions

Smittybilt

Smittybilt D8545 installation instructions

Racepak IQ3 Drag Dash installation manual

Racepak

Racepak IQ3 Drag Dash installation manual

MAY MP9254 Fittings guide

MAY

MAY MP9254 Fittings guide

Whelen Engineering Company FastTrax FTF2 installation guide

Whelen Engineering Company

Whelen Engineering Company FastTrax FTF2 installation guide

Honeywell Thor VM2W user guide

Honeywell

Honeywell Thor VM2W user guide

Metra Electronics 99-7388HG installation instructions

Metra Electronics

Metra Electronics 99-7388HG installation instructions

Edscha Trailer Systems Curtain Sider-UL/HD quick guide

Edscha Trailer Systems

Edscha Trailer Systems Curtain Sider-UL/HD quick guide

AA Products AX312 WHT Series instruction manual

AA Products

AA Products AX312 WHT Series instruction manual

manuals.online logo
manuals.online logoBrands
  • About & Mission
  • Contact us
  • Privacy Policy
  • Terms and Conditions

Copyright 2025 Manuals.Online. All Rights Reserved.