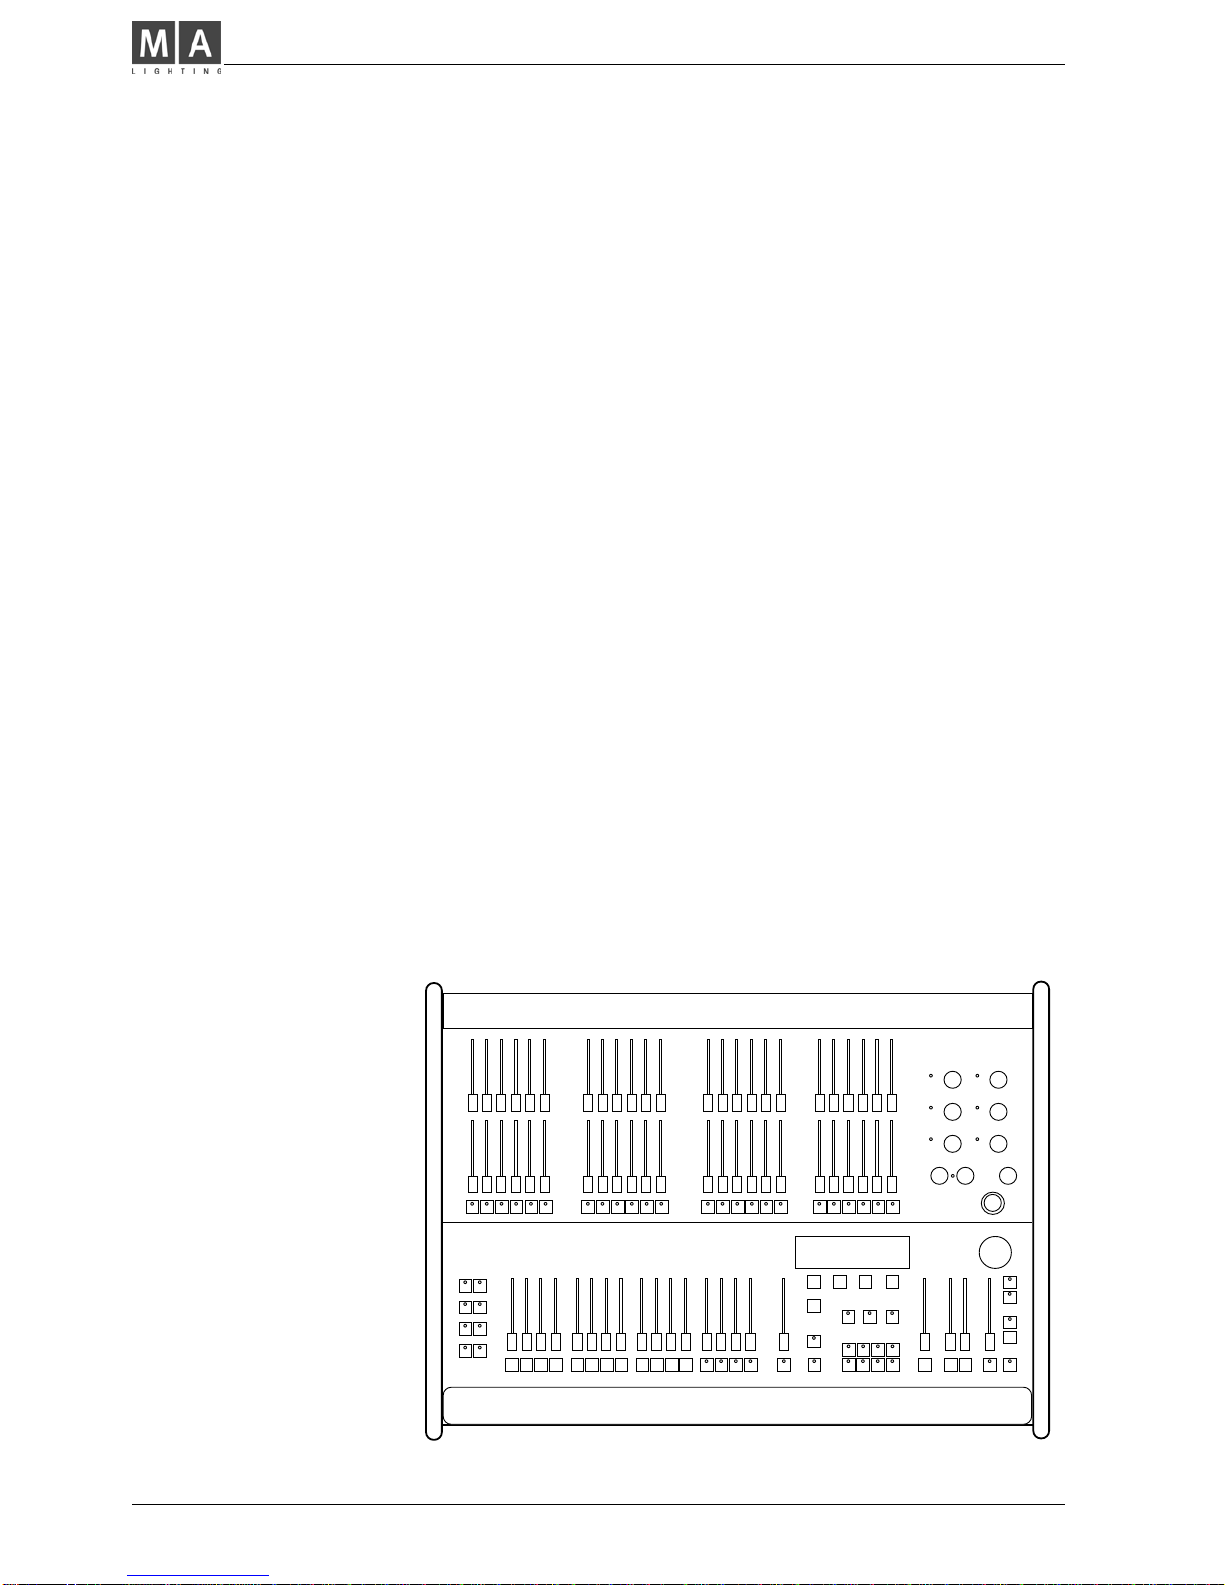
Lightcommander 24/6 - 48/6Lightcommander 24/6 - 48/6
Lightcommander 24/6 - 48/6Lightcommander 24/6 - 48/6
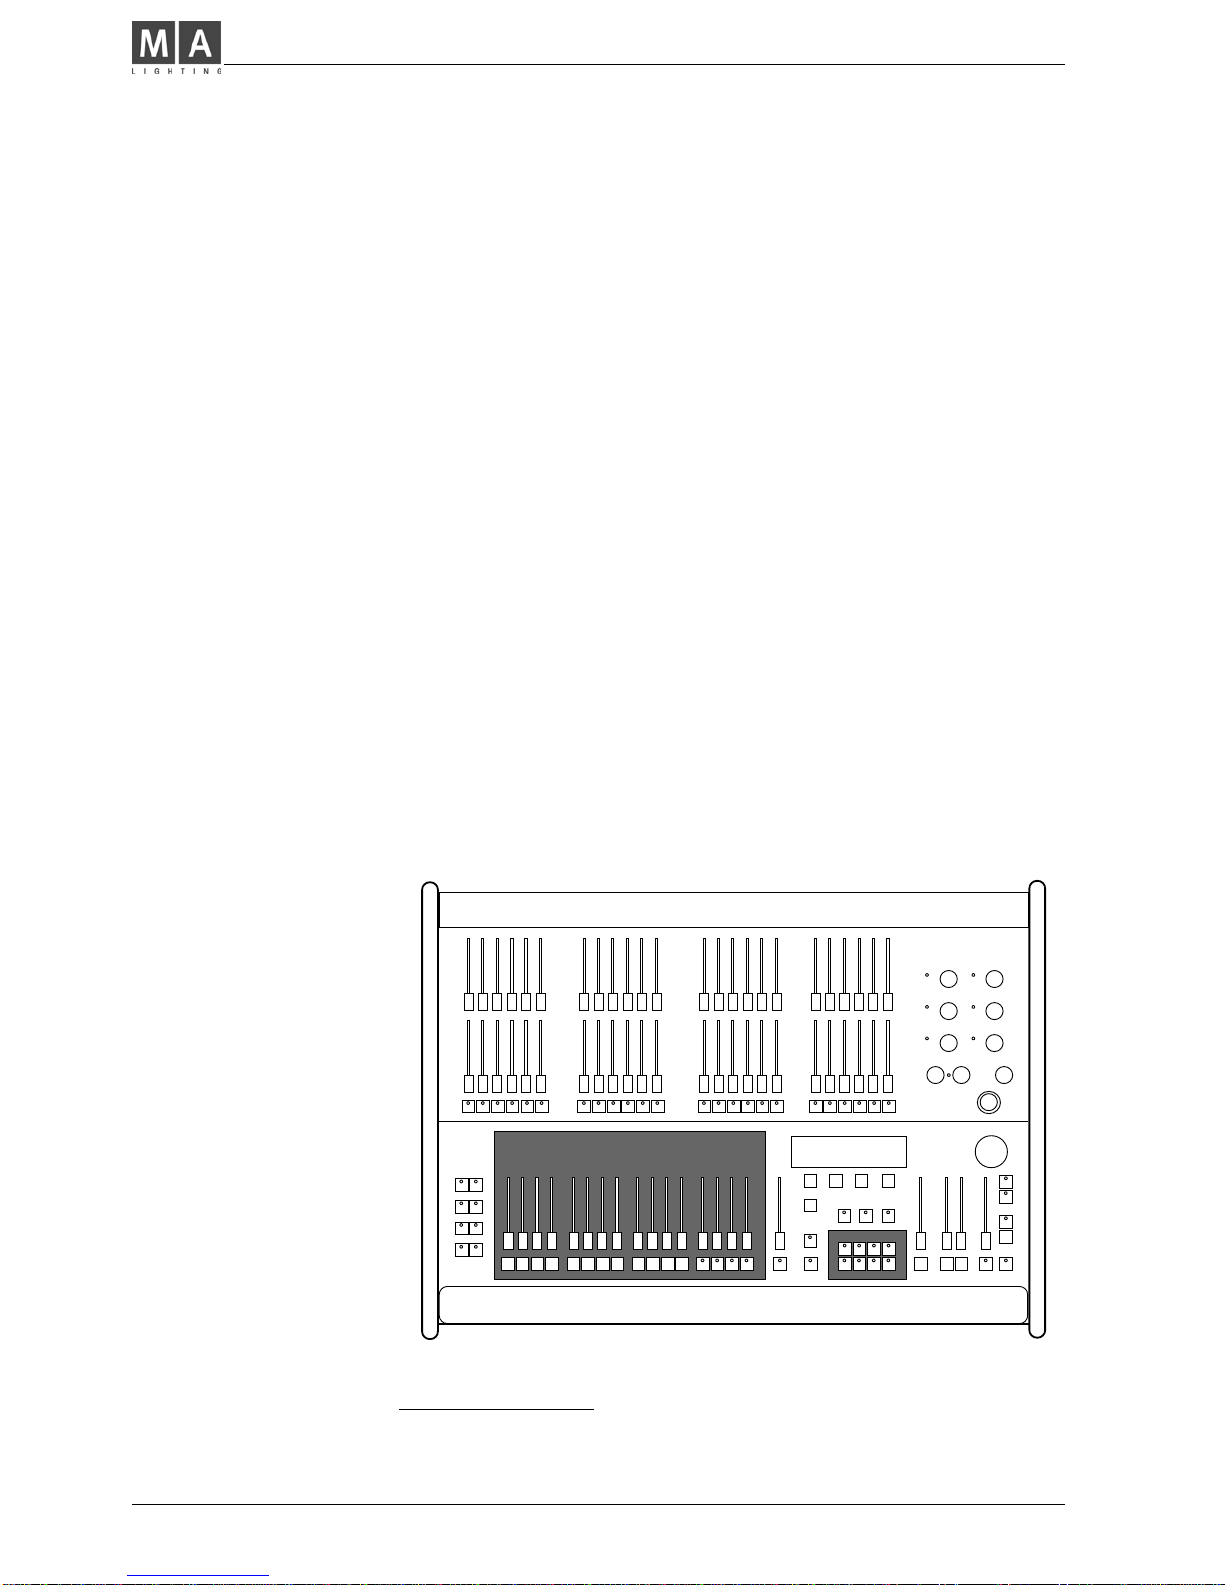
Lightcommander 24/6 - 48/6
eMail:
[email protected] .Tel.: +49 931 497940 .User's Manual Lightcommander 24/6 - 48/6 3333
3
6. Preview and Modifying ................................................................ 25
6.1 BLIND Function.......................................................................................25
6.2 PREVIEW - Output Listing......................................................................25
6.3 Output Limit ............................................................................................26
6.4 Previewing and Modification of Memories ..............................................27
6.5 Modifying Chase or Sequence Steps ......................................................28
6.6 Previewing a Chase ................................................................................29
6.6.1 Preview at the Chaser Section......................................................... 29
6.6.2 Preview a Chase on Memory........................................................... 29
6.6.3 Previewing a Chase linked to a Sequence Step .............................. 29
6.7 Preview and Modifying a running X-Fade ...............................................30
6.7.1 Preview on the following X-fade Steps ............................................30
6.7.2 Modifying X-Fade Steps................................................................... 31
6.7.3 Changing X-Fade Scene Order........................................................32
7. Special Functions........................................................................ 33
7.1 Single Channel Setups............................................................................ 33
7.1.1 Doubling the Channel Number (WIDE Function) .............................33
7.1.2 Connection Desk Channel to Dimmer Channel (Softpatch).............34
7.1.3 Dimmer Curve .................................................................................35
7.1.4 Swop Disable ..................................................................................35
7.2 Changing Board Operation Mode............................................................36
7.2.1 Switch Memories.............................................................................. 36
7.2.2 Keyswitch .........................................................................................36
7.2.3 Theatre Sequence............................................................................37
7.3 Backup on Cue Cards .............................................................................38
7.4 CLEAR ALL Programs on the Desk .......................................................38
7.5 Automatic Test Routines........................................................................38
7.6 Adjusting Date And Time .......................................................................38
7.7 HOLD Function ......................................................................................39
8. Remote Control and Linking........................................................ 39
8.1 Master-Slave Operation ..........................................................................39
8.2 MIDI Functions........................................................................................ 40
9. Input and Output ......................................................................... 42
Index ............................................................................................... 43
Safety instructions........................................................................... 46
Declaration of conformity ................................................................ 47