manuals.online logo
Brands
  1. Home
  2. •
  3. Brands
  4. •
  5. Macnaught
  6. •
  7. Measuring Instrument
  8. •
  9. Macnaught M1 Series User manual

Macnaught M1 Series User manual

PLEASE READ THIS INFORMATION
CAREFULLY BEFORE USE!
Before use, confirm the fluid to be used
is compatible with the meter. Refer to
Industry fluid compatibility charts or
consult your local representative for
advice.
To prevent damage from dirt or foreign
matter it is recommended that a Y or
basket type 200 mesh strainer be
installed as close as possible to the inlet
side of the meter. Contact your local
representative for advice.
Note:
To prevent damage to the meter slowly
fill the system with fluid (this will
prevent damage caused by air purge).
Failure to do this could damage the
meter.
To reduce pressure build up turn off the
pump at the end of each day.
MS16
0403
0004
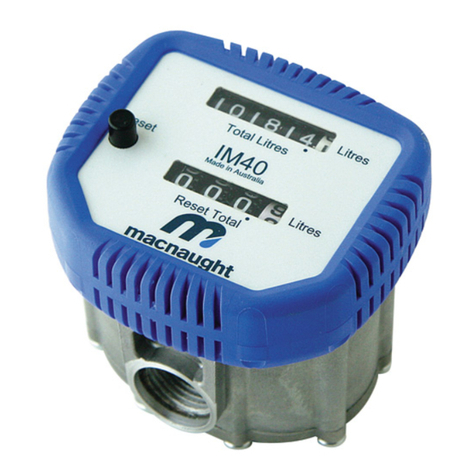
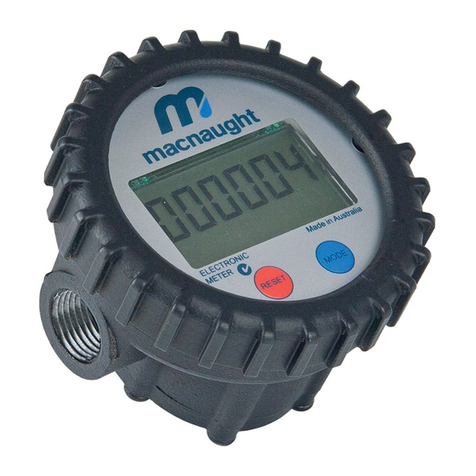
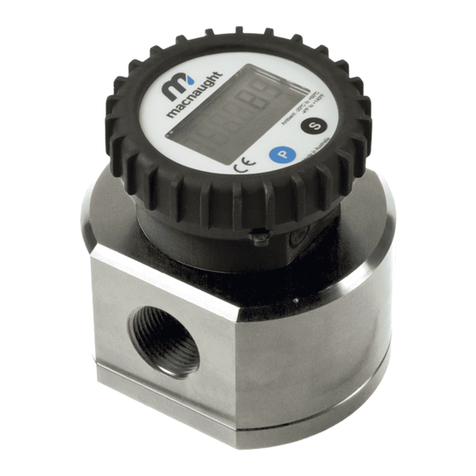
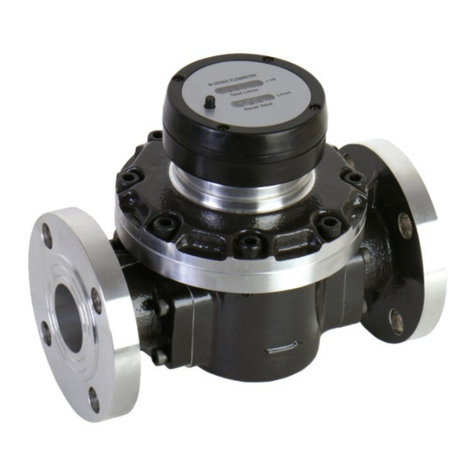
Positive displacement flowmeters
M1 series instruction manual
To the owner
Operation
1
The experts in fluid technology
Please take a few minutes to read
through this manual before installing
and operating your meter. Always
retain this manual for future reference.
If you have any problems with the
meter, refer to the maintenance and
trouble shooting sections of this
manual.
This manual contains connection and
operating instructions for the meters. If
you need further assistance, contact
your local representative or distributor
for advice.
This Flowmeter has incorporated the
oval rotor principal into its design. This
has proven to be a reliable and highly
accurate method of measuring flow.
Exceptional repeatability and high
accuracy over a wide range of fluid
viscosities and flow rates are features of
the oval rotor design. With low pressure
drop and high pressure rating means
oval rotor flow meters are suitable for
both gravity and pump (in-line)
applications.
Flowmeters are available in either PPS
(Polyphenylene Sulfide Resins),
Aluminium or 316 Stainless Steel.
Standard rotors are made from 316
Stainless Steel with optional PPS rotors
with Hastalloy C Shafts available.
1. Use thread sealant on all pipe
threads.
2. Ensure the meter is installed so that
rotor shafts are always in a
horizontal plane. Flow is bi-
directional.
3. Macnaught recommends use of
flexible connections.
4. Extreme care must be taken when
installing the meter. Pipe strain or
overtightening meter connections
can cause meter damage.
2
Installation
Hall Effect Sensor Specifications;
l4.5V to 24V (4.6 ~ 9mA) operation
needs only an unregulated supply.
lOpen collector 25mA output NPN
compatible with digital logic.
lReverse battery protection.
lTemperature -40oC / -40oF ~
150oC / 300oF.
Reed Relay Specifications;
lTwo wire SPST N/O.
lSwitching voltage 150VDC
maximum current 0.25 AMPS.
lRating 3 watts.
lTemperature -40oC / -40oF ~
150oC / 300oF.
Pulser details
Hall Effect Sensor Wiring Details
Red - Supply
Green - Ground
Blue - Output
Disassembly:
1. Ensure the fluid supply to the meter
has been disconnected, and the
line pressure has been released
before disassembly.
2. Remove four (4) screws (Item 3) and
remove the meter body cover (Item
2).
3. Remove o-ring (Item 5) and inspect
(replace o-ring if damaged).
4. Reomve rotors (Item 4), clean and
inspect (replace rotors if damaged).
Reassembly:
1. Place rotors (Item 4) into the meter
body. The rotors should be at 90o
to each other.
Note: The rotor with magnets must be
placed in the body on the same side as
the groove on the body (refer to
diagram).
2. Lightly rotate the rotors (Item 4) by
hand (they must rotate freely).
3. Install o-ring (Item 5).
4. Replace the meter cap (Item 2).
Note: The groove on the cover must
line up with the groove on the meter
body (refer to diagram).
5. Replace four screws (Item 3).
CAUTION:
Care must be taken not to overtighten
the screws (Item 3) or damage may
occur.
Maintenance
3
Display parts listing
1
2
3
4
5
1 1 MS1R-1S Meter Body Assy. (BSP)
1 1 MS1R-1C Meter Body Assy. (BSP) Hastalloy C Shafts
1 1 MS1S-1S Meter Body Assy. (BSP) Stainless Steel
1 1 MS1R-2S Meter Body Assy. (NPT)
1 1 MS1R-2C Meter Body Assy. (NPT) Hastalloy C Shafts
1 1 MS1S-2S Meter Body Assy. (NPT) Stainless Steel
1 1 MS1AL-1S Meter Body Assy. (BSP) Aluminium
1 1 MS1AL-2S Meter Body Assy. (NPT) Aluminium
21uMS3R-S Meter Cap Hall Effect Sensor
21uMS3S-S Meter Cap Hall Effect Sensor Stainless Steel
21uMS3R-SR Meter Cap Reed Switch
21uMS3S-SR Meter Cap Reed Switch Stainless Steel
34uMS98s Screws
34
uuMS113s Screws Stainless Steel
42uMS6s Rotor Set
42
uuMS6-1s Rotor Set Stainless Steel
51uBS127Vs O-ring (Viton)
51uBS127Ps O-ring (Perfluro Elastomer)
51uBS127Es O-ring (EPDM)
Item
No.
No.
Off.
Part or Set
(Order from this column only) Part Description
Rec.
Parts
Key:
uIndicates recommended Spare Parts to stock
Bold text indicates Stainless Steel Model Parts
Meter specifications
Meter Type SS & Ryton Models Aluminium Models
Flow Ranges (Litres/hr or US Gall./hr)
Above 5 centipoise 1 to 100 / 0.26 to 26.4 2 to 100 / 0.53 to 26.4
Below 5 centipoise 2 to 100 / 0.53 to 26.4 3 to 100 / 0.8 to 26.4
Accuracy of Reading +/- 1% +/- 1%
Maximum Viscosity 1000 Centipoise 1000 Centipoise
Max. Operating Pressure Ryton Models 500kPa/75PSI/5Bar 500kPa/75PSI/5Bar
SS Models 1000/kPa/150PSI/10Bar
Maximum Operating Temperature 80oC / 176oF80
oC / 176oF
Pulse Type Hall Effect Sensor/Reed Switch Hall Effect Sensor/Reed Switch
Pulses per Litre/US Gallons 1000/3785 1000/3785
Meter Dimensions (Width x Height) 50x50mm / 1.97” x 1.97” 50x50mm / 1.97”x1.97”
Meter Dimensions Port Face to Face 65mm / 2.58” 60mm / 2.36”
Weight 600g / 21.2oz 310g / 11oz
Wetted Components SS Models 316 SS, Zirconia Bush 6061 Alum., 316 SS, Ryton
Ryton Models Ryton, 316 SS, Zirconia Bush, Hastalloy C Zirconia Bush
Macnaught Industries (‘Macnaught’)
warrants that the Products will be free
from any defects caused by faulty
material or workmanship for a period
of twelve (12) months from the date of
sale of the Products to the enduser (the
‘Warranty Period’) PROVIDED THAT,
during the Warranty Period:
1. Macnaught receives notice setting
out full details of any defect in any
product and details of the time and
place of purchase of the Product:
and
2. the enduser, at its own cost returns
the Product to the nearest autho-
rised Macnaught Service Centre.
Macnaught shall, as its option repair or
replace and Product found
defective by its inspection or refund the
price paid by the enduser for
that Product.
Macnaught's liability and the enduser’s
rights under this warranty shall be
limited to such repair, replacement or
refund and, in particular, shall not
extend to any direct, special, indirect
or consequential damage or losses of
any nature.
Note:
This warranty does not form part of,
nor does it constitute, a contract
between Macnaught and the enduser. It
is additional to any warranty given by
the seller of the Products and does not
exclude, limit, restrict or modify the
rights and remedies conferred upon the
enduser, or the liabilities imposed on
the seller, by any statute or other laws
in respect of the sale of the Product.
Warranty
MACNAUGHT PTY. LTD
ACN 000 075 785
41-49 Henderson Street, Turella Sydney NSW Australia 2205
PO Box 90 Arncliffe, Sydney NSW Australia 2205
Telephone +61 2 9567 0401 Facsimile +61 2 9597 7773
Email [email protected] - Web Site www.macnaught.com.au
Trouble shooting
TROUBLE
Fluid will not flow through the meter
Reduced flow through the meter
Meter reading inaccurate
Meter not giving a pulse signal
TROUBLE SHOOTING GUIDE
CAUSE
A] Foreign matter blocking rotors
B] Line strainer blocked
C] Damaged rotors
D] Meter connections over tightened
A] Line stariner partially blocked
B] Fluid is too viscous
A] Fluid flowrate is too low or too high
B] Air in fluid
C] Excess wear caused by incorrect installation
A] Faulty hall effect sensor or reed switch
B] Faulty magnet
C] Rotors installed in wrong position
REMEDY
A] Dismantle meter, clean rotors (Strainer must
be fitted in line.
B] Clean strainer
C] Replace rotors (Strainer must be fitted in
line)
D] Re-adjust connections
A] Clean strainer
B] Maximum viscosity 1000 centipoise
A] See specifications for min. and max.
flowrates
B] Bleed air from system
C] Check meter body and rotors
A] Replace meter cap
B] Replace rotors
C] Refer to correct rotor positioning - assembly
instructions.
ISO 9001 Lic 8602
Standards Australia
Other Macnaught Measuring Instrument manuals

Macnaught AMFM User manual

Macnaught

Macnaught AMFM User manual

Macnaught M Series User manual

Macnaught

Macnaught M Series User manual

Macnaught M50 Series User manual

Macnaught

Macnaught M50 Series User manual

Macnaught M1 SERIES User manual

Macnaught

Macnaught M1 SERIES User manual

Macnaught MH450 User manual

Macnaught

Macnaught MH450 User manual

Macnaught ADTUM User manual

Macnaught

Macnaught ADTUM User manual

Macnaught ERST-RM User manual

Macnaught

Macnaught ERST-RM User manual

Macnaught DM100-01 User manual

Macnaught

Macnaught DM100-01 User manual

Macnaught IM012E-01 User manual

Macnaught

Macnaught IM012E-01 User manual

Macnaught MX Series User manual

Macnaught

Macnaught MX Series User manual

Macnaught IM50 User manual

Macnaught

Macnaught IM50 User manual

Macnaught M50 SERIES User manual

Macnaught

Macnaught M50 SERIES User manual

Macnaught BOP IM012EB-01 User manual

Macnaught

Macnaught BOP IM012EB-01 User manual

Macnaught IM012M User manual

Macnaught

Macnaught IM012M User manual

Macnaught M50 ST. STEEL SERIES User manual

Macnaught

Macnaught M50 ST. STEEL SERIES User manual

Macnaught MX06S User manual

Macnaught

Macnaught MX06S User manual

Macnaught MX Series User manual

Macnaught

Macnaught MX Series User manual

Macnaught MX Series User manual

Macnaught

Macnaught MX Series User manual

Macnaught 050 User manual

Macnaught

Macnaught 050 User manual

Macnaught MX Series User manual

Macnaught

Macnaught MX Series User manual

Macnaught IM012E User manual

Macnaught

Macnaught IM012E User manual

Macnaught MX Series User manual

Macnaught

Macnaught MX Series User manual

Popular Measuring Instrument manuals by other brands

Quanix Keyless instruction manual

Quanix

Quanix Keyless instruction manual

Endress+Hauser Liquicap T FMI21 technical information

Endress+Hauser

Endress+Hauser Liquicap T FMI21 technical information

Teledyne T100 instruction manual

Teledyne

Teledyne T100 instruction manual

PhotosynQ MultispeQ v2.0 manual

PhotosynQ

PhotosynQ MultispeQ v2.0 manual

GPI 01N31GM-U owner's manual

GPI

GPI 01N31GM-U owner's manual

Ecomatik DF6 user manual

Ecomatik

Ecomatik DF6 user manual

Giatec Scientific XCell user manual

Giatec Scientific

Giatec Scientific XCell user manual

Graco Series D instruction manual

Graco

Graco Series D instruction manual

Solight 1T06 user manual

Solight

Solight 1T06 user manual

Nokia Nokia Sleep Quick installation guide

Nokia

Nokia Nokia Sleep Quick installation guide

Fervi A005 Use and maintenance manual

Fervi

Fervi A005 Use and maintenance manual

Elenco Electronics TWT-1K Assembly and instruction manual

Elenco Electronics

Elenco Electronics TWT-1K Assembly and instruction manual

Lambrecht METEODIGIT IV operating instructions

Lambrecht

Lambrecht METEODIGIT IV operating instructions

Abtus ABT4659 instruction manual

Abtus

Abtus ABT4659 instruction manual

Intek RheoVac manual

Intek

Intek RheoVac manual

Bender ISOMETER isoRW425 quick start guide

Bender

Bender ISOMETER isoRW425 quick start guide

Triplett RHT60 user manual

Triplett

Triplett RHT60 user manual

Bante Instruments 810 user manual

Bante Instruments

Bante Instruments 810 user manual

manuals.online logo
manuals.online logoBrands
  • About & Mission
  • Contact us
  • Privacy Policy
  • Terms and Conditions

Copyright 2025 Manuals.Online. All Rights Reserved.