manuals.online logo
Brands
  1. Home
  2. •
  3. Brands
  4. •
  5. Magnescale
  6. •
  7. Cash Counter
  8. •
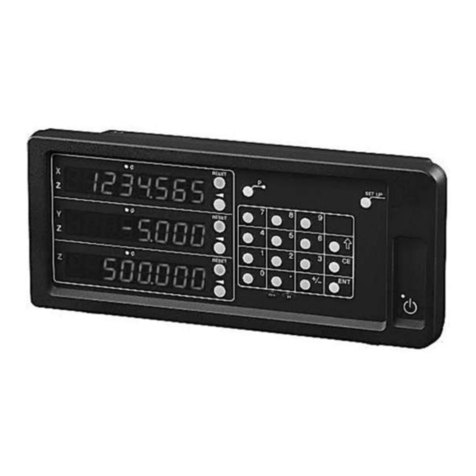
  9. Magnescale LH70 User manual

Magnescale LH70 User manual

1/3
LH70 Change of display resolution (polarity)
Press key of the axis you want to change and select
the measurement unit resolution.
When you have made your selection, press key to save your settings.
Press key two or three times while the display is .
The display will be (measurement unit resolution).
Press key to check the current length measurement unit resolution.
Press key once while the display is .
The display will be (measurement unit resolution).
Press key to check the current measurement unit resolution.
LH70 Change of display resolution (polarity)
Ver.1 (2021.1) CS&S
* If you do not know the output resolution of the measurement unit, refer to the separate "Initial setup manual".
About 2 sec
For LH70-1, LH70-2 For LH70-3
Press key once to automatically switch to advanced settings mode.
The display will be .
Press key, the display becomes the normal display.
Display of measurement unit resolution (LH70-3)
Purpose of change Operation Explanation
Change the measurement unit resolution Change the length measurement unit resolution in
the basic settings. And check the display resolution
in the detailed settings.
Change the polarity for each input axis
while using the addition function
Change the selection of addition display in the basic
settings
Change the display resolution Change the display resolution in the detailed
settings
Change the display polarity
(Counting direction is reversed)
Change the display resolution in the detailed
settings
Diameter display (double count value) Change to diameter display with display resolution
in the detailed settings
Detailed settings ⇒Display resolution ⇒Change
Detailed settings ⇒Display resolution ⇒Diameter display
LH70-3
The operation method for changing the display resolution differs depending on the purpose and conditions of the change.
Select the purpose and conditions to be changed from the table below and perform the operation.
Basic settings ⇒Measurement unit resolution ⇒
Change
Basic settings ⇒Addition display ⇒Change
Detailed settings ⇒Display resolution ⇒Change polarity
Standard Expansion
Extended key
Selection of measurement
unit resolution
Set to basic settings mode.
Turn key “ON” while the AC adapter is energized.
Press and hold key for 3 seconds after the lamp changes from blinking to off.
Basic settings ⇒Measurement unit resolution ⇒Change
About 2 sec
①
② ②
③
④
⑤
Switch from basic settings to normal count mode.
Press key once and the display will change to .
Input 1
Input 2
Input 3
Power ON
2/3
LH70 Change of display resolution (polarity)
Press key to select the conditions for the addition display.
When you have made your selection, press key to save your settings.
With the display , press key once.
The display will be (2-axes addition / subtraction function ).
Press key to select the addition display.
Diameter display
(LH70-3 only)
If you press key once, it will automatically enter the advanced settings mode and display.
Press key to enter normal count mode.
Selection of additive display (LH70-3)
* If the display does not change to “Add”, “LATHE” is not selected in “TYPE”.
Input 3 - Input 2
Input 2
Input 3
Input 2 + Input 3
Input 2 - Input 3
- (input 2 + Input 3)
Addition display (input conditions to
be displayed on the Z axis)
Angle display
Length display
NOTE 1: Selection of a value smaller than the basic settings measurement unit
resolution is not displayed.
NOTE 2: The angle display can be set when the angle resolution is selected in
the basic settings.
NOTE 1 NOTE 2
Selection of display resolution
Press key once to display the display resolution of each axis.
Press key of the axis you want to change and select the resolution.
Please note that the lamp lights up once every two times and the diameter display is set.
When you have made your selection, press key to save your settings.
Press key to return to the normal counting state.
Set to the detailed settings mode.
Press key while the normal count mode is energized.
The display will be . (Detailed settings mode)
Set to basic settings mode.
Turn key "ON" while the AC adapter is energized.
Press and hold key for 3 seconds after the lamp changes from blinking to off.
The display will be .
Basic settings ⇒Addition display ⇒Change
Detailed settings ⇒Display resolution ⇒Change
①
②
③
About 2 sec
④
⑤
Switch from basic settings to normal count mode.
Press key once and the display will change to .
Expansion
Extended key
①
②
3/3
LH70 Change of display resolution (polarity)
Before After
Change polarity
Example of changing the polarity of the display in the middle row
Set to advanced mode.
Press key in normal count mode
The display will be .
Press key once to get the display resolution of each axis.
Press key of the axis you want to change to the diameter display and turn on the lamp.
If the resolution changes, press key again.
When you have made your selection, press key to save your settings.
Press key to return to the normal counting state.
Press key once to get the display resolution of each axis.
Press key for the axis for which you want to change the polarity,
and then press key.
When you have made your selection, press key to save your settings.
Press key to return to the normal counting state.
Detailed settings ⇒Display resolution ⇒Diameter display
Detailed settings ⇒Display resolution ⇒Change polarity
①
②
②
Set to advanced mode.
Press key in normal count mode
The display will be .
①
Diameter display

Other manuals for LH70

4

This manual suits for next models

3

Other Magnescale Cash Counter manuals

Magnescale LY72 User manual

Magnescale

Magnescale LY72 User manual

Magnescale LH72 User manual

Magnescale

Magnescale LH72 User manual

Magnescale LH71A User manual

Magnescale

Magnescale LH71A User manual

Magnescale LG20 Manual

Magnescale

Magnescale LG20 Manual

Magnescale LG20 User manual

Magnescale

Magnescale LG20 User manual

Magnescale LH71 Series User manual

Magnescale

Magnescale LH71 Series User manual

Magnescale LH70 Manual

Magnescale

Magnescale LH70 Manual

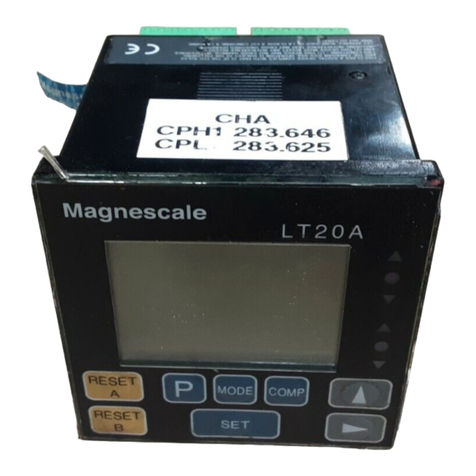
Magnescale LT20A Series User manual

Magnescale

Magnescale LT20A Series User manual

Magnescale LG20 User manual

Magnescale

Magnescale LG20 User manual

Magnescale LH71 Series User manual

Magnescale

Magnescale LH71 Series User manual

Magnescale LT10A-105 User manual

Magnescale

Magnescale LT10A-105 User manual

Magnescale LH70 User manual

Magnescale

Magnescale LH70 User manual

Magnescale LH71 Series Manual

Magnescale

Magnescale LH71 Series Manual

Popular Cash Counter manuals by other brands

Trumeter 34 Series quick start guide

Trumeter

Trumeter 34 Series quick start guide

SINO XH-2 instruction manual

SINO

SINO XH-2 instruction manual

Nautilus Hyosung MONiMAX5300SE System Operator's manual

Nautilus Hyosung

Nautilus Hyosung MONiMAX5300SE System Operator's manual

Feig Electronic Sensors VEK CN1-1 operating instructions

Feig Electronic

Feig Electronic Sensors VEK CN1-1 operating instructions

BEKA BA564G manual

BEKA

BEKA BA564G manual

Autonics FXY Series product manual

Autonics

Autonics FXY Series product manual

Velleman Modules velleman manual

Velleman Modules

Velleman Modules velleman manual

Omron H7BX-AD1 manual

Omron

Omron H7BX-AD1 manual

SEMTOM ST-2500 Operation manual

SEMTOM

SEMTOM ST-2500 Operation manual

AlphaLab Precis-Ion AIC3Pro quick start guide

AlphaLab

AlphaLab Precis-Ion AIC3Pro quick start guide

Carrera 71590 Assembly and operating instructions

Carrera

Carrera 71590 Assembly and operating instructions

HP 5335A Operating and service manual

HP

HP 5335A Operating and service manual

Hal Technology HAL-HPC601 Operational manual

Hal Technology

Hal Technology HAL-HPC601 Operational manual

Apator Metra E-ITN 40 manual

Apator Metra

Apator Metra E-ITN 40 manual

Veeder-Root A103-007 Technical manual

Veeder-Root

Veeder-Root A103-007 Technical manual

Alberici HopperOne S11 Operator's manual

Alberici

Alberici HopperOne S11 Operator's manual

Cassida C300 Cleaning procedure

Cassida

Cassida C300 Cleaning procedure

Silver S6800 user guide

Silver

Silver S6800 user guide

manuals.online logo
manuals.online logoBrands
  • About & Mission
  • Contact us
  • Privacy Policy
  • Terms and Conditions

Copyright 2025 Manuals.Online. All Rights Reserved.