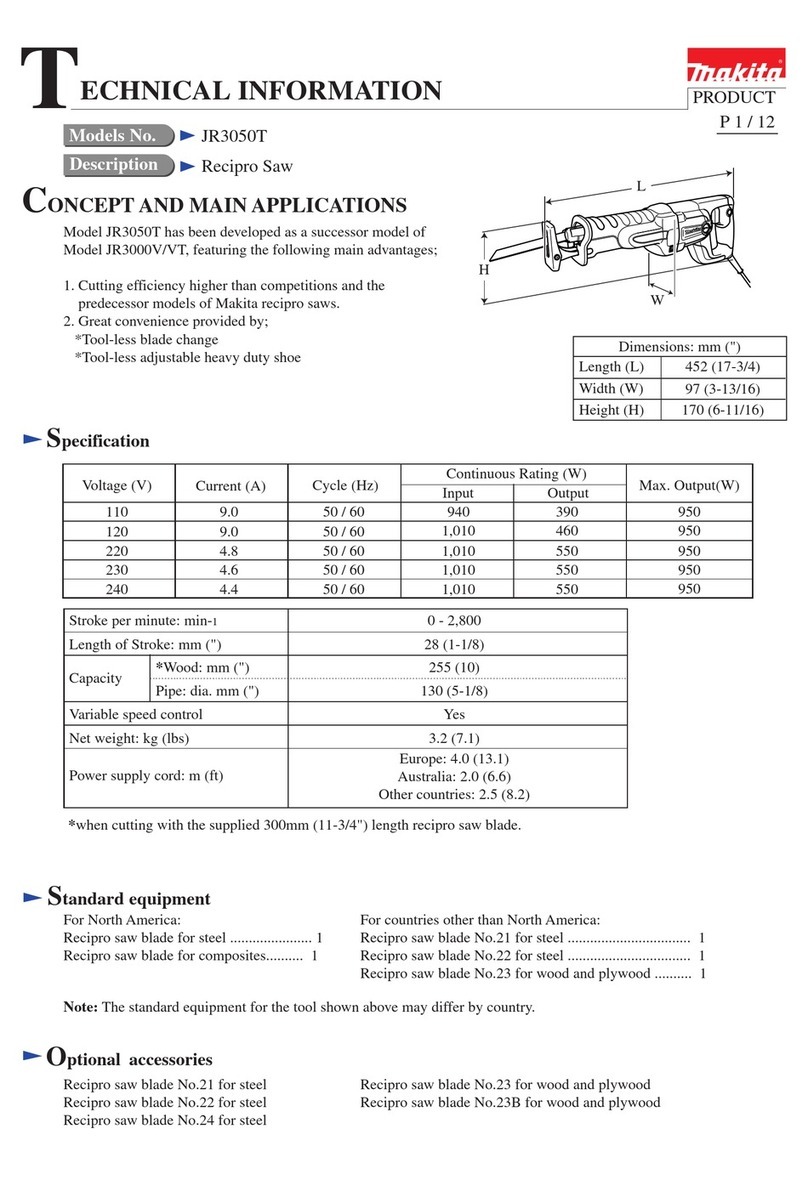
Makita JR3051T Operating instructions

May 2020
Ver.1
OFFICIAL USE
For ASC
RECIPRO SAW
JR3051T
REPAIR MANUAL

2 / 32
1CONTENTS
1CONTENTS.................................................................................................................................................................................2
2CAUTION....................................................................................................................................................................................3
3NECESSARY REPAIRING TOOLS...........................................................................................................................................3
4LUBRICANTANDADHESIVEAPPLICATION......................................................................................................................4
5TIGHTENING TORQUE SPECIFICATIONS............................................................................................................................4
6REPAIR........................................................................................................................................................................................5
6-1 Hook section........................................................................................................................................................................5
6-1-1 Disassembling.............................................................................................................................................................5
6-1-2 Assembling..................................................................................................................................................................5
6-2 Shoe section.........................................................................................................................................................................6
6-2-1 Disassembling.............................................................................................................................................................6
6-2-2 Assembling..................................................................................................................................................................6
6-3 Blade clamp section.............................................................................................................................................................7
6-3-1 Disassembling.............................................................................................................................................................7
6-3-2 Assembling..................................................................................................................................................................9
6-4 Carbon brush section..........................................................................................................................................................13
6-4-1 Disassembling...........................................................................................................................................................13
6-4-2 Assembling................................................................................................................................................................13
6-5 Insulation cover section......................................................................................................................................................14
6-5-1 Disassembling...........................................................................................................................................................14
6-5-2 Assembling................................................................................................................................................................14
6-6 Switch/ Motor section........................................................................................................................................................15
6-6-1 Disassembling...........................................................................................................................................................15
6-6-2 Assembling................................................................................................................................................................18
6-7 Armature/ Gear section......................................................................................................................................................21
6-7-1 Disassembling...........................................................................................................................................................21
6-7-2 Assembling................................................................................................................................................................24
6-8 Slider section......................................................................................................................................................................26
6-8-1 Disassembling...........................................................................................................................................................26
6-8-2 Assembling................................................................................................................................................................28
7CIRCUIT DIAGRAM................................................................................................................................................................30
8WIRING DIAGRAM.................................................................................................................................................................31
8-1 Field section.......................................................................................................................................................................31
8-2 Handle section....................................................................................................................................................................32

3 / 32
2CAUTION
Repair the machine in accordance with "Instruction manual" or "Safety instructions".
Follow the instructions described below in advance before repairing:
Wear gloves.
In order to avoid wrong reassembly, draw or write down where and how the parts are assembled, and what the parts are.
It is also recommended to have boxes ready to keep disassembled parts bygroup.
Handle the disassembled parts carefully. Clean and wash them properly.
3NECESSARYREPAIRINGTOOLS
Code No.
Description
Use for
1R034
Ring 12-60-15
press-fitting Ball bearings 6001LLU and 608ZZ
1R049
Drill chuck removal wedge 15
fixing Blade clamp section
1R269
Bearing puller small
removing Ball bearings 6001LLUand 608ZZ
1R291
Retaining ring pliers S and R
removing/ assembling Retaining ring S-12
1R296
Spring pin extractor 1.5
removing Switch Lead wires
1R312
Hammer clamping vise
fixing the machine
1R370
Ring terminal setting jig
assembling Ring terminal
1R461
Grip for spring pin extractor
using with 1R296

4 / 32
4LUBRICANTANDADHESIVEAPPLICATION
Description
Amount
Makita grease FA. No.2
Apply a little unless specified in the figure.
Makita grease R No.00
Apply a little unless specified in the figure.
Fig.1
5TIGHTENINGTORQUESPECIFICATIONS
Parts to fasten
Fastener
Q’ty
Tightening torque
(N∙m)
Bearing retainer 80
↔
Gear housing
Hex. socket head bolt M4x12
2
3.0 - 3.5
Shoe
↔
Gear housing
Hex. socket head bolt M6x20
1
6.3 - 6.8
15g
12g
1g

5 / 32
6REPAIR
6-1 Hooksection
6-1-1 Disassembling
Fig.2
1Remove Pan head screws M5x10 [1] (2 pcs), then
remove Hook [2] and Square nuts [3] (2 pcs).
6-1-2 Assembling
Fig.3
1AssembleSquare nutsM5 [2] (2 pcs) and Hook [3]
to Motor housing [1] with Pan head screws M5x10
[4] (2 pcs).
Tips
Square nuts M5 [2] (2 pcs) is easyto come off.Tilt
the nut in the direction that does not come off.
[2]
[1]
[3]
[4]
[1]
[3]
[2]

6 / 32
6-2 Shoesection
6-2-1 Disassembling
Fig.4
1Remove Hex. socket head bolt M6x20 [2] and Flat
washer 6 [3] with Hex. wrench 5 [1], then remove
Shoe [4].
6-2-2 Assembling
Fig.5
1Assemble Shoe [1] with Flat washer 6 [2] and Hex.
socket head bolt M6x20 [3].
Note
Apply the specified adhesive to the thread of Hex.
socket head bolt M6x20 [3].
[3]
[1]
[2]
[4]
[2]
[1]
[3]

7 / 32
6-3 Bladeclampsection
6-3-1 Disassembling
1Remove Shoe. (6-2-1)
Fig.6
2It is easy to disassemble by holding the machine [1]
with the tip faced upward with 1R312.
Fig.7
3Plug the cord in the outlet and move Blade clamp
section to the most forward position by pulling
Switch slightly. Then unplug the machine.
4Remove Protector [1].
Tips
It is easy to disassemble by putting 1R049 under
Blade clamp section to prevent it from falling down.
Fig.8
5Remove Retaining ring (EXT) 18 [1] from the end
with a slotted screwdriver, then slide the blade
along the ring while rotating.
[1]
[1]
1R049
[1]
1R312

8 / 32
Fig.9
6Insert the blade, then turn Driving sleeve [1] to lock
it, and then remove the following parts:
Driving sleeve [1]
Shoulder pin 5 [2]
Compression spring 6 [3]
Push pin [4]
Note
Be careful not to drop or lose Shoulder pin 5 [2] and
Compression spring 6 [3].
Fig.10
7Remove Pin 3 [2] fromGuide sleeve [1].
Fig.11
8Remove Guide sleeve [1] and Connecting sleeve
[2].
[1]
[2]
[1]
[2]
[2]
[1]
[3]
[2]
[4]
[1]

9 / 32
Fig.12
9When removing Torsion spring 17 [2] from Slider
[1], Compression spring 2 [3] is also come off.
Note
Be careful not to drop or lose Compression spring 2
[3].
6-3-2 Assembling
Fig.13
1Hold the machine with 1R312 with the tip faced
upward.
2Fit the short leg ofTorsion spring 17 [1] into the
hole in Connecting sleeve [2], then assemble them
to Slider [3].
Note
Note the orientation of Torsion spring 17 [1].
Fig.14
3AssembleCompression spring 2 [2] and Push pin
[3] to Slider [1].
[2]
[1]
[2]
[3]
[3]
[2]
[3]
[1]
[1]
[2]
[3]

10 / 32
Fig.15
4Assemble Guide sleeve [1], then align the holes,
and then insert Pin 3 [2].
Fig.16
5AssembleCompression spring 6 [2] to Shoulder
pin 5 [1], then insert them into Guide sleeve [3].
Note
Apply the specified grease to the outer surface and the
head of Shoulder pin 5 [1].
Fig.17
6Insert the blade into Slider [1], then push Shoulder
pin 5 [2] until it stops.
[1]
[2]
[1]
[3]
[1]
[2]
[1]
[2]
[2]

11 / 32
Fig.18
7Hold Slider [1] in 1R049 so as not to lower.
8Assemble Driving sleeve [2].
Fig.19
9While inserting the blade, turn Driving sleeve [1]
counterclockwise until it is fully turned.
Fig.20
10 While holding Driving sleeve [1] to turn it
counterclockwise all the way, turn Connecting
sleeve clockwise with Wrench 22.
11 Push in Driving sleeve [1] where Driving sleeve [1]
and Connecting sleeve fit.
[1]
[1]
[1]
[2]

12 / 32
Fig.21
12 Remove the blade from Slider [1].
13 Fit Retaining ring (EXT) 18 [2] into the groove of
Guide sleeve [3] while rotating it from the end in
order.
Fig.22
14 Assemble Protector [1].
15 Remove 1R049 from Blade clamp section.
Tips
Check that Driving sleeve is locked by inserting the
blade, then check that the blade is pushed out by
turning Protector [1] counterclockwise.
16 Assemble Shoe. (6-2-1)
[1]
[1]
[2]
[3]

13 / 32
6-4 Carbonbrush section
6-4-1 Disassembling
1Remove Blade clamp section. (6-3-1)
Fig.23
2Remove Holder caps [2] (2 pcs) and Carbon
brushes [3] (2 pcs) from each side of Motor
housing [1].
6-4-2 Assembling
Fig.24
1Assemble Carbon brushes [2] (2 pcs) and Holder
caps [3] (2 pcs) to each side of Motor housing [1].
[2]
[3]
[1]
[3]
[3]
[2]
[1]
[2]

14 / 32
6-5 Insulation coversection
6-5-1 Disassembling
Fig.25
1While protecting Handle section [1] with a waste
cloth, hold them inVise.
2Remove Insulation cover [3] from Gear housing
[2].
Tips
Insulation cover [3] can be easily removed by
spraying parts cleaner between Insulation cover [3]
and Gear housing [2].
Note
Do not spray Lubricant or silicone-spray when
disassembling Insulation cover [3] because the cover
can easily come off during use.
6-5-2 Assembling
Fig.26
1Assemble Insulating cover [2] to Gear housing [1].
2Fit the protrusions (4 positions) of Insulation cover
[2] into Gear housing [1].
Tips
If Parts cleaner issprayed to the inside of Insulation
cover [2], Insulation cover [2] can easily cover Gear
housing [1].
[1]
[2]
[3]
[1]
[2]

15 / 32
6-6 Switch/ Motorsection
6-6-1 Disassembling
1Remove Hook, Shoe, Carbon brushes and Insulation cover. (6-1-1, 6-2-1, 6-4-1, 6-5-1)
Tips
The above disassembly is notnecessary if only Switch and Power supply cord are replaced.
Fig.27
2Remove Tapping screws 4x18 [1] (5 pcs), then
remove Handle R [2].
Fig.28
3Remove Tapping screws 4x18 [2] (2 pcs) from
Handle L[1], then remove the following parts:
Strain relief [3]
Cord guard 10-90 [4]
Switch [5]
Fig.29
4Loosen the screws on Switch [1], then remove
Power supply cord [2] fromSwitch [1].
[1]
[2]
[3]
[2]
[5]
[4]
[1]
[2]
[1]

16 / 32
Fig.30
5When removing Lead wiresfrom Switch [1], insert
a thin pin through the hole near Switch lead wire
insertion port.
6Attach 1R296 to 1R461, then pull out Lead wire
while inserting 1R296 into the hole.
Tips
If it is hard to insert 1R296 into the bottom, tap
1R461 with a plastic hammer to pierce the hole.
Fig.31
7Remove Handle L[2] fromMotor housing [1].
Fig.32
8Remove Tapping screws 5x25 [1] (4 pcs), then
remove Motor housing [3] from Gear housing [2].
[1]
[3]
[2]
[1]
[2]
[1]
[1]
1R461
1R296

17 / 32
Fig.33
9Remove Baffle plate [1] from Motor housing [2].
Fig.34
10 Remove Ring terminal [1] with a slotted
screwdriver.
Fig.35
11 Remove Tapping screws 5x45 [2] (2 pcs) from
Motor housing [1], then tap Motor housing [1] with
a plastic hammer to remove Field [3].
Note
Do not tap the thin portion of Motor housing [1]
because it is fragile.
[2]
[1]
[1]
[3]
[1]
[1]
[2]

18 / 32
6-6-2 Assembling
Fig.36
1Insert Field [2]straight down into Motor housing
[1].
Tips
If it is hard and does not fit into the bottom, tap the
back of Motor housing [1] with a plastic hammer.
Fig.37
2Tighten Tapping screws 5x45 [1] (2 pcs).
Fig.38
3Set Ring terminals [1] (2 pcs) in place with 1R370.
[1]
1R370
[1]
[1]
[2]

19 / 32
Fig.39
4Assemble Baffle plate [2] to Motor housing [1].
Fig.40
5Assemble Gear housing [2] to Motor housing [1].
6Tighten Tapping screws 5x25 [3] (4 pcs).
Fig.41
7AssembleHandle L[2] to Motor housing [1].
[1]
[2]
[1]
[2]
[2]
[1]
[3]
[1]
[2]

20 / 32
Fig.42
8AssembleSwitch [2] to Handle L[1], then insert
Lead wires.
Fig.43
9Loosen the screws on Switch [1], then insert Lead
wires of Power supply cord [2], and then tighten the
screws.
Fig.44
10 Hold Power supply cord with Strain relief[1] and
Tapping screws 4x18 [2] (2 pcs).
[2]
[1]
[1]
[2]
[1]
[2]
Other manuals for JR3051T
8
Table of contents
Other Makita Saw manuals

Makita
Makita JR3020 User manual

Makita
Makita MLT100 User manual

Makita
Makita 2705 User manual

Makita
Makita 5057KB Quick start guide

Makita
Makita GRJ01 User manual

Makita
Makita LS1440 User manual

Makita
Makita LS1216 User manual

Makita
Makita BLS820SFK Quick start guide

Makita
Makita DUC101 User manual

Makita
Makita LW1400 User manual

Makita
Makita XRJ06 User manual

Makita
Makita SP6000 User manual

Makita
Makita LS0714 User manual

Makita
Makita DLW140 User manual

Makita
Makita MLT100 User manual

Makita
Makita JR3070CTH User manual

Makita
Makita LF1000 User manual

Makita
Makita N5900B User manual

Makita
Makita 5477NB Manual

Makita
Makita M2300 User manual