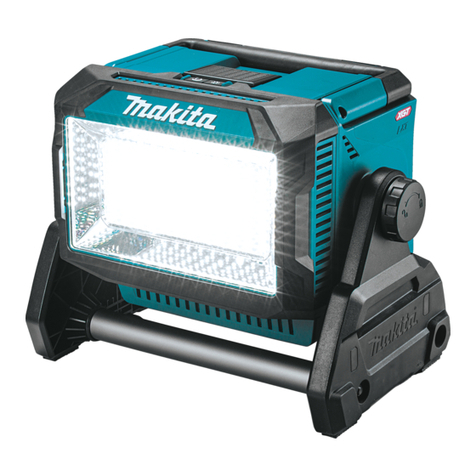
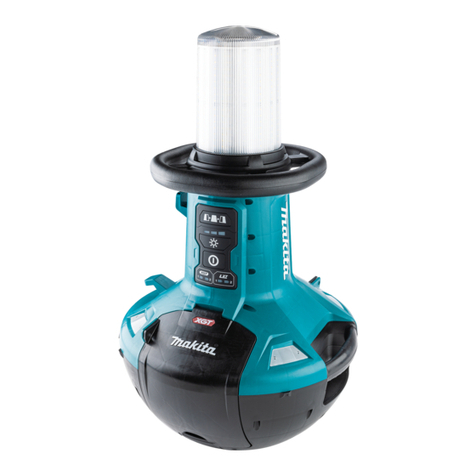
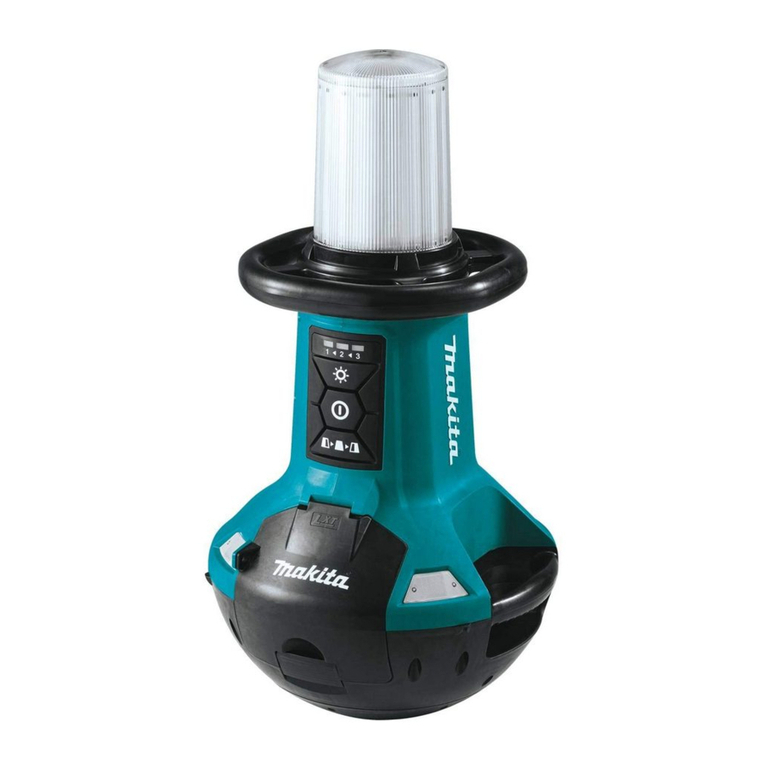
Makita DML813 User manual

EN Cordless Worklight INSTRUCTION MANUAL 6
FR Lampe de Chantier Sans Fil MANUEL D’INSTRUCTIONS 12
DE Akku-Baustrahler LED BETRIEBSANLEITUNG 19
IT Lampada da lavoro a batteria ISTRUZIONI PER L’USO 26
NL Accuwerklamp GEBRUIKSAANWIJZING 33
ES Linterna de Trabajo Inalámbrica MANUAL DE INSTRUCCIONES 40
PT MANUAL DE INSTRUÇÕES 47
DA Akku arbejdslampe BRUGSANVISNING 54
EL 61
TR KULLANMA KILAVUZU 68
SV Trådlös arbetslampa BRUKSANVISNING 74
NO Batteridrevet arbeidslys BRUKSANVISNING 80
FI Akkukäyttöinen työvalo KÄYTTÖOHJE 86
LV Bezvadu darba gaismeklis LIETOŠANAS INSTRUKCIJA 92
LT Belaidis šviestuvas NAUDOJIMO INSTRUKCIJA 99
ET Juhtmeta töövalgusti KASUTUSJUHEND 106
PL Lampa Budowlana 112
HU HASZNÁLATI KÉZIKÖNYV 119
SK Akumulátorové pracovné svietidlo NÁVOD NA OBSLUHU 126
CS NÁVOD K OBSLUZE 133
SL NAVODILA ZA UPORABO 139
SQ Ndriçues pune me bateri MANUALI I PËRDORIMIT 145
BG 152
HR 159
165
SR 172
RO 179
UK 186
RU 194
KK 202
ZHCN 充电式工作灯 使用说明书 210
ZHTW 充電式工作投光燈 使用說明書 217
KO 충전 LED 랜턴 취급 설명서 224
ID Lampu Kerja Tanpa Kabel PETUNJUK PENGGUNAAN 230
MS Lampu Kerja Tanpa Kord MANUAL ARAHAN 237
VI 244
TH สปอร์ตไลท์ไร้สาย คู่มือการใช้งาน 250
FA 263
AR 268
DML813
DML814

2
3
1
5
7
6
11
8
9
10
12
13
14
DML813DML8142
3
1
4
15
5
7
6
11
8
9
10
12
13
14
4
15
Fig.1
2

1
2
Fig.2
1
2
Fig.3
1
2
Fig.4
1
Fig.5
12
3
Fig.6
1
2
3
4
Fig.7
3

DML813DML8141
2
1
2
Fig.8
230°
220°
Fig.9
1
180°
Fig.10
1
1
Fig.11
1
1
Fig.12
1
1
1
Fig.13
2
3
1
3
2
Fig.14
4

1
2
Fig.15
12
Fig.16 DML813DML814Fig.17
5

6ENGLISH
ENGLISH (Original instructions)
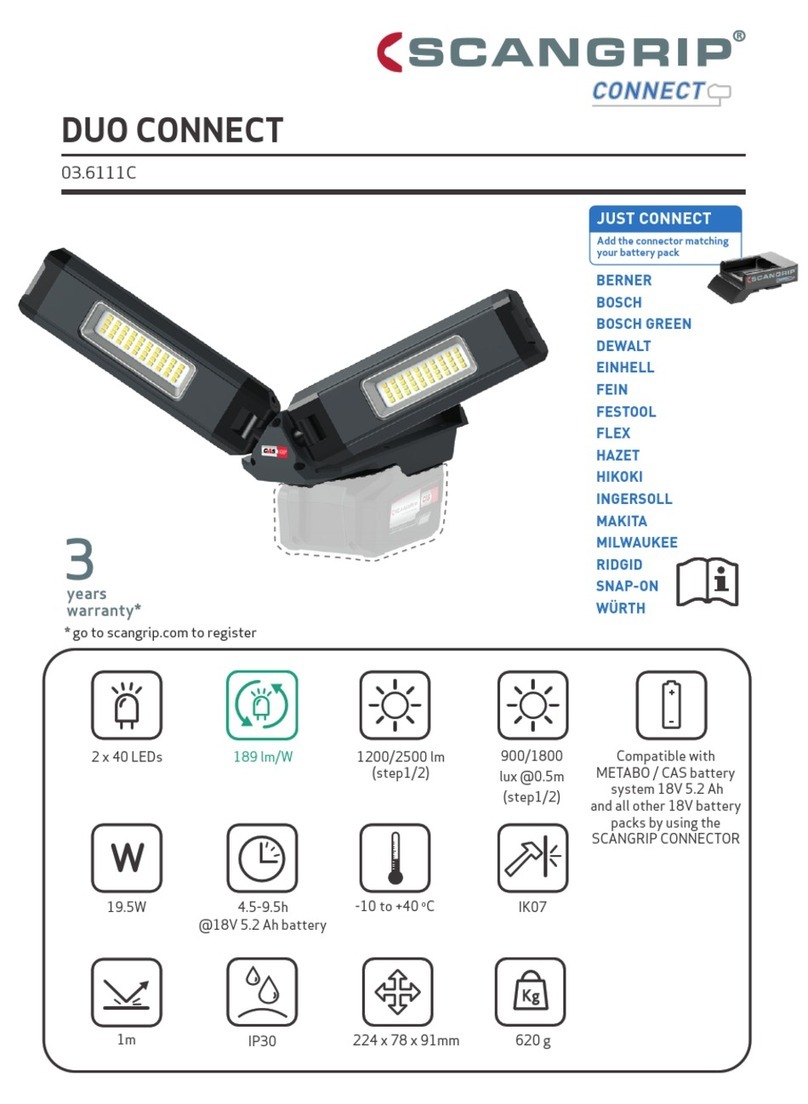
SPECIFICATIONS
Model: DML813 DML814
Rated wattage 12pcs, 27 W
Rated voltage D.C. 18 V / 14.4 V
Luminous ux 3,000 lm / 1,700 lm / 900 lm
Operating time
(with BL1850B)
3 hours ( 3,000 lm) / 5.5 hours ( 1,700 lm) / 10 hours ( 900 lm)
Dimensions
(L x W x H)
Folding position 260 mm x 216 mm x 1,000 mm
Operating position
(Maximum height)
573 mm x 658 mm x 2,240 mm
Net weight
(without battery cartridge)
7.2 kg 7.4 kg
Protection degree IP55
• Due to our continuing program of research and development, the specications herein are subject to change
without notice.
• Specications may dier from country to country.
• Operating times are approximate and may dier depending on battery type, charging status, and usage
condition.
Applicable battery cartridge and charger
Battery cartridge D.C.14.4 V Model BL1415N / BL1430 / BL1430B / BL1440 /
BL1450 / BL1460B
D.C.18 V Model BL1815N / BL1820 / BL1820B / BL1830 /
BL1830B / BL1840 / BL1840B / BL1850 /
BL1850B / BL1860B
Charger DC18RC / DC18RD / DC18RE / DC18SD /
DC18SE / DC18SF / DC18SH
• Some of the battery cartridges and chargers listed above may not be available depending on your region of
residence.
WARNING: Only use the battery cartridges and chargers listed above. Use of any other battery cartridges
and chargers may cause injury and/or re.
Symbols
The followings show the symbols which may be used
for the equipment. Be sure that you understand their
meaning before use.
Read instruction manual.
Ni-MH
Li-ion
Only for EU countries
Due to the presence of hazardous com-
ponents in the equipment, waste electrical
and electronic equipment, accumulators
and batteries may have a negative impact
on the environment and human health.
Do not dispose of electrical and electronic
appliances or batteries with household
waste!
In accordance with the European Directive
on waste electrical and electronic equip-
ment and on accumulators and batteries
and waste accumulators and batteries,
as well as their adaptation to national law,
waste electrical equipment, batteries and
accumulators should be stored separately
and delivered to a separate collection point
for municipal waste, operating in accor-
dance with the regulations on environmen-
tal protection.
This is indicated by the symbol of the
crossed-out wheeled bin placed on the
equipment.
Be careful not to press your hands when
retracting the extension pole.

7ENGLISH
Do not stare at operating lamp.
Open the tripod legs before pulling out from
the extension pole.
SAFETY WARNINGS
READ AND FOLLOW ALL
SAFETY INSTRUCTIONS.
WARNING – When using this
1.
is necessary when a product is used near
children.
2.
burns. The lens may be extremely hot during use
and soon after using.
3. Only use attachments recommended or sold
4. Do not use the appliance in the rain or the
snow.
5.
put the appliance in water or other liquid. Do
not place or store the appliance where it can
6.
stare at the operating lamp, or do not expose
the light to eyes. Serious eye injury may occur.
7.
combustible materials while in operation.
8. Only use attachments recommended or sold
9. Do not allow anything to cover or clog the
Otherwise it may cause a ame.
10. Do not use the carrying handle any other
purpose than carrying the appliance, such as
hoisting.
11.
tripod legs. Otherwise a falling accident may
occur.
12.
children.
13. Place the appliance on a level and stable place.
Otherwise a falling accident may occur.
14. Do not use the appliance in strong winds.
Otherwise a falling accident may occur.
15. Do not use the appliance in explosive atmo-
liquids, gases or dust.
16. Do not expose the appliance to sparks or cor-
rosive atmosphere, etc.
17. When the appliance is not in use, always
appliance.
18. Store the appliance indoors.
19. Do not wash the appliance in water.
20. Keep the tags and nameplate on the product,
If it
cannot be read or lost, please contact MAKITA
Service Center for free replacement.
21. -
-
ing accessories, or storing appliance. Such
preventive safety measures reduce the risk of
starting the appliance accidentally.
22. -
ance or the battery pack except as indicated in
23. Do not handle the appliance roughly, such as
dropping or hitting. Doing so may cause mal-
function or injury.
24. Do not handle charger, including charger plug,
and charger terminals with wet hands.
25. Do not charge the battery outdoors.
26.
the tripod legs and shrink the pole to reduce
injury and damage.
27. The light source contained in this luminaire
28. When the appliance is used outdoors, screws
loosen and remove the screws.
Battery tool use and care
1.
A charger that is suitable for
one type of battery pack may create a risk of re
when used with another battery pack.
2. -
nated battery packs. Use of any other battery
packs may create a risk of injury and re.
3. When battery pack is not in use, keep it away
coins, keys, nails, screws or other small metal
terminal to another. Shorting the battery termi-
nals together may cause burns or a re.
4. Under abusive conditions, liquid may be
-
liquid contacts eyes, additionally seek medical
help. Liquid ejected from the battery may cause
irritation or burns.
5. Do not use a battery pack or tool that is dam-
Damaged or modied batteries
may exhibit unpredictable behaviour resulting in
re, explosion or risk of injury.
6.
excessive temperature. Exposure to re or tem-
perature above 130 °C may cause explosion.
7. Follow all charging instructions and do not
charge the battery pack or tool outside the
-
tions. Charging improperly or at temperatures
outside the specied range may damage the
battery and increase the risk of re.

8ENGLISH
SERVICE
1. This appliance service must be performed only by
qualied repair personnel. Service or maintenance
performed by unqualied personnel could result in
a risk of injury.
2. When servicing this appliance, use only identical
replacement parts. Use of unauthorized parts or
failure to follow maintenance instructions may
create a risk of electric shock or injury.
3. Do not incinerate this appliance, even if it is
severely damaged. The batteries can explode in a
re. Dispose of the appliance in accordance with
the local regulations.
battery cartridge
1. -
tions and cautionary markings on (1) battery
charger, (2) battery, and (3) product using
battery.
2. Do not disassemble or tamper the battery
cartridge. It may result in a re, excessive heat,
or explosion.
3.
shorter, stop operating immediately. It may
and even an explosion.
4.
out with clear water and seek medical atten-
eyesight.
5. Do not short the battery cartridge:
(1) Do not touch the terminals with any con-
ductive material.
(2) Avoid storing battery cartridge in a con-
tainer with other metal objects such as
nails, coins, etc.
(3) Do not expose battery cartridge to water
or rain.
A battery short can cause a large current
breakdown.
6. Do not store and use the tool and battery car-
tridge in locations where the temperature may
reach or exceed 50 °C (122 °F).
7.
it is severely damaged or is completely worn
8. Do not nail, cut, crush, throw, drop the battery
cartridge, or hit against a hard object to the
battery cartridge. Such conduct may result in a
re, excessive heat, or explosion.
9. Do not use a damaged battery.
10. The contained lithium-ion batteries are subject
to the Dangerous Goods Legislation require-
ments.
For commercial transports e.g. by third parties,
forwarding agents, special requirement on pack-
aging and labeling must be observed.
For preparation of the item being shipped, consult-
ing an expert for hazardous material is required.
Please also observe possibly more detailed
national regulations.
Tape or mask o open contacts and pack up the
battery in such a manner that it cannot move
around in the packaging.
11. When disposing the battery cartridge, remove
place. Follow your local regulations relating to
12. Use the batteries only with the products
Installing the batteries to
non-compliant products may result in a re, exces-
sive heat, explosion, or leak of electrolyte.
13.
14.
take on heat which can cause burns or low
temperature burns. Pay attention to the han-
15. -
cause burns.
16. Do not allow chips, dust, or soil stuck into the
cartridge. It may result in poor performance or
breakdown of the tool or battery cartridge.
17. Unless the tool supports the use near
high-voltage electrical power lines, do not use
the battery cartridge near high-voltage electri-
cal power lines. It may result in a malfunction or
breakdown of the tool or battery cartridge.
18.
SAVE THESE INSTRUCTIONS.
CAUTION: Only use genuine Makita batteries.
Use of non-genuine Makita batteries, or batteries that
have been altered, may result in the battery bursting
causing res, personal injury and damage. It will
also void the Makita warranty for the Makita tool and
charger.
1.
discharged. Always stop tool operation and
charge the battery cartridge when you notice
less tool power.
2. -
tridge. Overcharging shortens the battery
3. Charge the battery cartridge with room tem-
perature at 10 °C - 40 °C (50 °F - 104 °F). Let
charging it.
4. When not using the battery cartridge, remove
5.
9ENGLISH
PARTS DESCRIPTION
► Fig.1
1Light head 2Lens 3Upper extension pole
4Upper extension latch 5Lower extension pole 6Horizontal handle
7Lower extension latch 8Power switch button 9Brightness change button
10 Battery bay 11 Shoulder belt hole 12 Tripod release button
13 Carrying handle 14 Tripod legs 15 Hole for xing
FUNCTIONAL
DESCRIPTION
CAUTION: Always be sure that the appli-
the appliance.
Installing or removing battery
cartridge
CAUTION: Hold the appliance and the bat-
battery cartridge. Failure to hold the appliance and
the battery cartridge rmly may cause them to slip o
your hands and result in damage to the appliance and
battery cartridge and a personal injury.
CAUTION:
between the appliance and battery cartridge when
loading battery cartridge as well as between the
appliance and the battery cover when closing the
battery cover.
To install the battery cartridge, release the cover lock,
and open the battery cover.
► Fig.2: 1. Cover lock 2. Battery cover
To install the battery cartridge, align the tongue on the
battery cartridge with the groove in the housing and slip
it into place. Insert it all the way until it locks in place
with a little click.
Then close the battery cover.
► Fig.3: 1. Button 2. Battery cartridge
To remove the battery cartridge, slide it from the
appliance while sliding the button on the front of the
cartridge.
CAUTION: Always install the battery cartridge
If not, it may accidentally fall out of the appli-
ance, causing injury to you or someone around you.
CAUTION: Do not install the battery cartridge
If the cartridge does not slide in easily, it is
not being inserted correctly.
Indicating the remaining battery
capacity
Only for battery cartridges with the indicator
► Fig.4: 1. Indicator lamps 2. Check button
Press the check button on the battery cartridge to indi-
cate the remaining battery capacity. The indicator lamps
light up for a few seconds.
Indicator lamps Remaining
capacity
Lighted Blinking
75% to 100%
50% to 75%
25% to 50%
0% to 25%
Charge the
battery.
The battery
may have
malfunctioned.
NOTE: Depending on the conditions of use and the
ambient temperature, the indication may dier slightly
from the actual capacity.
NOTE: The rst (far left) indicator lamp will blink when
the battery protection system works.
Appliance / battery protection
system
The appliance is equipped with the protection system.
This system automatically cuts o power to extend
appliance and battery life. The appliance will automati-
cally stop during operation if the appliance or battery is
placed under one of the following conditions.
Overdischarge protection
When the battery capacity becomes low, the LED lights
go out except a part of LEDs. Later, the system auto-
matically cuts o power. In this situation, remove the
battery cartridge from the appliance and charge it.

10 ENGLISH
For anti-theft of battery cartridge, hole for padlock is
provided.
► Fig.5: 1. Hole for padlock
ASSEMBLY
CAUTION: Always be sure that the appli-
appliance.
CAUTION:
1. Hold the horizontal handle and carrying handle by
both hands rmly.
2. Slide the carrying handle in the direction of arrow
as illustrated while pushing the tripod release
button.
3. Release the tripod release button and make
sure the carrying handle is secured in the bottom
position.
► Fig.6: 1. Horizontal handle 2. Carrying handle
3. Tripod release button
4. To fold the tripod, slide the carrying handle in the
opposite direction while pushing the tripod release
button.
CAUTION:
head, make sure the tripod legs are spread com-
Otherwise the appliance may tilt and a falling accident
may occur.
CAUTION:
one extension pole, make sure the other exten-
Otherwise unexpected contraction may occur and
cause an injury.
CAUTION: -
CAUTION: Keep holding the extension pole
Otherwise the light head may drop rapidly and pinch
hands and ngers.
1. Open the upper extension latch.
2. Adjust the length of the upper extension pole by
pulling or retracting the upper extension pole.
3. Close the upper extension latch and make sure
the upper extension pole is xed rmly.
4. If more height is required, adjust the length of the
lower extension pole in the same way as above.
► Fig.7: 1. Upper extension latch 2. Upper extension
pole 3. Lower extension latch 4. Lower exten-
sion pole
NOTE: If the grip force of the latch is declined, tighten
the screws of the extension latch. (Refer to the sec-
tion for screw tightening.)
Retracting the extention pole
CAUTION:
when retracting the extension pole.
NOTICE:
pole to retract. In this case, expand the extension
pole again, and then retract the lower extension
When retracting the extention pole, align the light head
as shown in the illustration, and then retract the exten-
tion pole.
► Fig.8: 1. Light head 2. Horizontal handle
CAUTION: -
Turn the light head as illustrated to the desired angle.
► Fig.9
For DML814 only
The lighting area can be adjusted by turning the individ-
ual lamp units.
► Fig.10: 1. Lamp unit
NOTE: If the grip force of the light head or lamp unit
is decline, tighten the screws. (Refer to the section for
screw tightening.)
Screw tightening
CAUTION:
retract the poles all the way or lay the appliance
sideways. Otherwise the light head moves acciden-
tally and cause an injury.
NOTICE: Do not over tighten the screw.
Otherwise the joint parts may be broken.
NOTICE: Do not use electric tools to tighten the
screw. Otherwise the screw may get over tightened.
If the grip force of some joint parts is declined, tighten
the screw shown in the gure.
For the extension latches
► Fig.11: 1. Screw
For the light head
► Fig.12: 1. Screw
For the individual lamp units (DML814 only)
► Fig.13: 1. Screw

11 ENGLISH
Shoulder belt
Optional accessory
CAUTION: When carrying the appliance, keep
the shoulder belt. Carrying the appliance using only
the shoulder belt makes it unstable. The shoulder belt
may come o or the appliance hit other objects and
cause injury.
Attach the hooks of the shoulder belt onto the mounts
as shown in the gure certainly.
► Fig.14: 1. Shoulder belt 2. Hook 3. Mount
NOTE: You can also attach the shoulder belt to the
tool bag (optional accessory) as illustrated.
► Fig.15: 1. Shoulder belt 2. Tool bag
OPERATION
WARNING:
stare at the operating lamp, or do not expose the
light to eyes. Serious eye injury may occur.
WARNING:
CAUTION: When using the appliance, always
-
tion. Otherwise a falling accident may occur.
NOTICE:
Otherwise a malfunction may occur.
Switch action
► Fig.16: 1. Power switch button 2. Brightness
change button
Press the power switch button to turn on the appliance.
Press the power switch button again to turn o the
appliance.
NOTE: The appliance turns on at the same bright-
ness as the last setting.
Changing brightness
Press the brightness change button while the appliance
is operating. The brightness decreases every time you
press the brightness change button. The brightness
will return to the highest when operating in the lowest
brightness.
When the battery capacity becomes low, the LED lights
go out except a part of LEDs as illustrated. (Then few
minutes later, the system automatically cuts o power.)
In this situation, remove the battery cartridge from the
appliance and charge it.
► Fig.17
MAINTENANCE
CAUTION: Always be sure that the appliance
-
inspection or maintenance.
NOTICE: Never use gasoline, benzine, thinner,
cracks may result.
To maintain product SAFETY and RELIABILITY,
repairs, any other maintenance or adjustment should
be performed by Makita Authorized or Factory Service
Centers, always using Makita replacement parts.
Cleaning
CAUTION: Do not wash the appliance in water.
From time to time, wipe o the outside (appliance body)
of the appliance using a cloth dampened in soapy
water.
OPTIONAL
ACCESSORIES
CAUTION: These accessories or attachments
The use of any other
accessories or attachments might present a risk of
injury to persons. Only use accessory or attachment
for its stated purpose.
If you need any assistance for more details regard-
ing these accessories, ask your local Makita Service
Center.
• Shoulder belt
• Tool bag
• Makita genuine battery and charger
NOTE: Some items in the list may be included in the
tool package as standard accessories. They may
dier from country to country.
Other manuals for DML813
2
This manual suits for next models
1
Table of contents
Other Makita Work Light manuals

Makita
Makita ML005G User manual

Makita
Makita DML805 User manual

Makita
Makita DML809 User manual

Makita
Makita ML010G User manual

Makita
Makita NLADML810 User manual

Makita
Makita DML810 User manual

Makita
Makita ML003G User manual

Makita
Makita ML005G User manual

Makita
Makita DML810 User manual

Makita
Makita ML005G User manual

Makita
Makita DML805 User manual

Makita
Makita LM02 User manual

Makita
Makita DML805 User manual

Makita
Makita DML805 User manual

Makita
Makita ML003G User manual

Makita
Makita DML809 User manual

Makita
Makita DML813 User manual

Makita
Makita ML005G User manual

Makita
Makita ADML811 User manual

Makita
Makita ML009G User manual