INTRODUCTION
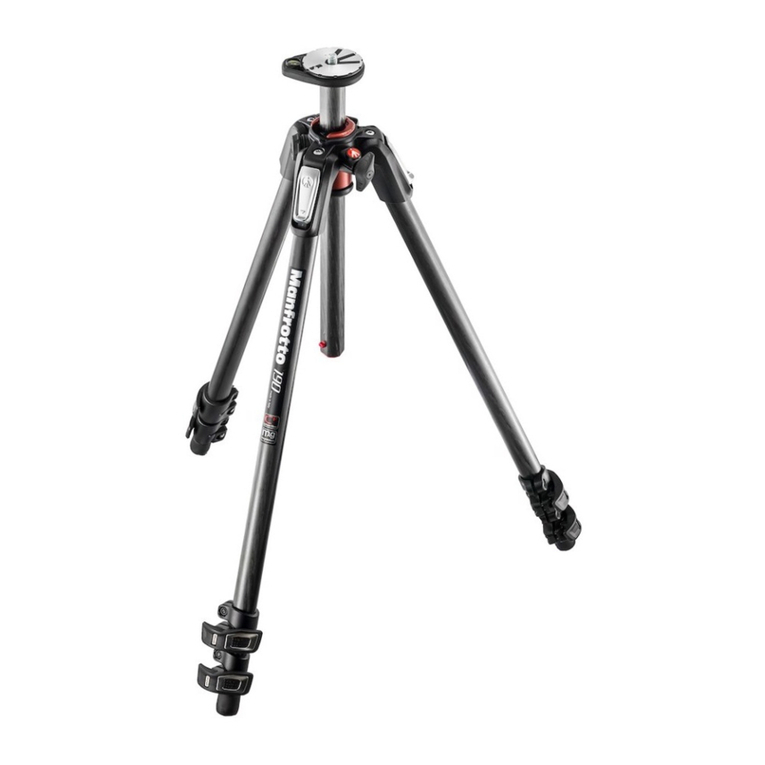
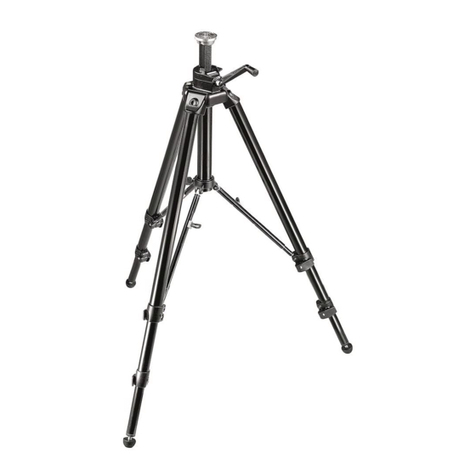
Designed for the professional photographer, this is an extremely versatile tripod, ideal for 35mm or medium
format cameras, digital or film.
Fast and easy to use, the 458B has the innovative Neotec rapid opening and closing mechanism.
Combined with its high load capacity, good height range and its professional features, this makes it the
ideal tripod for location work under pressure.
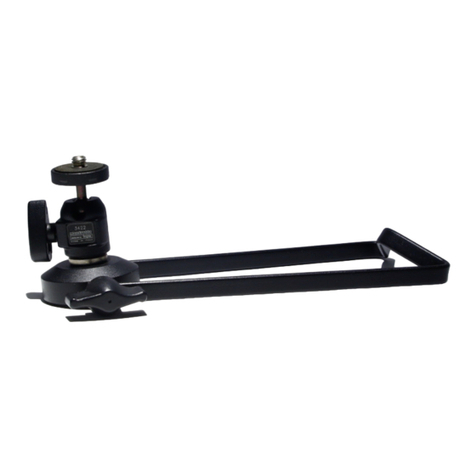
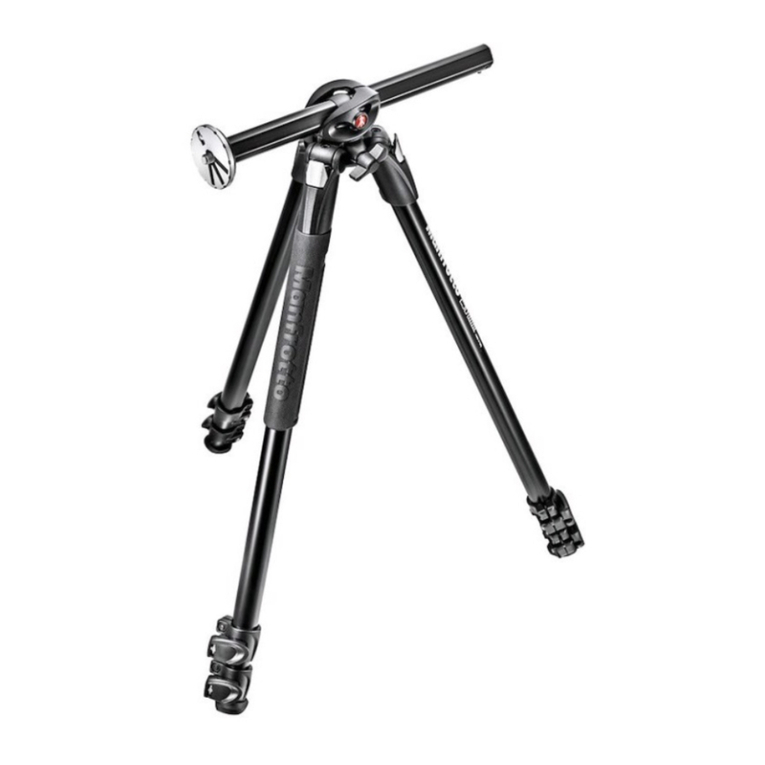
The tripod has a special two-piece centre column support that re-fits as a horizontal lateral arm.
KEY FEATURES:
• Sliding centre (center) column can be operated either vertically or horizontally
• Ultra-low angle adapter
• Each leg can be independently set at 4 angles of spread
• Spirit level
• Carrying strap
• Two-section centre column for low angle or normal shooting
• "Upside down" leg construction stops mud from getting inside the tripod.
SET UP (FIG. 1 AND 2)
Open the carrying strap clip "V" (fig. 1).
Pull each leg downwards (fig. 2) to open. The legs automatically lock in position at any intermediate point.
There are no screws, knobs or levers to tighten or loosen. To adjust leg length / tripod height after opening,
press the mechanism release button “A” (fig. 3) and push the leg upwards. Releasing at any intermediate
point locks the leg again, or push the legs all the way up to close the tripod.
OPERATIONAL INSTRUCTIONS
LEG ANGLE ADJUSTMENT (fig. 4)
Each leg can be set at 4 angles of spread. To change the angle of a leg, push the leg towards the centre
column slightly and press down the locking button “C” at the top of the leg.
Whilst holding the button down, select the new leg angle and then release button “C” to lock in position.
The angle of each leg can be adjusted independently of the other two legs.
The last position allows the tripod to be set close to ground level.
The tripod is supplied with a spirit level "H" to enable you to level the tripod.
CENTER COLUMN HEIGHT ADJUSTMENT (fig. 5)
To release the centre (center) column “D”, unlock knob “E” and adjust the height of the column as required.
Tighten knob “E” to lock the column in position.
Note: for most solid locking, rotate the centre (center) column “D” until parts “X”, “Y” are in line with the
direction of the screw of locking lever “E” as shown in figure 5.
HEAD ATTACHMENT PLATE (fig. 6 and 7)
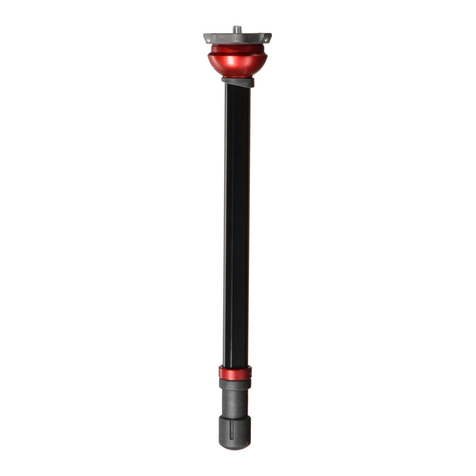
The head attachment plate “F” acts as a low angle adapter for ground level shooting.
Remove carrying strap “T” then remove the top adapter section “F” (fig. 6) of the centre (center) column
by unscrewing knob “R” and at the same time pulling up the top adapter section “F”.
Unlock knob “E” remove the column “D” insert the top adapter section “F” into the tripod shoulder as
shown in figure 7 and lock knob “E”
>>>>>
13
4
3
C
H
A
Z
D
E
T
Y
X
D
E
2
5
2
1
EE
F
F
D
R
67
1
3
2
2
1
GXR
Y
D
F
D
D
E
8
1
2
3
3
4
9
M
10
P
P
12
12
T
11
V
V
