Installation Instructions Specifications are subject to change without notice Page 2
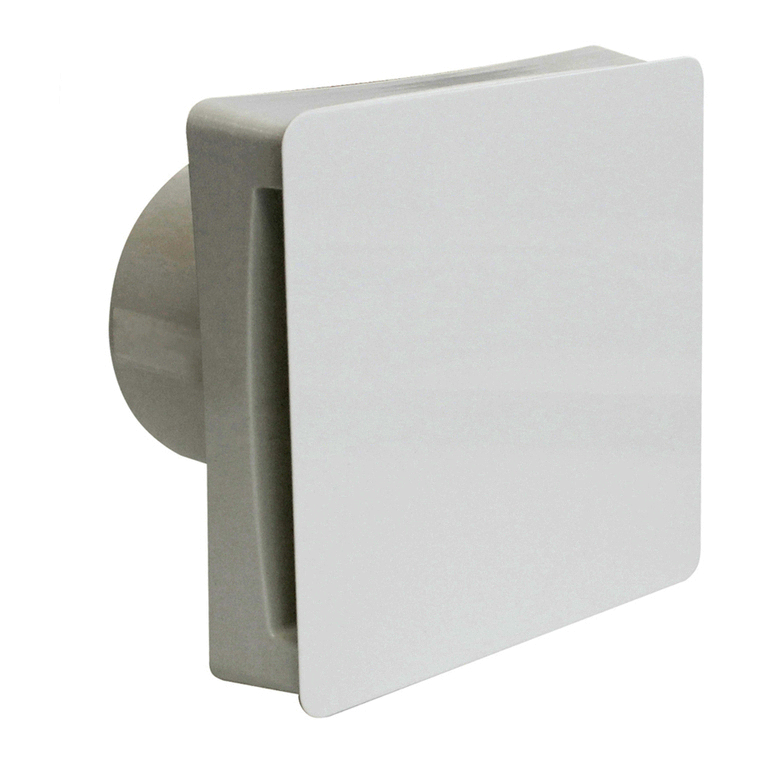
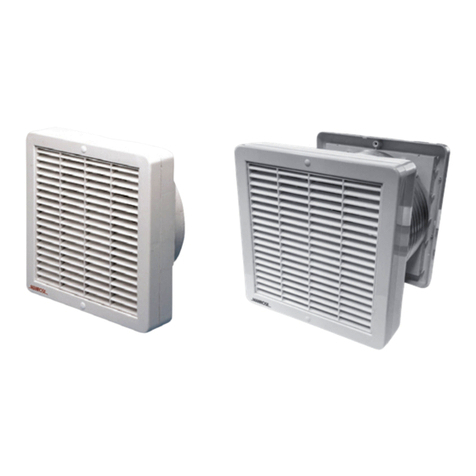
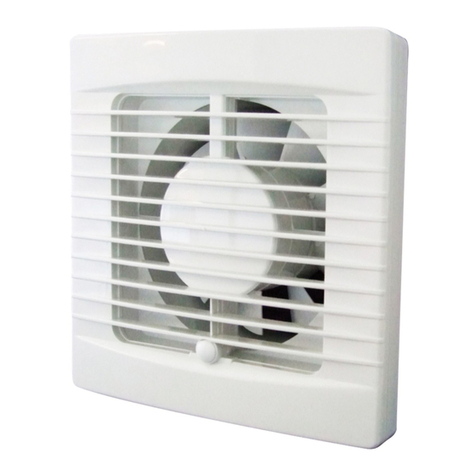
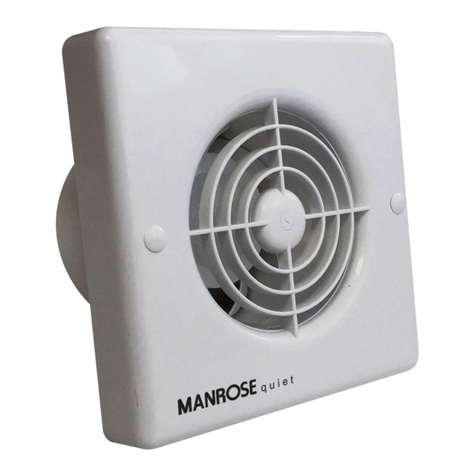
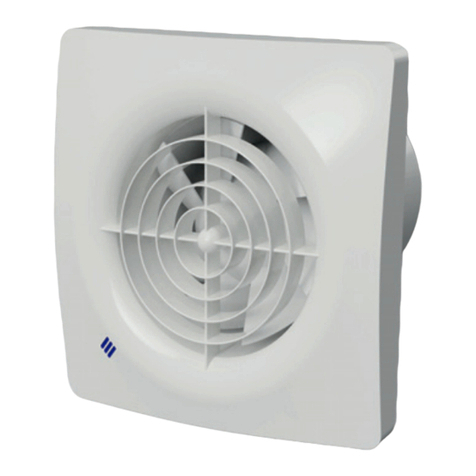
150mm Window and Through Wall Auto Shutter Fan
PUB7008 2006
INSTALLATION
Window
1 Cut a 184mm hole in the glass. This is best cut by a qualified glazier, alternatively, measure your window and get a new piece of glass with
a pre-cut hole from your glass merchant and replace.
2 Remove external grille by gently levering the top out with a small screwdriver and remove the three pozidrive screws and separate the two
halves (Fig 1). Hold the fan in position over the hole on the inside of the window and then refit the three self tapping screws from the
outside. Caution - do not over tighten these screws as it is possible that you might crack the glass (Fig 2.)
Through Wall Fixing
1 Cut a Ø173mm hole through the wall and then
fit a length of aluminium flexible duct through
the wall (supplied separately) making sure that
there is a slight tilt to the outside in case any
water gets in through the external grille so it will
not run into the room. Fit the duct to the fan
spigot (Fig 3). Sealing gaskets can be
removed when installing the fan through a wall.
2 Remove the rear grille and casing as described
above (Fig 1). Separate the external grille and
remove the two hole plugs at the top and bottom
of the grille chassis. Hold against the outside
wall directly over the duct and drill and plug the
fixing holes. Screw the grille chassis to the wall
and refit the grille. It is important to make sure
that the two fixing holes are one above the other
to allow the lugs on the grille to fit properly into
their slots the right way up.
3 Remove the front grille by removing 2-hole
plugs concealing 2-fixing screws which secure
the front grille assembly to the main chassis.
Remove these screws then carefully separate
the two halves. Hold the body over the hole, first
ensuring that the fan is level then mark the four
fixing holes (one in each corner). Drill and plug
these holes. Screw the fan to the wall and refit
the front grille and replace screw caps.
4 All wiring must comply with current regulations
This system should be installed by a qualified
electrician.
TIMER ADJUSTMENT
Please make sure power is disconnected before opening the front cover of the fan. Remove two screws
and look for the timer adjustment knob. Adjust as required, between 45 seconds to 20 minutes. the fan
should be a minimum of 1m² in section. The fan should not be accessible to a person using either the
shower or the bath.
More Time
Less Time
THROUGH WALL FIXING
EXTERNAL GRILLE
REAR OF FAN WITH GRILLE REMOVED
LEVER
T
ENTL
Fig 1 Fig 2 Fig 3
(173mm)
6 ¾ “Ø
Dimensions
THROUGH WINDOW FIXING
4mm - 10mm Glass
203mm
95mm
23mm
203mm
FRONT ELEVATION
2M.5A Two Core Cable
SIDE ELEVATION
THROUGH GLASS
