Installation Instructions Specifications are subject to change without notice Page 5
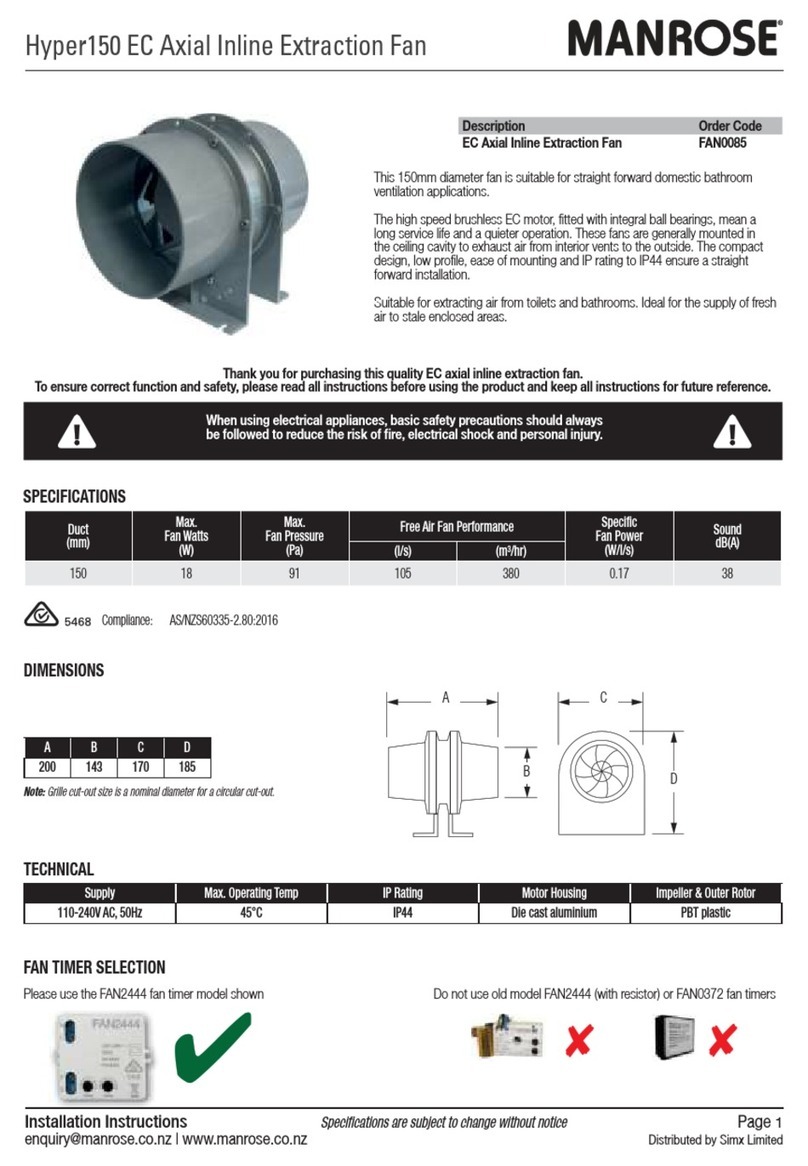
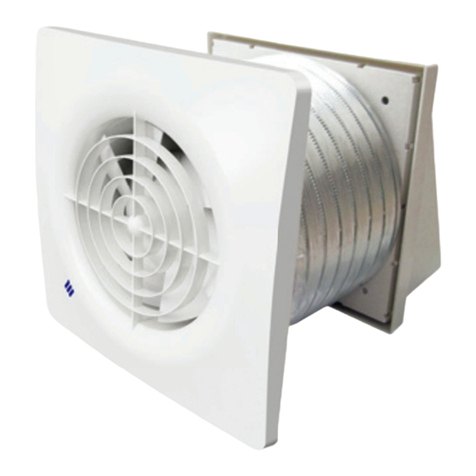
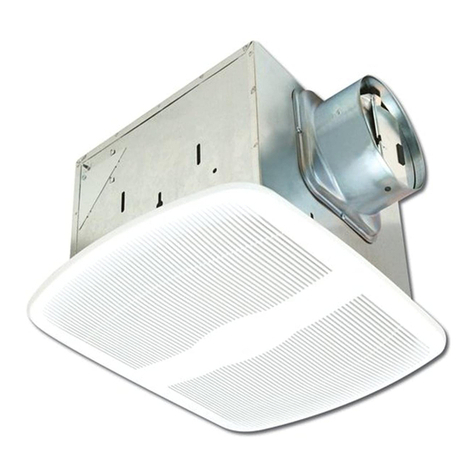
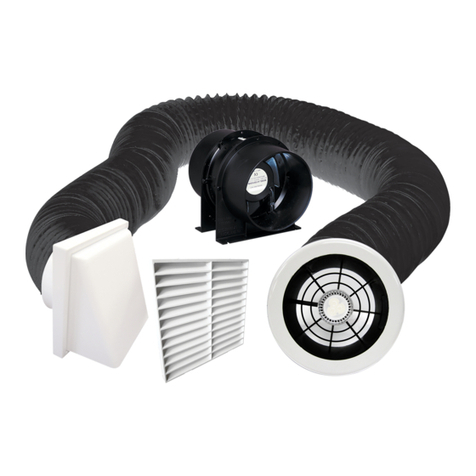
Inline Extraction Fan Kits - 125mm Low Profile
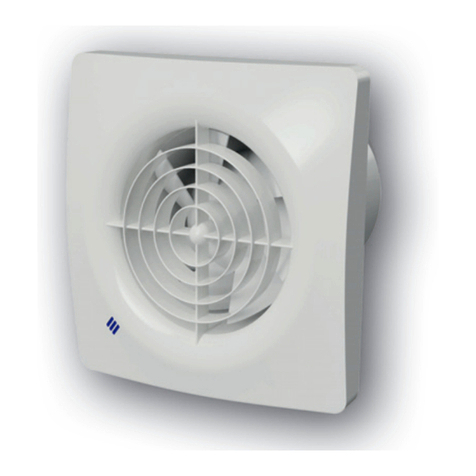
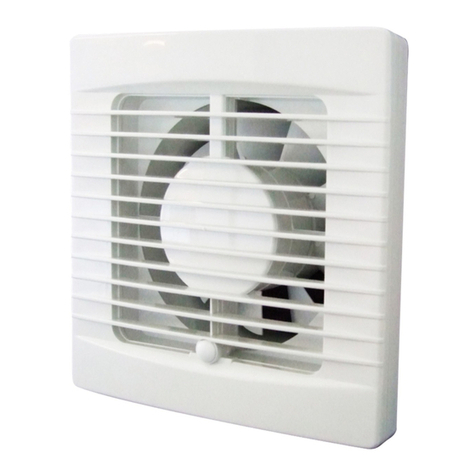
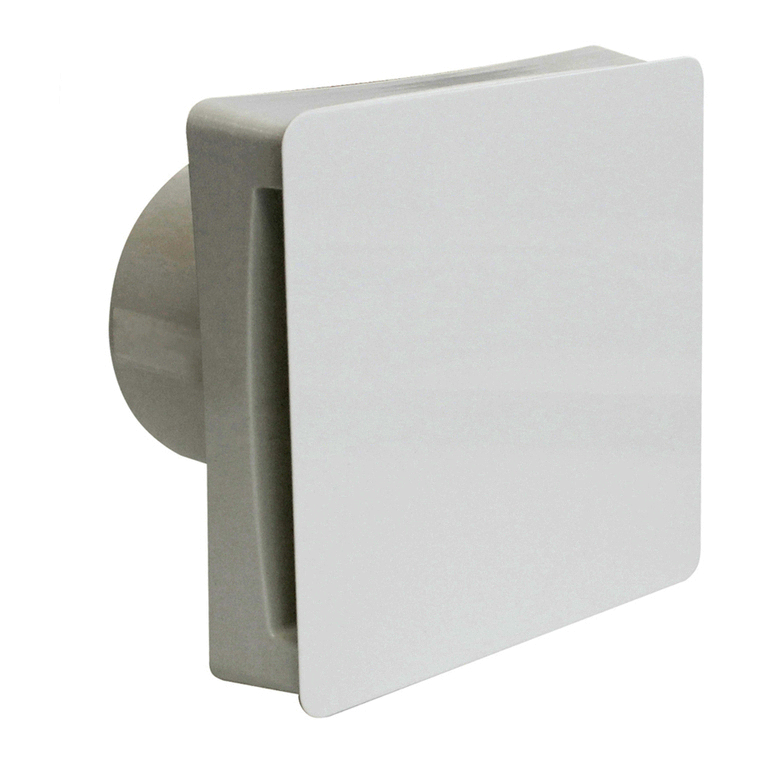
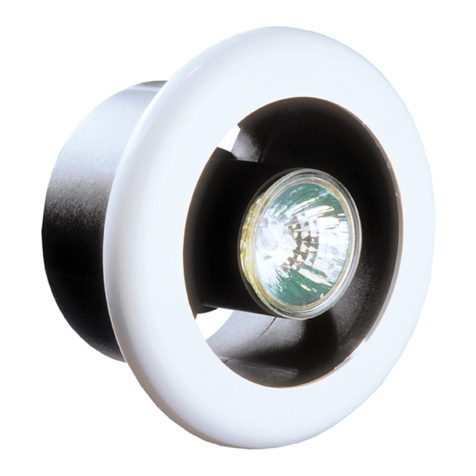
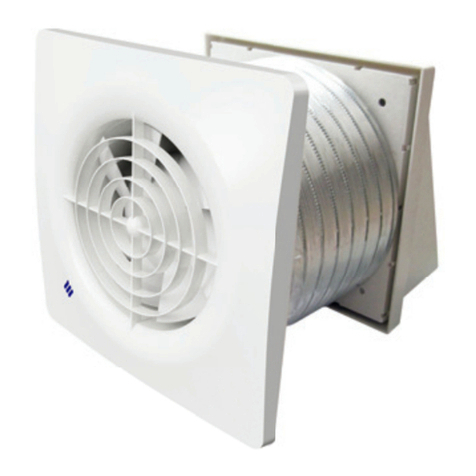
1. First select the grille you prefer in your room. There are two designs a circular eggcrate fascia or a square low profile fascia to choose from for
the interior grille.
2. The interior grille comes in two parts, the chassis (or spigot) and the fascia options. If using the gib-fixing clips option cut a 130mm hole in the
ceiling directly over the shower head ensuring first that the area above is free from obstruction and between two joists. If not using the gib fixing
clips option, cut a 125mm diameter hole.
3. If using the gib fixing clip option the white fastening wedge-type clips must be fitted onto the grille body – the closed end of the ‘V’ points
towards the rear of the grille. Start the screw through the flange on the grille into the screw-hole in the clip with two or three turns.
If the ceiling or wall lining is thicker than standard 12mm board it may be necessary to use longer screws than those supplied. When fitted,
fasten the ducting onto the grilles using the tape supplied.
Push the grille fully into the hole and then use a screwdriver to push the clips up into the hole. Once through the hole the clips will spring open
and can then be tightened with the screw to pull back down onto the rear side of the lining. Tighten until firm only. Do not over-tighten. Fit the
chosen fascia onto the chassis. Note if using the round option, there are two lugs on the rear rim of the insert which locate into corresponding
slots in the black housing, adjacent to the ends of the bridge-piece in the housing. This ensures the egg- crate pattern is lined up with the
bridge-piece correctly.
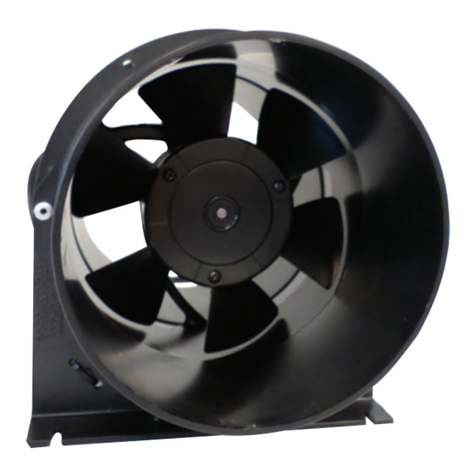
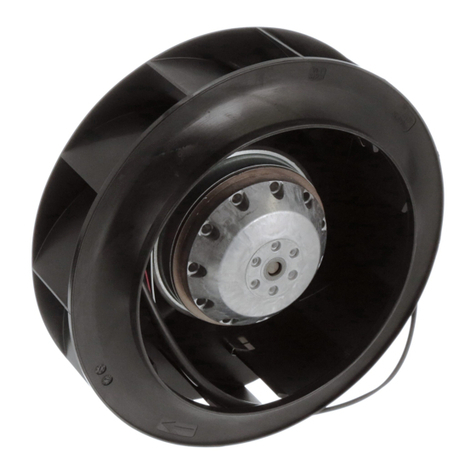
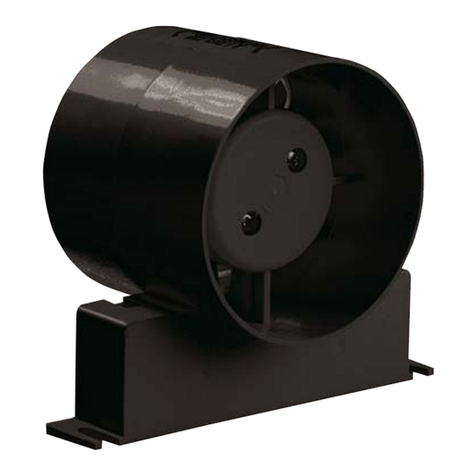
4. Select a suitable place for the Fan to be screwed to a joist and secure using two screws through the fixing bracket. The fan motor is of ball
bearing design to prolong the life of the motor.
NOTE: The discharge end of the Fan unit is the end where you can see the back draught shutter. There is also an arrow on the
unit showing airflow direction.
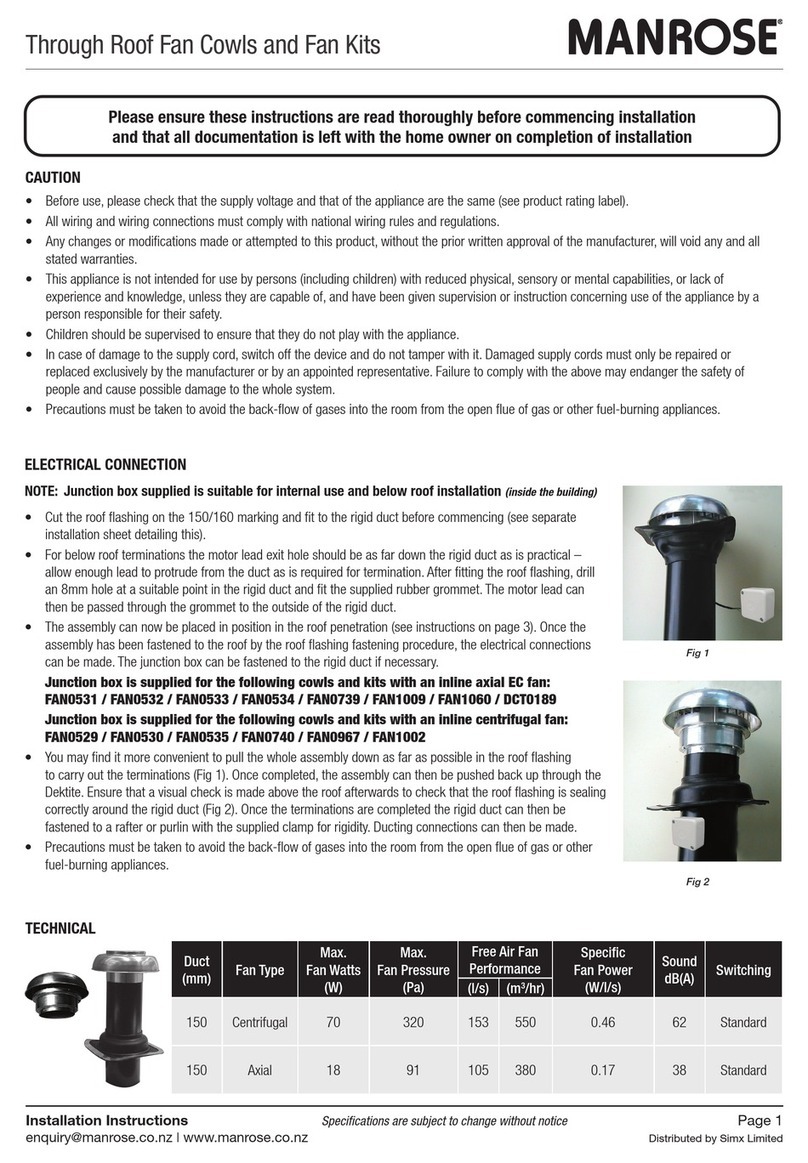
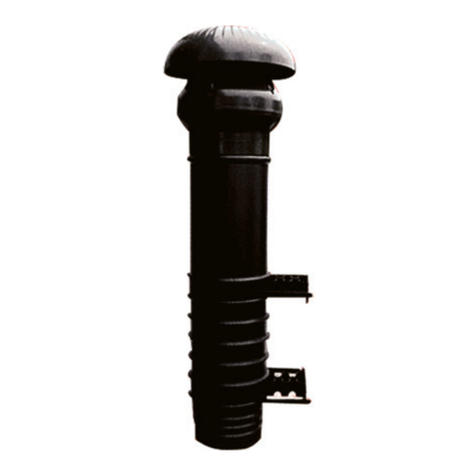
5. For the exterior grille there is also a choice of options, either a weatherproof cowl or a fixed grille. Select a suitable position either in the soffit
or on an outside wall for your chosen grille. Carefully remove the grille insert/cowl from its housing by levering gently at the sides with a small
screwdriver. Cut a 135mm hole ensuring first that the area above is free from obstruction.
6. Attach one end of the flexible duct to the spigot with the duct tape provided and from the outside feed the duct through the hole until the grille
is flush with the soffit/wall. Mark the position of the fixing holes on the soffit/wall. Drill the holes and screw the grille to the soffit/wall then refit
the chosen grille to the chassis.
Note: It is best not to cut the flexible duct until the grille has been screwed to the outside surface to avoid the possibility of
cutting the duct too short. The Fan motor is not intended to be mounted on the outside of walls or windows.
7. Pull the flexible duct gently to the discharge spigot of the fan and cut it to length and connect to the fan with duct tape provided.
NOTE: The discharge end of the fan unit is the end where you can see the fan blade clearly. There is also an arrow on the unit
showing airflow direction.
8. Connect the remaining piece of duct to the ceiling grille and onto the fan using the duct tape provided.
NOTE: Make sure wherever possible to keep the duct running in a straight line as this will improve the performance of the fan.
9. Make the electrical connection as follows:
Wiring of Standard Switching model FAN0616 (Fig. 1).
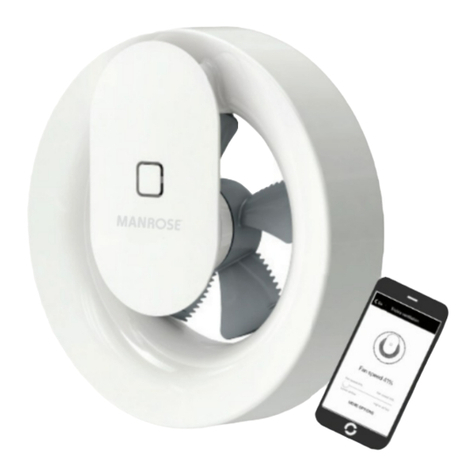
The fan can be connected to the light switch so that the fan will start when the light is switched on, or a dedicated fan switch (not supplied).
The fan should not be accessible to a person using either the shower or the bath.
Wiring of Timer Switching model FAN0617 (Fig. 2).
The fan can be connected to the light switch so that the fan will start when the light is switched on, or a dedicated fan switch (not supplied).
When the light is switched on, the fan will run for between 1 & 20 Mintes (pre-set to 1 minute). The fan should not be accessible
to a person using either the shower or the bath.
NOTE: All wiring must be fixed securely and the cable to the fan should be a minimum of 1mm2in section. All wiring
must comply with current regulations. This system should be installed by a registered electrician.
The time delay is preset for approximately one minute and can be adjusted as described in Timer Adjustment instructions on Page 6
INSTALLATION


