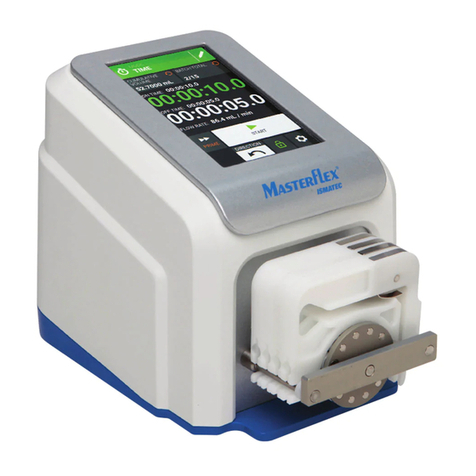
3-2 Masterflex REGLO Digital Pump Drive with Advanced Connectivity
Section 2: Basic Setup & Settings
Masterflex
BEFORE STARTING THE DRIVE
!CAUTION: Do not block the rear panel of the pump drive. e power switch must always
be easy to access and the power cord must always be easy to disconnect.
!CAUTION: Turn the drive o before removing or installing tubing. Fingers or loose cloth-
ing could get caught in the drive mechanism.
!
CAUTION: e power cord set supplied with your pump drive meets the requirements
of the country where you purchased the pump drive. If you use the pump drive in another
country, you must use a power cord set that meets the requirements of that country.
!CAUTION: If the product is not used in the manner specied in the instructions, the pro-
tection provided by the equipment may be impaired.
• Ensure the pump drive is mounted on a at surface.
• Ensure adequate air ow around the pump drive and ensure that the ambient air temperature does not
exceed 104° F (40° C).
• Tubing should be clean and routed so that bend radii are at a minimum of four (4) times the outside tube
diameter and are as short as possible.
• Use the appropriate tube diameter for the required ow rate and viscosity.
• Recalibrate tubing regularly to maintain the best ow rate accuracy (for further information see "Tube
Calibration" on page 3-8).
• For tubing selection and compatibility go to www.masterex.com.
• Remove the pump drive’s power cord from the mains power outlet when cleaning or performing
maintenance on the drive.
SWITCHING ON THE DRIVE
1. Plug in and securely fasten the supplied 24 VDC desktop power supply to the power cable barrel
connector located at the rear of the drive.
2. Plug the opposite end of the power cable into a mains power outlet.
3. Switch the drive on using the power switch located at the rear of the drive. NOTE: e drive takes
approximately two minutes to complete start-up.
NOTE:
• On the initial start-up the Language Settings screen will be displayed. A language must be selected before
pump operation (for further information see "Language Settings" on page 3-10).
• Following the initial start-up all subsequent start-ups will revert to the mode of operation screen
previously in use.
• After 30 minutes of inactivity the REGLO will enter sleep mode and the display will turn o. Tapping
the touchscreen will reactivate the drive. To enable (default) or disable the screen saver see "Screen Saver"
on page 3-12.
