47
Correcting Card Curl
Depending on the cards you use, even given optimum secondary transfer conditions (speed
and temperature), cards may curl. After secondary transfer, by correcting card curl (decurl), you
can reduce the amount of curl.
You can also change the settings by using the printer driver (→See "Opening the
Printer Driver Settings Screen" on page 89).
The factory default status is not to carry out decurl.
Secondary transfer conditions (speed and temperature) that have not been optimized,
and application of excess heat are major causes of cards curling after printing. Prior
to correction using decurl, adjust the secondary transfer conditions.
→See "Setting the Types of Card to Use" on page 44 for adjustment of secondary transfer conditions.
1
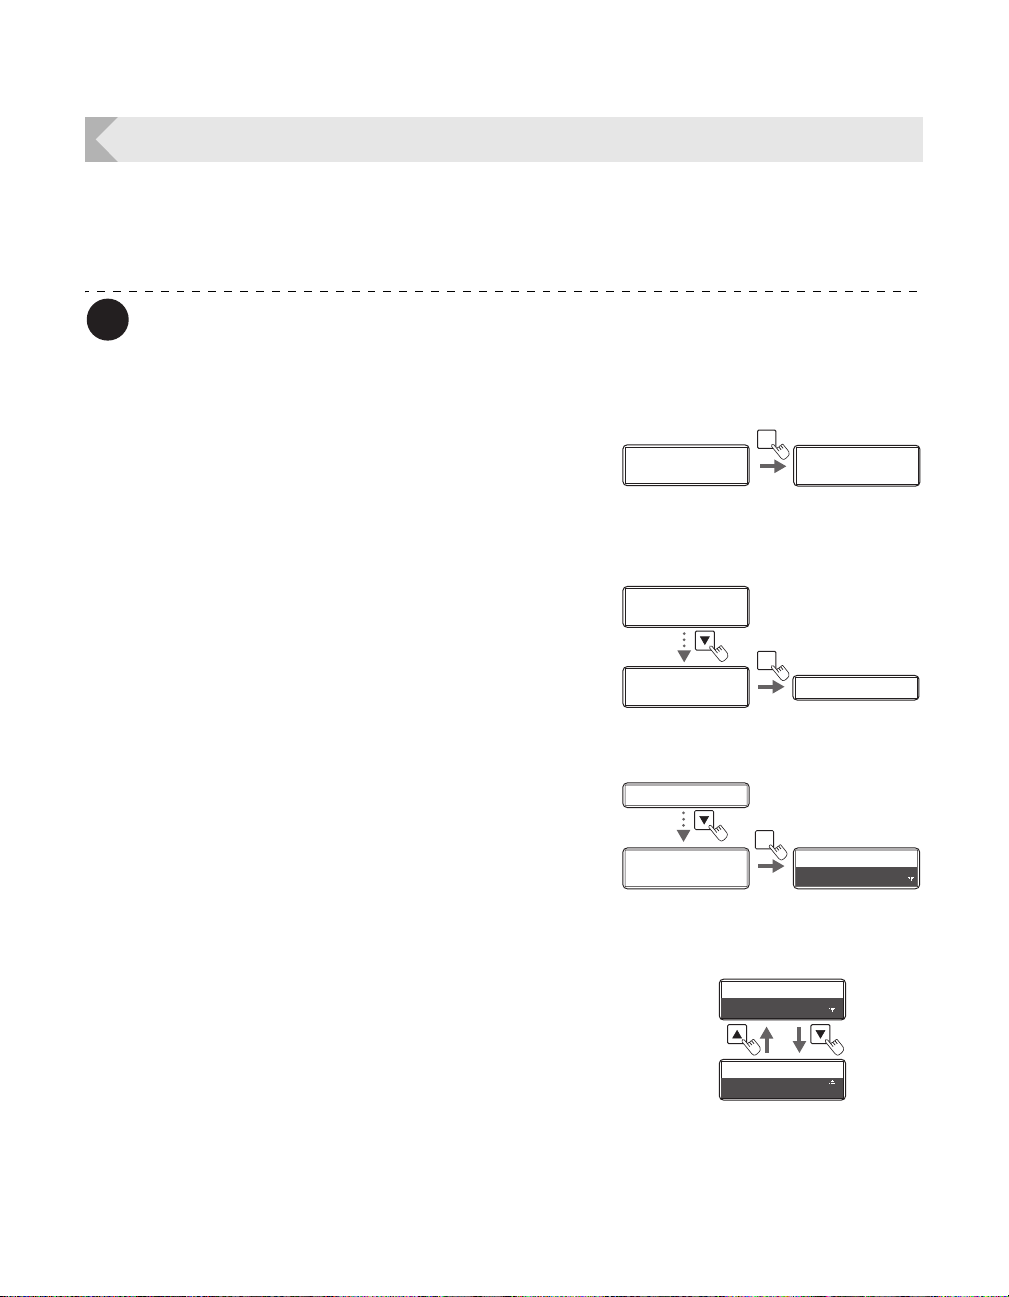
Switch from Normal Mode to User Mode.
→See "Switching to User Mode" on page 24 for details on
how to switch to User Mode.
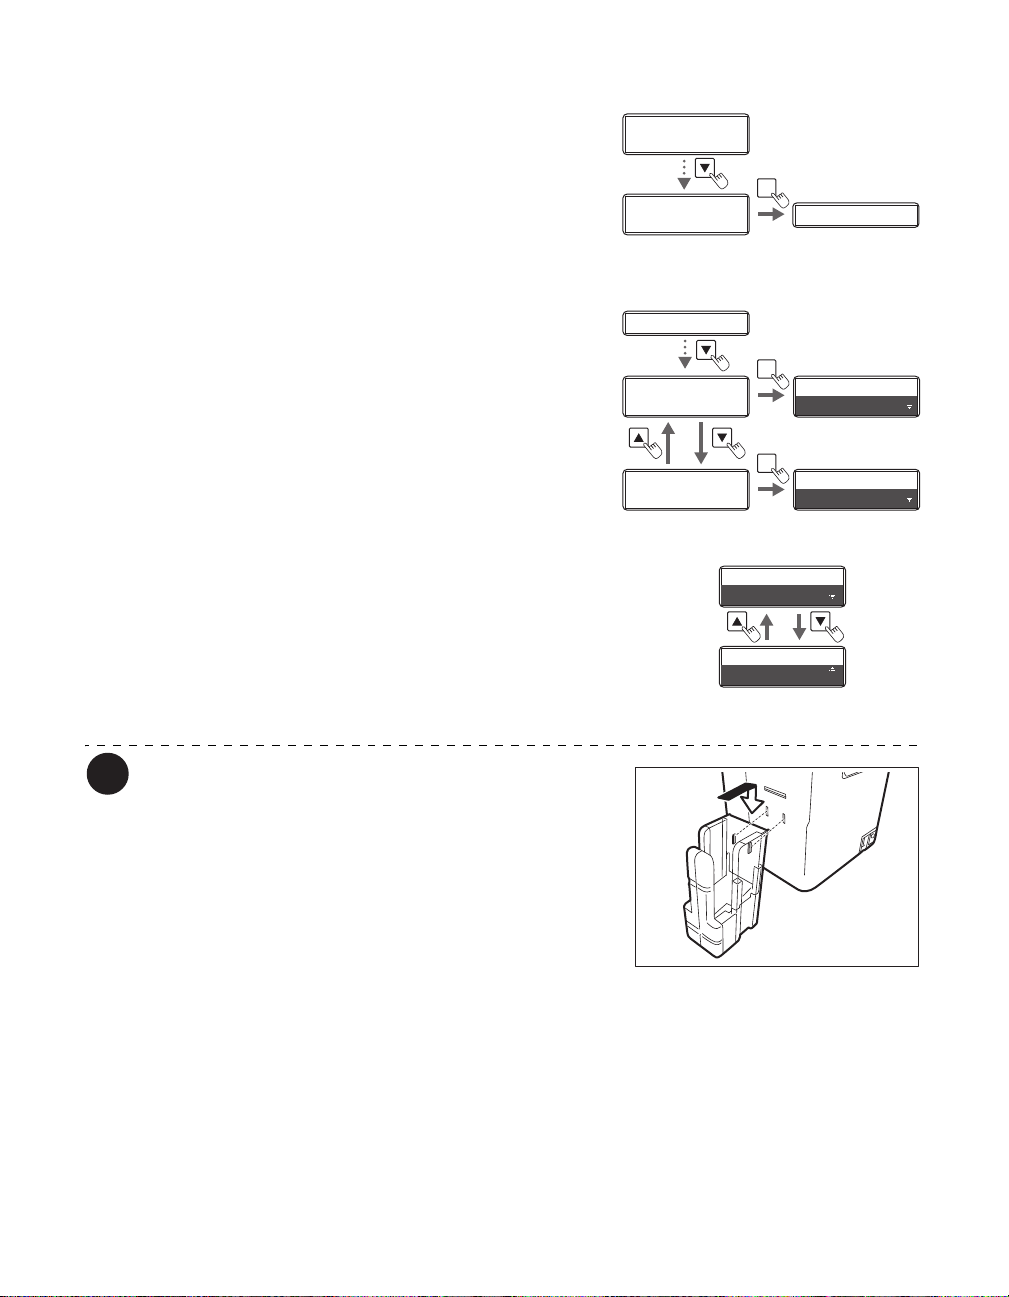
2Press the Key until [Card Setup] is
displayed, then press the SET Key.
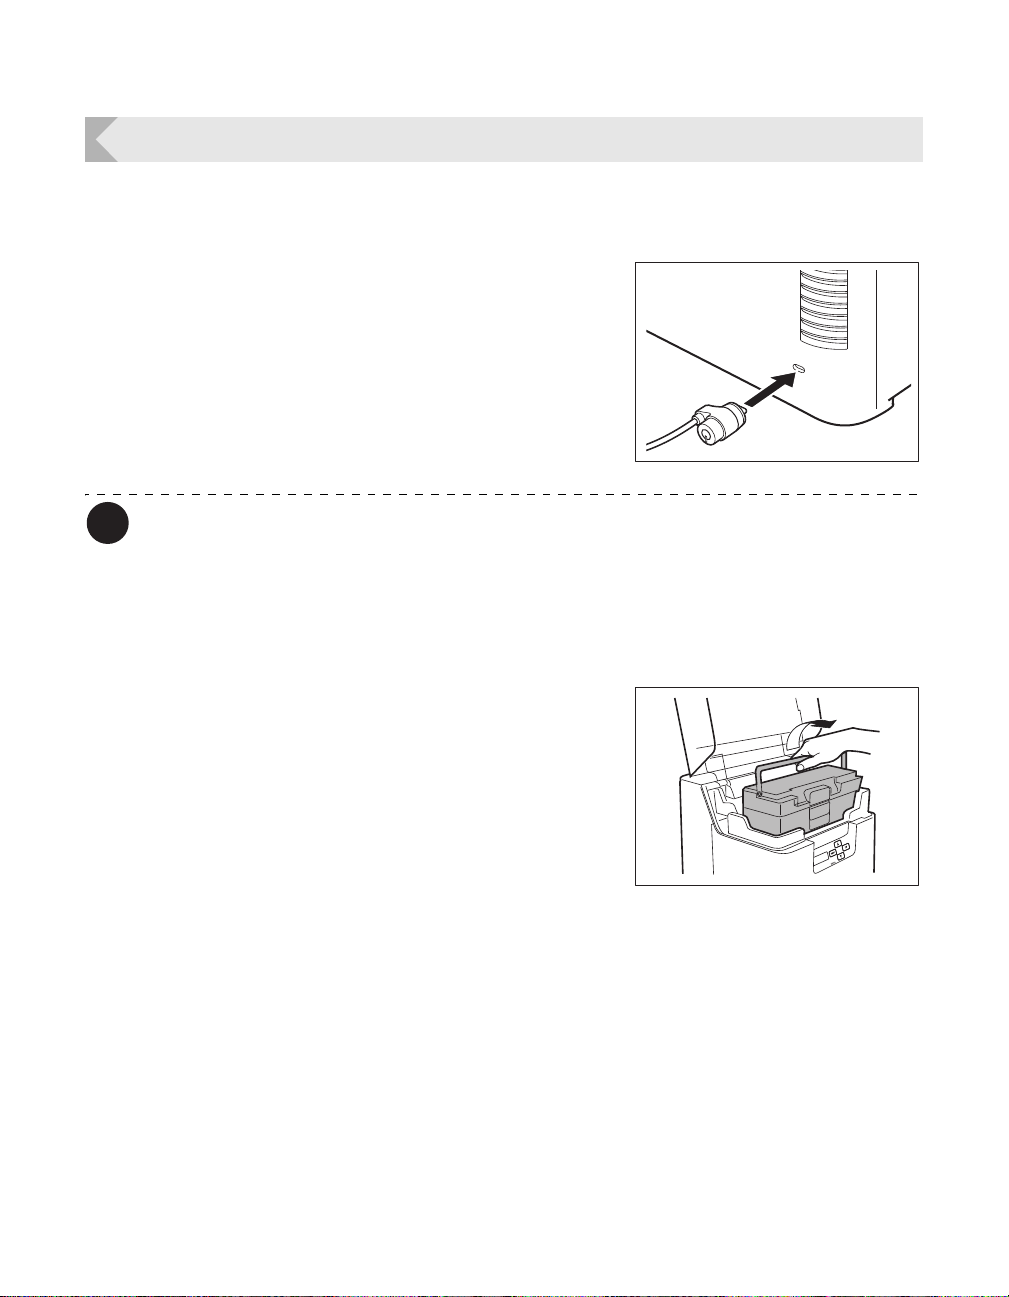
3Press the Key until [Decurl (Front)] is
displayed, then press the SET Key.
• Cards that have had their warp corrected are output.
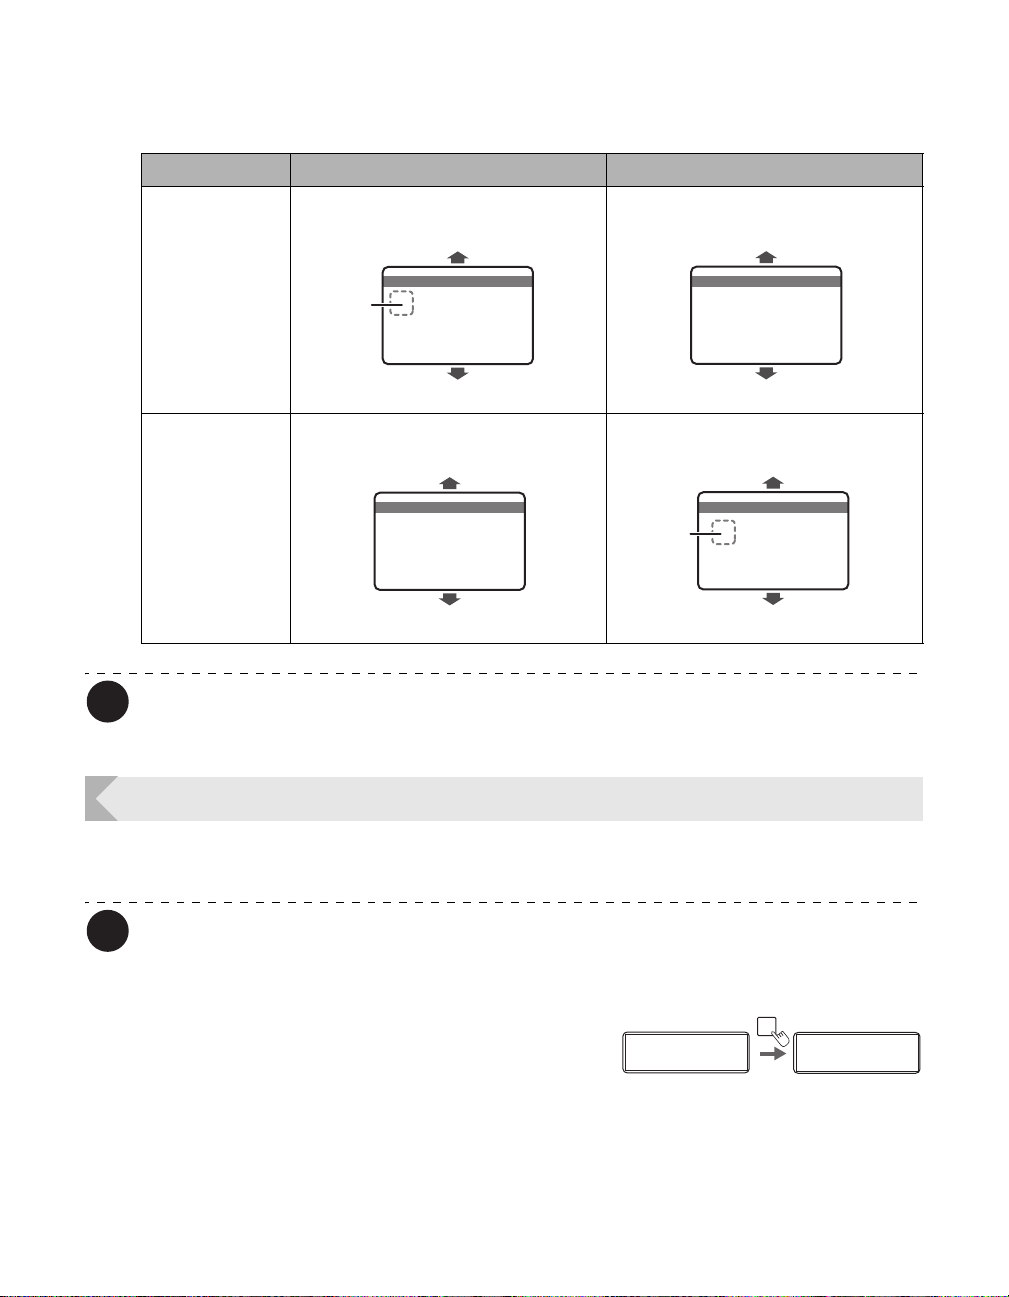
4Change the settings by using the /
Keys, then press the SET Key.
• Figures show the duration (seconds) for which decurl
after transfer of the front surface is carried out.
•
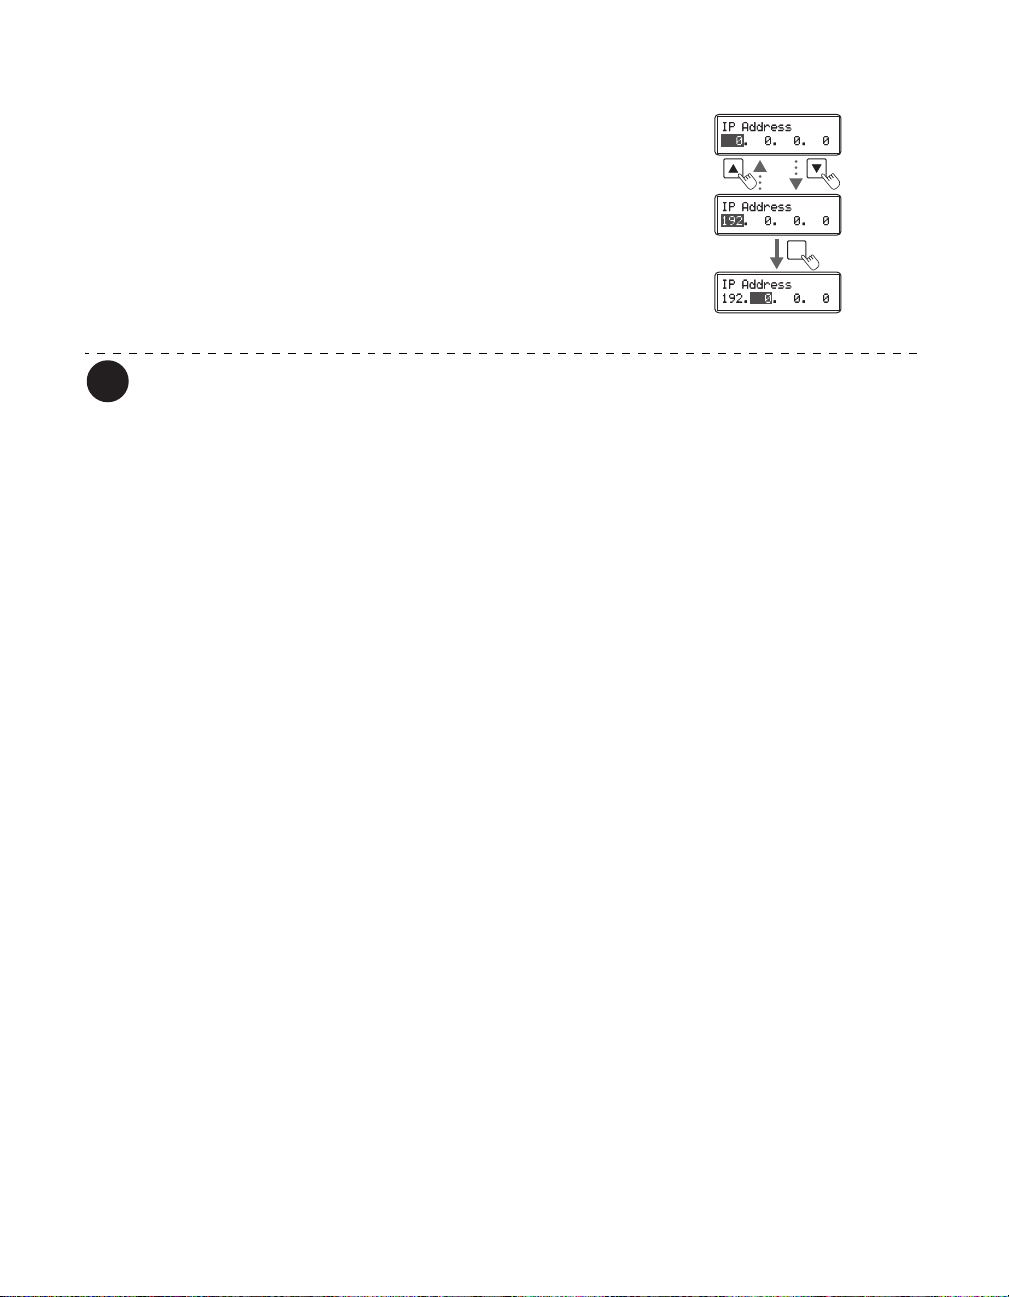
You can set the decurl duration from 0-15 seconds. If
the settings value is set to "0", then there will be no
decurl after transfer of the front surface.
• Use the /Keys to change the value, and press the
SET Key to fix the changes.
• If the MENU Key is pressed prior to pressing the SET
Key to fix the changes, then the changes will be
canceled.
Ready to PrintReady to Print Printer Info.
SET:>>
Printer Info.
SET:>>
MENU
Normal Mode User Mode
Printer Info.
SET:>>
Printer Info.
SET:>>
Card Setup
SET:>>
Card Setup
SET:>> Card TypeCard Type
SET
Card Type
Decurl (Front)
SET
Decurl (Front)
0
0
Decurl (Front)
Decurl (Front)
10
0