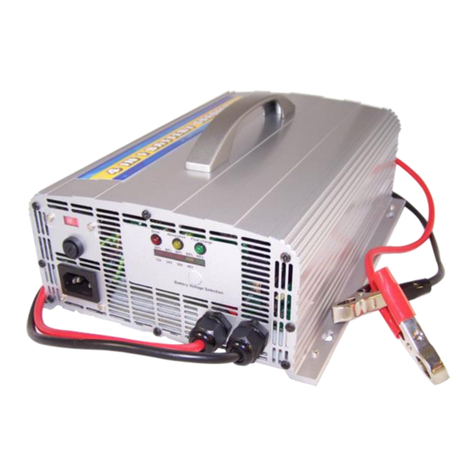
matson Infinite IR61224 User manual

IR61224BATTERYCHARGER

Revision Status
TopicRevision ChangeRev
Document Released20150210
IR61224 | 20150210
2

Contents
Revision Status...........................................................................................................................2
Safety...........................................................................................................................................4
General Information..................................................................................................................5
Operation....................................................................................................................................7
Error Codes..............................................................................................................................10
Warranty...................................................................................................................................11
3IR61224 | 20150210

Safety
This manual contains important safety and operating instructions for the IR61224 Battery Charger.
Read this manual carefully before using.
Consider ALL safety, warning and caution instructions carefully.
Warning
1. The battery charger is intended for use by adults and should not be operated by children
2. It is designed for use in dry and protected environments. DO NOT expose to the elements i.e. rain,
dust, etc.
3. This charger is for 6, 12 and 24 Volt use only. DO NOT exceed ratings nominated in the specications
for the charger described in this manual.
4. The IR61224 charger range requires an earthed 240Volt mains power supply
5. Disconnect from the 240Volt mains power supply before making connections and/or disconnecting
clamps from the battery.
6. When disconnecting power, pull by the plug - DO NOT pull on the power lead.
7. Do not attempt to use charger if it is damaged or faulty
8. DO NOT charge non-rechargeable batteries
9. Always check the manufacturers recommended charge rates and voltage specications for the battery
prior to charging
10. DO NOT attempt to charge or jump start a frozen lead-acid battery
11. Only use attachments supplied with the charger - failure to do so may result in personal injury or
equipment damage or void warranty
12. Dispose of faulty batteries in an environmentally responsible manner
Avoid contact with battery acid - it is highly corrosive, causing burn injuries and equipment
damage.
Wear safety glasses to prevent eye injuries.
If acid contacts eyes - ush immediately with cold water for 10 minutes, and seek medical
attention
Wear protective clothing to prevent acid contacting the skin.
If battery acid contacts skin - wash immediately with soap and fresh water.
Remove all jewellery and personal metal items when working with a lead-acid batteries.
• A lead-acid battery can generate explosive gases during normal battery operation. To reduce
risk of explosion, follow these instructions, those of the battery manufacturer and of any
equipment being used in vicinity of battery
• Use the jump start in a well ventilated area. DO NOT operate in the vicinity of ammables
such as petrol etc. Do not allow sparks or ame near the battery
• Short circuiting the contacts can generate a spark, creating a potentially explosive situation -
take care with tools and components
• Never smoke while working with a lead-acid battery.
IR61224 | 20150210
4
General Information
Features
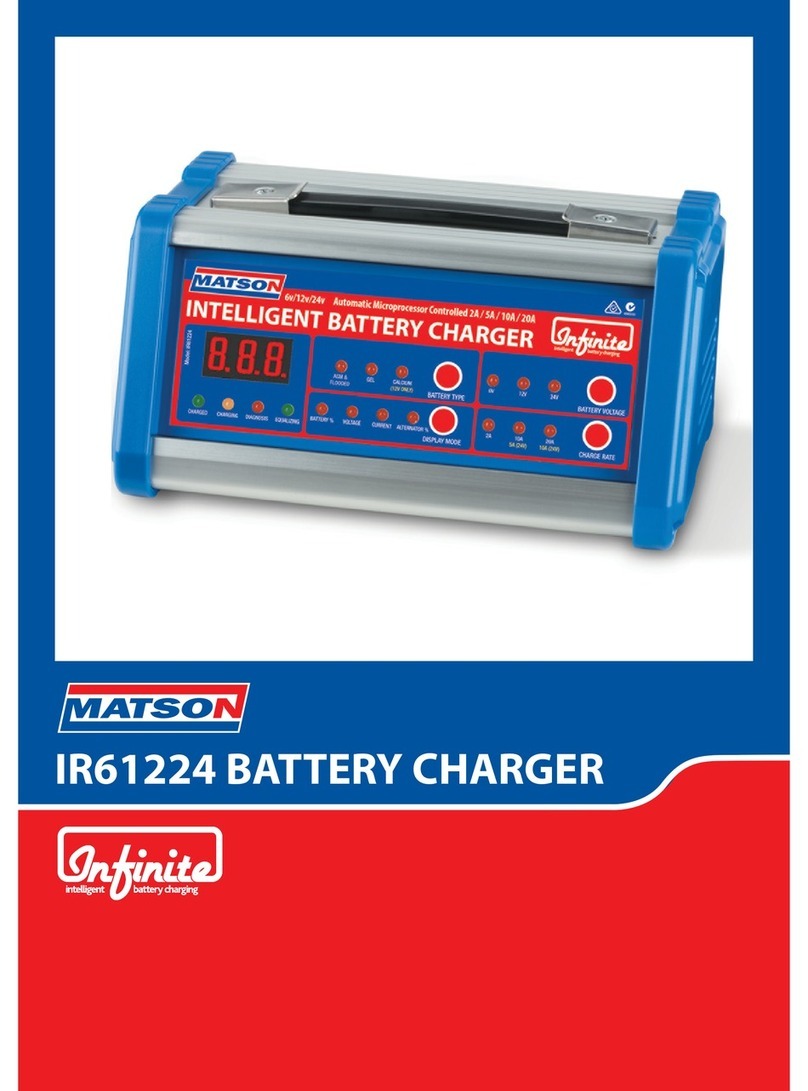
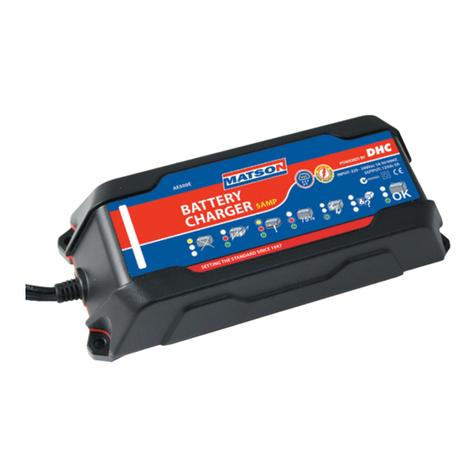
The Matson INFINITE IR61224 is a fully automatic 7 stage battery charger.
The INFINITE IR61224 charger:
• Prevents the battery from overcharging and consequent damage
• Can be connected to the battery indenitely
• Are programmable for different battery types including GEL, AGM, Deep Cycle, Sealed Lead Acid
and Calcium batteries
• Has variable Voltage outputs
• Has a unique inbuilt diagnosis program. On connection to the battery, the charger automatically
diagnoses the battery condition and changes its charge rate and charge stages accordingly. This optimises
charging conditions and extends battery life
• Is housed in a robust aluminium case
• Has a LED display for: voltage, current, battery capacity & alternator %
• Has electronic touch-button controls
• Has a desulphation stage
• Uses high frequency charging for efciency
• Incorporates polarity protection
• Prevents output leads from sparking due to reverse connection or short circuit
• Has over temperature protection - internally fan cooled with a set cut off point for additional safety
• Has over current protection - charger automatically reduces current for optimum battery condition.
• The IR61224 does NOT have a memory function.
• After a power loss, the BATTERY VOLTAGE reverts to the default setting - 12VDC
• BATTERY TYPE reverts to the default setting - Flooded
Specifications
IR61224Model
7Charging Stages
240VAC, 50HzInput
6/12/24 Volt DC SelectableOutput Voltage
5IR61224 | 20150210

IR61224Model
6/12 Volt, 2/10/20 Amp. SelectableOutput Current
24 Volt, 2/5/10 Amp. Selectable
1.5 VoltMin. Start Voltage
Charge Control
High Frequency Pulse Charge (DEPENDENT ON DIAGNOSIS)Desulphation
YesSoft Start
24 Volt12 Volt
6 VoltCharge Rates
• Flooded - 28.6v• Flooded - 14.7v
• Flooded - 7.2v
•• Gel - 28.2vGel - 14.1
• Gel - 7.05v
• Calcium - 15.1v
Constant voltage with automatic Amperage controlAbsorption
AutomaticEqualization
Automatically detects faulty batteries. Error codes indicate faultAnalysis / Fault Find
When selected - indicates alternator is functioning correctlyAlternator Function
24V @ 27.4V12V @ 13.7V6V @ 6.8VFloat
NoReboot
Features
AluminiumCase Construction
YesFan Cooled
NoPermanent Mount
2.4kgWeight
246 x 146 x 50mm (LxWxH)Dimensions
12 MonthsWarranty
Battery Size / Type
10 - 240 Ah ChargeSize
2 - 400 Ah Maintain
150 - 800 CCA Charge / Maintain
Storage, Deep Cycle and Automotive and IndustrialType
IR61224 | 20150210
6

Operation
Front Panel Indicators
BATTERYTYPE
Press to select. Selection cycles through FLOODED / GEL / CALCIUM
Red LED indicates type selected
BATTERY VOLTAGE
Press to select. Selection cycles through 6V / 12V / 24V
Red LED indicates voltage selected
CHARGE RATE
Press to select. Selection cycles through 2A / 10A / 20A. NOTE: If 24V is selected - the selections are
2A / 5A / 10A
Red LED indicates charge rate selected
• 2A - Slow charge - recommended for optimal battery condition. e.g. A 100Ah charges in approx 20
hours
• 10A - Intermediate charge - e.g. A 100Ah charges in approx 10 hours
• 20A - Boost charge - e.g. A 100Ah charges in approx 5 hours
These times are a guide only - charge rates will vary depending on a number of conditions.
You can switch between charge rates during the charge process. The charge rate
automatically adjusts to the present charge level
DISPLAY MODE
Press to select. Selection cycles through BATTERY % / VOLTAGE / CURRENT / ALTERNATOR %
Red LED indicates mode selected
• BATTERY % - % of charge in the battery
• VOLTAGE - Voltage of the battery being charged
• CURRENT - Current (amperage) going into the battery being charged
•ALTERNATOR % - You can only select ALTERNATOR % Mode when the clamps are NOT connected
to a battery
CHARGED LED
Green LED - lit when battery is fully charged
CHARGING LED
Amber LED - lit when battery is being charged
7IR61224 | 20150210

DIAGNOSIS LED
Red LED - lights when charger is turned on and stays on until clamps are connected
EQUALIZING LED
Green LED - lights when the charger detects less than 8 volts in the battery being charged. The charger
equalizes each cell until the battery reaches a minimum charge level - approximately 2.1 volts per cell.
Charging A Battery
1. Turn the charger ON by connecting it to 240VAC mains power
2. Press BATTERY TYPE to select the required battery chemistry
3. Select BATTERY VOLTAGE - 6 / 12 / 24 volts
4. Select CHARGE RATE required
• If charging a battery in a vehicle, ensure cables are removed from any rotating or
crush hazards.
• Conrm the vehicle is negative earth - vehicle chassis.
5. Attach the black / negative -clamp to the negative terminal of the battery
6. Attach the red / positive +clamp to the positive terminal of the battery
7. There is a 30 second delay between connecting the clamps and switching to charge and CHARGING
LED illuminating
8. Once charging has started, press the DISPLAY MODE button to cycle between the BATTERY % /
VOLTAGE / CURRENT status of the battery being charged
9. Green CHARGED LED lights when the battery is fully charged and displays FULL on the display
10. When fully charged, you can either
• Leave the charger connected and it operates in a maintenance mode, or
• Disconnect as follows
11. Turn the charger OFF at mains power
12. Disconnect the red / positive +clamp from the battery positive terminal
13. Disconnect he black / negative -clamp from the battery negative terminal
Alternator Function
Alternator function can only be selected when the clamps are NOT connected to a battery.
1. Turn the charger ON
IR61224 | 20150210
8

2. Press DISPLAY MODE to select ALTERNATOR %
3. Connect the RED DC clamp from the charger to the Positive (+) battery post and the BLACK DC
clamp from the charger to the Negative (-) battery post.
4. Start the engine and rev the motor -
• If alternator is working correctly, display indicates a value higher than 50
• If the display indicates less than 50 - the alternator is not performing as designed and requires
checking by a qualied technician.
9IR61224 | 20150210

Error Codes
Troubleshooting
CommentFault / ConditionLED / Error Code
LED stays ON until clamps are
connected
Charger is diagnosing battery
condition
DIAGNOSIS LED lit
Battery is chargingCHARGE LED lit
Battery is fully charged and
operating in oat mode
CHARGED LED lit
Charger is equalizing the charge
across ALL battery cells
EQUALIZING LED lit
Replace batteryBad cells in batteryF01
Bad cells in battery - replace
battery
Charge time exceeds 48 hoursF02
Check clamps for correct polarityReverse connectionF03
Charger starts again when
temperature drops. Ensure charger
vent is not covered
OverheatingF04
Battery cannot be efciently
charged - replace battery
Aging batteryF05
Set correct charge rate voltageIncorrect voltage settingF06
Standby - awaiting input / settings00
IR61224 | 20150210
10

Warranty
Warranty Against Defects Procedure
Matson Group Pty Ltd
100 Links Rd, St Marys, NSW 2760
Phone: 02 98333444
Warranty
Matson warrants its products to be free of defects for reasonable consumer use for a period of 12 months.
Matson will repair or replace the warranted product and it will return the repaired products under warranty
to the consumer at Matson’s cost.
To make a claim under this warranty, the consumer must:
• Advise Matson of the defect as soon as it becomes apparent within 12 months of the purchase date
and obtain a return authority by phoning Matson on the above number
• Provide satisfactory proof of purchase; and
• Send the faulty item to the address supplied above. All expenses related to sending the products back
to Matson are at the consumer’s cost.
Exclusions from Warranty
This warranty does not apply to products where:
• There is evidence of Improper maintenance or abuse to the products
• The products have been exposed to harsh environmental conditions or those outside the specied
operating conditions
• Unauthorised modication is evident to the products or misuse of products
• Operation outside the products specication.
Warranty Disclaimers
Matson’s liability in respect of a breach of a consumer guarantee or any warranty made under these
warranty terms and conditions for any products not of a kind ordinarily acquired for personal, domestic
or household use is limited, in relation to the products to the extent permissible by law and at it’s option
to:
• Replacing the products or the supply of equivalent goods
• The repair of the products
• The payment of the cost of replacing the products or of acquiring equivalent goods; or
• The payment of the cost of having the products repaired.
To the extent permitted by law, all other warranties whether implied or otherwise, not set out in these
warranty terms and conditions are excluded and we are not liable in contract, tort (including, without
limitation, negligence or breach of statutory duty) or otherwise to compensate the customer for:
• Any increased costs or expenses
• Any loss of prot, revenue, business, contracts or anticipated savings
• Any loss or expense resulting from a claim by a third party; or
• Any special, indirect or consequential loss or damage of any nature whatsoever caused by Matson’s
failure in complying with its obligations.
MATSON IS NOT RESPONSIBLE FOR DAMAGE THAT OCCURS AS A RESULT OF YOUR
FAILURE TO FOLLOW THE INSTRUCTIONS INTENDED FOR THE MATSON PRODUCT
In the following paragraph, “Our” means Matson and “You” means the customer:
Our goods come with guarantees that cannot be excluded under the Australian Consumer Law.
11IR61224 | 20150210

You are entitled to a replacement or refund for a major failure and for compensation for any other
reasonably foreseeable loss or damage. You are also entitled to have the goods repaired or replaced if
the goods fail to be of acceptable quality and the failure does not amount to a major failure.
The benets given to the customer in this warranty are in addition to other rights and remedies under a
law in relation to the products to which this warranty applies.
IR61224 | 20150210
12

Index
A
Alternator Function 8
C
Charging A Battery 8
F
Front Panel Indicators 7
I
IR61224 Features 5
S
Safety - Warnings and Cautions 4
T
Troubleshooting 10
W
Warranty 11
13IR61224 | 20150210
Other manuals for Infinite IR61224
1
Table of contents
Other matson Batteries Charger manuals

matson
matson MA61224 User manual

matson
matson AEE400 User manual

matson
matson MA21DCS User manual

matson
matson Infinite IR61224 User manual

matson
matson Workshop MW15 User manual

matson
matson MA20DC User manual

matson
matson MA20DC User manual

matson
matson MA40DCS User manual

matson
matson AE150E User manual

matson
matson MA4INONE User manual
Popular Batteries Charger manuals by other brands

OXA
OXA Power Bank user manual

Sterling Power Products
Sterling Power Products BB1210 manual

Motorola solutions
Motorola solutions IMPRES PMPN4527 user guide

Teltonika
Teltonika TeltoCharge EVC131 installation manual

Chicago Electric
Chicago Electric 47618 Set up and operating instructions

Myenergi
Myenergi zappi Operation manual