manuals.online logo
Brands
  1. Home
  2. •
  3. Brands
  4. •
  5. Maxxhaul
  6. •
  7. Automobile Accessories
  8. •
  9. Maxxhaul 50241 Instruction Manual

Maxxhaul 50241 Instruction Manual

Truck Rack
Model 50241
Read and understand this entire manual before assembling,
installing, operating, or servicing this product.
SAVE THIS MANUAL
Instruction Manual
&
Parts Catalog
MAXXHAULMAXXHAUL
FOR THE LONG HAUL
Copyrightc2020 by Maxx Group, LLC. All rights reserved. No portion of this manual or any artwork
contained herein may be reproduced in any shape or form without the express written consent of Maxx
Group LLC. Due to continuing improvements, actual product may differ slightly from the product
described herein. Tools required for assembly and maintenance may not be included.
IMPORTANT SAFETY
INFORMATION
This is a SAFETY ALERT symbol.
It is used to alert you to
potential personal
injury hazards. Obey all
safety messages that follow
this symbol to avoid possible injury or death.
DANGER indicates a
hazardous situation which, if not avoided,
will result in death or serious injury.
WARNING indicates a
hazardous situation which, if not avoided,
could result in death or serious injury.
CAUTION indicates a
hazardous situation which, if not avoided,
could result in minor or moderate injury.
NOTICE indicates
important information which, if not followed,
may cause damage to equipment.
SAVE THIS MANUAL
Keep this manual for the safety warnings and
precautions. The manual offers important infor-
mation on how to assemble, use and maintain
this product.
Write the product’s model number and purchase
date on the cover page of this manual.
Keep this manual (and your purchase receipt) in
a safe place.
UNPACKING
The shipment should be thoroughly inspected as
soon as it is received. The signed “bill of lad-
ing” is acknowledgement by the carrier of receipt
in good condition or shipment covered by our
invoice. For your own protection, if any of the
goods called for on the bill of lading are shorted
or damaged, do not accept them until the carrier
makes a notation on the freight bill of the shorted
or damaged goods.
Notify MAXXHAUL immediately if any hidden
loss or damage is discovered after receipt.
DANGER
WARNING
CAUTION
NOTICE
INSTRUCTION
MANUAL
WARNING concerning Risk of Eye
Injury. Wear ANSI approved eye
protection.
WARNING concerning Risk of
Hearing Loss. Wear hearing pro-
tection.
IMPORTANT SAFETY
INSTRUCTIONS
1. Read and understand all
safety warnings and instruc-
tions. Failure to follow the warnings and in-
structions may result in serious injury or death.
Save all warnings and instructions for future
reference.
2. Personal and Work Area Safety
A. Always wear ANSI approved
safety goggles.
B. Always wear hearing protec-
tection when working in noisy
environments. Prolonged exposure to high
intensity noise can cause hearing loss.
C. Use safety equipment. Safe-
ty shoes, hard hat and work
gloves must be used for applicable conditions.
Model 50241 Page 2 Model 50241 Page 3
D. Dress appropriately. -
ting clothing or jewelry when working. Contain
long hair, and keep hair, clothing and gloves
away from moving parts.
E. Use common sense when working. Stay
alert and concentrate when setting up and using
the Truck Rack. Never work while under the
F. While assembling and using the Truck
Rack keep work area clean and well lighted.
Keep spectators and children out of the work
area.
Personal and Work Area Safety (continued)
3. Use of the Truck Rack
A. The Truck Rack must be securely
bolted into the rail and bed of the truck.
The front and back racks of the Truck
Rack have a combined maximum carry-
ing capacity of 500 Lbs.
B. This Truck Rack is designed to carry lad-
ders, lumber, piping, rebar, sports equipment
and other long materials. Do not modify
the Truck Rack and do not use this prod-
uct for purposes that it was not designed
for.
C. Never exceed the maximum weight
capacity of 500 Lbs.
D. Be aware of the danger of “dynamic
loading”. This situation arises when a load
is dropped onto the Truck Rack, resulting in
a short term excessive load. Dynamic load-
ing can result in damage and failure of the
Truck Rack, damage to the truck, and per-
sonal injury to the person loading the Truck
Rack.
E. Never load people or animals onto the
Truck Rack. Keep children and spectators
well clear when loading and using this prod-
uct.
F. Adhere to all Department of Transpor-
tation (D.O.T.) requirements when using
this product. Use ropes and tie downs to
securely hold all cargo in place.
G. For the vehicle that will support the Truck
Rack, read all pertinent vehicle instruc-
tions and warnings provided in the owner’s
manual. Make sure the vehicle is in a safe
OFF, and parking brake set, before as-
sembly, and while loading or unloading
the Truck Rack.
H. The load on the Truck Rack should be
evenly distributed.
I. Before installing and driling holes in
the truck bed, verify that no electrical
lines or gas tanks are in the drilling path.
After drilling mounting holes and installing
the Truck Rack, recheck electrical lines and
braking system to insure proper operation.
Keep in mind that the warnings, cautions,
and instuctions previously discussed
cannot cover all possible events and
circumstances. It is important that the
person loading/unloading and using this
product use common sense and caution
at all times.
Limited Warranty
MAXXHAUL warrants to the original retail
purchaser that the product is free of defects
in material and workmanship at the time of
shipment. This Truck Rack is warranteed
for 90 days from the date of purchase. This
warranty is expressly in lieu of all other war-
ranties, express or implied.
Proof of purchase is required for warranty
transactions; a copy of the original invoice
or sales receipt is required.
WARNING
This MaxxHaul product
must be properly and securely attached to
your truck. Improper attachment can result
in property damage, damage to the vehicle
and serious injury, or death to people
nearby.
The person(s) setting up and attaching the
Truck Rack is responsible for making sure
that the Truck Rack and it's contents are
securely attached to the vehicle. Both Truck
Rack and contents must be frequently
inspected (both before and during the trip) to
insure that all components are in good
condition, with the load tightly held in place
with tie-downs, straps, or other securing
devices.
All people setting up and using this Truck
Rack must read and understand all warnings
and instructions provided in the included
Instruction Manual and Warning Label. If
you do not fully understand all instruc-tions
and warnings, and/or it you are not experi-
enced in doing this type of product set up,
the Truck Rack should be installed by quali-
fied service technicians.
Model 50241 Page 4
Assembling and Setting Up
the Truck Rack
2. On a soft surface (to avoid damaging the
paint), lay out the major components of the
Truck Rack.
3. Before starting assembly, note how the
Uprights (5 and 6) will be mounted on the
inside upper edge of the sides of the truck-
bed.
5. Next, add a Cross Beam Extension
(4) between each A Crossbrace (2) and
B Crossbrace (3). Hand tighten the Set
Screws to hold each upright in place.
6. With assistance, place each upright
inside the truckbed. Adjust the Cross Beam
Extensions so that the width of the uprights
the truckbed. Tighten all Set Screws.
8. With set-up complete, double check that
all hardware is tightened down.
Using the Truck Rack
1. Adhere to all Department of Transporta-
tion (D.O.T.) requirements when using this
product. Use ropes and tie downs to
Always wear ANSI approved
safety goggles.
Model 50241 Page 5
Parts List
SPECIFICATIONS
Maximum Weight
Capacity (front and back
uprights combined ca-
pacity)
500 Lbs.
Adjustable Fits truckbed width
between 52” to 71”
Construction All steel construction
Hardware Installation hardware
included
Note: The Parts List and Assembly Diagram is provided as a reference tool only.
Some parts are listed and shown for illustration purposes only, and are not available
as replacement parts. All repairs to this tool (including replacing parts) should only
securely hold all cargo in place.
Assembly
Drawing
1
1
2
4
3
67
8
9
11
10
5
Manufactured and Distributed by:
Maxx Group, LLC, Camarillo, CA 93012 USA
www.maxxhaul.com
4. Connect B Crossbrace (3) to B Upright
(6): First unthread Set Screw (1) enough so
that B Crossbrace (3) will slide onto B Up-
right (6). Then tighten Set Screw (1) to
secure both in place.
Connect the other three Crossbraces /
Uprights in the same manner. Note: When
all Crossbraces / Uprights are properly
assembled, the heads of the Set Screws will
face inward, towards the center of the truck-
bed.
7. Determine where each truck rack
piece will be installed on the truck bed rails.
Attach the Bracket Tube (10) onto the Hook
of J-Bolt (11). Insert the J-Bolt upwards
through the Anchor Tube on the Base
of B Upright (6), make sure Bracket Tube
(10) is placed inside of Truck Bed Rail.
Note: Some Bedrail covers may require
alteration. It may be necessary to cut
away a section of the liner on the under-
side of the bedrail so the Bracket Tube
(10) can be installed properly.
Make sure the base of B Upright (6) is flat
against the bedrail, completely free of gaps.
Slide Flat Washer (9) and Spring Washer (8)
onto the J-bolt (11), then secure them using
Lock Nut (7).
Attach other J-bolts and Bracket Tubes in
the same manner. Make sure The J-bolts
are tightened and the bases are held in
place firmly.
Part # Description Qty.
1 Set Screw M10 x 16 8
2 A Crossbrace 2
3 B Crossbrace 2
4 Cross Beam Extension 2
5 A Upright 2
6 B Upright 2
7 Lock Nut M12 4
8 Spring Washer 12 4
9 Flat Washer 12 4
10 Bracket Tube 4
11 J-Bolt 4
1. Refer to the Assembly Diagram at end of
this manual.
WARNING
2. Before and after each use, check to make
sure that all hardware is tightly secured.
WARNING
Setting up and mount-
ing the Truck Rack to the truckbed requires
some assembly. The components can be
bulky to position in place; it is recommended
that two people complete the assembly and
setup. If you are not experienced in doing
this type of setup work, the installation of the
Truck Rack should be done by qualified
service technicians.
The truck liner material
cannot interfere with the placement of the
Bracket Tube (10) installation; liner interfer-
ence can cause the brackets and load to
become loose from the truck, resulting in
property damage, personal injury or death.

Other Maxxhaul Automobile Accessories manuals

Maxxhaul 50218 Instruction Manual

Maxxhaul

Maxxhaul 50218 Instruction Manual

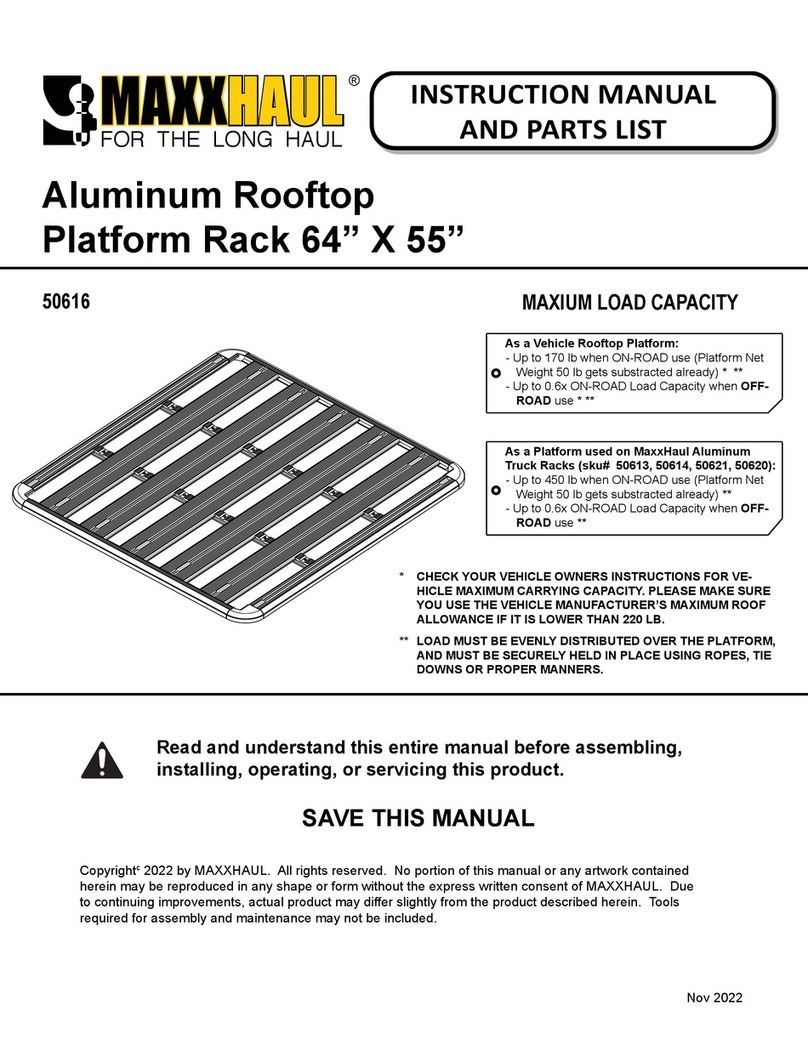
Maxxhaul 50616 User manual

Maxxhaul

Maxxhaul 50616 User manual

Maxxhaul 70214 Instruction Manual

Maxxhaul

Maxxhaul 70214 Instruction Manual

Maxxhaul 70209 User manual

Maxxhaul

Maxxhaul 70209 User manual

Maxxhaul 50613 User manual

Maxxhaul

Maxxhaul 50613 User manual

Maxxhaul 70229 User manual

Maxxhaul

Maxxhaul 70229 User manual

Maxxhaul 70468 User manual

Maxxhaul

Maxxhaul 70468 User manual

Maxxhaul 70440 User manual

Maxxhaul

Maxxhaul 70440 User manual

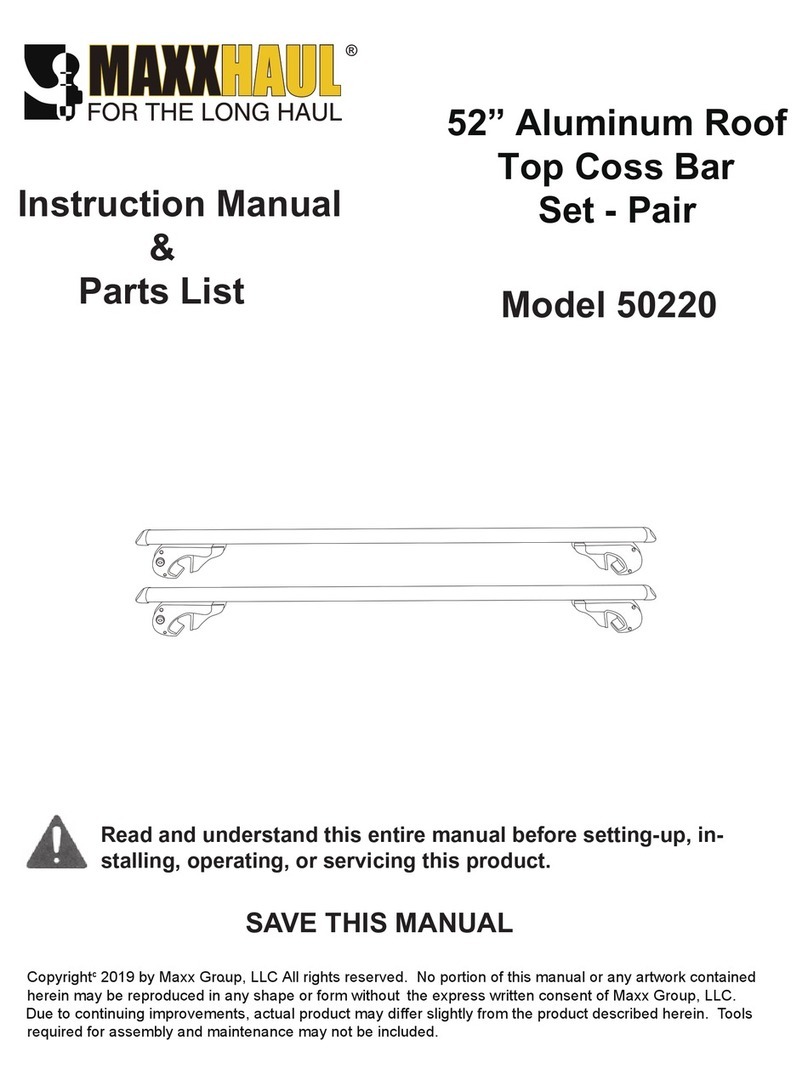
Maxxhaul 50220 User manual

Maxxhaul

Maxxhaul 50220 User manual

Maxxhaul 50130 User manual

Maxxhaul

Maxxhaul 50130 User manual

Maxxhaul 70210 Instruction Manual

Maxxhaul

Maxxhaul 70210 Instruction Manual

Maxxhaul 70074 User manual

Maxxhaul

Maxxhaul 70074 User manual

Maxxhaul 70108 Instruction Manual

Maxxhaul

Maxxhaul 70108 Instruction Manual

Maxxhaul 80401 User manual

Maxxhaul

Maxxhaul 80401 User manual

Maxxhaul 50027 User manual

Maxxhaul

Maxxhaul 50027 User manual

Popular Automobile Accessories manuals by other brands

Softopper International Scout 80/800 installation instructions

Softopper

Softopper International Scout 80/800 installation instructions

Subaru TRAILER HITCH HARNESS instructions

Subaru

Subaru TRAILER HITCH HARNESS instructions

Techcool CB06 Use manual

Techcool

Techcool CB06 Use manual

Kolpin Outdoors 26-1020 Product instructions

Kolpin Outdoors

Kolpin Outdoors 26-1020 Product instructions

Discount Car Stereo A2DIY-CHRY02 Quick start installation guide

Discount Car Stereo

Discount Car Stereo A2DIY-CHRY02 Quick start installation guide

USAG 1612 A instruction manual

USAG

USAG 1612 A instruction manual

Kuda 278260 Installation instruction

Kuda

Kuda 278260 Installation instruction

Cruz 909-550 Assembly instructions

Cruz

Cruz 909-550 Assembly instructions

Yakima K1200 instructions

Yakima

Yakima K1200 instructions

Thule 4919 Fitting instructions

Thule

Thule 4919 Fitting instructions

Westin 31-5270 instructions

Westin

Westin 31-5270 instructions

aFe Power 54-82039 instruction manual

aFe Power

aFe Power 54-82039 instruction manual

UltraGauge EM Installation & operation

UltraGauge

UltraGauge EM Installation & operation

JKS Steering Brace System installation instructions

JKS

JKS Steering Brace System installation instructions

Crawford Performance Overland Series manual

Crawford Performance

Crawford Performance Overland Series manual

aFe Power 77-47001 instruction manual

aFe Power

aFe Power 77-47001 instruction manual

ATD Tools SABER Exact Match ATD-80450 owner's manual

ATD Tools

ATD Tools SABER Exact Match ATD-80450 owner's manual

Seecode Wheel user manual

Seecode

Seecode Wheel user manual

manuals.online logo
manuals.online logoBrands
  • About & Mission
  • Contact us
  • Privacy Policy
  • Terms and Conditions

Copyright 2025 Manuals.Online. All Rights Reserved.