manuals.online logo
Brands
  1. Home
  2. •
  3. Brands
  4. •
  5. MD SPORTS
  6. •
  7. Arcade Game Machine
  8. •
  9. MD SPORTS MK 0002 User manual

MD SPORTS MK 0002 User manual

SI IN MK 0002 11/16
Uwaga
W przypadku, gdy œrubki i wkrê-
ty s¹ poluzowane, nale¿y dokrê-
ciæ je za pomoc¹ narzêdzi.
Proszê nie trz¹œæ sto³em, uni-
kaæ poluzowania siê wkrêtów
i œrub gdy¿ mo¿e to spowodo-
waæ uszkodzenie sto³u.
W przypadku problemów z mon-
ta¿em nale¿y skontaktowaæ siê
z dostawc¹.
Attentions
Check if all parts of screws and
bolts are loose, if so, please
fasten them with tools.
Please do not shake the table
hard, avoid making the bolt
and screw loose, damage the
table.
If you have problems in instal-
lation, please contact dealers.
nowa szko³a
ul. POW 25, 90-248 £ódŸ,
www.nowaszkola.com
tel. (42) 630 17 28,
(42) 630 04 88, fax: (42) 632 73 28
OSTRZE¯ENIA!
1. Zabawka przeznaczona jest
dla dzieci powy¿ej 3 lat. Za-
wiera ma³e elementy – ryzy-
ko zad³awienia.
2. Do u¿ytku pod bezpoœrednim
nadzorem osoby doros³ej
3. Nale¿y zachowaæ opakowa-
nie lub/i instrukcjê. Zawie-
raj¹ one wa¿ne informacje
mog¹ce byæ przydatne
w przysz³oœci.
4. U¿ytkowanie niezgodne
z zaleceniami zwalnia pro-
ducenta od odpowiedzial-
noœci za ewentualne szkody.
WARNINGS!
1. A toy is intended for children
over 3 years. It has peaked
edges - can cause scratches.
2. To be used under the direct
supervision of adult
3. Keep all packaging and / or
instructions. they contain
relevant information which
may be useful in the future.
4. Use inconsistent with the in-
structions excludes liability
of manufacturer for any
damages.
Aby uruchomiæ poduszkowiec,
wystarczy w³¹czyæ prze³¹cznik
na spodzie poduszkowca. Bê-
dzie on dzia³a³ przez ok. 20 do
30 minut po pe³nym na³adowa-
niu. Fig. 13.
To operate the Hover Puck, just
turn on the Switch on the back-
side of Hover Puck to start. The
Hover Puck will operate for 20-
30 minutes when fully charged.
See FIG. 13.
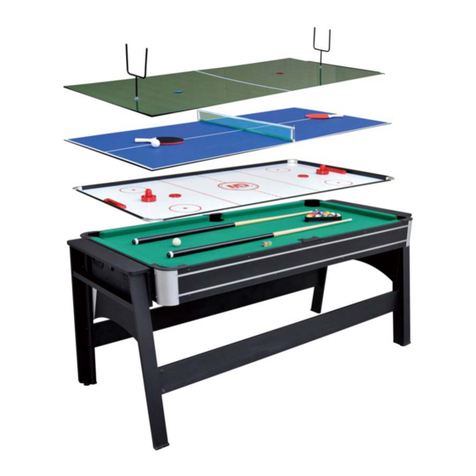
Stó³ wielofunkcyjny z 4 grami
Table 4 in 1
Instrukcja monta¿u / Installation instruction
MK 0002
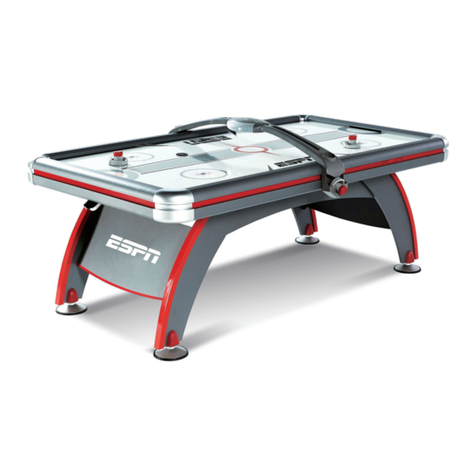
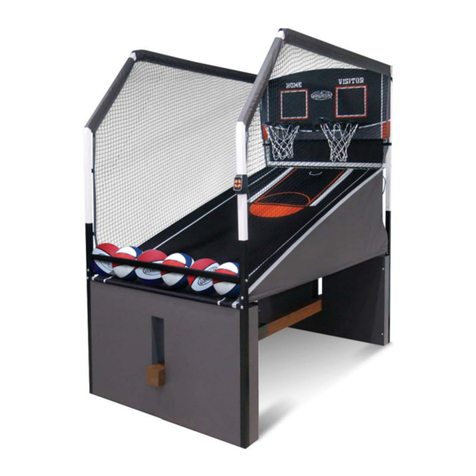
A combo table serving as a
game centre. A single stable
structure with replaceable tops to
provide surfaces for four games:
billiards, table tennis, air hockey,
basketball.
Dim: 137 x 63 x 81 cm; on cas-
tors. Billiards - 2 cue sticks, 16
balls, rack, table brush. Table
tennis: net, 2 balls, 2 plastic rack-
ets. Basketball: basket, ball,
launcher. Air hockey: puck,
2 felt-bottom mallets.
Wielofunkcyjny stolik bêd¹cy
prawdziwym centrum gier. Jedna
stabilna konstrukcja z nak³ada-
nymi blatami zawiera w sobie
cztery gry: billiard, tenis sto³owy,
cymbergaj, koszykówka.
wym. 137 x 63 x 81 cm; na kó³-
kachw bilard: 2 kije, 16 bil, trój-
k¹t, szczotka do czyszczenia suk-
na, 2 kostki, tenis sto³owy: siatka,
2 pi³eczki, 2 rakietki z tworzywa
sztucznego, koszykówka: kosz, pi-
³eczka, wyrzutnia, cymbergaj: kr¹-
¿ek, 2 uchwyty z filcowym spodem
11
Z³o¿yæ planszê tenisa sto³owego
(#9), do³¹cz obrêcz (#14) do
planszy (# 9) przy u¿yciu jednej ba-
zy (#13) i dwóch œrub (#A13). Za-
instaluj siatkê do koszykówki (#34)
na obrêczy (#14). Fig. 12 i 12A.
Fold the Table Tennis Top (#9), At-
tach the Rim (#14) to the Table Ten-
nis Top (#9) using one Base (#13)
and two Screws (#A13). And install
the Basketball Net (#34) to the Rim
(#14). See FIG. 12 and 12A.
W³ó¿ kabel USB (#A18) do za-
silania USB.
Upewnij siê, ¿e poduszkowiec
jest ustawiony w pozycji OFF.
Pod³¹cz Kabel USB (#37) do
ty³u poduszkowca (#21). Po-
duszkowiec nale¿y ³adowaæ
przez 60 minut.
Insert USB Cable (#A18) into
the USB Power.
Make sure the Hover Puck is
turned to the OFF position. Plug
the USB Cable (#37) into the
back of the Hover Puck (#21).
Allow the Hover Puck to charge
for 60 minutes.
2
Lista części / Part List
3
Czêœci preinstalowane
10
Do³¹czyæ dwa wsporniki (#38) do
tylnej strony planszy tenisa sto³o-
wego (#9), u¿ywaj¹c dwóch œrub
motylkowych (#A14) i dwóch œrub
(#A7). Fig. 11A
Odwróæ planszê tenisa sto³owego
(# 9) i umieœciæ go na powierzch-
ni zestawu. Nastêpnie w³ó¿ s³upki
do siatki (#35) i siatkê (# 24) do
planszy tenisa sto³owego, u¿ywa-
j¹c 2 wkrêtów (#A20). Fig. 11.
Attach two Bracket (#38) to the
back side of Table Tennis Top
(#9) using two Butterfly Bolts
(#A14) and two Bolts (#A7).
See FIG. 11A
Turn over the Table Tennis Top
(#9) and place it on the Billiard
surface. And then Insert the Net
Posts (#35) and Net (# 24) on
the Table Tennis Top using two
Screw s (#A20). See FIG. 11.
9
cych (#17) na ka¿deym boku
w stosunku do siebie. Umo¿liwi to
zablokowanie pozycji blatu na ra-
mie bazowej a tak¿e na póŸniejsze
swobodnie obracanie blatu. Fig. 8.
side of the leg panel towards
each other. This will lock the
table top to the base frame and
still allow the table top to spin
freely. See FIG. 8.
Do³¹cz listwy (#3) do zmontowane-
go panelu wykorzystuj¹c szeœæ œrub
(#A9) na na ka¿dej listwie. Fig. 9.
Attach Top Rail (#3) to assem-
bled end panel using six screws
(#A9) per Top Rail. See FIG. 9.
Oderwaæ papier z tylnej strony
filcu (#26) i przykleiæ go do dol-
nej czêœci popychacza (#27).
Fig. 10A
Tear off the backside paper of
the Felt Pad (#26) and stick
them at the bottom of the Push-
er (#27). See FIG. 10A
4
Monta¿
Wyjmij wszystkie czêœci z opa-
kowania i sprawdŸ, czy masz
wszystkie wymienione czêœci,
które s¹ w wykazie. Starannie
wytnij lub oderwij cztery naro¿-
niki opakowania tak, aby spód
opakowania móg³ byæ u¿ywa-
ny jako powierzchnia robocza.
Assembly
Remove all the parts from the
box and verify that you have all
of the listed parts as shown on
the parts list page. Carefully
cut or tear the four corners of
the box so that the bottom of
the box can be used as your
work surface.
Na³ó¿ dwie podk³adki (#A16)
i dwie nakrêtki (#A17) i jedn¹
tulejê (#33) na œrubê (#A15).
Przykrêciæ œrubê do szafki.
Do³¹czyæ boczn¹ kieszeñ (#20)
do ramy (#1) za pomoc¹ dwóch
œrub (#10), tak jak na Fig. 1.
Pod³¹cz ka¿dy plastikowy pasek
(#39) do ramy (#1) za pomoc¹
dwóch œrub (#19). Patrz Fig. 1
Attach two washer (#A16), two
Nut (#A17) and one Bushing
(#33) onto the bolt (#A15). Un-
til the nut is snug to the cabinet.
Attach the Side Pocket (#20) to the
Hockey Frame (#1) using two Screw
(#10) per Side Pocket. See Fig. 1.
Attach the Plastic Strip (#39) to the
Hockey Frame (#1) using two Screw
(#19) per Plastic Strip. See Fig. 1
5
Przymocuj planszê bilardow¹
(#2) do ramy (#1) za pomoc¹
18 œrub (#A8). Patrz Fig. 2.
Attach the Billiard Playfield (#2)
to Hockey Frame (#1) using Eigh-
teen Screws (#A8). See Fig. 2.
Do³¹cz górne czêœci kieszeni
naro¿nych (# 19) do ramy (#1)
za pomoc¹ dwóch œrub (#A5)
na ka¿d¹ czêœæ. Patrz Fig. 3.
Za³ó¿ górne czêœci kieszeni
bocznych (#18) do ramy za
pomoc¹ jednej œruby (#A5).
Patrz Fig. 3.
Attach the Corner Pocket Cap
(#19) to the Hockey Frame (#1)
using two Screws (#A5) per
Corner Pocket Cap. See Fig. 3.
Attach the Side Pocket Cap
(#18) to the Hockey Frame (#1)
using one Screw (#A5) per Side
Pocket Cap. See Fig. 3.
8
Do³¹cz kwadratow¹ p³ytkê
(#12) do listewki (#11) za po-
moc¹ dwóch œrub (#A4) oraz
dwóch podk³adek (#A18). parz
FIG. 7A.
Do³¹cz zmontowan¹ listwkê (Fig.
7a) do nóg (#6 i #7) za pomo-
c¹ czterech œrub (#A4) i czterech
podk³adek (# A18). Fig. 7.
Do³¹cz na koñcach p³ytê z wyciê-
ciem (#10) do nóg (#6 i #7) za
pomoc¹ szeœciu œrub (#A10) od
wewn¹trz. Do³¹cz poprzeczkê
(#36) do listewek (#11) za po-
moc¹ czterech œrub (#A6). Fig. 7.
Attach the Side Leg Brace Helper
Board (#12) to Side Leg Brace
(#11) using two Bolts (#A4) and
two Washers (#A18) per Side Leg
Brace Helper Board.S ee FIG. 7A.
Attach the Pre-assembled
FIG.7A to Legs (#6 & #7) us-
ing four Bolts (#A4) and four
Washer (#A18) per Pre-assem-
bled FIG.7A. See FIG. 7.
Attach the End Leg Brace (#10) to Legs
(#6 & #7) using six Screws (#A10) per
End Leg Brace. Attach the Leg Brace
(#36) to Side Leg Brace (#11) using
four Screws (#A6). See FIG. 7.
Za³ó¿ mierniki bramek (#16) do
ramy (#1) za pomoc¹ dwóch œrub
(#A10) ka¿dy. Fig. 8.
Teraz jesteœmy gotowi, aby umie-
œciæ zmontowany wczeœniej zespó³
(#1 i #2) na ramie. Nale¿y mocno
dokrêciæ ka¿dy ze sworzni blokuj¹-
Attach the Goal Box (#16) to Hock-
ey Frame (#1) using two Screws
(#A10) per Goal Box. See FIG. 8.
You are now ready to place the
assembly (#1 and #2) onto the
base frame. Firmly tighten each
of the Lock Pin (#17) on each
76
Przykrêæ stopki (#15) do mufy
(P1) na ka¿dej nodze. Patrz
Fig. 5.
Screw the Leg Levelers (#15) in-
to the button of each leg. See
Fig. 5.
W³ó¿ sworzeñ (#17) do po-
przeczki nóg (#4) za pomoc¹
dwóch œrub (#A11). Fig. 6.
Do³¹cz nogi (#6 i #7) do po-
przeczki (#4) za pomoc¹
dwóch œrub (#A2) i dwóch pod-
k³adek (#A3). Fig. 6.
Attach the Lock Pin (#17) to Leg
Pedestal (#4) using two Screws
(#A11) per Leg Lock Pin. See Fig. 6.
Attach the Legs (#6 & #7) to Leg
Pedestal (#4) using two Bolts
(#A2) and two Washer (#A3)
per Leg Pedestal. See Fig. 6.
W³ó¿ nakrêtki wa³eczkowe
(#A12) w otwory p³yty (#4) na
nogê. Patrz Fig. 4.
Do³¹cz poprzeczkê (#5) do
p³yty (#4) za pomoc¹ trzech
œrub (#A2) oraz trzech podk³a-
dek (#A3). Patrz Fig. 4.
Stopper the Seven Barrel Nut
(#A12) to Leg Pedestal (#4) per
Leg Pedestal. See Fig. 4.
Attach Leg Pedestal (#4) to the
Leg Pedestal-Bottoml (#5) us-
ing three Bolts (#A2) and three
Washer (#A3) per Leg Pedestal.
See Fig. 4.
IMPORTANT: Make sure that the Pin from
the Locking Pin is in the direction as shown.
WA¯NE: Upewnij siê, ¿e sworzeñ jest
umiejscowiony w kierunku jak na rysunku

Other MD SPORTS Arcade Game Machine manuals
MD SPORTS ARC108 068B User manual

MD SPORTS

MD SPORTS ARC108 068B User manual

MD SPORTS 39006 User manual

MD SPORTS

MD SPORTS 39006 User manual

MD SPORTS AWH084 188E User manual

MD SPORTS

MD SPORTS AWH084 188E User manual

MD SPORTS 1515052 User manual

MD SPORTS

MD SPORTS 1515052 User manual

MD SPORTS 24802 User manual

MD SPORTS

MD SPORTS 24802 User manual

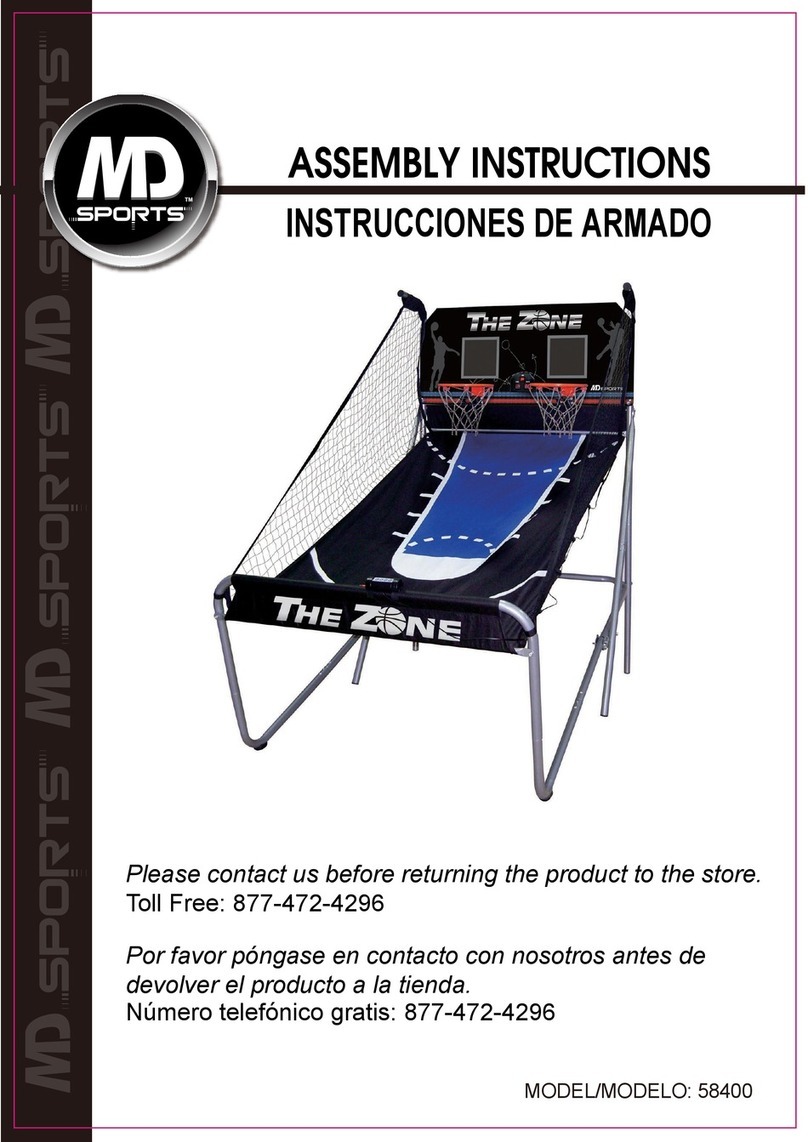
MD SPORTS 58400 User manual

MD SPORTS

MD SPORTS 58400 User manual

MD SPORTS 16602 User manual

MD SPORTS

MD SPORTS 16602 User manual

MD SPORTS AWH042 017E User manual

MD SPORTS

MD SPORTS AWH042 017E User manual

MD SPORTS CTC14804 User manual

MD SPORTS

MD SPORTS CTC14804 User manual
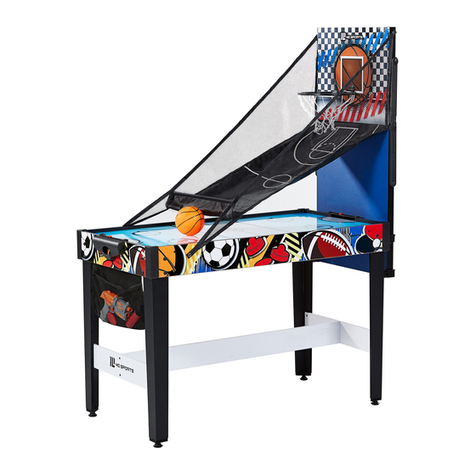
MD SPORTS SG020Y19015 User manual

MD SPORTS

MD SPORTS SG020Y19015 User manual

MD SPORTS CB048Y19004 User manual

MD SPORTS

MD SPORTS CB048Y19004 User manual
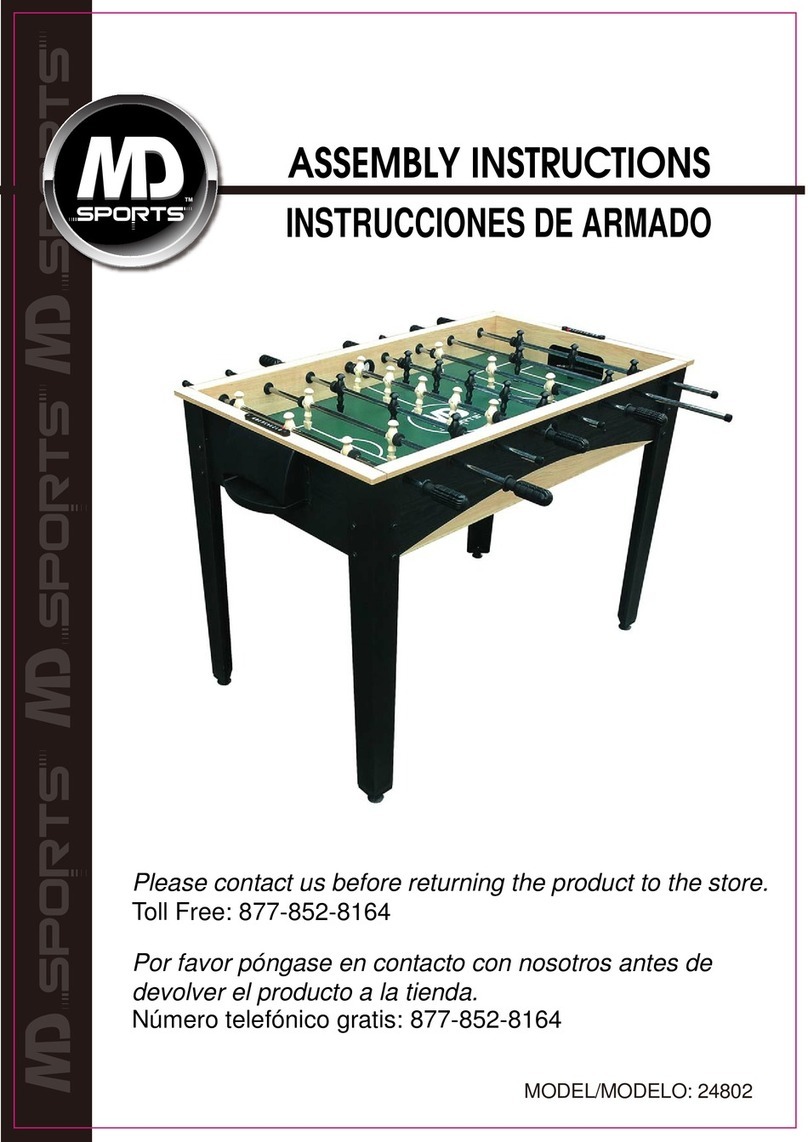
MD SPORTS 1358412 User manual

MD SPORTS

MD SPORTS 1358412 User manual

MD SPORTS AC208Y19014 User manual

MD SPORTS

MD SPORTS AC208Y19014 User manual

MD SPORTS ARC084 168B Series User manual

MD SPORTS

MD SPORTS ARC084 168B Series User manual

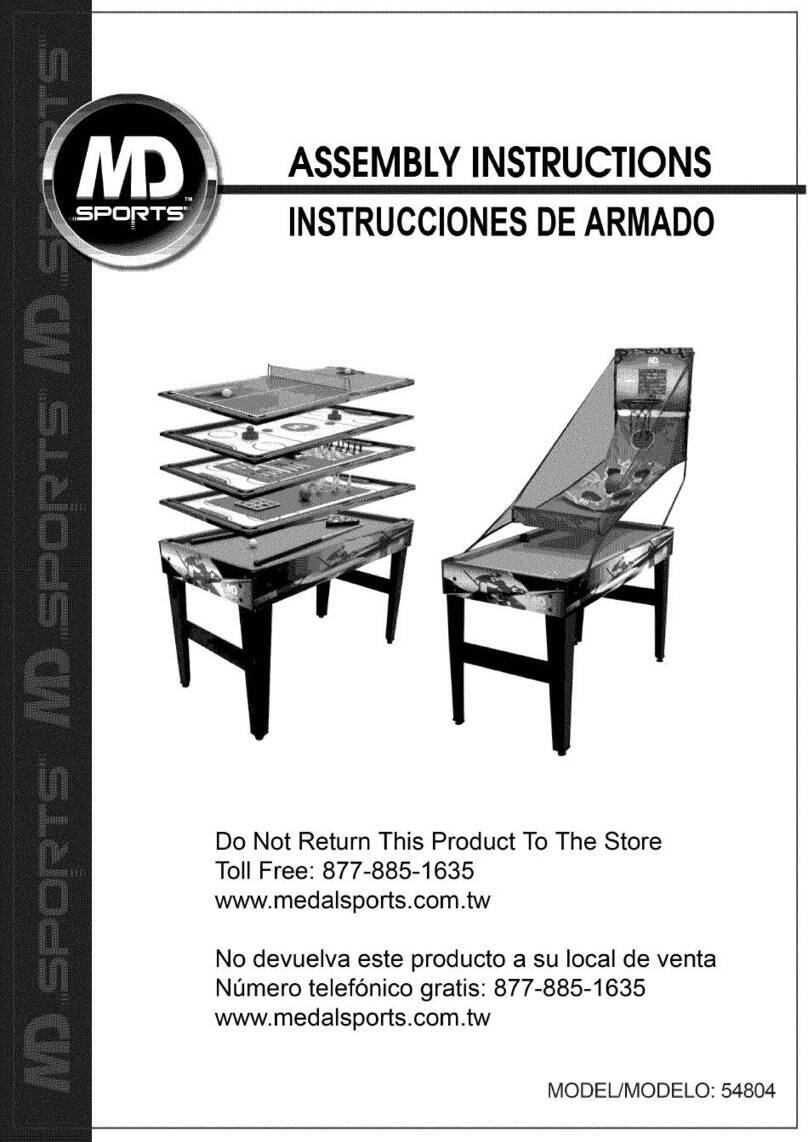
MD SPORTS 54804 User manual

MD SPORTS

MD SPORTS 54804 User manual

MD SPORTS CBF048_048M User manual

MD SPORTS

MD SPORTS CBF048_048M User manual

MD SPORTS AWH084 017E User manual

MD SPORTS

MD SPORTS AWH084 017E User manual

MD SPORTS ARC084 017E User manual

MD SPORTS

MD SPORTS ARC084 017E User manual

MD SPORTS DH14001 User manual

MD SPORTS

MD SPORTS DH14001 User manual
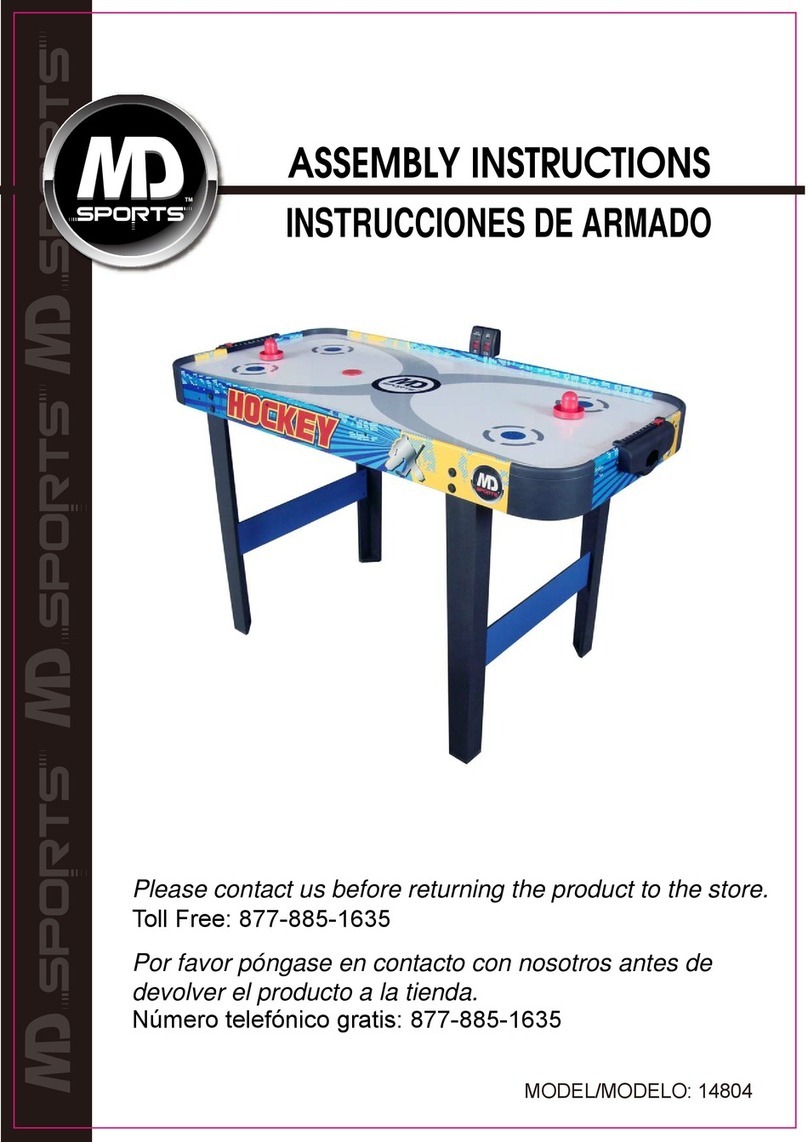
MD SPORTS BBG025_017M User manual

MD SPORTS

MD SPORTS BBG025_017M User manual

MD SPORTS TP200Y22010 User manual

MD SPORTS

MD SPORTS TP200Y22010 User manual

MD SPORTS WM14805 CAN User manual

MD SPORTS

MD SPORTS WM14805 CAN User manual

MD SPORTS CBF056 018M User manual

MD SPORTS

MD SPORTS CBF056 018M User manual

MD SPORTS WM12201 CAN User manual

MD SPORTS

MD SPORTS WM12201 CAN User manual

Popular Arcade Game Machine manuals by other brands

Harry Levy MELODY MOUSE Operator instructions

Harry Levy

Harry Levy MELODY MOUSE Operator instructions

UNIS PONG Arcade Operation manual

UNIS

UNIS PONG Arcade Operation manual

Universal Space Dizzy Lizzy Operation manual

Universal Space

Universal Space Dizzy Lizzy Operation manual

Raw Thrills Injustice Arcade Operator's manual

Raw Thrills

Raw Thrills Injustice Arcade Operator's manual

Adrenaline Amusements TOUCH FX TFX1 Operation & service manual

Adrenaline Amusements

Adrenaline Amusements TOUCH FX TFX1 Operation & service manual

Andamiro DC SUPER HEROES Service manual

Andamiro

Andamiro DC SUPER HEROES Service manual

Panda Vending MF1500 instruction manual

Panda Vending

Panda Vending MF1500 instruction manual

jakar SPEED HUNTER Operator's manual

jakar

jakar SPEED HUNTER Operator's manual

Bally Tron Upright Parts and Operating Manual

Bally

Bally Tron Upright Parts and Operating Manual

Continental Refrigerator ONE BALL instruction manual

Continental Refrigerator

Continental Refrigerator ONE BALL instruction manual

LAI Games SLAM N JAM Operator's manual

LAI Games

LAI Games SLAM N JAM Operator's manual

Creative Arcades 3500 Machine Simple User Manual

Creative Arcades

Creative Arcades 3500 Machine Simple User Manual

Atari San Francisco Rush 2049 SAFETY, SPECIFICATIONS, INSPECTION & INSTALLATION

Atari

Atari San Francisco Rush 2049 SAFETY, SPECIFICATIONS, INSPECTION & INSTALLATION

Merit Ion Aurora Removal/Installation Instructions

Merit

Merit Ion Aurora Removal/Installation Instructions

EXIDY CRASH installation instructions

EXIDY

EXIDY CRASH installation instructions

LAI Games Color Match Operator's manual

LAI Games

LAI Games Color Match Operator's manual

Sega OUTRUN 2 SPECIAL TOURS SDX Service manual

Sega

Sega OUTRUN 2 SPECIAL TOURS SDX Service manual

Home Leisure Direct Arcadepro Mercury user manual

Home Leisure Direct

Home Leisure Direct Arcadepro Mercury user manual

manuals.online logo
manuals.online logoBrands
  • About & Mission
  • Contact us
  • Privacy Policy
  • Terms and Conditions

Copyright 2025 Manuals.Online. All Rights Reserved.