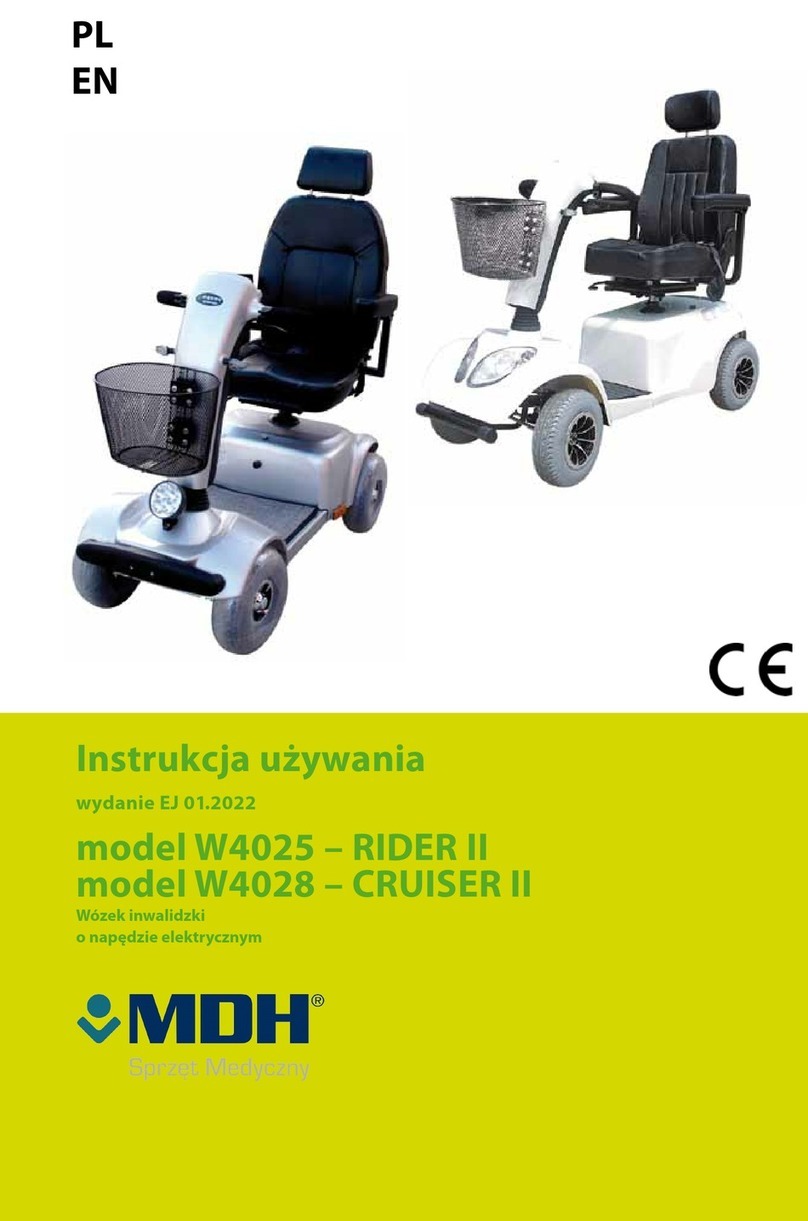
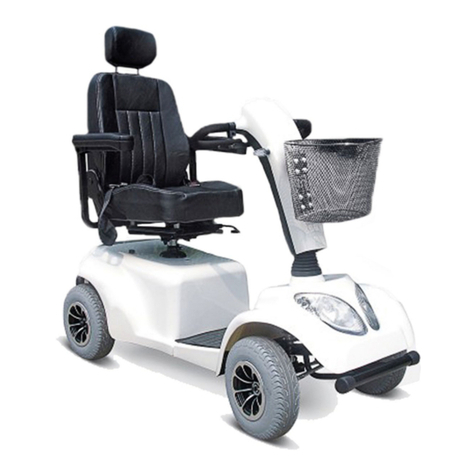
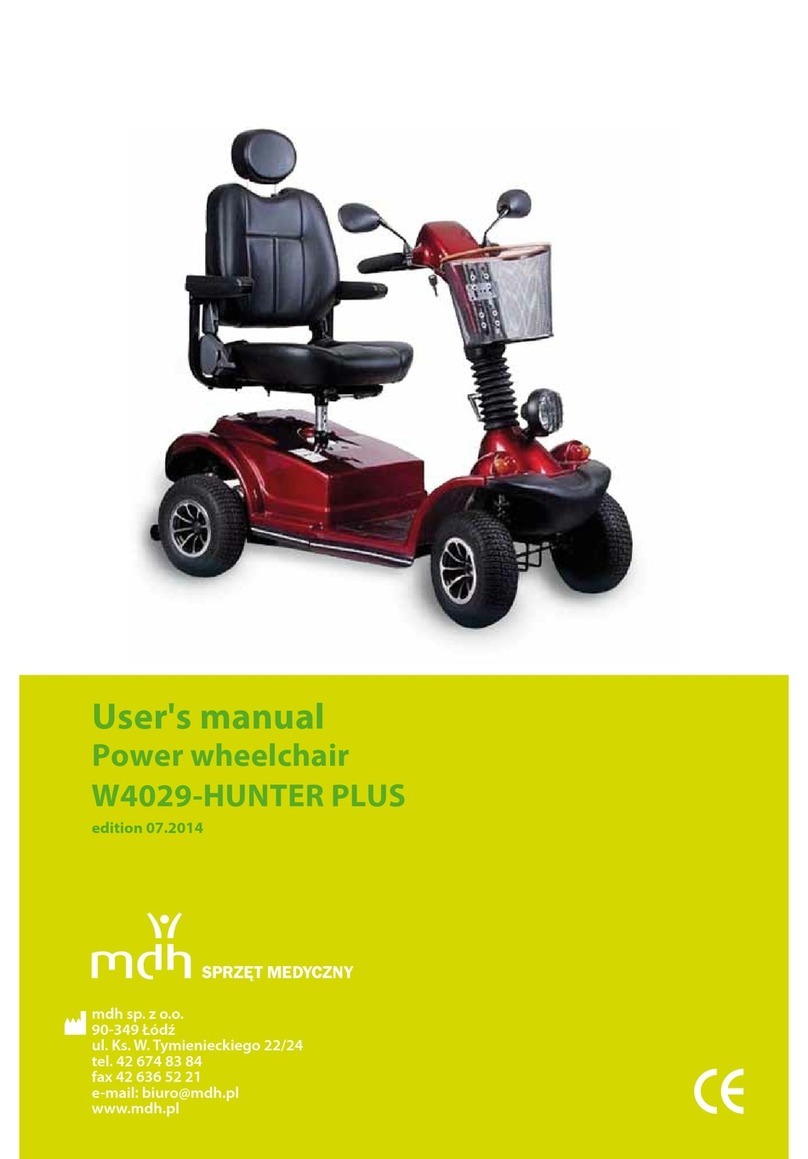
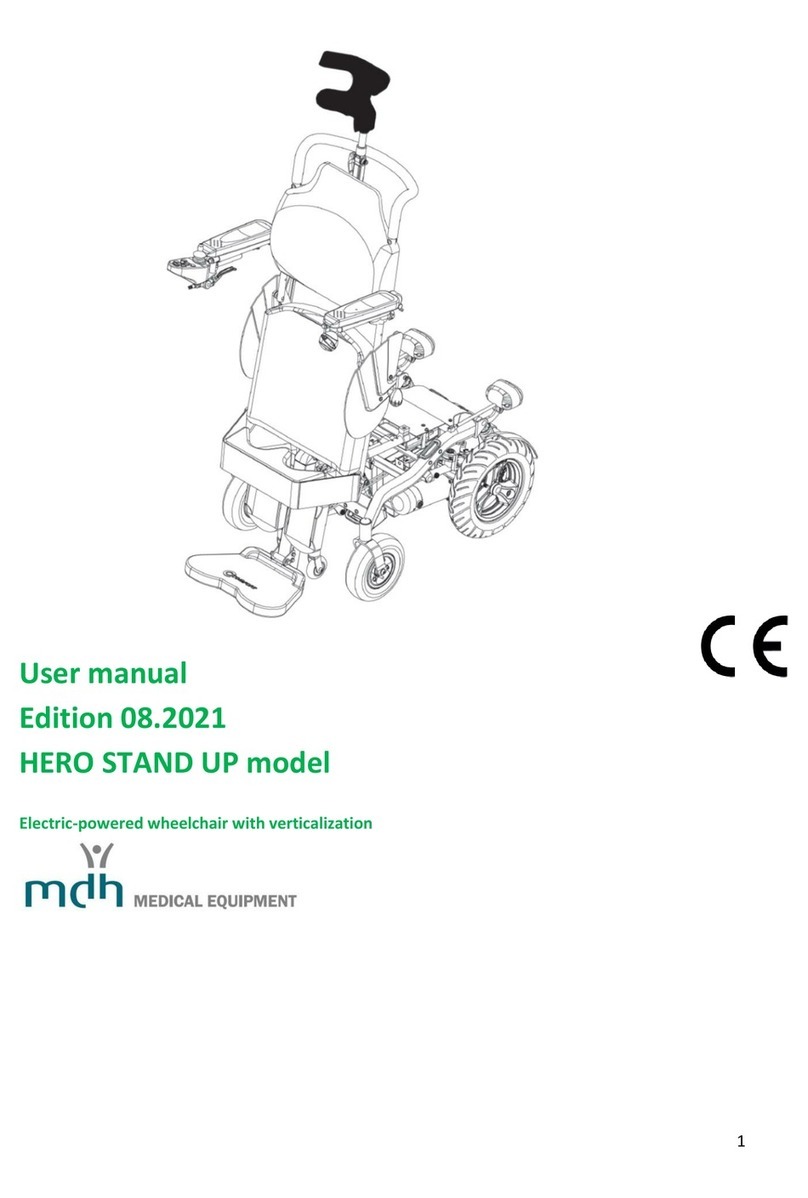
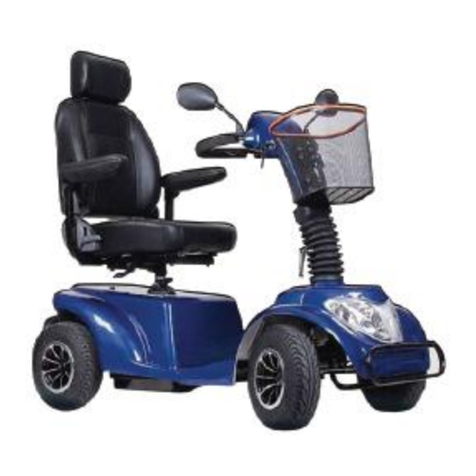
MDH PCBL 1610 User manual

1
PCBL 1610/ 1810 DE LUXE POWER WHEELCHAIR
USER'S MANUAL
Edition 08.2010
mdh sp. z o.o.
90-349 Łódź, ul tymienieckiego 22/24
tel. (+48) 42 212 32 08
fax: (+48) 42 674 04 99
www.mdh.pl

2
TABLE OF CONTENTS
1. Practice before operating..........................................................................................................3
2. User’s safety..............................................................................................................................3
3. Driving outdoor.........................................................................................................................4
4. Driving over the hills and on uneven terrain....................................................................................4
5. Technical parameters................................................................................................................5
6. Battery and charging...............................................................................................................10
7 Comfort adjustment.................................................................................................................11
8. Maintenance and cleaning......................................................................................................15
9. Specification............................................................................................................................17
Please, read the instruction carefully before the first use of the wheelchair. If any part of the text is
not clear or if you need any further information, please, contact your dealer.
The PCBL wheelchair is designed according to the latest trends and technology. Its construction
enables optimal adaptation to user’s needs. Solid and durable construction, innovative solutions and
reliable safety systems guarantee maximum comfort of use.
In order to ensure smooth wheelchair operation and safety the wheelchair should be regularly
checked at a service point. In case of any doubts or needs, please, do not hesitate to contact your
local dealer or service point.
Please, make sure that you filled in the guarantee form and that you returned it to your dealer. It will
help to ensure the best service.
Not following the instruction may result in vehicle damage or serious injury.

3
1. PRACTICE BEFORE OPERATING
Before driving the vehicle on everyday basis, you should find an open area such as a park to
practice maneuvers .
We recommend that when you practice driving you should be accompanied by an assistant.
Always make sure that the vehicle is set off before getting in or getting out of the vehicle.
Always check that the speed setting is chosen according to your experience and skills.
While practicing, keep the speed at the slowest position.
In order to drive safely, make sure that you are familiar with vehicle characteristics and ways of
driving.
First, practice moving forward.
Make sure that the speed is set on the slowest position.
Then, practice “S” turns.
Finally, practice driving backwards.
Please, mark that while driving backwards the vehicle always moves slower regardless of
the speed setting.
2. USER’S SAFETY
Do not carry passengers
Do not drive after drinking alcohol
Consult your physician to check if your medications impair your driving abilities
Do not use any personal communication devices such as CB radios, cellular phones
Do not tow a trailer
Do not drive across a slope

4
3. DRIVING OUTDOOR
The wheelchair is not designed to move in the street traffic
Do not use the wheelchair during rain or snow, when the temperature is higher than 30°C or
lower than 0°C
Do not use the wheelchair on soft, uneven, unprotected surfaces such as grass, gravel, sand
or decks, beside a river, lake
Do not use the wheelchairs for off-road driving
If possible, do not use the wheelchair outdoor at night
Make sure that there are no obstacles behind you when you drive backwards. We also
recommend setting the speed at the slowest position
Do not stop suddenly, always try to make turns gently
Always keep your arms on the armrests and feet on the footrest while driving
Do not try to climb curbs higher than 7cm
Do not try to drive over a hole/gap wider than 10 cm
4. DRIVING OVER THE HILLS AND 0N UNEVEN TERRAIN
Driving on the hills and other uneven terrains is more dangerous than driving on flat surfaces.
Following the below rules is essential to avoid accidents and serious injuries.
Do not try to climb a hill which grade exceeds 10°
Do not move backwards while going up/down the hill
Do not use the wheelchair on soft, uneven, unprotected surfaces such as grass, gravel or
sand
When you drive down the slope, choose the slowest speed
Do not get in or off the wheelchair if it stays on a slope (in order to get in/off the wheelchair
you need to place it on flat surface)
Always climb or descend the hills perpendicular to the slope.

5
5. TECHNICAL PARAMETERS
Wheelchair parts
Frame - main frame, bottom frame, shock absorbers, rear and front lights;
Armrests - parts which enable armrests’ assembly and adjustment, polyurethane foam padding
Backrest - upholstery, actuator which allow to adjust backrest’s angle, safety belts, belts which allow
to adjust backrest depth
Seat –cushion cover, cushion, bags
Footrests –main frame, calf pad, actuator which enables footrest regulation
Front wheels –front rims, front tires
Rear wheels –rear rims, rear tires
Electrical control system–controller, actuators for backrest, seat and footrests, motor, battery,
charger
Battery tray –battery box, main body, battery safety belt, upper/lower sliding rail
The wheelchair is equipped with set of wrenches and user’s manual.
headrest
controller
rear wheels
front wheels
footrests
front lights
seat
backrest
controller holder
armrest
rear lights
frame
battery
motor

6
Electronic control panel
Electronic control panel allows to control power wheelchair, battery power status and general
condition of the whole electronic system.
Electronic control panel is usually placed on the armrest and joint to the battery and motor. The
panel can be attached to the left /right armrest or behind the wheelchair (when it is used by a
caregiver).
Controller
Joystick
The joystick allows to control direction and speed of movement. Push the joystick forward to release the
electromagnetic brake and set the wheelchair in motion. The more you push the joystick forward, the faster
the wheelchair will move. If you release the joystick, the wheelchair will slow down and stop.
Mode
a) adjusting backrest, seat and footrests
The joystick allows you to adjust backrest, seat and footrest position. Move the
joystick to left or right side to choose the wheelchair’s part you want to adjust.
When you push the joystick forward, the chosen part will be moved upwards.
When you move the joystick backwards, it will be lowered.
b) driving mode
The joystick allows you to control and maneuver the wheelchair. Push the
joystick forward to move straight on. Move the joystick backwards to drive in
reverse. In order to turn left/right, move the joystick to left/right side. If you want to stop, release
the joystick.
Warning lights button
Horn button
Left turn signal button
Acceleration button
Right turn signal button
Mode button
Driving lights button
Switch on button
Deceleration button
Joystick

7
Battery status bar
You can find the battery status bar at the top of controller. Using the color light indicator, the battery
status bar provides information on supply, approximate power of the batteries, electric systems of
the wheelchair using a color code.
Constant red, yellow and green light indicate that batteries are fully charged, electric systems and
electronic system of control panel are efficient.
Constant red and yellow light indicates that you should charge batteries, the electric systems and
electronic system of control panel are efficient.
Only constant red light or slowly blinking red light –you should charge the batteries as soon as
possible, the electric systems and electronic system of control panel are efficient.
If the lights blink, the electronic system or electric system does not work properly. If the warning
lights blink 6 times the left motor is damaged. If the warning lights blink 5 times, the right motor does
not work properly.
If the warning lights blink continuously, the joystick was not is neutral position when the power
wheelchair was switched off. Turn off the power, release the joystick and again turn on the power.
Speed adjustment buttons
There are two speed adjustment buttons –if you want to slow down, press deceleration button. The
actual speed is shown on the indicator placed below the battery status bar. The faster you move, the
more lights are on.
Horn button
Press the button to activate the horn.
Charger socket
The socket is used for battery charging –plug to the power outlet (max 12A).
Driving lights button
When you switch on the driving lights, the corresponding light icon will activate.
Left turn button
When you press the button, the corresponding light icon will activate. In order to switch off the
winker, press the button again.

WARNING! If you followed the user’s manual instructions but the warning lights are still
blinking, please, contact your dealer.

8
Right turn button
When you press the button, the corresponding light icon will activate. In order to switch off the
winker, press the button again.
Warning light button
Activates the warning lights.
Motor clutch
1. If you want to push the power wheelchair, pull the clutch lever to release the ball lock pin (the ball
lock pin will slope down).
2. Automatic drive: pull the ball lock pin to release the clutch lever (the clutch lever will slope down
and activate the electric drive).
WARNING! Please, remember that when the system of electric drive is turn off, the
electromagnetic brakes are also disconnected.
Never switch off the electromagnetic drive if there is no person who may push your wheelchair.
Never switch off the electromagnetic drive if the wheelchair is staying on the slope or on any
other inclined terrain –the wheelchair may go downhill which may lead to wheelchair damage
or injury.
Clutch lever
Ball lock pin

9
Charger
1. Plug the charger output cable to into the charging
socket in the bottom part of the controller.
2. After connecting the charger output cable to the
charging socket and to the power outlet, turn on the
electronic control panel. The battery status bar will blink
back and forth.
3. Wheelchair will not move while charging, even if the
joystick is pushed.
Power switch:
“- “switch on button
“O” switch off button
In order to switch on the charger, press the button to
switch it into “-“ position.
Charging indicator lights
orange light: charging in progress
yellow light: charging completed, batteries are fully charged
Charger plug connection
Power switch
fan
fuse
Control indicator light
Charging indicator light

10
6. BATTERY & CHARGING
The charger is the key part of the wheelchair. In order to charge the batteries quickly and safely ,use
only the original charger supplied with the wheelchair and follow the below rules.
1. Always plug the charger into the charging socket placed at the bottom part of the controller.
Then, plug it to the power outlet.
2. Follow the instruction outlined on the charger board.
3. The time of charging depend on battery condition. The best option is to load batteries at night-
when batteries are loaded, the charger will stop working automatically.
4. When loading is completed, remove the charger from power outlet and then from the charging
socket. Never leave the charger connected to the charger socket if it is not connected with power
outlet.
If you need to replace the batteries, please, contact your distributor.
WARNING! Never plug the charger into the power outlet of more than 12 V. Always use the
original charger supplied with the wheelchair. Not following the above rules may lead to charger
overheating and fire. Do not charge the batteries in humid places, conditions. Never stop or
suspend charging if the batteries are not completely charged. The charging should last till the
time the batteries are fully charged.

11
7. COMFORT ADJUSTMENT
First, choose the adjustment mode on your controller
Push the mode button on the controller and choose the adjustment mode.
Please, look at the wheelchair icon placed on the controller –it will indicate which wheelchair’s part
(backrest, seat or footrest) is ready to be adjusted. Move the joystick to left or right side to change
the wheelchair’s part you want to adjust. When your choice is made, the relevant light indicator will
light to show you which part will be adjusted. When you push the joystick forward, the chosen part
will be moved upwards. When you move the joystick backwards, it will be lowered.
When all the adjustment are made, push the mode button again to choose the driving mode.
wheelchair icon
Mode button

12
Armrest adjustment
Controller adjustment
Exemplary positions of the controller:
A B
handle
In order to adjust the armrest height,
loosen the handle, choose the required
armrest height and screw in the screw.
Hand adjustable screw
It is possible to adjust the controller position
to individual needs. Loosen the hand
adjustable screw placed under the armrest
and choose required controller position as
shown in picture A and B. Then screw in the
screw. The controller may be placed on the
right or left armrest. It can be also placed at
the back of the wheelchair and used by the
caregiver.

13
Battery removal
In order to remove the batteries loosen the socket head cap screw and pull out the battery tray.
Battery
The wheelchair is equipped with two 12 V maintenance-free batteries.
In order to obtain maximum efficiency of your battery please, follow the instructions below:
1. Charge each battery before the first use. The batteries will reach 90 % of their capacity.
2. Use the power chair moving slowly not far away from the place where you can charge the batteries again until
the batteries discharge completely. Then charge them again for 9-10 hours.
3. After four or five such charging cycles the batteries should top off at 100% charge capacity and last for long
time.
The batteries are equipped with overload protector (50AH) which automatically disconnects a load when current
exceeds a predetermined value.
When the wheelchair is overloaded, the overload protector will spring up and disconnect a load. If the motor is
overloaded, stop the wheelchair and wait till the motor is cooled down. Then, push down the overload protector
and reactivate the wheelchair. If it is not possible to reactivate the wheelchair, please, contact the service point.
Socket head cap screw
Battery tray

14
Safety belt
Safety belts will protect the user when driving the wheelchair. Always remember to fasten the safety
belts before starting the wheelchair.
Anti-tip wheels
The anti-tip wheels protect the wheelchair against falling in case of slight side tilts, they provide
better stabilization. It is possible to fold or unfold the wheels as shown in the pictures below:
WARNING
Never let the batteries unload completely. If you notice last yellow or first red light
indicator on the controller- charge the batteries. Remember that the charging cycle
should take about 9-10 hours, till the batteries are fully charged.
Never stop or suspend the charging if batteries are not fully charged. Not following the
above rules may lead to battery damage.
If you store the batteries, make sure they are fully charged.
If you do not use your wheelchair on regular basis, you should charge the batteries at
least every two weeks. Remember that each charging must be completed and last about
9-10 hours, till the batteries are fully charged.
If you notice any leakage from the battery, please, contact your distributor.
When charging the batteries, always keep the wheelchair and charger away from any
heat source.

15
8. MAINTENANCE AND CLEANING
In order to ensure that your wheelchair will give you years of trouble-free operation, the user should
regularly inspect and maintain the wheelchair and deliver it to the authorized distributor for annual
comprehensive maintenance and inspection. If you find any problems or abnormalities while using
the wheelchair, please, contact the nearest authorized service point.
Annual inspection
Annual inspection is to check if the wheelchair is in good shape and if all the systems (driving
system, electric and electronic systems) work properly. It also helps to prevent possible problems
which may arise from existing defects. The inspection should include:
1. Tire inspection
2. Inspection of the battery and the wiring
3. Inspection of the controller control program and checking if it requires re-editing.
4. Inspection of the main frame
5. Inspection of backrest and seat cushions
Maintenance and cleaning –general rules
1. Protect the controller and joystick against violent shakes and hitting.
2. Avoid long exposure of the power wheelchair to extreme cold, hot or humidity.
3. Always keep the controller and joystick clean.
4. Keep the wheelchair away from direct contact with water.
5. Always keep the frame and upholstery clean. Use soft, dry cloth to clean the main frame and the
upholstery. Do not use any abrasive. While cleaning, do not use any detergents directly on the
controller, battery charger or other power connectors.
6. Lightly oil axle pin, wheel axle and bearings every three months.
7. Use only the original batteries supplied with wheelchair. If you want to replace the batteries,
contact your distributor.
8. Regularly charge the batteries. Always make sure that the charger is properly connected to the
power output. Never disconnect the charger by pulling the cord.
9. Regularly inspect the joystick condition –switch off the power and check if the joystick is not
damaged. Try to push the joystick and then release it - it should automatically go back to its neutral,
central position. Check the rubber boot around the base of the joystick for damage. Visually inspect
the boot. Do not handle or try to repair it. See authorized dealer if there is any problem.
10. Carefully check all the wires –if you notice any damage contact the authorized service point.
Make sure that all wiring connections are correct and proper; do not over-tighten the screws.
11. Ensure that all parts of the controller system are securely fastened to your power chair.
12. Your power wheelchair should be stored in a dry place free from temperature extremes. When
storing, disconnect the batteries from the power chair, see ”Batteries and charging” in this manual. If

16
you fail to store the unit under the above conditions, the frame can rust, and the electronics can be
damaged.
Problem checklist
1. Problem: The controller lights blink quickly when the power is switched on.
Action: Switch off the power, put the joystick in its neutral position. Then wait few seconds and
reactivate the wheelchair
2. Problem: The controller lights flash slowly while driving.
Action: The slow flashing means that the battery charger level is low and the batteries should be
charged as soon as possible.
3. Problem: The controller lights flash continuously and it is not possible to control the wheelchair.
Action: The continuous flashing of the lights indicates there may be an electrical problem. Switch
off the power and contact your authorized service point.
4. Problem: The red controller light placed on the battery charger does not light during charging.
Action: Check that all the wires have been properly connected and plugged into a power outlet. If
the red controller still does not light, disconnect the battery charger from the power outlet and
control panel, switch off the wheelchair and contact authorized service point.
5. Problem: The chair is difficult to steer.
Action: First, check if four wheels are properly installed on the power wheelchair. Second, check
to see if the clutch lever is engaged correctly.
NOTE: If you detect that the there are problems with the motors, the battery charger, the controller
or damage to the power chair frame, it is recommended that you contact the nearest authorized
service point.
If you notice any other irregular aspect of your chair or if it fails to respond after making some of the
above inspections, phone your nearest authorized service point.
Storage
The power wheelchair should be stored in a dry place, free from temperature extremes. Always
remove the batteries when the wheelchair is stored. Remember that like most electrical equipment,
your power wheelchair is susceptible to damage. Avoid damp environment of any kind. If you store
the wheelchair in inappropriate places, the frame may easily become rusted and the electronic
components may be damaged.

17
SPECIFICATION
Cataloge number
PCBL 1610/1810
Seat width
40,89 cm and 45,97 cm
Length
104 cm
Width
64 cm
Wheelchair height
107 cm
Front wheels
9’’
Rear wheels
14’’
Permissible tire
pressure
3,5 bar
Capacity
136 kg
Max Speed
10 km/h
Max range
20 km
Motor
300Wx2
Battery Charger
5A
Battery
55AHx2
Brakes
“Intelligent”electromagnetic brakes
Anti-tip wheels
2 foldable anti-tip wheels
Weight (without
battery)
90 kg
Weight (with
battery)
119 kg
This manual suits for next models
1
Table of contents
Other MDH Wheelchair manuals

MDH
MDH 1018 LIMBER User manual

MDH
MDH W 4028 User manual

MDH
MDH SCRUBBY User manual

MDH
MDH VITEA CARE BACZUS RELAX User manual

MDH
MDH PCBL 1600 User manual

MDH
MDH W4025 User manual

MDH
MDH Vitea Care DRVK0M PP User manual

MDH
MDH W4029-HUNTER PLUS User manual

MDH
MDH Vitea Care BABY HERO User manual

MDH
MDH HERO STAND UP User manual
Popular Wheelchair manuals by other brands

Meyra
Meyra Primus 2 3.310 active operating manual

Pride
Pride Jazzy 1104 owner's manual

Handicare
Handicare Yes-Series Service manual

Graham Field
Graham Field GENDRON 6700 user manual

Invacare
Invacare MyOn HC Service manual

Stealth Products
Stealth Products Drop Lock Hardware User's manual and maintenance guide