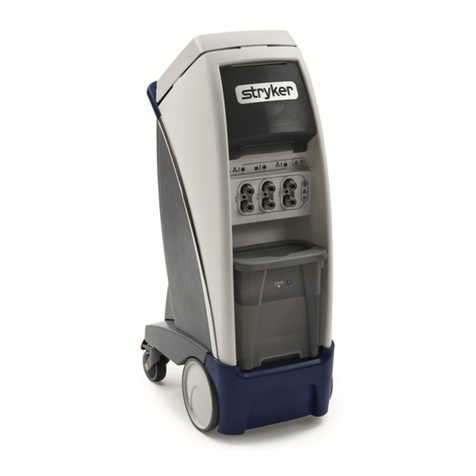
Intended Use
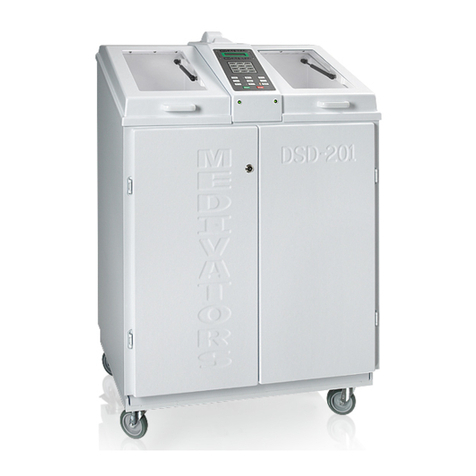
1. CER Endoscope Reprocessor - High-level disinfection of exible immersible endoscopes
2. Operator Safety Overview - appropriate PPE: mask, gown, gloves, eye protection
Guidelines for Reliable Disinfection
1. Detergent solution - used in wash cycle, must be low-foaming, free-rinsing, neutral in pH and diluted per manufacturer’s
recommendation
2. Disinfectant solution - required for high-level disinfection cycle.
3. OLYMPUS®, PENTAX®, FUJIFILM®, STORZ®- Endoscope cleaning and disinfection guidelines
4. SGNA, ASGE, ASTM, APIC and AORN - Endoscope cleaning and disinfection guidelines
5. SGNA Approved Reprocessing Steps - Endoscope bedside pre-cleaning, leak testing, manual cleaning, high-level
disinfection, nal drying and storage standards and guidelines
INTENDED USE AND GUIDELINES
Endoscope Reprocessor Components and their Functions
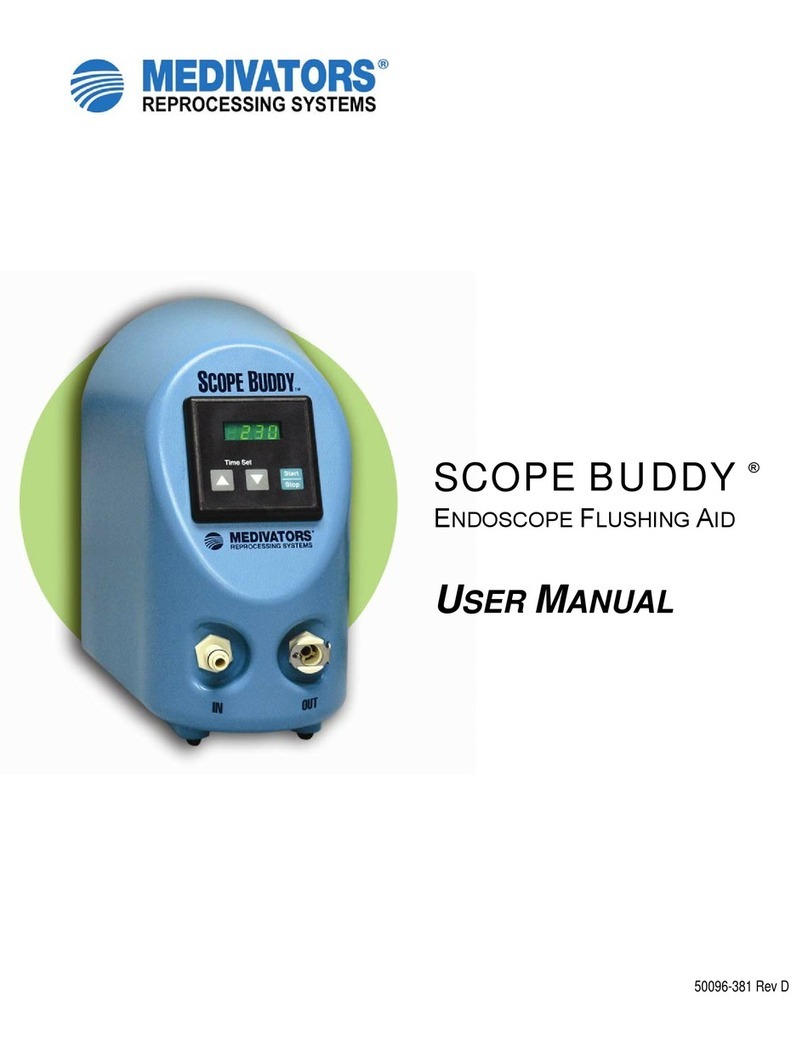
1. CER Front Panel: Control panel (keypads and LED indicators), cycle counter and alcohol ushing port
2. CER Basin: Lid and lid locks, channel connectors / endoscope hookup, uid level sensor, drain screen and cover, and basin
thermometer (if applicable)
3. CER Side Panel: AC electrical connection, On/Off power switch
4. CER Rear Panel: Water Inlet, Drain, Solution In and Solution Out connections
5. Disinfectant Reservoir: Tubing connections, AC power, temperature control and display
6. Water Filtration System: 1.0 micron pre-lter and 0.2 micron absolute lter
7. CER Cart (if applicable)
8. Transfer Pump (optional)
9. Active Vapor Management System (if applicable)
Fluids
1. High-Level Disinfectant (HLD) - RAPICIDE®HLD, OPA or Glutaraldehyde
2. Detergent (optional) - recommended detergent is MEDIVATORS INTERCEPT® Detergent
3. Alcohol (70% isopropyl) - used to dry inside of endoscope channels
4. Test Strips - used to test the HLD prior to each cycle
PRODUCT FAMILIARIZATION
High-Level Disinfectant (HLD)
1. Amount of HLD disinfectant required: 4 gallons for CER-1, 5 gallons for CER-2
2. Loading disinfectant reservoir using Transfer Pump
3. Unloading disinfectant reservoir using Transfer Pump
4. Loading disinfectant reservoir using manual method
5. Unloading disinfectant reservoir using manual method
6. Setting/Adjusting disinfectant reservoir temperature
7. Disinfectant neutralization and disposal (optional)
8. Cleaning the disinfectant reservoir
FLUID LOADING AND UNLOADING
OPERATOR CONTROLS
1. Automatic Operaton: FULL Cycle
2. Automatic Operation: LCG/Rinse Cycle
3. LCG Time
4. Air: 10 minutes
5. Manual Operation: LCG In
6. Manual Operation: LCG Out
7. Manual Operation: Drain
8. LED’s Blinking
9. Start
10. Stop
11. Alarm Reset: LCG and Water Level Verication
12. Alcohol Flush
13. Cycle Counter
Start-up
1. Verify power is on
Daily Service
1. Perform Daily Quality Assurance Procedure
2. Water Supply Valve: Start of day “ON”
3. Water Flow Verication: 100cc’s (4 oz) in less than 15 seconds through each hook up port
4. Air Flow Verication: Conrm vigorous bubbling from each hook up port
5. Verify disinfectant level in reservoir
6. Check disinfectant reservoir temperature (2°C higher in reservoir for correct basin temp)
7. Check HLD expiration date, temperature and potency level with test strips
8. Check drain screen and cover for debris
9. Inspect hook ups for wear
Prepare Endoscope for Reprocessing
1. Place endoscope control section in lower right with light guide in the back left rear
2. Place accessory bag into basin away from drain
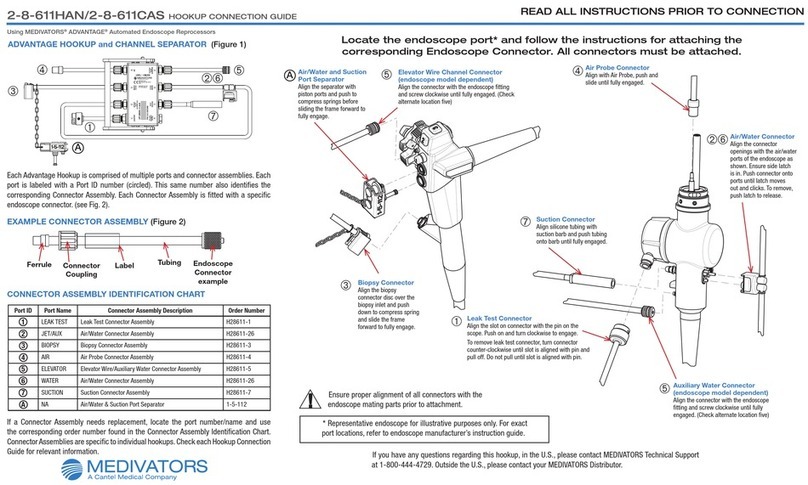
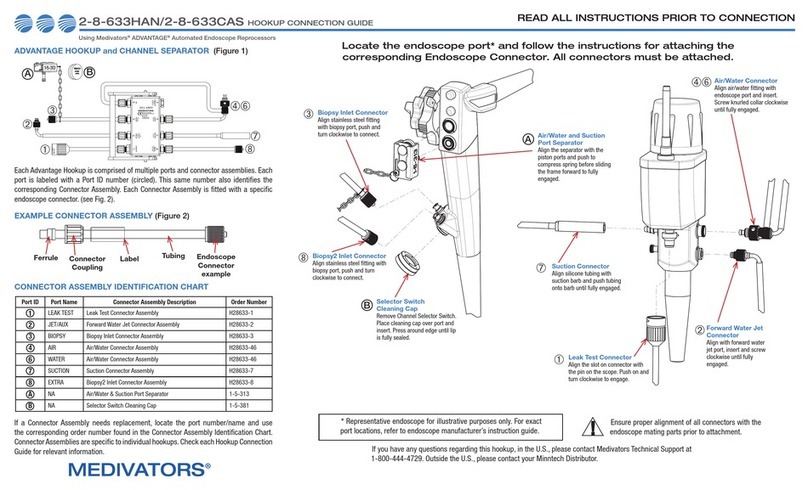
3. Locate proper hook up and connect hook up to endoscope ports and basin connection
Endoscope Reprocessing Cycle Summary
1. Wash Phase (optional)
2. Rinse Phase
3. Disinfection Phase
4. Rinse Phase (number of rinses depends on HLD used. Refer to your HLDs Instructions-For-Use)
5. Air Purge Phase
6. Manual Alcohol Flush Phase
SYSTEM OPERATION
