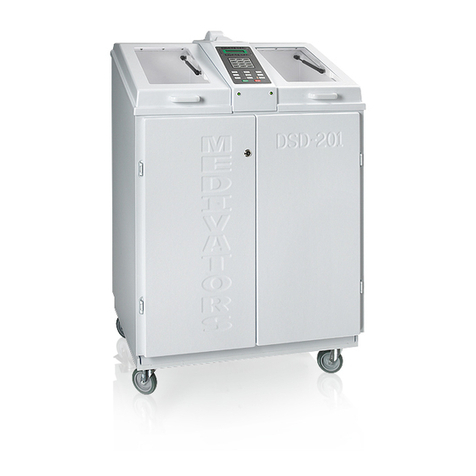
DSD-201 and SSD-102 Site
Requirements and Installation Instructions
50096-924 Rev A Page 5 of 12
INSTALLATION INSTRUCTIONS
The purpose of this section is to provide consistent installation of the DSD-201, SSD-102.
1. Applicable Documents
•DSD-201/SSD-102 User Manual
•DSD-201/SSD-102 Service Manual
2. Installation Kit:
The reprocessor is provided with an installation kit to help the customer adapt the unit to building
supplies. The following items, (included in the kit) are used during installation.
Item Description
1 3/8” Water Regulator
2 Pressure Gauge
3 3/8” plug
4 Pre-filtration System
5 1-micron Filter
6 0.45-micron Filter
7 Filter wrench
8 1-inch Drain Hose
9 1-inch Drain Elbow
10 Pre-filter installation hose kit
3. Installation
Move the reprocessor to the installation location before removing the protective packaging material.
If this is not possible, use a hand truck or moving dolly and ensure the reprocessor is not damaged.
The reprocessor must be installed on a level surface or be adjusted to level. Adjust the leveling pads
after unpacking the reprocessor. During installation, be sure the lower reservoirS cover is in place, to
prevent drill shavings and chips or other debris from entering the reservoirS.
4. Water Supply (Potable) and Pre-Filters
•If not already installed, an incoming water shut-off valve must be installed upstream of
the pre-filter system.
•The shut-off valve must be easily accessible to users to shut off when not in use.
•Install the incoming water pre-filter supplied with the reprocessor. The user must have easy
access to the filters. There should be enough room below the filter assembly to easily remove
the housings and change the filters.
•Install the external regulator between the outlet of the pre-filter assembly and the DSD/SSD.
•Attach the SS hose to the regulator. This attaches to the water inlet of the DSD/SSD. The
installation kit ships with hardware that should fit most installations. If not, hardware may be
sourced locally.
