Medivators DSD-201 User manual

ac)
#
/00
POST
DSD™-201
Endoscope
Reprocessor
ervice
Manual
Software
Version
3.xx
0050
Listed
MM03-0047
Revision
D

©2008,
Medivators
Reprocessing
Systems
a
Minntech
Corporation
Business
Group.
All
rights
reserved.
This
publication
is
protected
by
copyright.
Copy-
ing,
disclosure
to
others,
or
the
use
of
this
publication
is
prohibited
without
the
express
written
consent
of
Medivators.
Medivators
reserves
the
right
to
make
changes
in
the
specifications
shown
herein
without
notice
or
obligation.
Contact
your
Medivators
representative
or
Medivators
customer
service
for
more
information.
TABLE
OF
CONTENTS
1 -
INTRODUCTION
Using
This
Manual
...................
0.si
ως»
1
Μοτο
απο...
2
Intended
Use
......
ea
2
Operator
Safety
........................
ο ο
ον
ερ εν
νε
εννοω
ων
εν ων
νο
ο κ ο
ων
2
Guidelines
..................+444
40000000
k
K
rr
K
K
3
Installation
And
Maintenance
............................................
3
Water
Quality
ei
eee
3
Detergent
Solution
.............................................,.....2.
4
Disinfectant
Solution
,.........................,................,.......
4
Monitoring
Disinfectant
Potency
..........................................
4
Endoscope
Precleaning
And
Testing
.......................................
5
Cleaning
And
Disinfection
..............................................
6
2
-
INSTALLATION
General...............
-4.4444
400000006
K K K K
K
K
R
K
기
기이
에의
7
System
Supply
1
に に に に に に に
に
・
ト
に
トト トト
トト
トト
トト
トト
トト トト
て
し に
に に
て
た
し
に
で
くし
て
に
で
た
し で で
で
にし
K
K
9
Water
Supply
ké
9
Electrical
Supply
te
eee
eee
10
AirSupply
.....................
eee
10
System
Drain
0
ten
eee
S K
K
να
νο
ο
ο
ος
11
Installation
Verification
1 に
に
に
に
に
に
に
に
に
に に
に
に
に
トト
トト
トト
トト
トト
トト
ッッ
トト
ト に て
て
て
て
に
と
し
ゃ
し に
で
に
て
12
3
-
OPERATOR
CONTROLS
General
に
に
に
に
に に し に に
に
に に
トト
に
トト
スト
トト トト トト トト トト
トト
トト
トト
で
し て
た
て
に
で
た
た
て
に
に
に に
に
に
に
に
이
이이
13
Control
Panel
.................
4444444000000
k
K
K
K
K
K
O
K
시
아아
14
LED
Indicators
.......................................................
15
LCD
Screen
ε
νεο
νο νο
νε
ενω
aaa
16
Numeric
Keypad
.............
cece
eee
18
FuncüonKeys
..........................
eee
19
©
2008,
Medivators
Reprocessing
Systems
i
U)
REPROCESSING
SYSTEMS
Setting
Up
The
Reprocessor
..........................................s....
21
Load
Disinfectant
From
Basin
.....................................,.....
21
Load
Disinfectant
With
Internal
Pump
....................................
23
Automatic
Disinfectant
Dump
..
eee
24
Dump
Disinfectant
With
Internal
Pump
«νο
ν
ων
νεο
ν
ρω
ν
ων
νε
νε
κ
εν
κ
νεο
ον
26
SetTheDate............................
aran
28
Set
The
Time
are
30
Display
Software
Version
..............................................
32
Water
Line
SAnitize
.
τν
ε
ων
εν
οννωνονε
ορ
ω
νε ων
ε
ων εω
ών
κοκ
ε
κε
ε
ων ντ ον
34
Display
Log
rnknre
36
DisablelLog
................................
ete
ee
κ
ενω
νε
κ
εν
ων
38
Clearlog
........................
1...
een
40
Clear
Disinfectant€ycleCount.........................
ké
42
Programming
the
Reprocessor
1
に に
に
に
に
ュー に
ュー
トト
ーー
トー
トー
トード
ーー
トト
トト
トト
トト
トト
トット
ャ
こし
てこ
ここ
44
Input
Program
.........................
esse.
44
Disinfectant
Warning
Inhibit
............................................
50
Display
Temperatures
.......................................,..,.,....
52
Set
Heater-on
Time
........................................,.,.,....2.
54
Set
Heater-of
Time
εν
ον
ω
εν
ον
ον
εν νε
νε
κε
νε
νερο
εν
κ
των
56
Display
Disinfectant
Cycle
Count
............................,.....,.....
58
Display
Time
Remaining
し
し に
に
に
レー
レー
レー
に に
レレ
に
ーー
に
ーー
トー
トー
トー トト
ーー
トー
トー
バー
バー
60
Display
State
Tnme
. .
.
2
2
iile
62
Print
Entire
Log
..............................
иене
неее
нения
64
Print
Last
Run
にし
し
に
に
に
κοκ
ενω
εν
νοκ
εν εν κε
κ ο
ον
66
Set
Automatic
Printing
Enable
...................................
ーーーーー
68
Set
Delayed
Start
Date/time
.............................................
70
SetDelayedStartEnable
................................
iie
72
Enter
Diagnostics
.....................................................
74
4
-
DIAGNOSTICS
MENU
Imtroducton..............
00mm
77
Precautions
し
し
し
し
に
に に
세
9
과
세
세 사 셔
의
세 세
와와
에
에
세
에 에 에 에
이아
77
DiagnosticsFunctions
...................
e
seen
78
Function
0
—
Close
All
Valves
and
Turn
All
Pumps
Off......................
79
Function
|
—
Activate
Detergent
Valve
...................................
79
Function
2
—
Activate
Water
Valve
..................................,..
79
Function
3
—
Activate
Alcohol
Pump
....................................
79
Function
4
—
Activate
Air
System
.......................................
80
Function
5
—
Activate
Air
Valve
........................................
80
MM03-0047
Revision
D

DSD™-201
Endoscope
Reprocessor
Service
Manual
Function
6
—
Activate
Chamber
Valve
......................,............
80
Function
7
—
Activate
Disinfectant
Pump
.....................,............
80
Function
8
—
Activate
Disinfectant
Supply
Valve
..................,........
80
Function
9
—
ActivateDisinfectantOverflow
Valve
.........................
81
Function
10
—
Activate
Disinfectant
Return
Valve
.......,.....,.,..........
81
Functionll
—
ActivateDrainValve
................................
81
Function
12
—
Activate
Alcohol
Valve
......................,...,........
81
Function
13
—
ActivateRecirculationPump
...............................
82
Function
14
—
Activate
Water
Inlet
Valve
...........,......................
82
Function
15
—
Activate
Disinfectant
Inlet
Valve
.............................
82
Function
16
—
Activate
Recirculation
Inlet
Valve
............................
82
Function
17
—
Activate
Recirculation
Chamber
Valve
...............,........
82
Function
18
—
Activate
Valves
Incrementally
.............................
83
Function
19
—
Activate
Detergent
Pump
..............,....................
83
Function
20
—
Activate
Station
A
LED
.....................,.....,........
84
Function
21
—
Activate
Station
B
LED
........................,...,.......
85
Function
22
—
Activate
System
LEDs
...........,...................,.....
86
Function
23
—
Write
LCD
Test
Pattern
....................................
87
Function
24
—
Write
Counter
to
Display
.....................,.............
87
Function
25
—
Test
Keypad
...............................,.,...........
88
Function
26
—
Adjust
LCD
Contrast
.....................................,
89
Function
27
—
Adjust
Alarm
Volume
.....................................
89
Function
28
—
Lock Cover
(Optional)
..............,..,...............,..,
90
Function
29
—
Unlock
Cover
(Optional)
....................,..,,,.........
90
Function
31
—
Calibrate
Basin
Thermistor
..................................
91
Function
32
—
Calibrate
Reservoir
Thermistor
................,.......,.....
92
Function
40
—
Flow
Sense
Inhibit
...................................,....
93
Function
41
—
Cover
Sense
Inhibit
....................,..,...............
93
Function
42
—
Basin
Level Sense
Inhibit
...................,.,.............
94
Function
43
—
Reservoir
Low
Level
Sense
Inhibit
..........................,
95
Function
44
—
Reservoir
High
Level
Sense
Inhibit
...........................
95
Function
45
—
Sheath
Sense
Inhibit
....................,,.................
96
Function
46
—
Disinfectant
Warning
Acknowledge
................,.........
96
Function
47
—
Enable
Alcohol
Level
Sensor
................,............,..
97
Function
48
—
Enable
Detergent
Sensor
...................................
98
Function
49
—
Temperature
Monitoring
Enable
................,............
99
Function
50
—
Turn
Sheath
Test
Off
...........................,.........
100
Function
51 —
Activate
Sheath
Valve
....................................
100
©
2008,
Medivators
Reprocessing
Systems

REPROCESSING
SYSTEMS
NM
Function
52
—
Activate
Sheath
Test
Compressor
Valve
...................,.,
101
Function
53
—
Activate
Sheath
Test
Compressor
.........................,..
101
Function
54
—
Turn
Off
All
Valves
and
Reset
Latches
.......................
102
Function
55
—
Turn
Off
Sheath
Test
Compressor
...........................
102
Function
56
—
Activate
Sheath
Test
......................................
103
Function
57
—
Activate
Sheath
Hold
.....................................
103
Function
60
—
Set
Default
Program
......................................
104
Function
61
—
Set
Rinse
Drain
Time
and
Disinfectant
Drain
Time..............
104
Function
62
—
Set
Rinse
and
Disinfectant
Fill
Times
........................
105
Function
63
—
Set
Fluid
and
Air
Purge
Times
....................,.........
105
Function
64
—
Set
Disinfectant
Pulse
Time
................................
106
Function
65—SetAddAirTime...........................
0.
εν
106
Function
66
—
Set
Partial
Rinse
Fill
and
Drain
Times
........................
107
Function
67
—
Set
Rinse/Disinfectant
Top-Off
Times
........................
107
Function
69
—
Set
Water
Line
Disinfect
Hold
Time
.........................
108
Function
71
—
Set
Maximum
Disinfectant
Cycle
Count
......................
108
Function
72
—
Reset
Programs
..........................................
109
Function
73
—
Clear
Disinfectant
Counter
.................................
109
Function
74
—
Set
Maximum
Reservoir
Temperature
........................
110
Function
75
—
Set
Minimum
BasinTemperature............................
110
Function
79
—
Enable
All
Sensors
.......................................
111
Function
80
—
Set
Language
...........................................
111
Function
81 —
Set
Time
Limit
..........................................
112
Function
82
—
Set
Serial
Number
........................................
113
Function
83
—
Program
Low
Flash
......................................
113
Function
84
—
Program
High
Flash
......................................
114
Function
85
—
Program
Entire
Flash
......................,..............
114
Function
86
—
Initialize
NVRAM
...................,...................
115
Function
87
—
Disable
All
Sensors
..........,...........................
115
Function
88
—
Set
Options
.................,................,...........
115
Function
89
—
Set
Station
to
Idle
State
...................................
116
Function
90
—
Display
Inputs
...........................................
116
Function
91
—
Display
Cycle
Count
ενω
ων εν
νε
ρω
ενώ
νεο
εν
εκ
ων
εν
117
Function
93
—
Display
Temperatures
.....................................
117
Function
94
—
Test
Sensors
............................................
118
Function
95
—
Test
Sheath
Tester
.......................................
118
IV
MM03-0047
Revision
D
DSD™-201
Endoscope
Reprocessor
Service
Manual
5
-
OPERATION
Introducüon...............
002
119
Cycle
Operation
に
に に
に
に
に
に
に に
に に に
に
に に に
トト トト
トト
トト
トト
ト
トト トト
トト
トト
トト
トト
し
に
て
トト
て
トト
ここ
て
いこ
てこ
120
Startup
Phase
.......................................................
120
Wash
Phase
..
----,
120
Disinfectant
Phase
...........................................,......,
121
Rinse
1
Phase
renees
121
Rinse
2
Phase
.......................................................
121
Rinse
3
Phase
.......................................................
121
Alcohol
Phase
......................................................
121
Air
Phase
ーー
122
Pre-start
Inspection
......................,..,,.,..
esse.
123
StartUD
1
に
ュ
に
トト
トト
トト
トト
トト
トト
トト
トト
トト
トト
トト
トト
トド
トト
トト て
た
に
た
に
トト
し
に
し
に
に
に
に
に
に
し
に
に
K
124
Checking
the
Potency
Level
に
に に
に
に
に
に
に
に
に
に
に
に
に に
に
に
トト
トト
トト
トト
トト
トト
トー
トト
トト
トト
トト
ここ
トー
ここ
125
Overriding
the
Disinfectant
Warning
................................,...
126
Disinfecting
Endoscopes
........................,.......................
127
Preparing
the
Endoscope
........................................,.....
127
LeakTesting(Optional)...............................................
128
Running
the
Disinfection
Process
.......................................
129
Completing
the
Disinfection
Process
.....................................
130
Processlnterruption
..................
ösen
131
System
Interruption
cece
teen
nna
131
Operator
Initiated
Interruption
.................................,...,....
131
Shutdown
に
に
に
に に に に
に
に
に
に
に
に
トト
トト
トー
トト
トト
トト
トト
トト
トト
トト
トト
トト
に
で
に
に
に
に
に
に
で
し
で
し
で
て
た
ゃ
で と
くく
ここ
132
6
-
MAINTENANCE
General..............
eeose
133
Leveling
e
134
Collet
Coupling
Disconnection/connection
.......................,.,......
136
Disinfectant
Filter
Cartridge
—
Replace
...........................,.....,
138
Internal
Water
Filter
—
Remove
...............................,,,,.....
140
Internal
Water
Filter
一
Replace
νο
ων
ον
ενω
νο
νο
ον
142
Printer
Paper
—
Replace
..............................................
144
Printer
Ribbon
—
Replace
............................................0
146
Airfilter—Replace................................
aaa
148
3/4-inch
Solenoid
Valve
—
Clean/sealReplacement
........................
150
Flow
Sensor
—
Clean
......................................,,....,...
152
Removing
The
Disinfectant
Reservoir
...................................
154
©
2008,
Medivators
Reprocessing
Systems
v

REPROCESSING
SYSTEMS
Replacing
The
Fuses
..
ω
ων
ων
νε
ε
εκ
ενω
νο
νε
κ
νε
ων
εν ων
156
Leak
Tester
Option
—
Check
..................,...............,..,....
158
Draining
Condensation
From
Air
Chamber
................................
160
Manually
Unlocking
The
Lid
(Optional)
.......................,..........
162
7
-
TROUBLESHOOTING
(ο
μου.
165
Error
and
Warning
Messages
...........................................
170
8
-
APPENDIX
Error
Messages
..........................................
esse
R
K
A-2
Diagnostic
Messages
........................................s.s.sss..s
A-4
Log
Messages
に
に
に に
に
ュ
に
に
に に に
に
トー
トー
トー
トト
トト
トト
トト
トト
トー
て
トト
トト
トト
トト
トト
ャ
トト
トト
ャ
こし
て
て
て て
ここ
A-7
Glossaryoflerms....................
0.0
0
eee
A-9
Specifications
...................
00.00
eee
A-10
DisinfectionCyeleChart
...................
ömer
A-11
Custom
Program
Reference
Chart
...................
ören
A-19
FlowDiagram
............
cece
cee
ee
reece
eee
eee
ee
eee
nen
ew
eee
eens
A-20
Electrical
Block
Diagram
cece
cece
ee
cere
renee
cree
neces
A-22
See
A-24
Diagnostic
Menu
...................
-0444440000000
o
ee
n
A-25
MM03-0047
Revision
D
INTRODUCTION
Using
this
Manual
This
manual
describes
the
Medivators
Reprocessing
Systems
DSD
-201
endoscope
reproces-
sor.
It
also
describes
the
features
of
the
reprocessor,
how
to
setup
and
operate
the
reprocessor,
and
maintenance
and
troubleshooting
procedures
to
keep
the
reprocessor
in
good
operating
order.
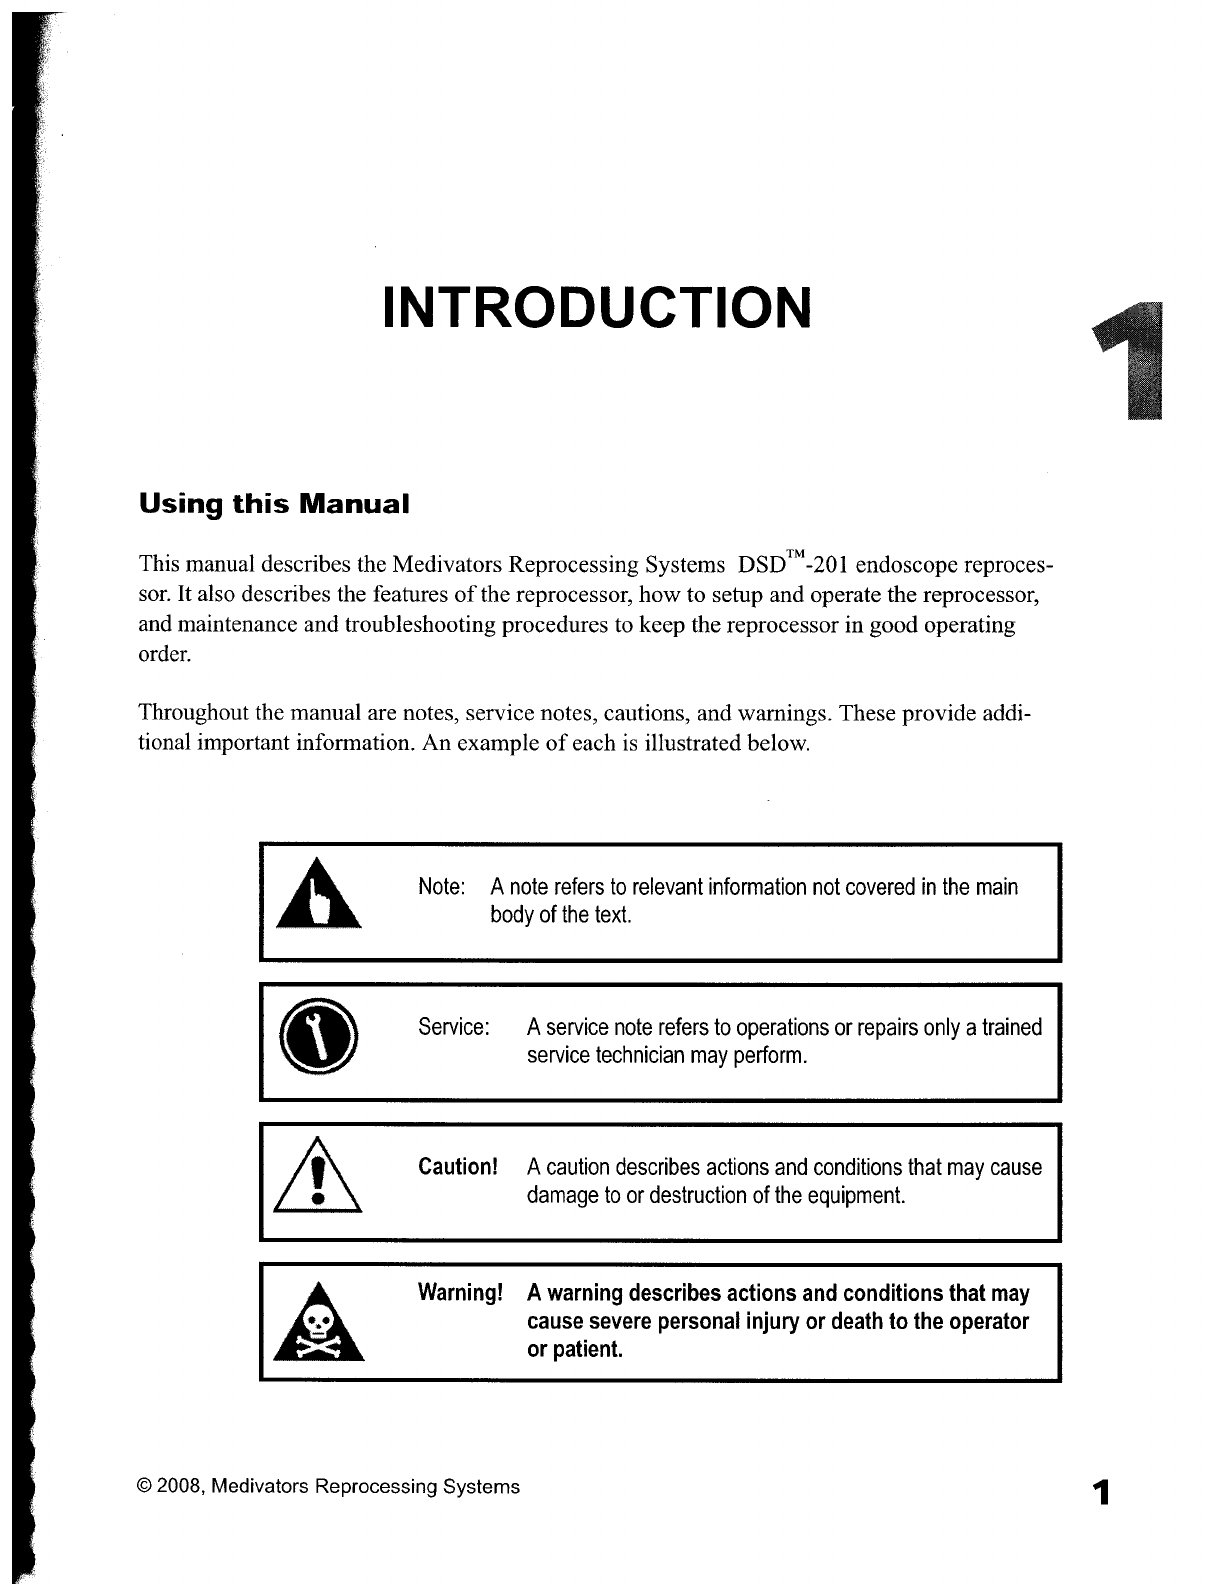
Throughout
the
manual
are
notes,
service
notes,
cautions,
and
warnings.
These
provide
addi-
tional
important
information.
An
example
of
each
is
illustrated
below.
Note:
A
note
refers
to
relevant
information
not
covered
in
the
main
body
of
the
text.
Service:
A
service
note
refers
to
operations
or
repairs
only
a
trained
service
technician
may
perform.
Caution!
A
caution
describes
actions
and
conditions
that
may
cause
damage
to
or
destruction
of
the
equipment.
Warning!
A
warning
describes
actions
and
conditions
that
may
cause
severe
personal
injury
or
death
to
the
operator
or
patient.
>
>
@
>
©
2008,
Medivators
Reprocessing
Systems
m
Safety
This
section
outlines
general
safety
guidelines
for
proper
operation
and
service
of
the
reprocessor.
Failure
to
follow
these
guidelines
may
result
in
severe
injury
or
death
to
the
patient
and/or
opera-
tor.
Read
and
understand
all
operating
and
service
procedures
before
attempting
to
operate
the
reprocessor.
Intended
Use
Only
properly
trained
individuals
may
operate
or
service
the
reprocessor.
Never
use
the
reproces-
sor
for
any
purpose
other
than
the
manufacturer’s
specific
intended
purpose.
Operator
Safety
Avoid
biological
contamination
and
chemical
burns—always
wear
appropriate
personal
protective
equipment
when
handling
endoscopes
or
disinfectant
solutions.
Never
open
the
reprocessor
lid
or
remove
the
floating
basin
lid
during
operation.
For
disinfectant
handling
guidelines,
refer
to
the
American
National
Standard
recommended
prac-
tice
titled
“Safe
Use
and
Handling
of
Glutaraldehyde-based
Products
in
Health
Care
Facilities”
(AAMI/FDS
ST58,
1996-03-26).
The
document
is
available
from
the
Association
for
the
Advancement
of
Medical
Instrumentation.
MM03-0047
Revision
D

DSD™-201
Endoscope
Reprocessor
Service
Manual
INTRODUCTION
Guidelines
Guidelines
are
established
to
ensure
patient
safety,
operator
safety,
and
to
maintain
reliable
reprocessor
operation.
Installation
and
Maintenance
Proper
maintenance
will
ensure
effective
disinfection
and
prolong
the
life
of
the
reprocessor.
・
The
reprocessor
must
be
protectively
grounded.
*
The
system
default
is
factory-set
for
a
20
minute
disinfectant
immersion
period.
This
period
may
be
changed
in
the
custom
program
setting.
Verify
the
program
is
appro-
priate
for
the
disinfectant
used.
+
All
pressure
regulators
are
factory-preset.
Do
not
adjust
the
settings.
Contact
your
Technical
Support
representative
for
assistance.
・
Do
not
allow
the
sanitizing
solution
to
contact
metal
components.
*
Do
not
use
alcohol
or
alcohol-based
products
to
clean
the
reprocessor
cabinet
as
this
may
cause
crazing.
+
The
hook-ups
are
not
autoclavable
and
must
be
reprocessed
by
low
temperature
dis-
infection
only.
・
Replacement
parts
must
be
ordered from
the
manufacturer
to
maintain
the
warranty.
Water
Quality
Potable
water
is
the
minimum
standard.
Incoming
water
must
be
pre-filtered
to
minimum
of
0.45-microns.
*
The
high
performance
0.2-micron
water
filter
included
with
the
reprocessor
is
a
ster-
ilizing
grade
bioretentive
filter.
The
filter
removes
all
microorganisms
and
particles
greater
than
0.2-microns.
+
The
routine
maintenance
schedule
recommends
replacing
the
0.2-micron
water
filter
every
6
months
or
sooner,
depending
on
the
pre-filtration
system
and
the
quality
of
the
incoming
water.
©
2008,
Medivators
Reprocessing
Systems
3

REPROCESSING
SYSTEMS
Detergent
Solution
Medivators
recommends
the
use
of
a
detergent
solution
that
has
bacteriostatic
properties
to
inhibit
bacterial
growth
in
the
detergent
reservoir
and
detergent
line.
Caution!
Never
use
household
detergent
in
the
reprocessor.
Disinfectant
Solution
Select
a
low-foaming,
high
level
disinfectant
specifically
manufactured
for
high-level
medical
instrument
disinfection.
The
product
must
be
capable
of
destroying
M.
tuberculosis.
・
Consult
the
product
label
for
appropriate
contact
time
and
temperature
when
program-
ming
the
disinfection
cycle.
Monitoring
Disinfectant
Potency
The
efficacy
of
a
disinfection
procedure
is
directly
related
to
the
disinfectant
solution
used
and
the
amount
of
time
the
endoscope
is
exposed
to
that
solution.
・
Disinfectants
must
be
monitored
for
potency
on
a
daily
basis.
Consult
the
disinfectant
manufacturer
recommendations
for
monitoring
guidelines.
*
Use
the
manufacturer’s
test
strips
to
test
the
potency
of
the
solution
on
a
daily
basis.
If
the
potency
of
the
solution
is
below
its
minimum
recommended
concentration
(MRC),
discard
and
replace
it
with
fresh
solution.
*
Never
use
disinfectant
beyond
the
manufacturer’s
recommended
reuse
life,
even
if
the
potency
levels
are
acceptable.
+
Never
use
disinfectant
with
unacceptable
potency
levels,
even
if
the
reuse
date
is
unexpired.
MM03-0047
Revision
D

DSD™-201
Endoscope
Reprocessor
Service
Manual
INTRODUCTION
Endoscope
Precleaning
and
Testing
All
endoscopes
must
be
precleaned
prior
to
disinfection.
Follow
the
endoscope
manufacturer
instructions
and
established
professional
guidelines
to
properly
preclean
the
endoscope.
*
Endoscopes
with
elevator
wire
channels
require
additional
manual
cleaning
and
disinfection
steps.
‚
Leak
test
endoscopes
prior
to
disinfection
procedures.
©
2008,
Medivators
Reprocessing
Systems
5
la
REPROCESSING
SYSTEMS
Cleaning
and
Disinfection
Always
follow
established
professional
guidelines
while
cleaning
and
disinfecting
endoscopes.
The
following
organizations
have
published
recommended
guidelines.
Society
of
Gastroenterology
Nurses
and
Associates
401
North
Michigan
Ave.
Chicago,
IL
60611-4267
TEL:
(800)
245-7462
FAX:
(312)
321-5194
http://www.sgna.org/
American
Society
for
Gastrointestinal
Endoscopy
13
Elm
Street
P.
O.
Box
1565
Manchester,
MA
09144-1314
TEL:
(978)
526-8330
FAX:
(978)
526-4018
http://www.asge.org/
Association
of
Operating
Room
Nurses
2170
So.
Parker
Rd.,
Suite
300
Denver,
CO
80231-5711
TEL:
(303)
755-6304
FAX:
(303)
750-3462
http://www.aorn.org/
British
Society
of
Gastroenterology
3
St.
Andrews
Place
Regents
Park,
London
NW1
4LB
01144-171-387-3534
Association
for
Professionals
in
Infection
Control
and
Epidemiology,
Inc.
1275
K
Street,
NW,
Suite
1000
Washington,
DC
20005-4006
TEL:
(202)
789-1890
FAX:
(202)
789-1899
http://[email protected]
American
Society
for
Testing
and
Materials
100
Bar
Harbor
Drive
West
Conshohocken,
PA
19428-2959
TEL:
(610)
832-9585
FAX:
(610)
832-9555
http://www.astm.org/
Canadian
Society
of
Gastroenterology
Nurses
&
Associates
P.O.
Box
366
36
Adelaide
Street
East
Toronto,
Ontario
MSC
2J5
http://www.webray.com/csgna
MM03-0047
Revision
D

INSTALLATION
General
Move
the
reprocessor
to
the
installation
location
before
removing
the
protective
packaging
material.
If
this
is
not
possible,
use
a
hand
truck
or
moving
dolly
and
ensure
the
reprocessor
is
not
damaged.
During
installation,
be
sure
the
lower
reservoir
cover
is
in
place,
to
prevent
drill
shavings
and
chips
or
other debris
from
entering
the
reservoir.
The
reprocessor
must
be
installed
on
a
level
surface,
or
adjusted
to
level.
See
the
Leveling
pro-
cedure
in
the
Maintenance
chapter.
©
2008,
Medivators
Reprocessing
Systems
7

REPROCESSING
SYSTEMS
Conirol
Panel
Process
Indicators
Disinfectant
Return
Valve
Drain
Valve
Alcohol
Reservoir
Air
Valves
Reservoir
Cover
Disinfectant
Filter
Regulator
Disinfectant
Reservoir
Temperature
Control
Air
Compressor
Lid
Basin
Water
Filter
Bleeder
Valve
Drain
Line
af
(rear
side)
Detergent
Reservoir
Pump
Override
Switch
下
Incoming
Water
Water
Filter
Air
Filter
Disinfectant
Pump
Fig.
1.
DSD-201
Internal
components
MM03-0047
Revision
D

DSD™-201
Endoscope
Reprocessor
Service
Manual
INSTALLATION
System
Supply
Water
Supply
For
optimum
cycle
performance,
the
water
supplied
to
the
reprocessor
must
provide
a
flow
rate
of
3.2
gal/min
(12
liters/min),
at
35-40
psi
(2.4-2.75
bar).
The
incoming
water
line
must
be
a
minimum
1/2-inch
(13
mm).
Use
a
cold
water
supply
with
a
maximum
temperature
of
110°
F
(43°
C).
1.
Install
an
incoming
water
shut-off valve
before
the
pre-filter
system.
2.
Install
the
incoming
water
prefilter,
supplied
with
the
reprocessor.
*
Mount
the
incoming
water
filter
on
the
wall
where
it
can
be
periodically
checked
for
particle
saturation.
installation
requires
the
outlet
to
be on the
left
side,
remove
the
filtration
brackets
and
reinstall
on
the
opposite
side,
then
loosen
and
rotate
the
gauges
180°.
À
Note:
The
filter
is
provided
with
the
outlet
on
the
right
side.
If
the
filter
3.
Install
the
supplied
water
regulator
between
the
pre-filter
and
the
reprocessor
water
connection.
*
Incoming
water
pressure
to
the
regulator
must
be
less
than
100
psi
(6.8
bar).
・
Set
the
outgoing
water
pressure
between
35-40
psi
(2.4-2.75
bar).
©
2008,
Medivators
Reprocessing
Systems
9
10
MM03-0047
Revision
D
REPROCESSING
SYSTEMS
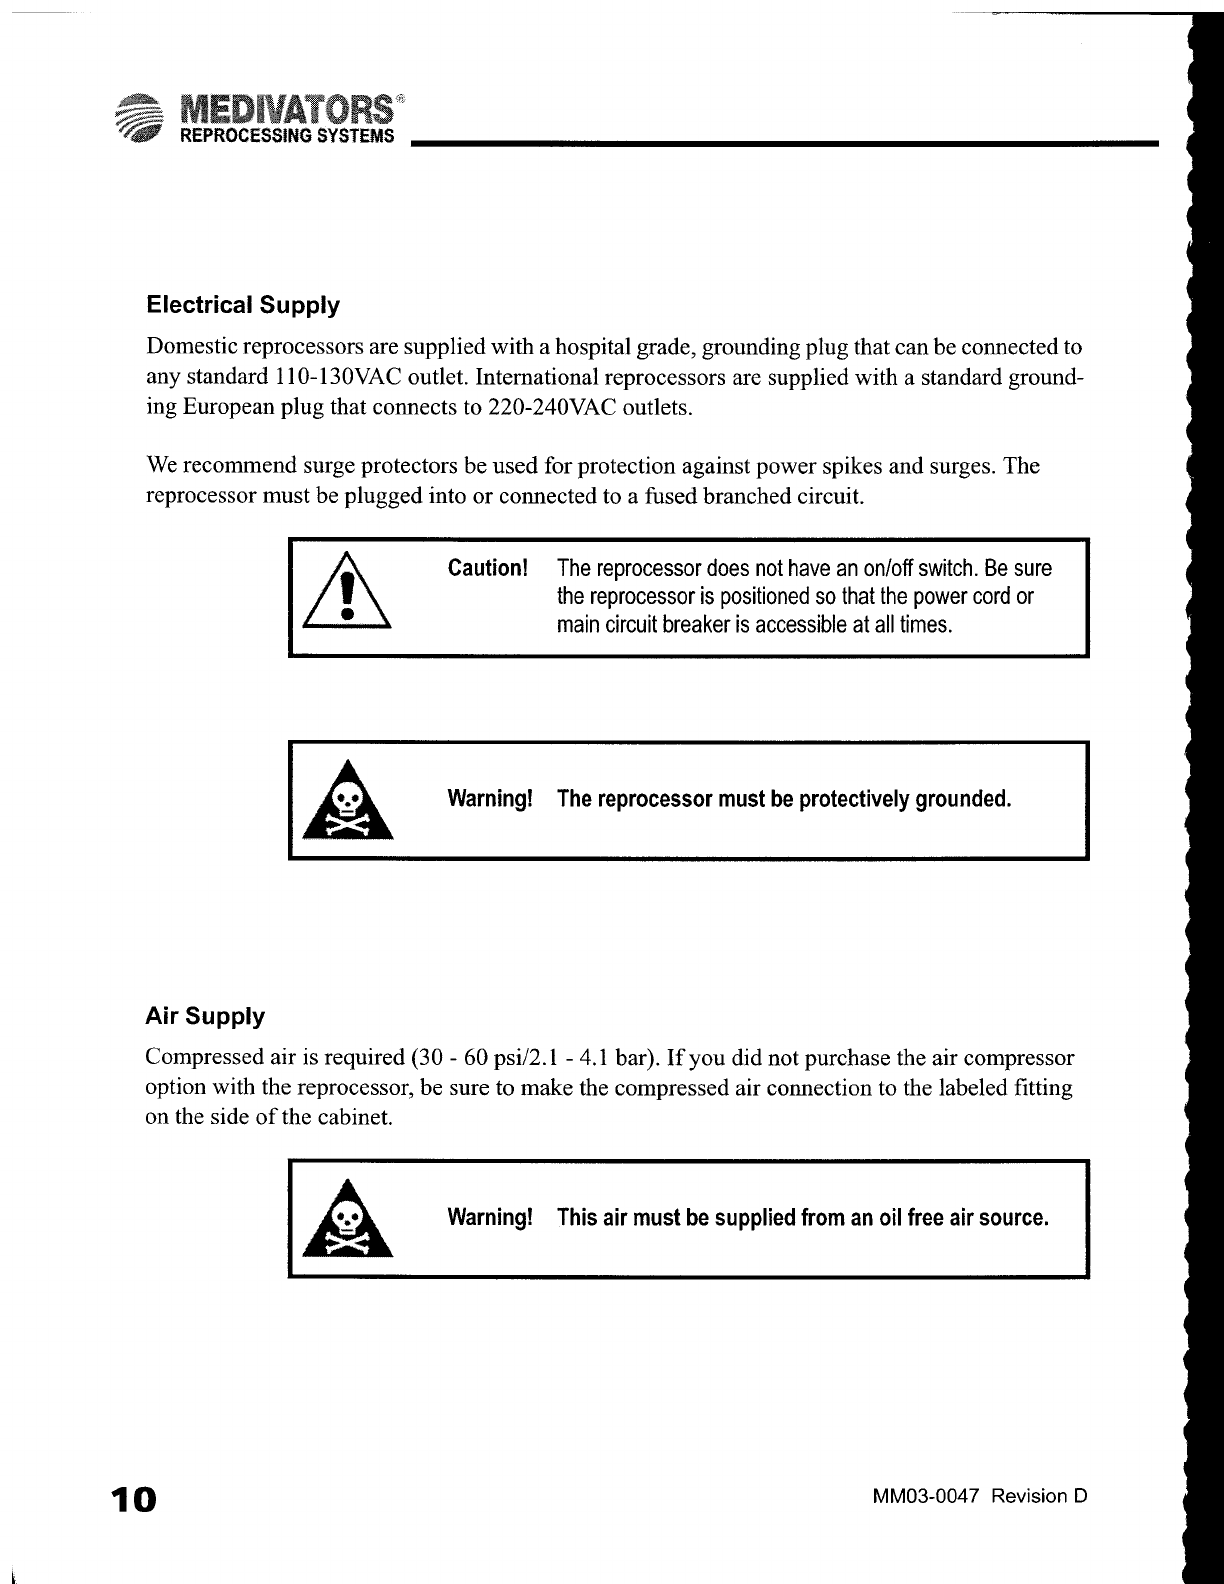
Electrical
Supply
Domestic
reprocessors
are
supplied
with
a
hospital
grade,
grounding
plug
that
can
be
connected
to
any
standard
110-130VAC
outlet.
International
reprocessors
are
supplied
with
a
standard
ground-
ing
European
plug
that
connects
to
220-240VAC
outlets.
We
recommend
surge
protectors
be
used
for
protection
against
power
spikes
and
surges.
The
reprocessor
must
be
plugged
into
or
connected
to
a
fused
branched
circuit.
Caution!
The
reprocessor
does
not
have
an
on/off
switch.
Be
sure
the
reprocessor
is
positioned
so
that
the
power
cord
or
main
circuit
breaker
is
accessible
at
all
times.
Warning!
The
reprocessor
must
be
protectively
grounded.
ας
Air
Supply
Compressed
air
is
required
(30
-
60
psi/2.1
-
4.1
bar).
If
you
did
not
purchase
the
air
compressor
option
with
the
reprocessor,
be
sure
to
make
the
compressed
air
connection
to
the
labeled
fitting
on
the
side
of
the
cabinet.
Warning!
This
air
must
be
supplied
from
an
oil
free
air
source.
DSD™-201
Endoscope
Reprocessor
Service
Manual
INSTALLATION
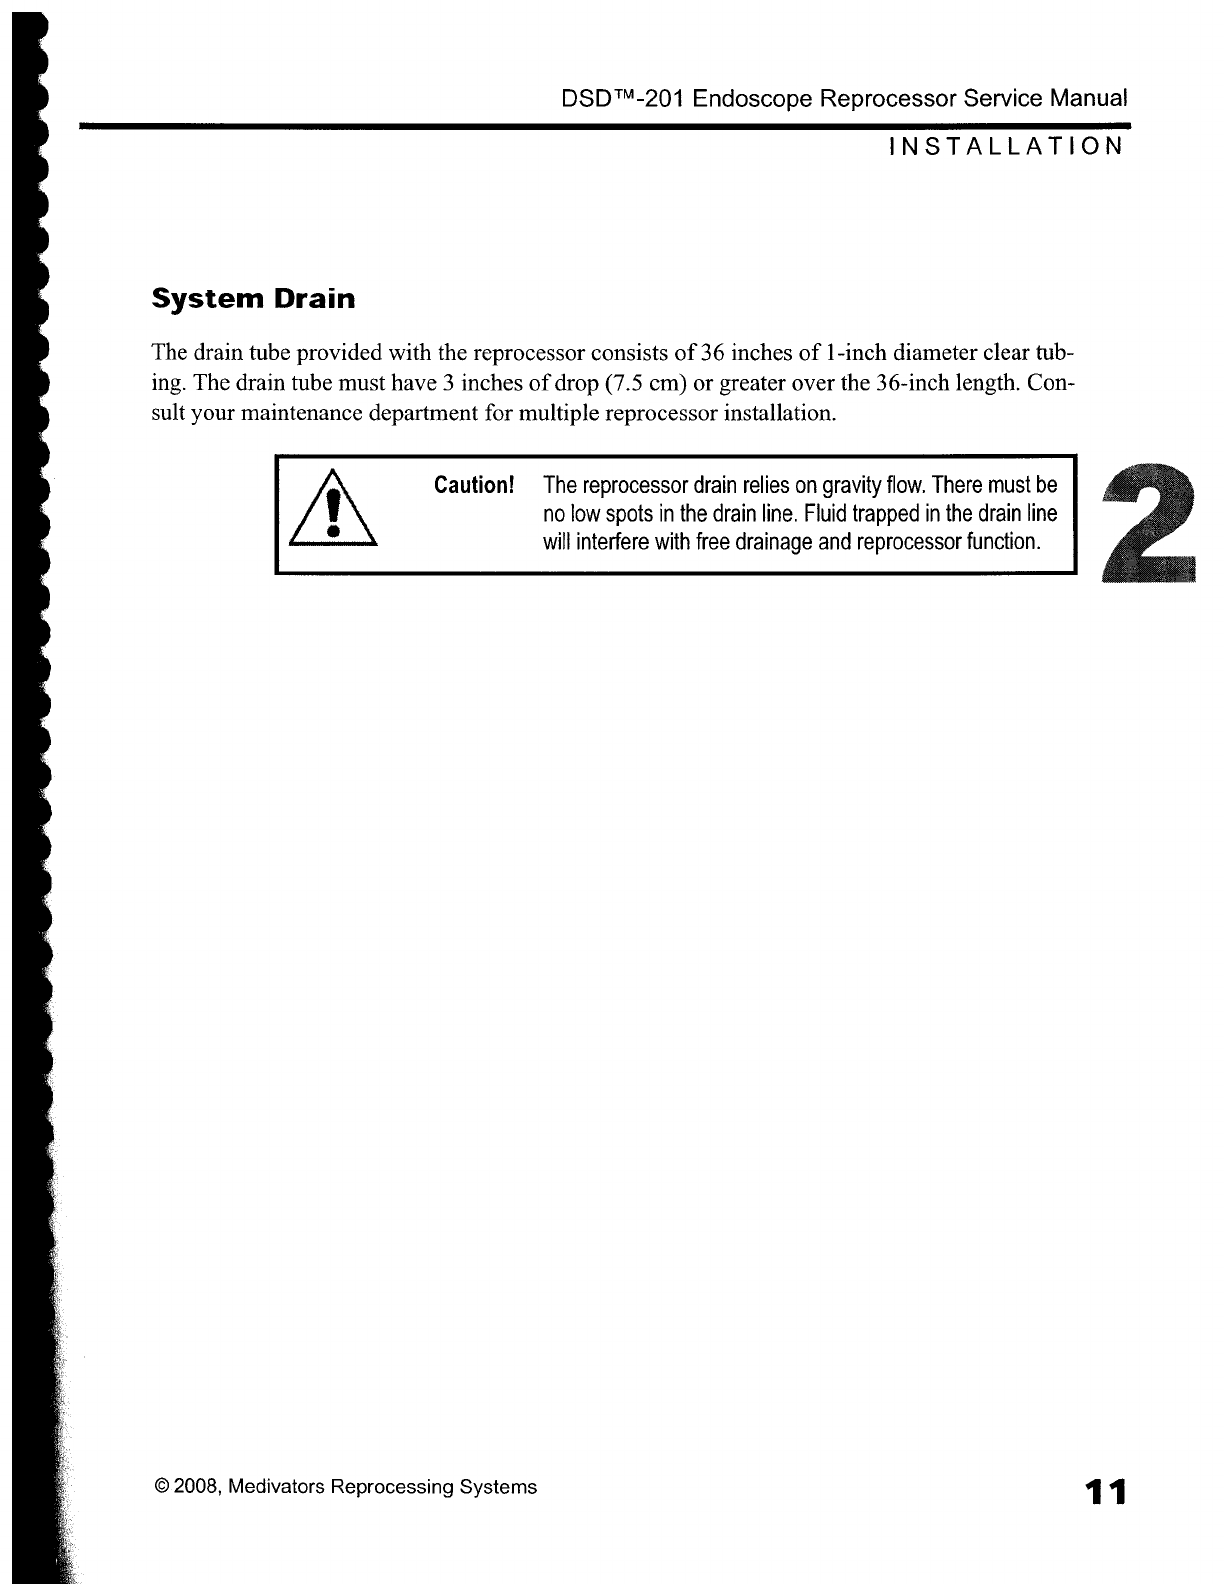
System
Drain
The
drain
tube
provided
with
the
reprocessor
consists
of
36
inches
of
1-inch
diameter
clear
tub-
ing.
The
drain
tube
must
have
3
inches
of
drop
(7.5
cm)
or
greater
over
the
36-inch
length.
Con-
sult
your
maintenance
department
for
multiple
reprocessor
installation.
Caution!
The
reprocessor
drain
relies
on
gravity
flow.
There
must
be
no
low
spots
in
the
drain
line.
Fluid
trapped
in
the
drain
line
will
interfere
with
free
drainage
and
reprocessor
function.
©.2008,
Medivators
Reprocessing
Systems
1
1
δα
“©
REPROCESSING
SYSTEMS
\
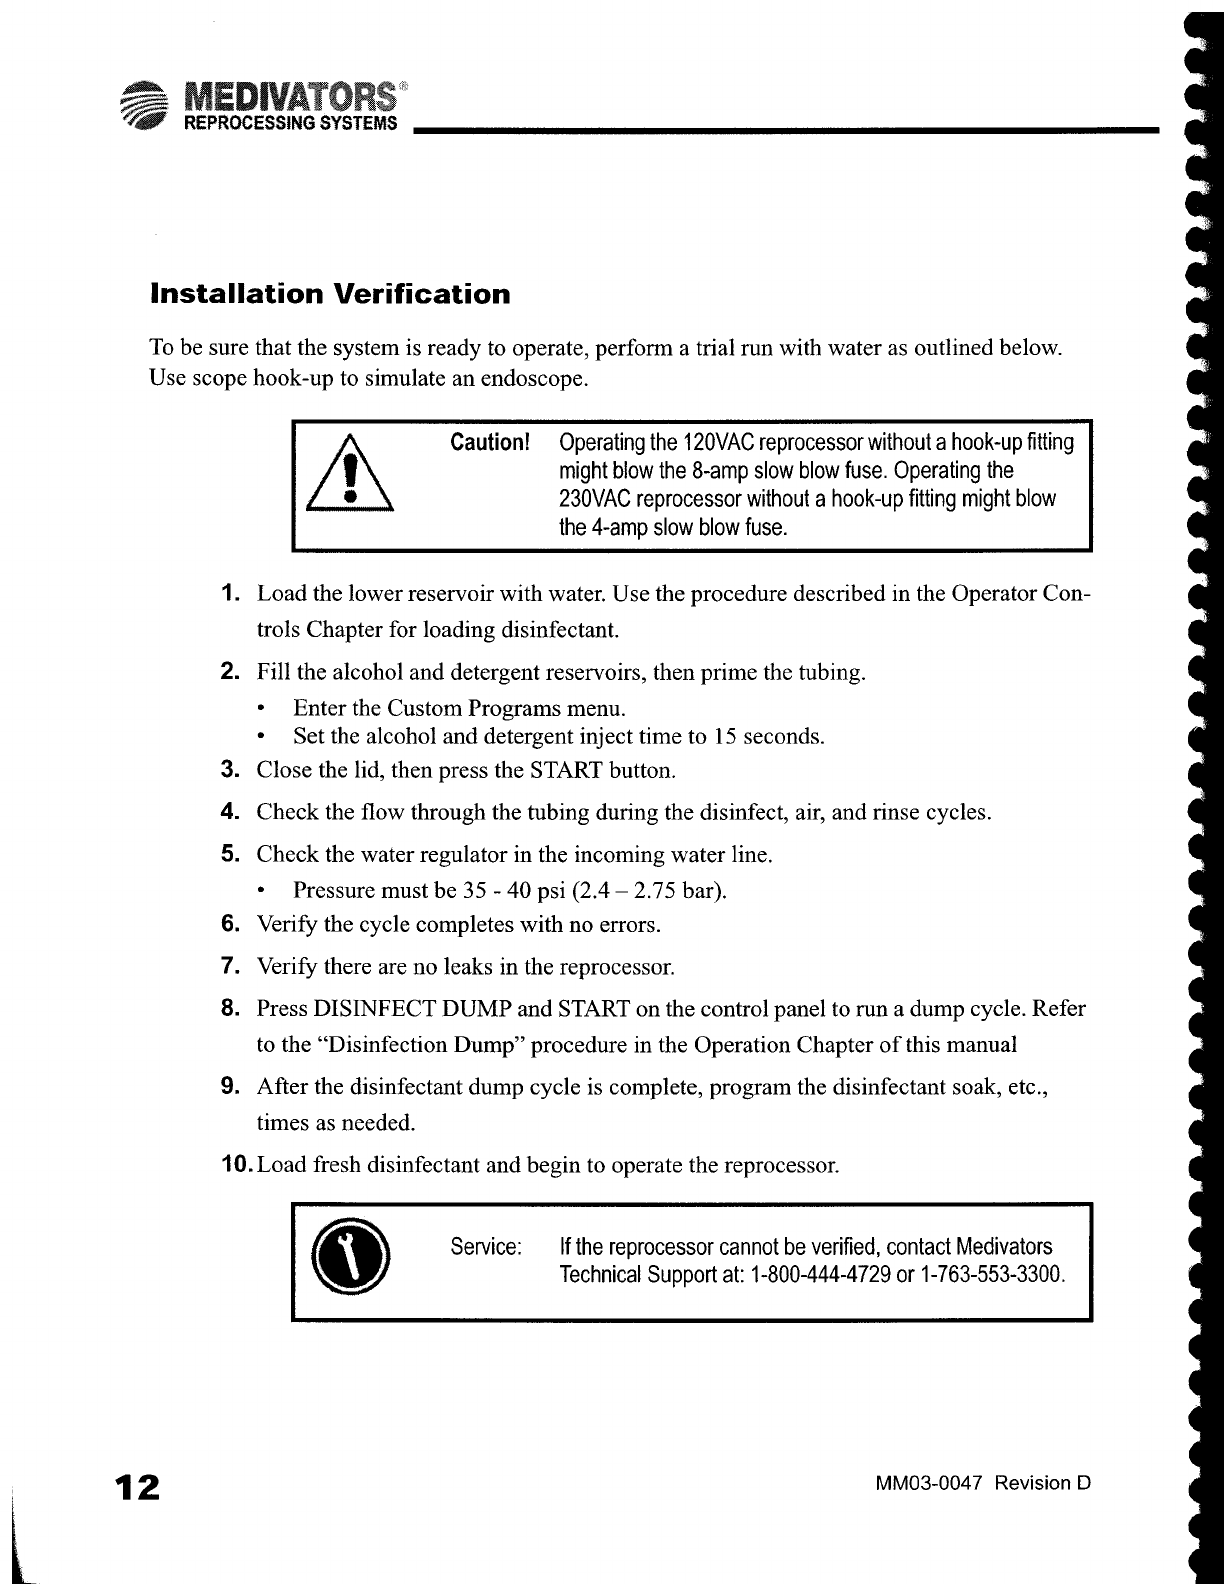
Installation
Verification
To
be
sure
that the
system
is
ready
to
operate,
perform
a
trial
run
with
water
as
outlined
below.
Use
scope
hook-up
to
simulate
an
endoscope.
might
blow
the
8-amp
slow
blow
fuse.
Operating
the
230VAC
reprocessor
without
a
hook-up
fitting
might
blow
the
4-amp
slow
blow
fuse.
1
Caution!
Operating
the
120VAC
reprocessor
without
a
hook-up
fitting
1.
Load
the
lower
reservoir
with
water.
Use
the
procedure
described
in
the
Operator
Con-
trols
Chapter
for
loading
disinfectant.
2.
Fill
the
alcohol
and
detergent
reservoirs,
then
prime
the
tubing.
・
Enter
the
Custom
Programs
menu.
*
Set
the
alcohol
and
detergent
inject
time
to
15
seconds.
3.
Close
the
lid,
then
press
the
START
button.
4.
Check
the
flow
through
the
tubing during
the
disinfect,
air,
and
rinse
cycles.
5.
Check
the
water
regulator
in
the
incoming
water
line.
*
Pressure
must
be
35
-
40
psi
(2.4
—
2.75
bar).
6.
Verify
the
cycle
completes
with
no
errors.
7.
Verify
there
are
no
leaks
in
the
reprocessor.
8.
Press
DISINFECT
DUMP
and
START
on
the
control
panel
to
run
a
dump
cycle.
Refer
to
the
“Disinfection
Dump”
procedure
in
the
Operation
Chapter
of
this
manual
9.
After
the
disinfectant
dump
cycle
is
complete,
program
the
disinfectant
soak,
etc.,
times
as
needed.
10.
Load
fresh
disinfectant
and
begin
to
operate
the
reprocessor.
Service:
__
If
the
reprocessor
cannot
be
verified,
contact
Medivators
Technical
Support
at:
1-800-444-4729
or
1-763-553-3300.
1
2
MM03-0047
Revision
D
Other manuals for DSD-201
4
Table of contents
Other Medivators Medical Equipment manuals

Medivators
Medivators SCOPE BUDDY Series User manual

Medivators
Medivators CER-1 User manual

Medivators
Medivators SCOPE BUDDY User manual

Medivators
Medivators CER-1 User manual

Medivators
Medivators DSD-201 User manual

Medivators
Medivators Advantage Instruction Manual

Medivators
Medivators 2-8-633HAN Instruction Manual

Medivators
Medivators DSD EDGE User manual

Medivators
Medivators SCOPE BUDDY PLUS User manual

Medivators
Medivators DSD-201 Operating instructions


