manuals.online logo
Brands
  1. Home
  2. •
  3. Brands
  4. •
  5. Mercia Garden Products
  6. •
  7. Greenhouse Kit
  8. •
  9. Mercia Garden Products 04GREENLEAN0804-V2 User manual

Mercia Garden Products 04GREENLEAN0804-V2 User manual

P 1










x2
















  




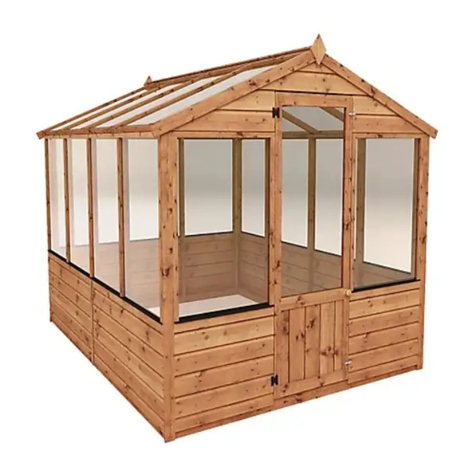
8 X 4 GREENHOUSE
ASSEMBLY INSTRUCTIONS
04GREENLEAN0804-V2
P 2
04GREENLEAN0804-V2
Overall Dimensions:
Width = 2407mm
Depth = 1267mm
Height = 2178mm
Base Dimensions:
Width = 2359mm
Depth = 1237mm
Please retain product label and instructions for future reference
Before assembly
please make sure you have a
suitable base ready to erect your
building
MADE IN GREAT BRITAIN
Door Side Panel
AI-04GREENDS610X1546-V2
Back Side Panel
AI-04GREENWS1193X1543-V2
Window Side Panel
AI-04GREENWS2359X1543-V2
Window
AI-04GREENOW560X460-V2
Door
AI-04GREENDOOR550X1720-V2
Door Gable Top
AI-04GREENLEAN0804-V2 DGT
Plain Gable Top
AI-04GREENLEAN0804-V2 PGT
Roof
AI-04GREENLEAN0804-V2 R
Roof Strip -12x56x1196mm QTY 2
S1256-1196mm
Fascia -12x70x1447mm QTY 2
S1270-G-1447mm (Angled)
Door Strip -12x27x1711mm QTY2
S1227-1711mm
Ridge Bar - 27x44x2247mm
F2744-2247mm
Door Frame - 27x44x2094mm
F2744-G-2094mm (Angled)
Door/Window Frame - 27x44x556mm
F2744-556mm
Base Frame - 44x44x2359mm
F4444-2359mm
Base Frame - 44x44x1193mm QTY 2
F4444-1193mm
Door Knob
PI-04-0024
Turn Button QTY 2
PI-07-0182
Casement Stay
PI-07-0008
“L” Bracket QTY 2
PI-07-0012
Window Glazing Bead QTY 8
PI-07-0063
1 2 3
4
5
6 7
8
9
10
11
12
13
14
15
16
17 18 19 20 21
P 3
Please retain product label and instructions for future reference
Strip - 12x56x1582mm QTY2
F1256-1582mm
Strip - 12x44x543mm
S1244-541mm
Strip - 12x27x610mm
S1227-610mm
Strip - 12x27x1193mm
S1227-1193mm
Strip - 12x27x937mm QTY 10
S1227-937mm
Strip - 12x27x560mm
S1227-560mm
Strip - 12x20x2359mm
S1220-2359mm
Strip - 12x27x1794mm
S1227-1794mm
Strip - 12x27x556mm
S1227-556mm
Strip - 12x44x1332mm QTY 5
S1244-1332mm
Plastic Window Cill - 610mm
PI-08-0021
Plastic Window Cill - 2359mm
PI-08-0022
Nail Bag
70mm Screws - 4
50mm Screws - 31
40mm Screws - 27
30mm Screws - 121
20mm Screws - 14
16mm Screws - 16
Plastic Window Cill - 1193mm
PI-08-0019
Styrene - 560x1305x2mm QTY 3
PI-05-0205
Styrene - 560x815x2mm
PI-05-0206
Styrene - 942x570x2mm QTY 7
PI-05-0151
23
24
34
35
36
37
38
25
26
33
27
28
29
30
31
32
22
**Please note: Due to variations in house construction methods and materials, NO xings are included
with this product. If you are unsure to which xings you require we recommend that you consult with
your local builders merchants or DIY store.**
PI-07-0004
Buttery Hinges QTY 4
Pre drill
hole
70mm
screw
15
16
16
P 4
Please retain product label and instructions for future reference
Styrene
Styrene
Styrene Styrene Styrene Styrene Styrene
25 26
30
27
Step 2
Assemble the window panels on the oor.
Place the plastic window cill (No. 25, 26,
27) onto the lip of the window panel.
1b. Lay the styrene (No.30) on top of each
opening so that it overlaps the surrond-
ing framing equally on both sides as per
the diagram.
Styrene
Window Cill
Styrene
Styrene
Styrene Styrene Styrene Styrene Styrene
Pre drill
hole
30mm
screw
Step 3
Attatch the window strips (No. 33, 34,
35, 37) using 3x30mm screws as per the
diagram. Ensure the framing does not
protude the width of the window frame.
Ensure you screw into the window strips
to the side of where the styrene meets
the window frame.
42x30mm screws
35
33 37 34
30 30 30 30 30 30
35
35
35
12
3
Step 1
Arrange the base frame(s)
(No’s. 15 & 16) onto your
base as shown in the
illustration.
Ensure your base is square
and layed onto a rm and
level surface that has suitable
drainage and is free from
areas where standing water
can collect.
4x70mm screws.
7
2
1
6
6
13
P 5
Please retain product label and instructions for future reference
Step 4: Plain Gable Assembly
Place the plain gable top (No. 7) onto
the back side panel (No. 2) and secure
from underneath through the framing
as shown in the illustration using
4x50mm screws.
*Ensure the framing is ush on the
at edge.
4x50mm screws.
Pre drill
hole
50mm
screw
Step 5: Door Gable Assembly
Following the same method outlined
in Step 4, place the door gable top
(No. 6) onto the door side panel (No. 1)
and secure from underneath through
the framing using 2x50mm screws.
*Ensure the framing is ush on the
at edge.
2x50mm screws.
Pre drill
hole
50mm
screw
Step 6 Door Gable Assembly
Attach the door frame (No. 13) to the
door gable assembly, xing the frame
into the overhanging boards on the
door gable top (No. 6) using 2x50mm
screws.
*Ensure to screw into the framing on
the door gable top.
2x50mm screws.
Pre drill
hole
50mm
screw
3
P 6
Please retain product label and instructions for future reference
Step 7
Place the assembled plain gable and
window side panel (No. 3) onto the
base frame(s) and x at the corners
using 3x50mm screws.
Secure the panels to the base using
12x50mm screws, screwing through
the panels into the base frame(s)
15x50mm screws.
Pre drill
hole
50mm
screw
Step 9
Following the same method outlined
in Step 7 attach the assembled door
gable onto the building using 7x50mm
screws.
7x50mm screws.
Pre drill
hole
50mm
screw
23
Step 8
Fix the strip (No. 23) onto the door
frame (No. 13) using 3x30mm screws as
shown in the illustration.
*Ensure the strip is ush to the inside of
the door aperture.
3x30mm screws.
Pre drill
hole
30mm
screw
a
ba
a
14
Step 10
Place a door/window frame (No. 14) into
the door aperture against the door side
panel (No. 1) and secure to the base frame
using 3x40mm screws.
Once in place secure the door frame
(No. 13) to the door/window framing
using1x50mm screw as shown in the
illustration.
3x40mm screws
1x50mm screw
Pre drill
hole
40mm
screw
50mm
screw
b
b
b
a
b
P 7
Please retain product label and instructions for future reference
Styrene
Styrene
Styrene
Styrene Styrene
Styrene
Styrene Styrene
Pre drill
hole
16mm
screw
Step 12
Lay the window panel down (No. 8) and
place the styrene sheets (No. 28, 29) in
position using the beads (No. 17) which
will be screwed down with 2x16mm
screws. Ensure the small strip is facing the
bottom.
16x16mm Screws.
21
12
Step 11
Attach the “L” brackets (No. 21) to either end
of the ridge bar (No. 12) using 4x30mm
screws.
*Ensure the “L” brackets are ush with each
end of the ridge bar.
Secure the ridge bar between the gables
(internally) and secure in place using
4x30mm screws, making sure the framing
aligns with the pitch of the gables.
8x30mm screws
Pre drill
hole
30mm
screw
8
31
32
9
17
28
28
29
28
Pre drill
hole
30mm
screw
Step 13
Fix the strips (No. 9, 31, 32) onto the
window frame using 3x30mm screws per
strip. Ensure you screw to the side of the
styrene. Strips (No.31) should be ush
with the bottom of the window frame.
30x30mm Screws.
31
31
31
31
P 8
Please retain product label and instructions for future reference
8
38
Step 14
Place the window (No. 4) into the
gap in the roof (No. 8) and secure
onto strip (No. 36) 2x buttery hinges
(No. 38) using 4x16mm screws on
the window side and 4x30mm
screws on the roof strip.
20x30mm screws
Pre drill
hole
16mm
screw
30mm
screw
20
Step 15
Fix the casement stay (No. 20) to the
back of the opening window and
the pins to door/window frame as
shown in the illustration using
6x20mm screws.
6x20mm screws
Pre drill
hole
20mm
screw
Step 16
Place the roof onto the building making
sure the back edge of the roof sits ush
against the back of the gable. Once in
position secure the roof to the building
using 18x40mm screws.
*Ensure to screw through the roof into
the framing below.
18x40mm screws
Pre drill
hole
40mm
screw
4
36
30mm
30mm
P 9
Please retain product label and instructions for future reference
38
a
18
c
19
b
Step 17
Rest the door (No. 5) into the
aperture (in the door gable) and
secure to the building with 2x
buttery hinges (No. 38) using
4x20mm (on the door) and
4x30mm screws (on the door
frame) as shown in the
illustration.
Attach the turn buttons (No. 19)
to the top and bottom of the
assembled door gable using
1x30mm screw per turn button.
Screw the door handle (No. 18)
into the front of the door - it is
advisable to pre drill to avoid
splitting the door.
8x20mm screws
10x30mm screws
20mm
30mm
Pre drill
hole
30mm
screw
a
b
c
Step 18
Fix the corner trims (No.22) in postion
using 4x30mm screws
8x30mm Screws
Pre drill
hole
30mm
screw
22
20mm
screw
5
It is ESSENTIAL that you apply wood
treatment immediately after the building
has been assembled.
AFTER TREATMENT:
score around protective
cover on glazing and
carefuly peel
covering back
P 10
Please retain product label and instructions for future reference
10
10
Step 19
Attach the fascia’s (No. 10) to
the top of the building, securing
into position using 4x40mm
screws per fascia.
8x40mm screws
Pre drill
hole
40mm
screw
Step 20
Attach the door/window frame (No. 24)
and two door strips (No.11) internally to the
framing around the door frame using
30mm screws.
11x30mm screws
24
11 11
P 11
12
P 12

Other manuals for 04GREENLEAN0804-V2

1

Other Mercia Garden Products Greenhouse Kit manuals

Mercia Garden Products 04GREEN0406SD-V6 Instruction manual
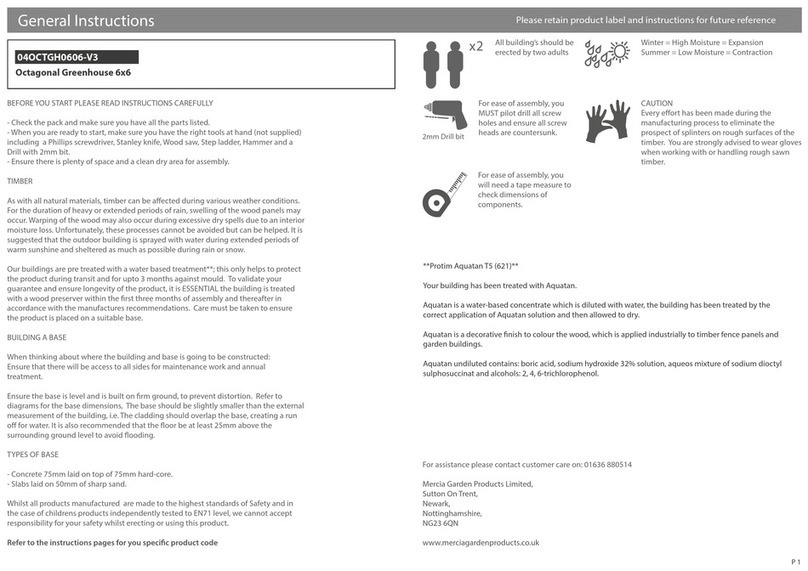
Mercia Garden Products

Mercia Garden Products 04GREEN0406SD-V6 Instruction manual

Mercia Garden Products 04GREEN0806SD-V6 User manual

Mercia Garden Products

Mercia Garden Products 04GREEN0806SD-V6 User manual

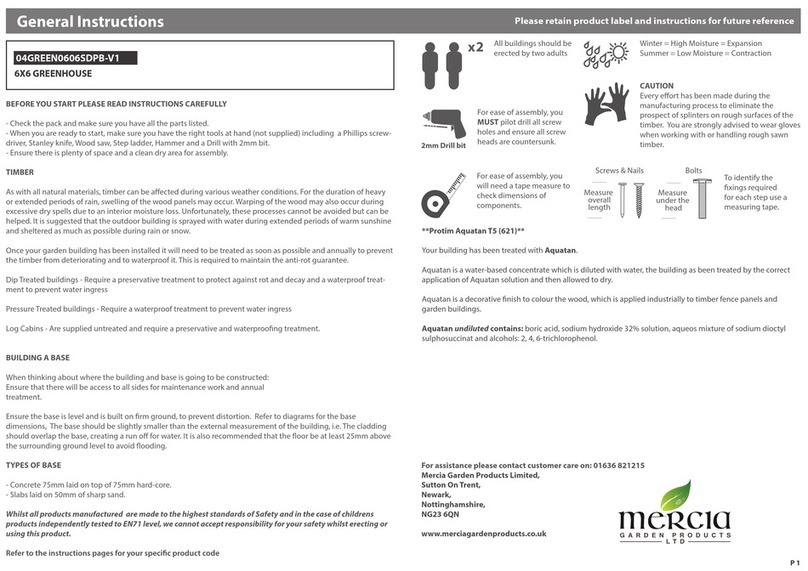
Mercia Garden Products 04GREEN0606SDPB-V1 Instruction manual

Mercia Garden Products

Mercia Garden Products 04GREEN0606SDPB-V1 Instruction manual

Mercia Garden Products 04GREEN0606SD-V2 User manual

Mercia Garden Products

Mercia Garden Products 04GREEN0606SD-V2 User manual

Mercia Garden Products 04GREEN0406SD-V2 Instruction manual

Mercia Garden Products

Mercia Garden Products 04GREEN0406SD-V2 Instruction manual

Mercia Garden Products 04GREEN0806SD-V2 Instruction manual

Mercia Garden Products

Mercia Garden Products 04GREEN0806SD-V2 Instruction manual

Mercia Garden Products 04PREMG0604-V1 Instruction manual

Mercia Garden Products

Mercia Garden Products 04PREMG0604-V1 Instruction manual

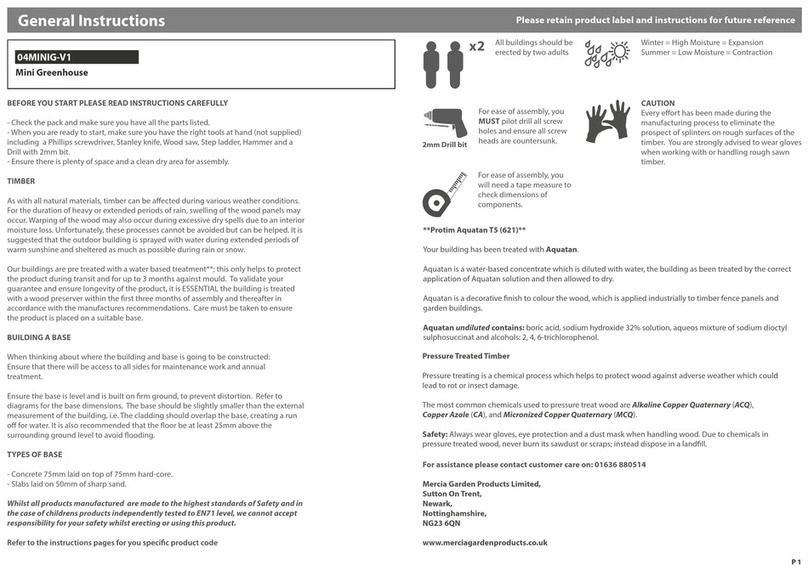
Mercia Garden Products 04MINIG-V1 Instruction manual
Mercia Garden Products

Mercia Garden Products 04MINIG-V1 Instruction manual

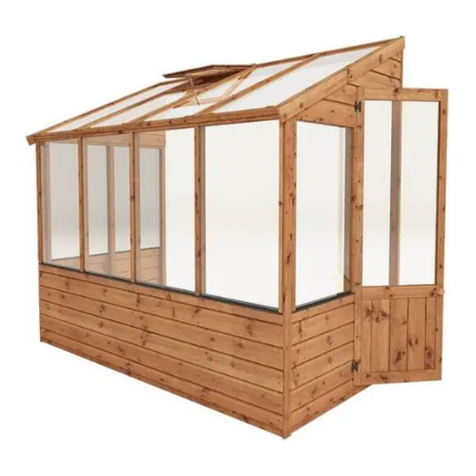
Mercia Garden Products 04GREENLEAN0804-V2 Instruction manual

Mercia Garden Products

Mercia Garden Products 04GREENLEAN0804-V2 Instruction manual
Mercia Garden Products 04GREEN0406SD-V1 Instruction manual

Mercia Garden Products

Mercia Garden Products 04GREEN0406SD-V1 Instruction manual

Mercia Garden Products 04DTSTRDAX0806HGS-V1 User manual

Mercia Garden Products

Mercia Garden Products 04DTSTRDAX0806HGS-V1 User manual

Mercia Garden Products 04VCGRO-V2 Instruction manual

Mercia Garden Products

Mercia Garden Products 04VCGRO-V2 Instruction manual

Mercia Garden Products 04GREEN0406SD-V2 Instruction manual

Mercia Garden Products

Mercia Garden Products 04GREEN0406SD-V2 Instruction manual

Mercia Garden Products 04GREEN0406SD-V5 User manual

Mercia Garden Products

Mercia Garden Products 04GREEN0406SD-V5 User manual

Mercia Garden Products 04OCTGH0606-V3 Instruction manual

Mercia Garden Products

Mercia Garden Products 04OCTGH0606-V3 Instruction manual

Mercia Garden Products 04LEAN0804-V1 Instruction manual

Mercia Garden Products

Mercia Garden Products 04LEAN0804-V1 Instruction manual
Popular Greenhouse Kit manuals by other brands

Vitavia WFP Assembly instructions

Vitavia

Vitavia WFP Assembly instructions

TecTake 402475 Instruction guide

TecTake

TecTake 402475 Instruction guide

GrainPro Solar Bubble Dryer 50 instruction manual

GrainPro

GrainPro Solar Bubble Dryer 50 instruction manual

The Greenhouse People MAXI instructions

The Greenhouse People

The Greenhouse People MAXI instructions

Vitavia Calypso 3000 Assembly instructions

Vitavia

Vitavia Calypso 3000 Assembly instructions

Vitavia DIANA Assembly instructions

Vitavia

Vitavia DIANA Assembly instructions

Exaco EOS JUNIOR VICTORIAN Mounting instructions

Exaco

Exaco EOS JUNIOR VICTORIAN Mounting instructions

Vitavia JUPITER 6700 Assembly instructions

Vitavia

Vitavia JUPITER 6700 Assembly instructions

Alton EVOLUTION FIVE instruction manual

Alton

Alton EVOLUTION FIVE instruction manual

Jumpking TrueShelter GH64 Assembly instructions

Jumpking

Jumpking TrueShelter GH64 Assembly instructions

VOUNOT 6841231867927 quick start guide

VOUNOT

VOUNOT 6841231867927 quick start guide

Vitavia DIANA 5000 Assembly instructions

Vitavia

Vitavia DIANA 5000 Assembly instructions

ClearSpan Pro Solar Star R030 Instruction guide

ClearSpan

ClearSpan Pro Solar Star R030 Instruction guide

ClearSpan Gothic Style Solar Star instruction manual

ClearSpan

ClearSpan Gothic Style Solar Star instruction manual

Juliana Grand Oase 13,0 Assembly instruction

Juliana

Juliana Grand Oase 13,0 Assembly instruction

FarmTek ClearView quick start guide

FarmTek

FarmTek ClearView quick start guide

Palram Lean To Grow House 4x2 manual

Palram

Palram Lean To Grow House 4x2 manual

Royal Well slim kweken Sweet Basil manual

Royal Well

Royal Well slim kweken Sweet Basil manual

manuals.online logo
manuals.online logoBrands
  • About & Mission
  • Contact us
  • Privacy Policy
  • Terms and Conditions

Copyright 2025 Manuals.Online. All Rights Reserved.